Eve faces a long journey through the post-apocalyptic world of Stellar Blade, but thankfully there are plenty of resources to help her gain power and additional abilities. One of the most important resources in the game is Beta Cores, and there are several to find and equip. If you’re wondering where to find them all, here’s our handy guide to all Beta Core locations in Stellar Blade.
What Are Beta Cores in Stellar Blade?
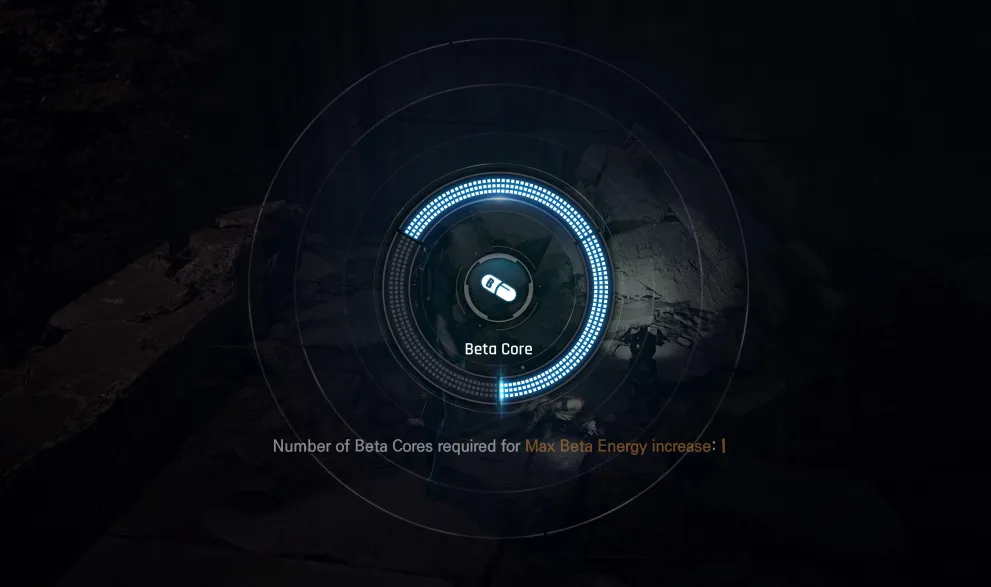
One important thing to keep in mind while looking for Beta Cores in Stellar Blade is to not confuse them with Body Cores. It can definitely be easy to misread the caption when taking them off of a corpse, but they serve different purposes.
Body Cores are used to increase Eve’s maximum health. Each time you collect three of them her health bar will automatically increase. Make note that they only pertain to the physical stat.
Beta Cores, on the other hand, are used for increasing Eve’s Beta Gauge, which enables her arsenal of Beta attacks against Naytibas. The higher her gauge is, the more powerful and more often she can use those attacks.
Also, remember when looking for either Beta Cores or Body Cores, your controller will give haptic feedback with gentle vibrations when you’re near one.
All Beta Core Locations (by Area) in Stellar Blade
Eidos 7 – Beta Core 1
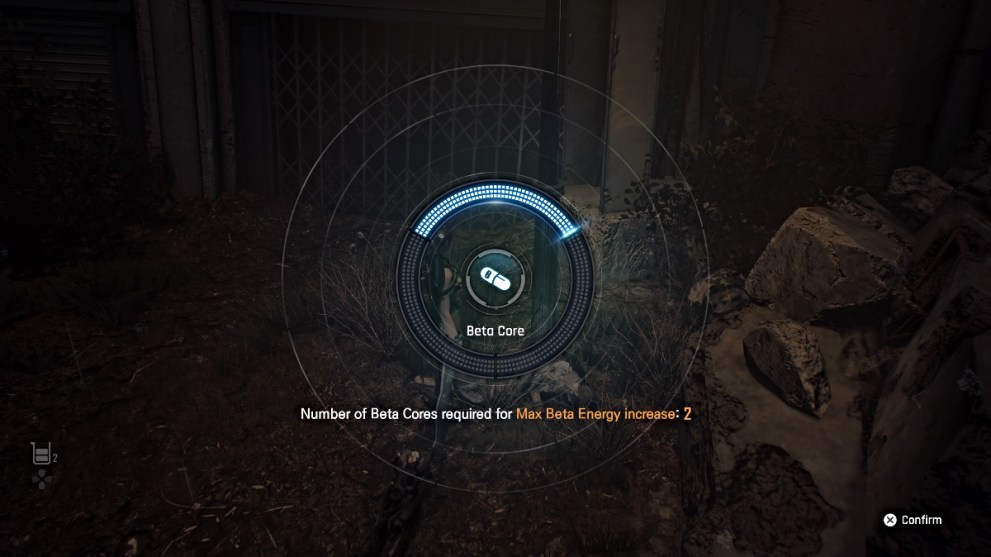
The very first Beta Core in the game can be found at the end of Silent Street. The Colony corpse will be lying against a lamppost.
Eidos 7 – Beta Core 2
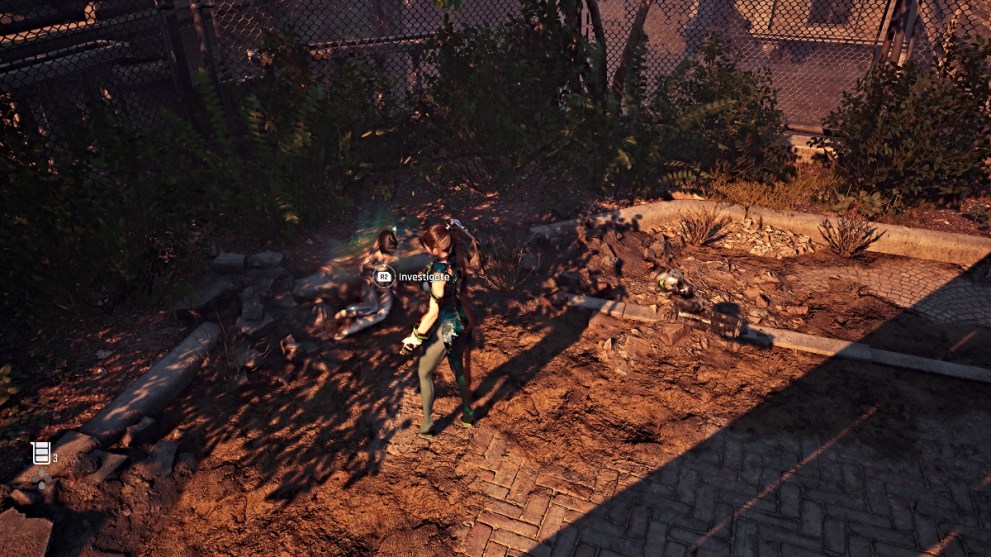
The next Beta Core can be found soon after getting off the Monorail. After going down the stairs from it, immediately head left past the bridge and towards a ledge alcove. Take care of the Naytibas in your way and you’ll find the Colony corpse lying on the ground near a fence.
Eidos 7 – Beta Core 3
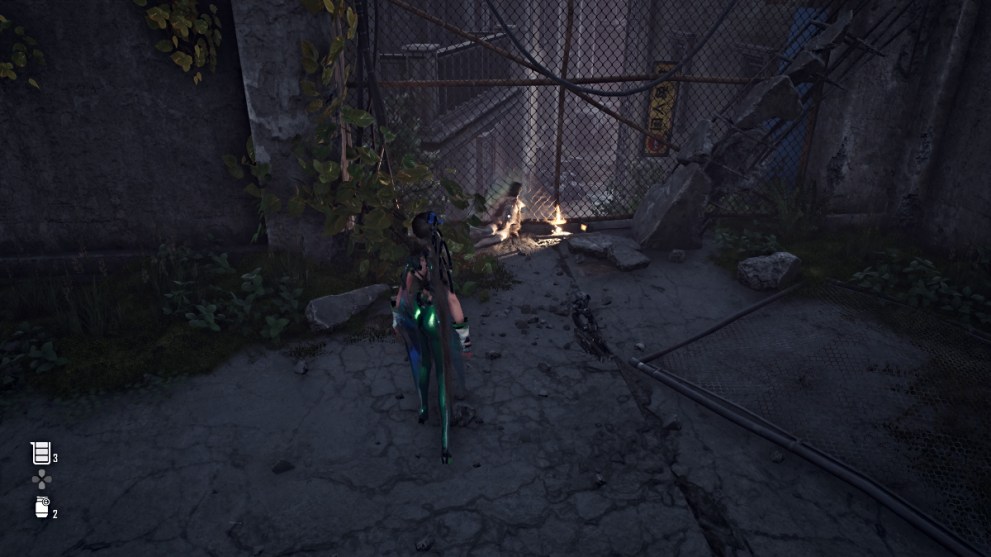
The third Beta Core on Eidos 7 is a bit tricky to find, given that it’s high up and hidden. On your way to the Hall of Records, you’ll encounter a brief Clock Tower puzzle. You need a code (1-2-2-5) to get past the gate. After that, make your way up and over to the other side, where you’ll find your next Camp to unlock.
After a brief rest, look for a series of yellow ledges to the left of the Camp. Follow them all the way around and up to where you’ll soon find the elusive Colony corpse leaning against a fence.
Eidos 7 – Beta Core 4
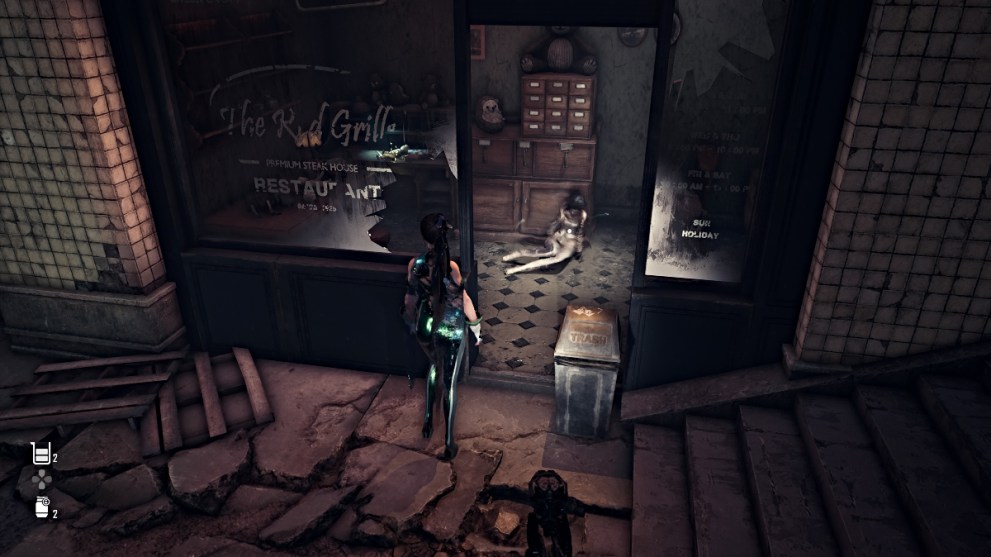
You’ll find the fourth Beta Core on Eidos 7 soon after defeating the Elite Naytiba, Corrupter. This corpse will be lying inside The Red Grille restaurant on the path to the next area.
Eidos 7 – Beta Core 5
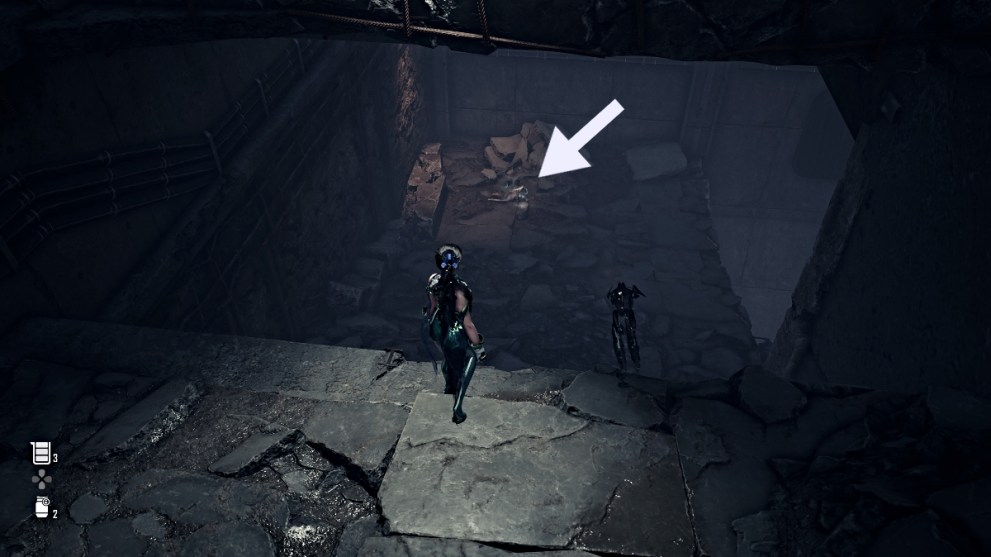
The fifth and final Beta Core on Eidos 7 is down in the Sewers, and takes some navigation to find. Follow the main story path up to where you use a big metal pipe to cross a gap.
Read More: All Gear Effects in Stellar Blade
Before you do, however, stop and look for yellow ledges on the wall to the right that take you all the way around the side of the structure and back down inside, following an alternate path you couldn’t reach before. This Colony corpse will be lying on the ground on the other side of a drop-off, underneath a light.
Wasteland – Beta Core 1
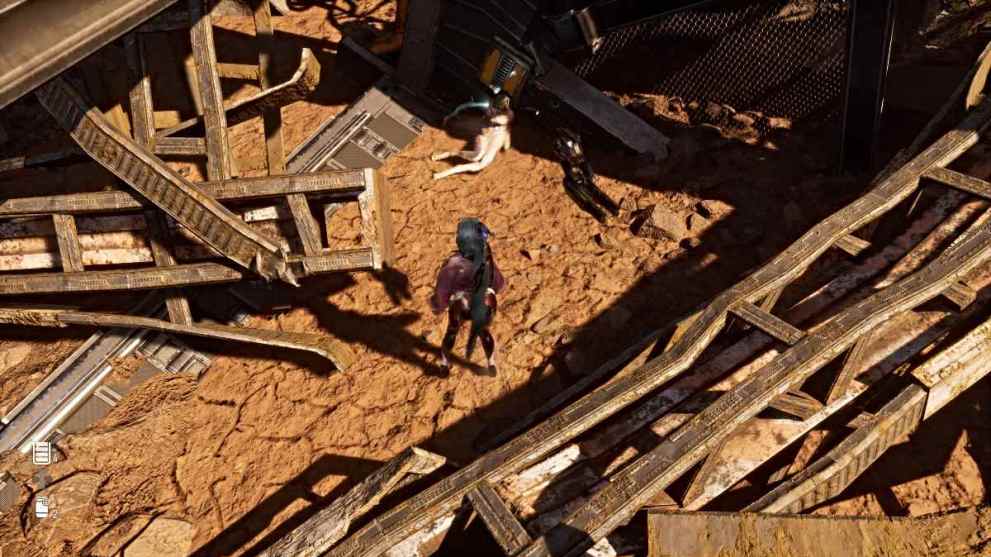
The first Beta Core you’ll find in the Wasteland will be on the eastern half of the map, once you’ve found the Scrap Yard. From the Central Scrap Plains Supply Camp, head east and slightly south until you see a building with piles of scrap littered around it. Investigate the piles on the right side of the area, and you’ll see the Colony corpse lying on the ground within it.
Wasteland – Beta Core 2
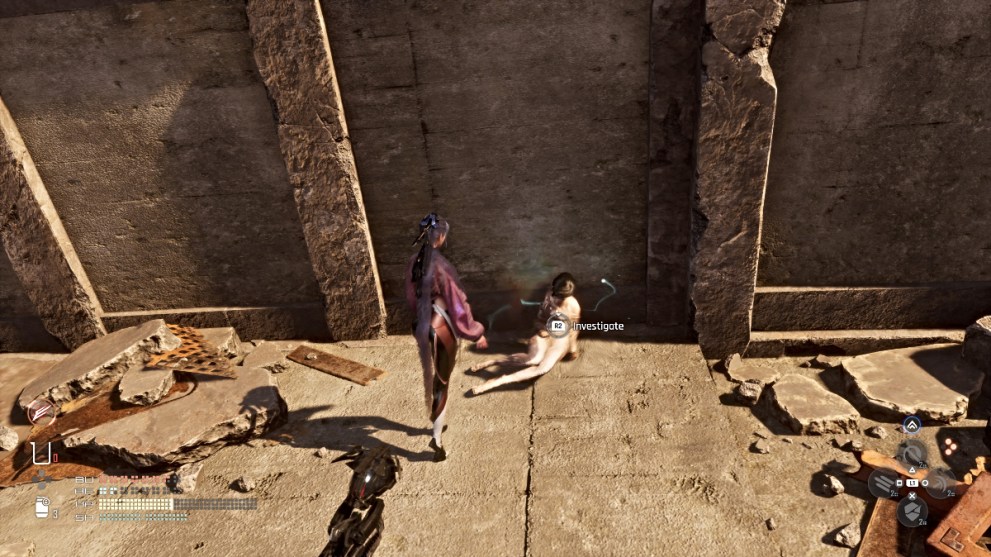
To find this Beta Core, you’ll want to Fast Travel to the phone booth Waypoint on the easternmost side of the map. From there, go to the ruins directly behind the phone booth and start climbing up. Look for the yellow grab point nearby for reference. Climb all the way up through the ruined building, and follow the path as it takes Eve from one building to another. The Colony corpse will be lying against the wall on a ledge outcrop.
Wasteland – Beta Core 3
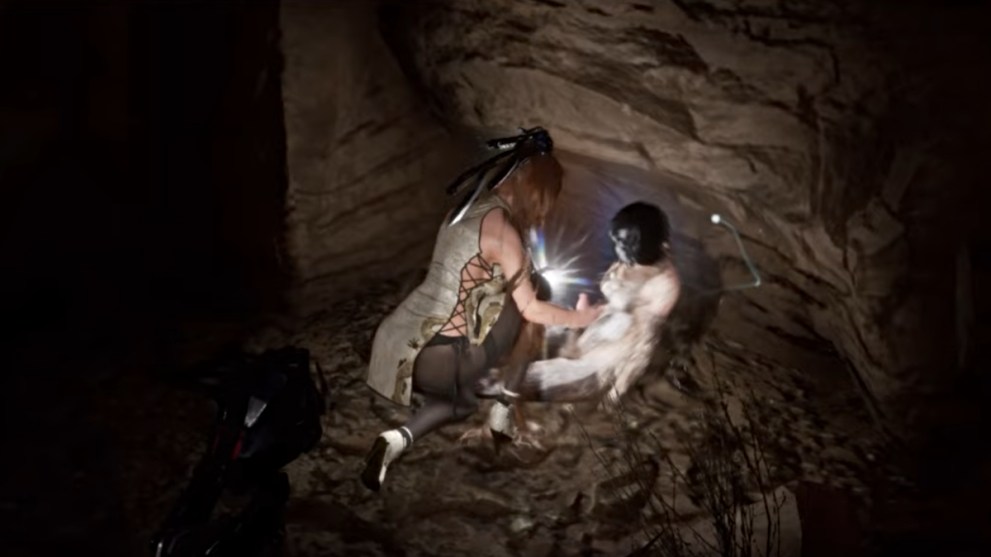
For this Beta Core, you’ll need to have Double Jump unlocked (done via story progression) as it requires some acrobatics. Technically it can also be done with your mid-air dash (pressing ‘O’ during a jump or fall) and perfect timing, but we don’t recommend it.
Travel to the canyons just north of the Junk Yard Supply Camp until you find a series of red Wall Jump grates on either side of a canyon. Carefully cross back and forth between each one (remember you don’t need to hold ‘X’ to wall run; only double-tap ‘X’ to double-jump between each one) until you reach the other side.
Watch out for Droid Turret enemies and continue along the canyon pathway. Circle around to the left until you can enter a small cavern. The Colony corpse will be lying at the back of this cavern, behind an item crate. Remember to use your Drone’s scanner if you get turned around.
Wasteland – Beta Core 4
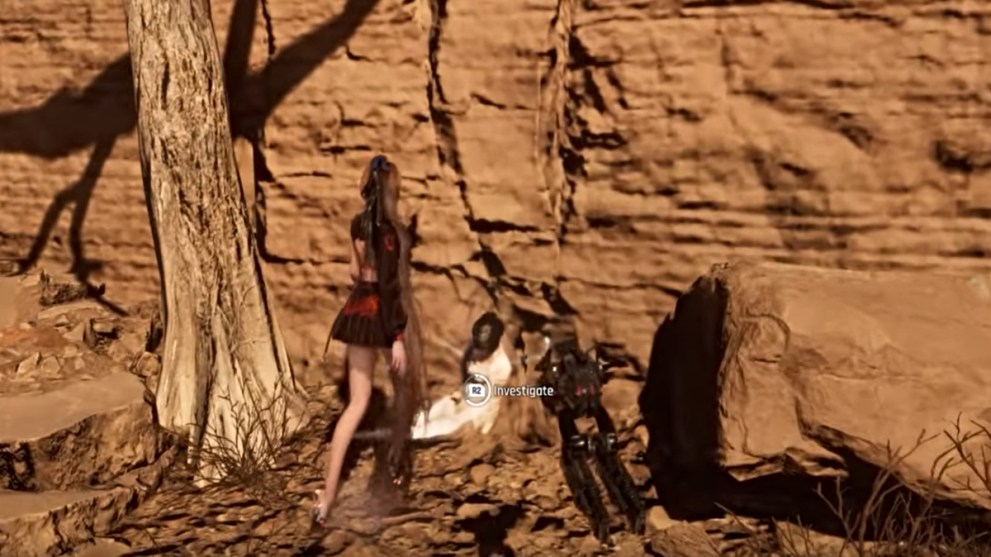
Double Jump will be needed for this final Beta Core in the Wasteland as well, so make sure to come prepared. Fast travel to the Western Great Canyon Supply Camp on the west side of the map, and then head north to climb the maze of cliffs leading to the Colony corpse. It’ll be lying next to a dead tree against a cliff wall.
Matrix 11 – Beta Core 1
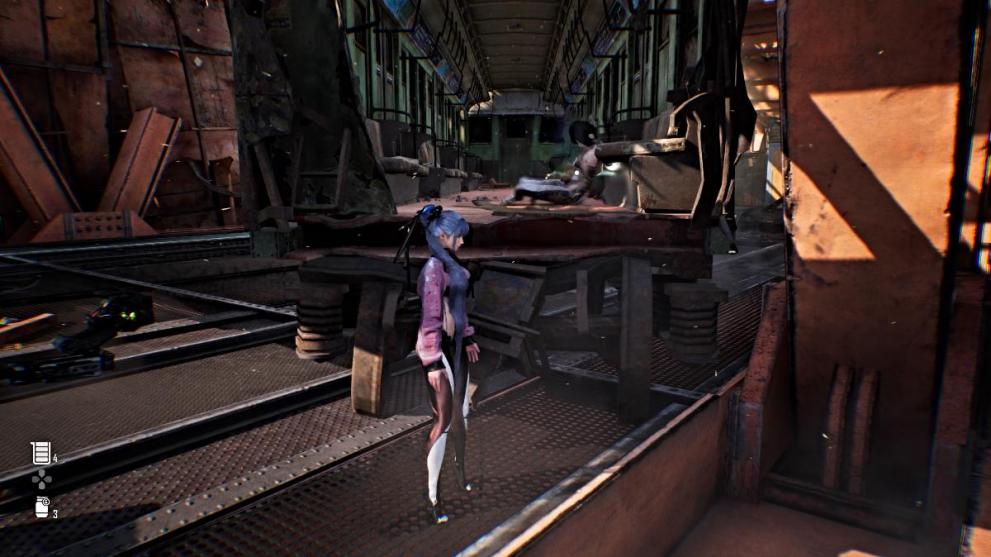
The first Beta Core in Matrix 11 will be found in the Collapsed Rail Bridge area. After the brief cutscene where Adam tells Eve to check out the view from the bridge, go to the broken train car on the left side of the trackway. A Colony corpse will be lying against the bench inside the train, easily seen from outside.
Matrix 11 – Beta Core 2
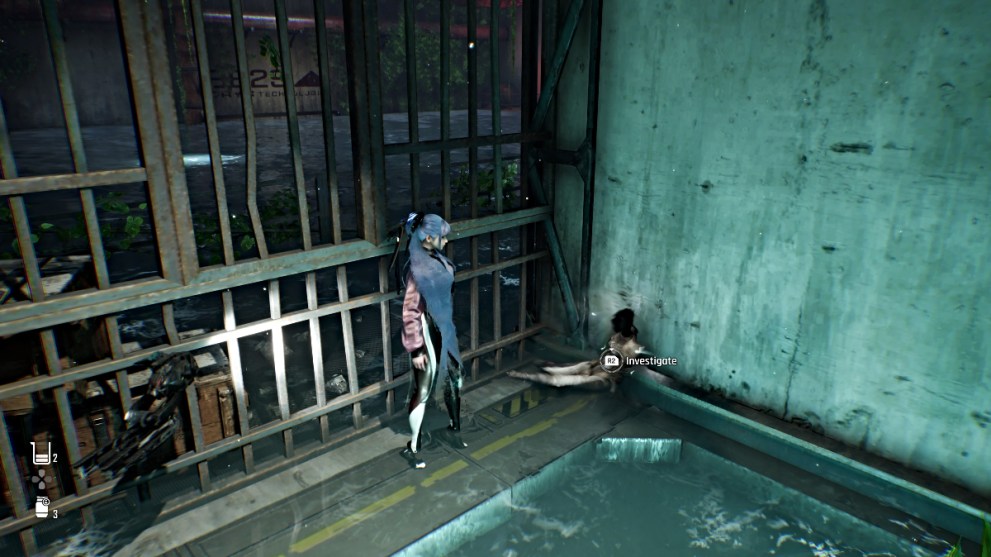
The second Beta Core in Matrix 11 is found in the Underground Sewer area where Eve needs to fill up the room with water to reach the red gate on the right side. Once the room is filled, don’t leave yet. On the same (right) side as the red gate, swim to the back where a gated room is, and dive down to get underneath and inside of it. A Colony corpse will be slumped in the corner of it.
Matrix 11 – Beta Core 3
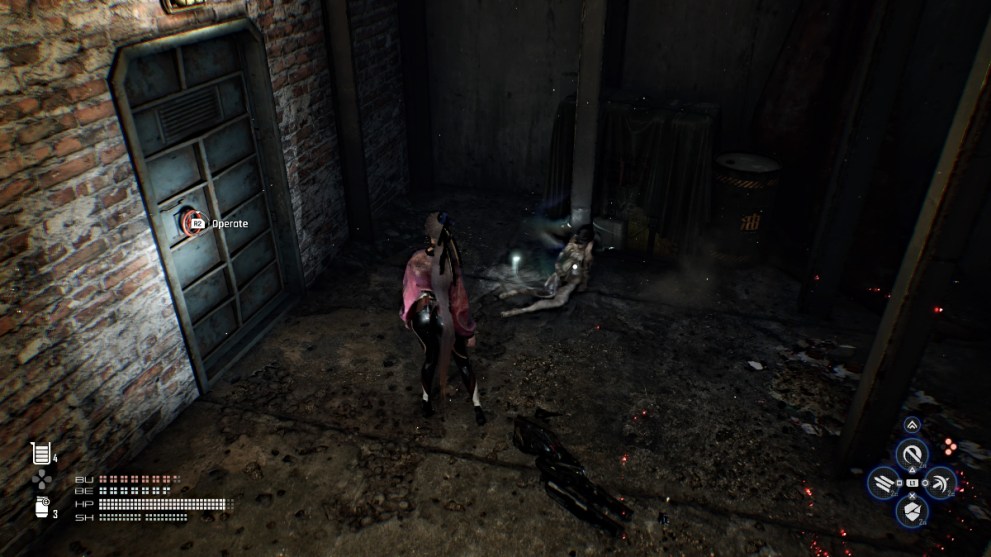
To reach the third Beta Core you’ll need to find the long corridor in the Rotten Labyrinth, near where you place a Fusion Cell to open a doorway. Climb the nearby ladder and then turn to go into a small room off the side. In that room look over the drop-off, and a Colony corpse will be lying down on the ground near a door.
Matrix 11 – Beta Core 4
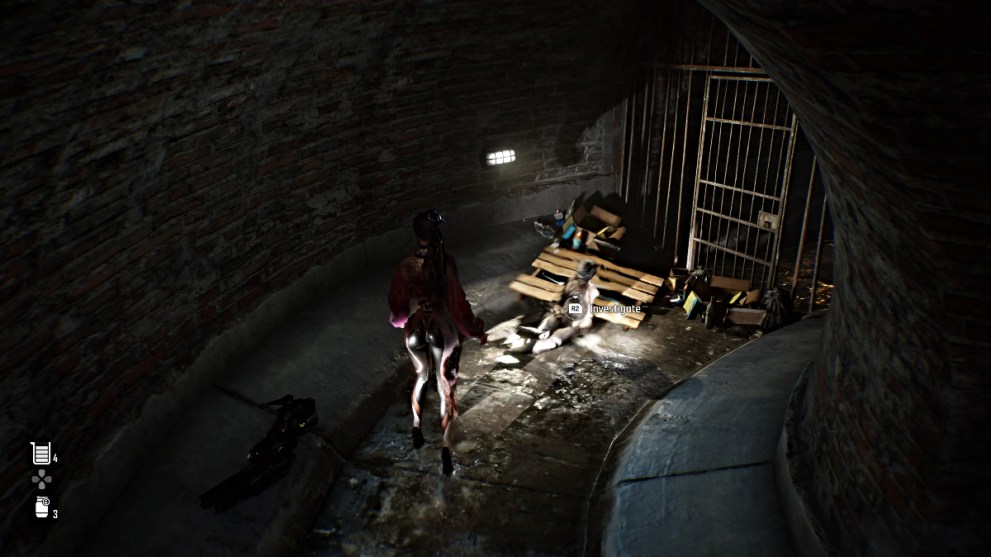
The final Beta Core in Matrix 11 is deep inside the Rotten Labyrinth. A tunnel area will be riddled with Hive Naytibas. One is obstructing the main pathway forward, while another is covering a smaller tunnel on the right side. Destroy that Hive to get through and find a Colony corpse at the end sitting among some rubble, along with a memory stick.
Great Desert – Beta Core 1
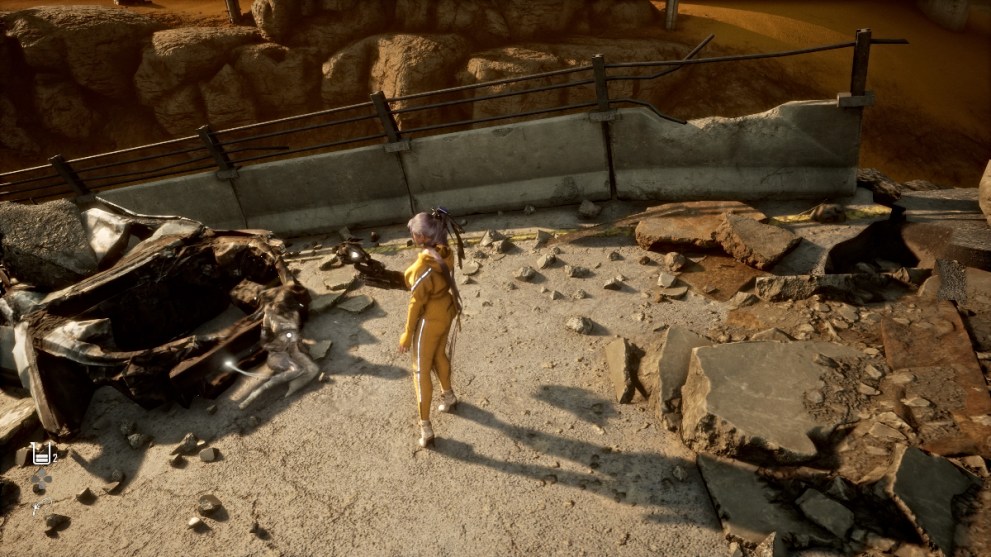
Getting to this Beta Core in the Great Desert is a bit tricky. It’s lying against a destroyed car on a section of the Collapsed Overpass in the southeastern area of the map. However, if you attempt to run up to it from the sand on the north side, Eve will slide right back down because it’s (apparently) too steep.
Read More: All Cans Locations in Stellar Blade
To reach it, you’ll need to follow the path leading into a nearby tunnel at the very bottom of that section of the map. It’s guarded by an active gun turret and a few Naytibas, so be very careful. The easiest way to do this is via the ‘Fallen Angel’ sidequest, which takes you literally on the same exact path inside one tunnel, around and back out of the one next to it.
Once you’ve done that, run across the highway section until you reach a blockade on the road. Go to the nearby yellow cart and move it against the blockade to climb up and over it. At last, the Colony corpse and the Beta Core inside it will be waiting on the other side.
Great Desert – Beta Core 2
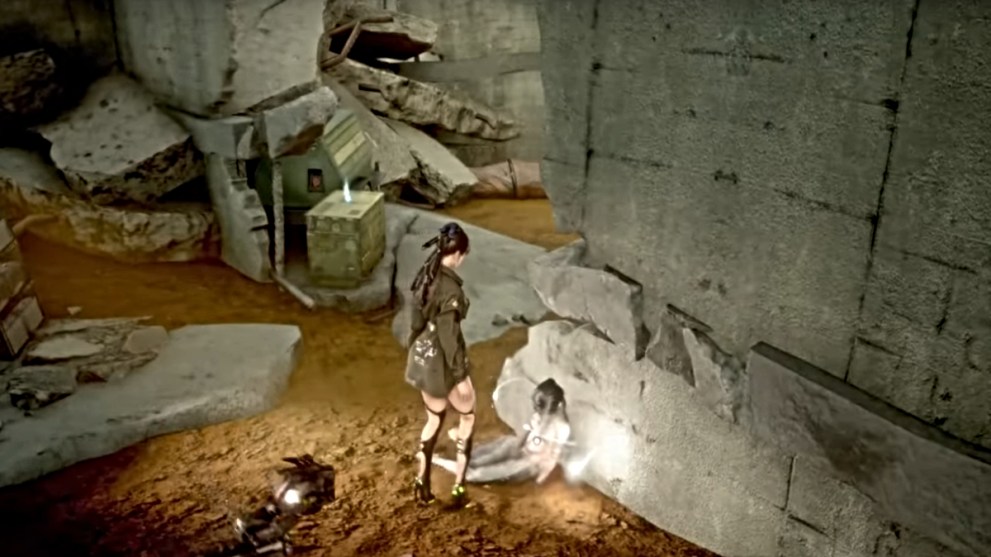
This Beta Core is found deep in the Buried Ruins area of the Great Desert, which is on the east side of the map. The area is riddled with quicksand traps that will kill you, so be sure to watch your step.
From the Buried Ruins Legion Camp (remember these can’t be fast-traveled to), head southwest towards a building that can be entered from the ground level. The Colony corpse will be lying right on the other side of the wall.
Great Desert – Beta Core 3
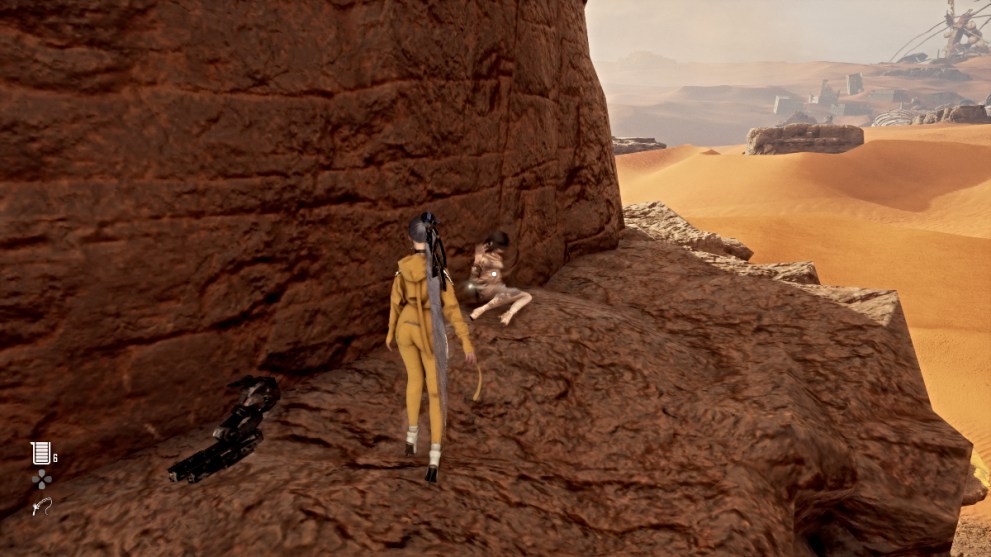
The last Beta Core in the Great Desert is directly west of the Tetrapod’s location, near the curved border’s edge. Look for a rocky cliff and go to the north side of it to start climbing up. Look for a hovering target that can be shot, releasing a rope. Swing across the wood branches and up the rope to reach the top of the cliff. Grab the Milky Pop Zero can from the blue crate along the way.
Run to the southeast side of the cliff until you see a lower ledge to drop down to, where the Colony corpse will be.
Spire 4 – Beta Core 1
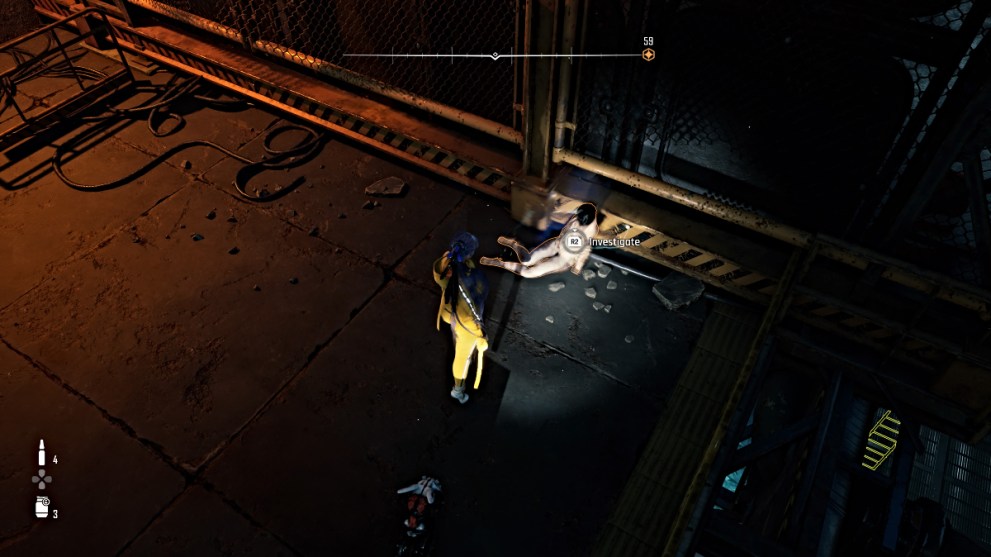
The first Beta Core at Spire 4 is found when first entering the Hypertube Facility. If you run directly ahead instead of left, you’ll notice a wall blockade in front of you. There’s some piping running along the side of the adjacent ledge, so you can safely jump around it. A Colony corpse will be lying on the floor right on the other side of the blockade.
Spire 4 – Beta Core 2
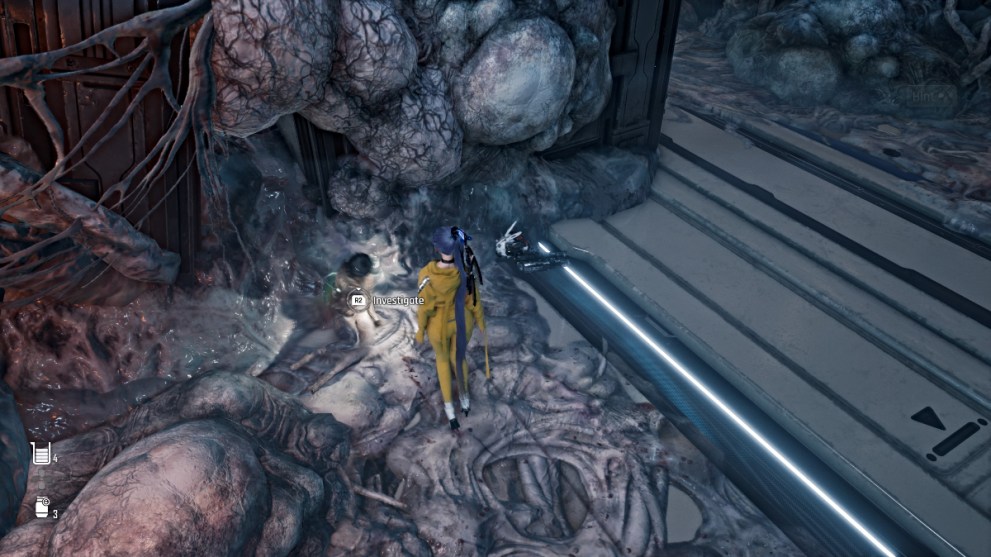
The second Beta Core at Spire 4 is found on the fourth floor of the Orbit Elevator. This takes you up towards the Central Core. While the first three floors are in pristine condition, a Naytiba encounter will trigger on the third floor, crushing poor Anisa in the process.
Kill the Naytibas and take the rope up to the fourth floor, which is completely contaminated. A Colony corpse will be lying on the ground nearby.
Spire 4 – Beta Core 3
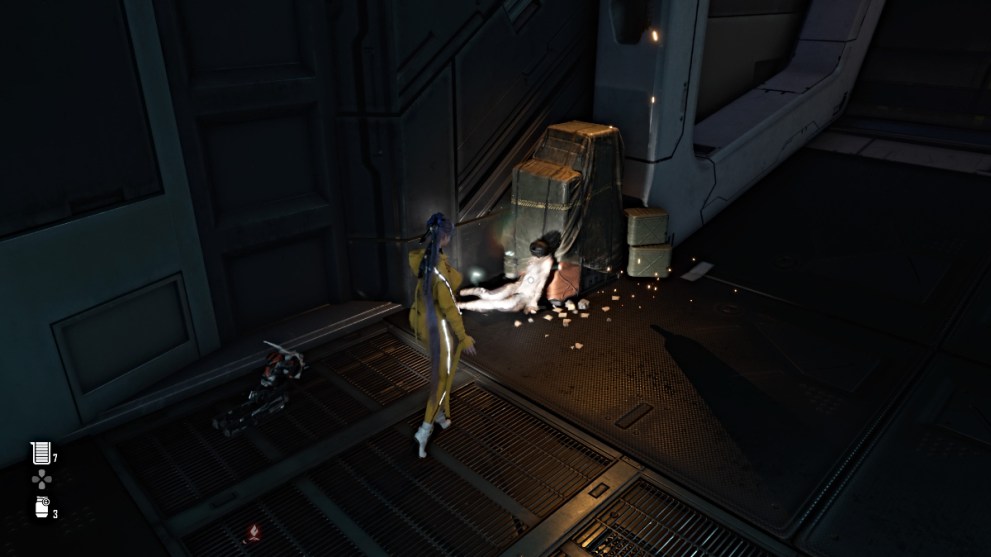
The third and final Beta Core at Spire 4 (and in the game) is a super easy find. After defeating Karakuri, take the subsequent elevator up. Eve will need to climb up a sequence of ledges the rest of the way to get to the top of the shaft. Upon reaching it, to the right is a Supply Camp while to the left is a Colony corpse lying against some crates.
That concludes our guide to all Beta Core locations in Stellar Blade! For more on the game, check out all box and chest types, plus all fishing spots and how to change ammo type.



Updated: May 7, 2024 04:53 am