There are a wide variey of different weapons in The Legend of Zelda: Tears of the Kingdom, including Spears, which allow Link to fight enemies at range. One of these weapons is the Zora Spear, which can be Fused to create the much more powerful Lightscale Trident Legendary Weapon. However, Zora Spears can often be hard to locate, slowing down your dreams of making strong ranged weapons. Don’t worry though, we’ve covered all of the information you’ll need to know about where you can get your hand on this Spear below, so follow along for all the necessary tips and tricks to aid you along the way.
Zelda: Tears of the Kingdom – How to Get Zora Spears
There are a few locations scattered around Hyrule where you can obtain Zora Spears. However, I’ve recently discovered a spot in which you can pick up two Zora Spears within just a short distance of one another, allowing you to make the most out of your search.
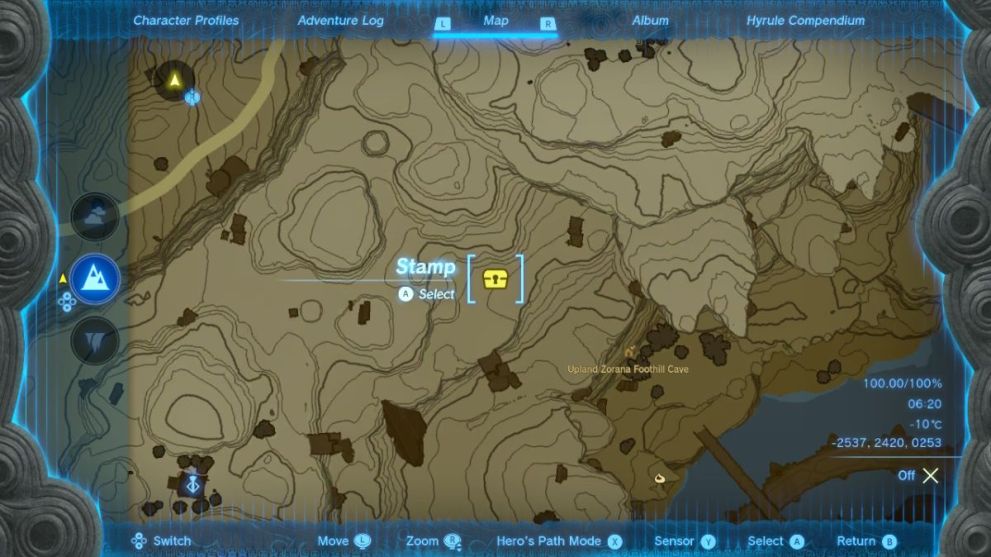
This spot is located South of Upland Zorana in the Zora Region. The map coordinates are -2537, 2420, 0253. I’ve provided a map screenshot below with the approximate co-ordinates and exact Zora Spear location marked with a treasure chest icon below, so I’d recommend marking the same spot in your map with a colored marker to help you reach your destination.
Note: You will need one of the following items to reach the second location and obtain an additional Zora Spear:
- Elixirs and/or Dishes with the Sticky property, granting Link Slip Resistance upon consumption.
- Froggy Armor Set
Once you’ve got these items all prepared and ready to go in Link’s inventory, it’s finally time to start your search for Zora Spears. To travel quickly to the location highlighted on the Hyrule map, I’d recommend Fast Travelling to Upland Zora Skyview Tower, and launching yourself into the sky to freefall and glide in the direction of your colored marker. This will allow you to reach the approximate location in a few seconds.
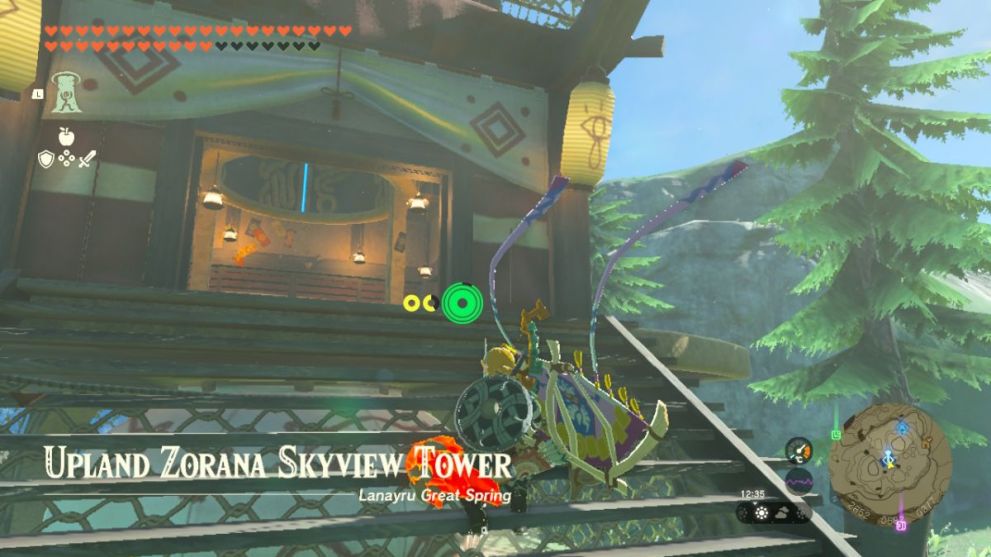
As you approach the location of your colored marker, you will notice a structure occupied by a few Lizalfos, which means you’re heading in the right direction! If you’d like, you can make a short stop to defeat these Lizalfos in battle and open the chest on top of the structure, which will allow you to obtain a bonus Zora Shield on the way to getting your Zora Spears.
Land either on this structure if you choose to defeat the Lizalfos, or on the rocks near the structure. If you have the Hyrule Compendium unlocked you’re going to want to take a moment and press the – button on your Joy-con or controller to open the Purah Pad menu.
Now scroll across to the Hyrule Compendium tab, and find and select the Treasure Chest item to set it as your Sensor+ objective. The chest containing the Zora Spear is quite well hidden, so having this radar on will help point you in the right direction and hopefully minimize confusion along the way.
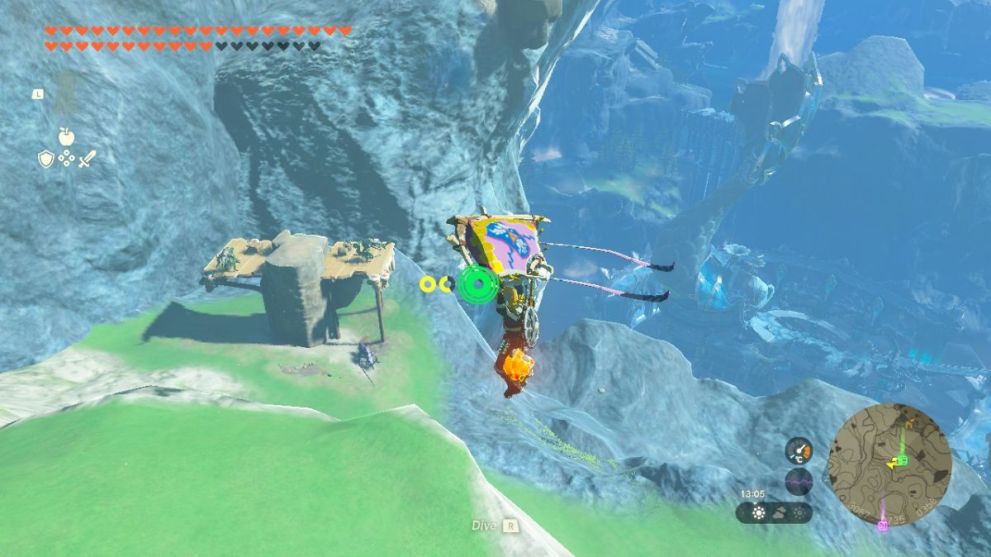
Once you’ve set your Sensor+ up, you’re going to want to head to the edge of these mountains and drop straight down onto the ground below. If you land roughly underneath the Lizalfos structure you passed on the top of the mountain, you should stumble across another nearby enemy Lizalfos camp. You’re going to want to battle and defeat these three Lizalfos in combat, as one of them is holding a Zora Spear. After defeating the Lizalfos (or just the one holding the spear), you can simply grab it and add it to your inventory. One Zora Spear down, one to go.
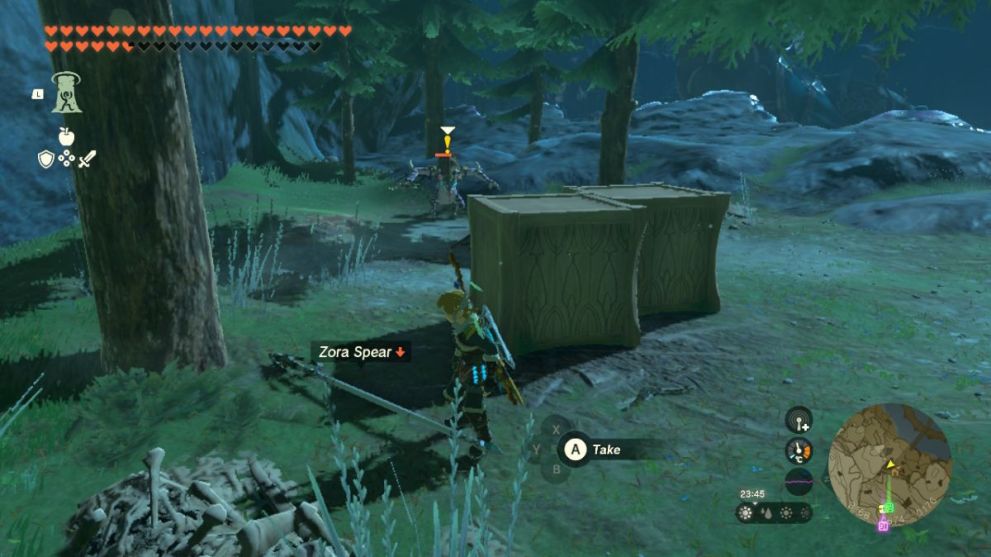
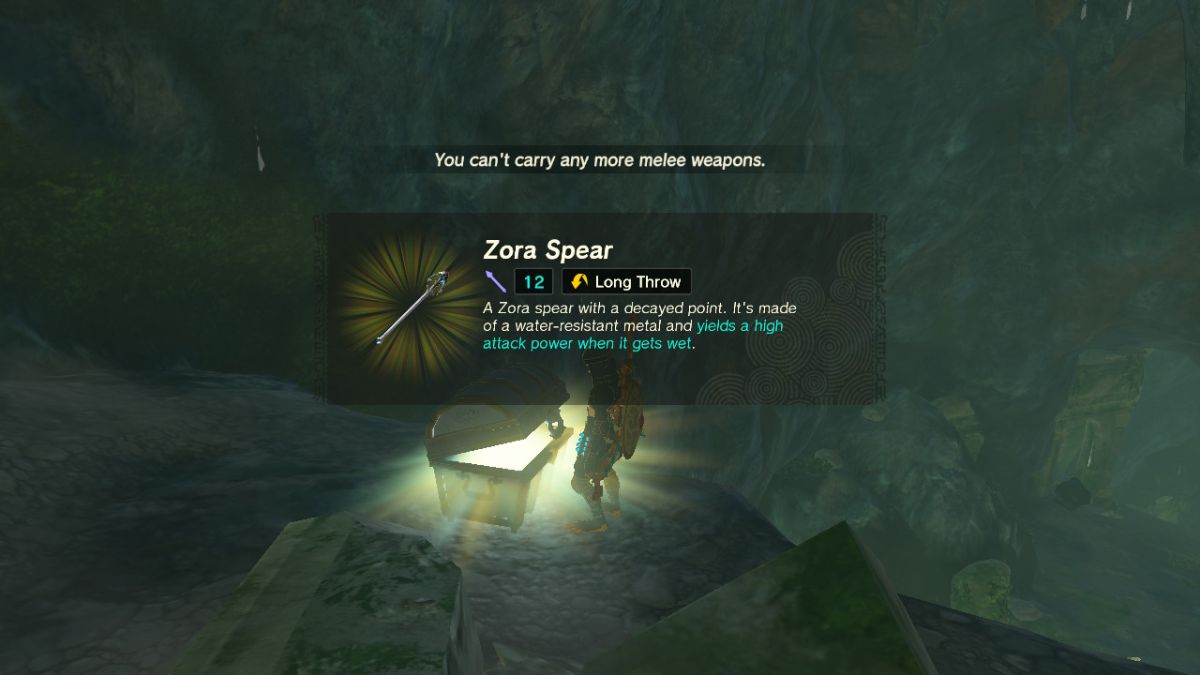
Now keep an eye on the cliff face behind the enemy camp. Just to the left side of the camp, you should find an opening in the mountain, which is Upland Zorana Foothill Cave. It may look deceptive on the minimap, but the chest with the second Zora Spear is actually located within this cave.
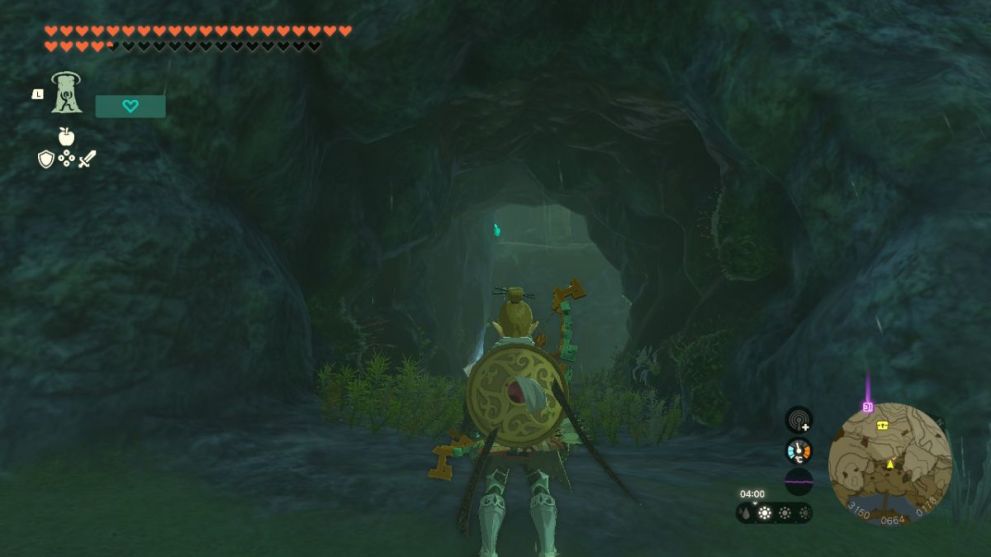
Go ahead and enter the cave. You will pass several Ore Deposits, so feel free to use a Heavy Weapon to mine them for extra gemstones along the way. Approach the first cliff that you see in the cave. As you reach it, you will notice a small gap to the right side that you can walk inside of. Walk inside and activate Link’s Ascend ability to climb to the top.
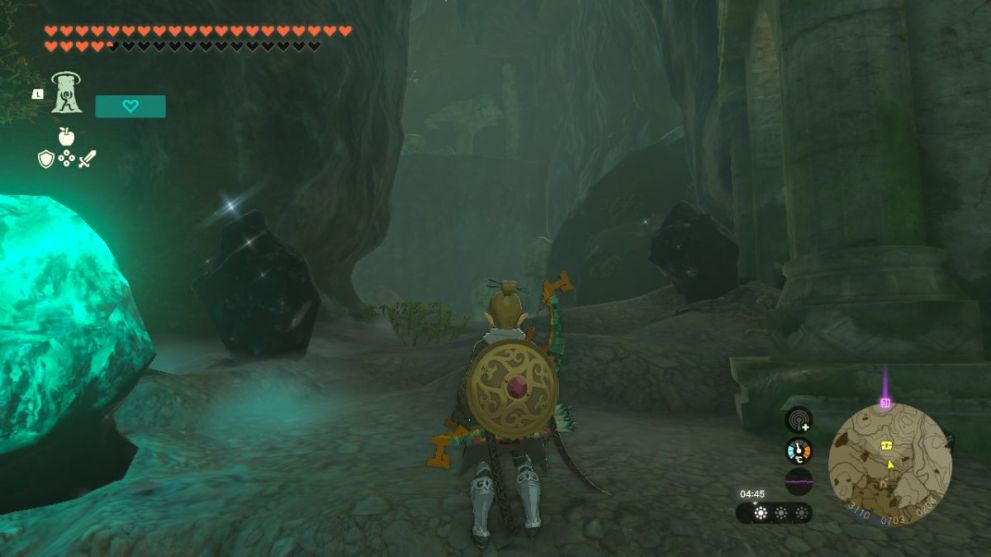
Once on top, you’ll see another cliff, so go ahead and approach it. As you reach this cliff, you will notice that there is no section where you can use Ascend like the previous one. Unfortunately, this cliff is slippery, meaning you’ll either need to consume an Elixir or dish with the Sticky property to provide Link with a temporary Slip Resistance status condition, or make a quick costume change into the Froggy Armor Set.
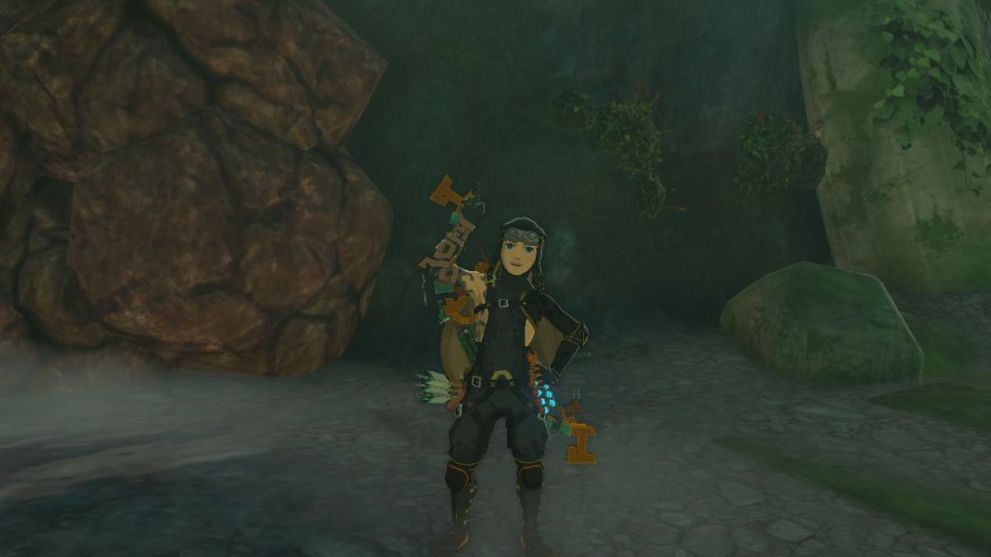
Now that you’ve acquired Slip Resitance one way or another, you can now safely scale the cliff and climb to the top. As you reach the top, you will notice a Treasure Chest sitting there, so go ahead and open it up to receive the second Zora Spear.
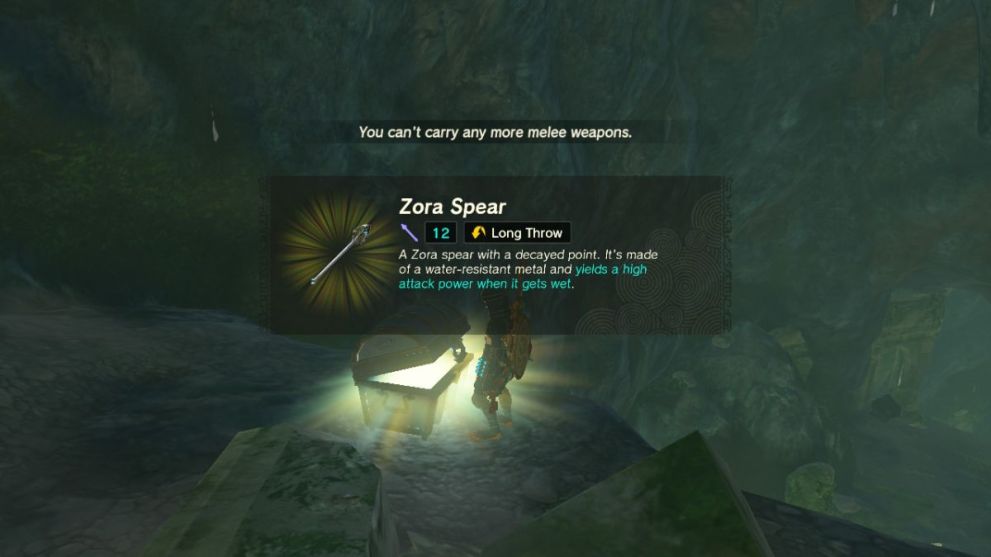
If you ever need more Zora Spears, you can simply wait for the next Blood Moon, as all enemies and chests respawn during this event. You can pass hours by repeatedly sitting at a campfire in order to manipulate the Blood Moon into triggering without having to wait as long.
Now that you’ve got a couple of Zora Spears, you may be looking to craft the Lightscale Trident. To do this, you’ll need to acquire five Flints and three Diamonds in addition to the Zora Spear, so you may want to head out and do some mining in the various caves of Hyrule. Remember, there was even a few Ores at the entrance of Upland Zorana Foothill Cave, so you may want to mine them on your way out if you haven’t already.
Once you have all of the required Materials, you’ll want to head to the General Goods Store at Zora’s Domain and talk to Dento, who can craft the Legendary Weapon for you and get you all set.








Updated: Jun 21, 2023 05:22 am