Most puzzle shrines exist to give you some experience with the various Zonai Devices. For this Shrine, players are given Big Wheel Devices to work with. If you’re wanting to make an awesome vehicle or boat, this is a good testing ground. However, we’ve got you covered if you’re just looking to solve the puzzles. Here’s our full walkthrough for the Tukarok Shrine in Zelda Tears of the Kingdom.
Zelda Tears of the Kingdom Tukarok Shrine Walkthrough
You will find this Shrine east of Lookout Landing, which is where you got the Paraglider in the story.
On the left after the Shrine entrance is a slot of a big ball which will open the gate to the Shrine ending. For now, go to the end of this area and climb down the ladder.
Part One
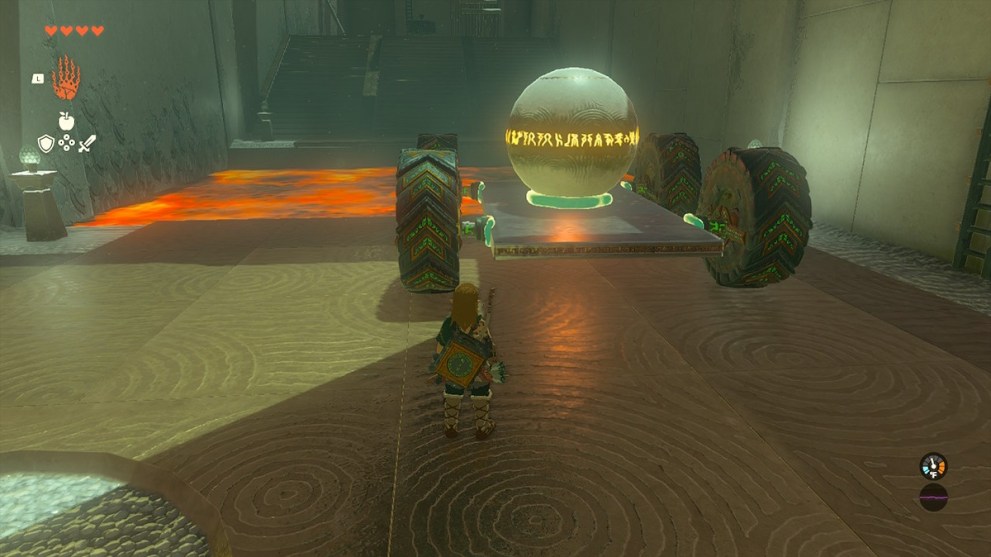
Use the Ultrahand to move the cart to the edge of the lava and stick the ball on top to ensure it won’t roll off in travel. Hop on the cart yourself and hit any of the tires with your weapon or an arrow to make it move across the lava. The lava won’t harm the cart, so you can take your time carefully jumping off and removing the ball.
Part Two
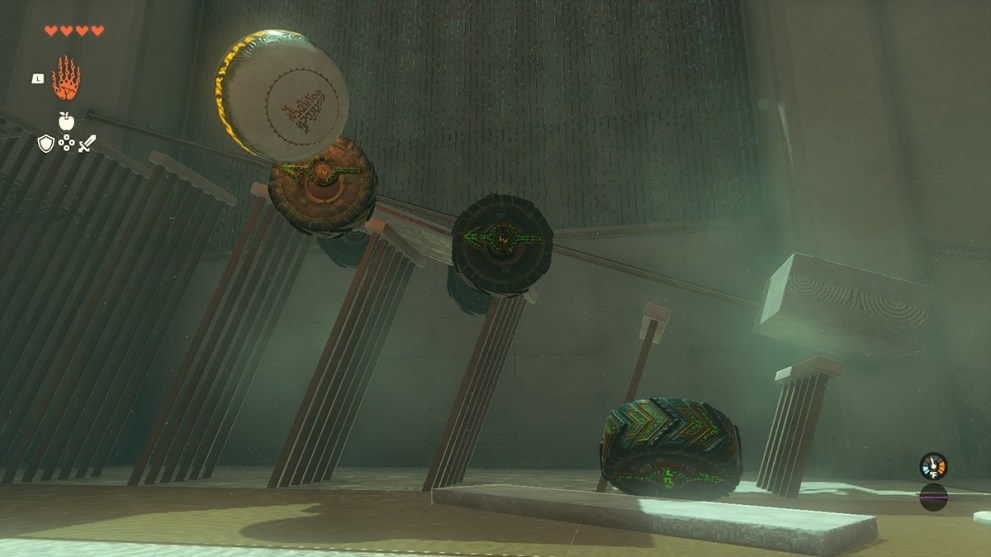
This is an extremely inelegant solution, but it works. Take the cart and place it on the steps about halfway up. Attach the ball to the front right tire so that you can climb the ladder and pick it up to bring it to the next part.
Part Three
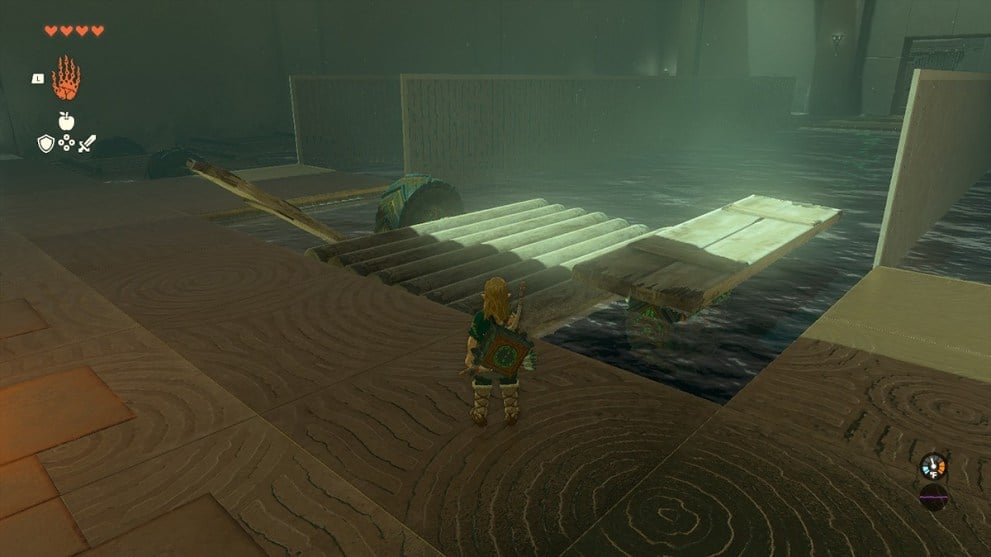
Take a couple of the nearby boards and attach them at roughly their middle point to the tires on one of the rafts. Attach the ball to the center of the raft and then use the ladders to get to the other side of the area.
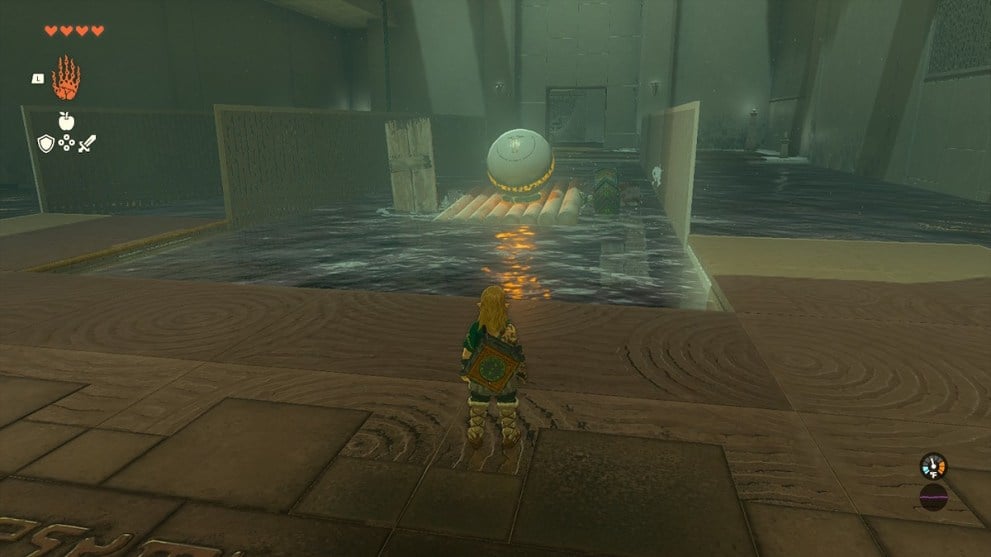
Use your bow to shoot one of the tires with an arrow from this side. This design can make it, but when it reaches the other side, it will start to go haywire and could flip around. Before that starts to happen, use the Ultrahand to grab the ball.
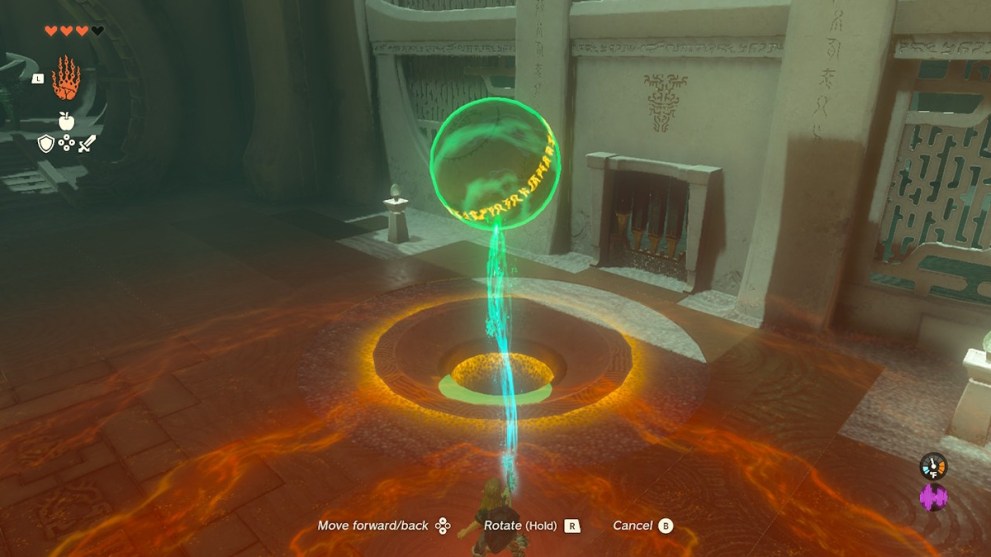
Press the switch by the door (it isn’t pressure sensitive, so once you press it, it will stay that way) and take the ball to the hole from the beginning. With that completed, the Shrine is solved.
Thus concludes our Tukarok Shrine walkthrough for Zelda Tears of the Kingdom. This one is a little trickier than most, and hopefully, our solutions helped. Check out the links below for more guides to help Link thrive in Hyrule.











Updated: Jul 6, 2023 08:21 pm