
Jelly Tunnel is a tier 1 dungeon in the Doberkogel region of Dungeons of Hinterberg. Structurally, it’s different from the minecart dungeons in this region and could take a while to clear. Continue reading to learn how to solve all the Jelly Tunnels dungeon puzzles in Dungeons of Hinterberg.
How to Solve all Jelly Tunnels Dungeon Puzzles in Dungeons of Hinterberg
All the Jelly Tunnels dungeon puzzles require you to use the Ball & Chain ability on these jelly points to make jelly paths. The entire dungeon pretty much revolves around this concept.
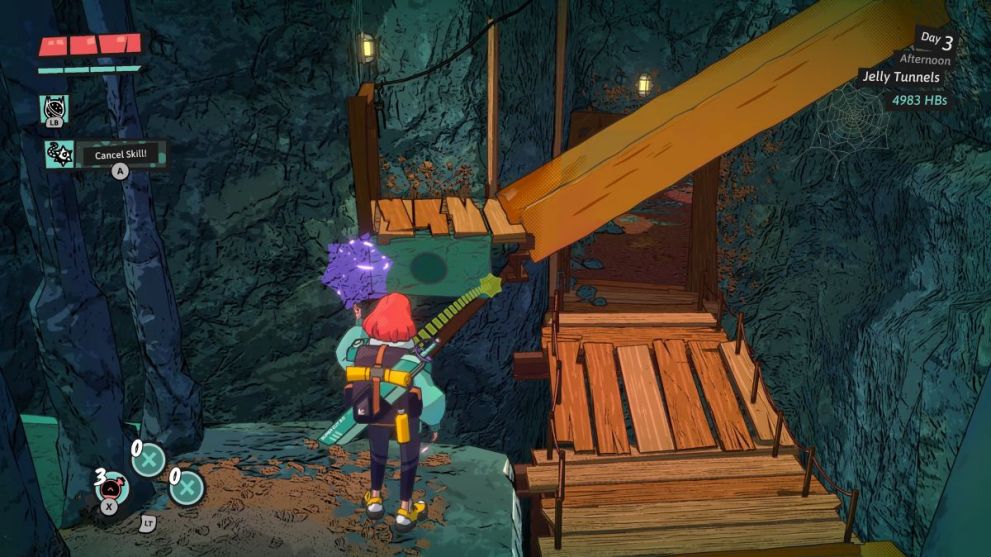
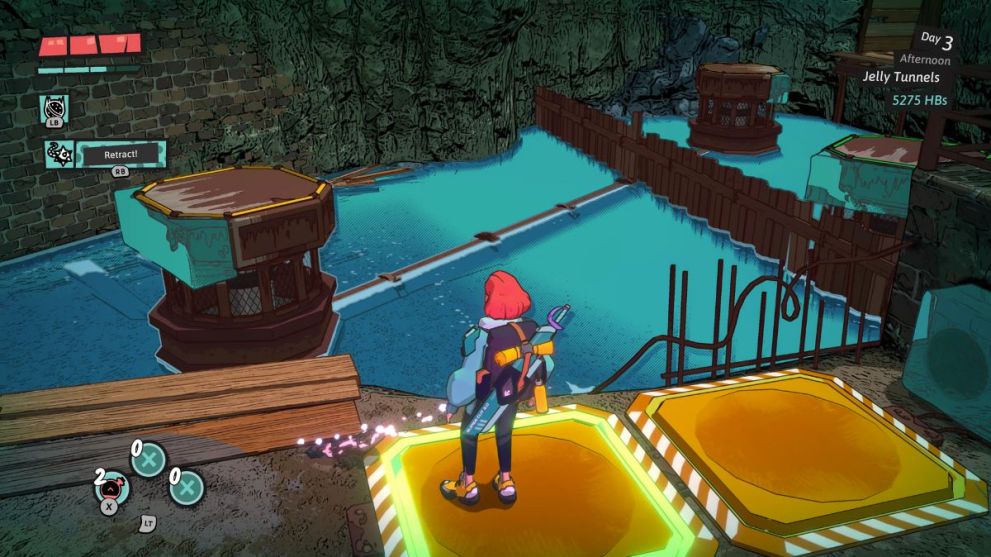
Your first main obstacle is in the room shown in the screenshot above. Use the Ball & Chain ability on the flat jelly point to make a platform. Use it to reach the floor above. You will notice that the path ahead is blocked, but there is an unreachable platform on the left.
Turn right, and you will find two more jelly points that you can use to make paths and reach the floor above. Once you have looted the chest, turn around and face downwards. Now, this is where it gets tricky.
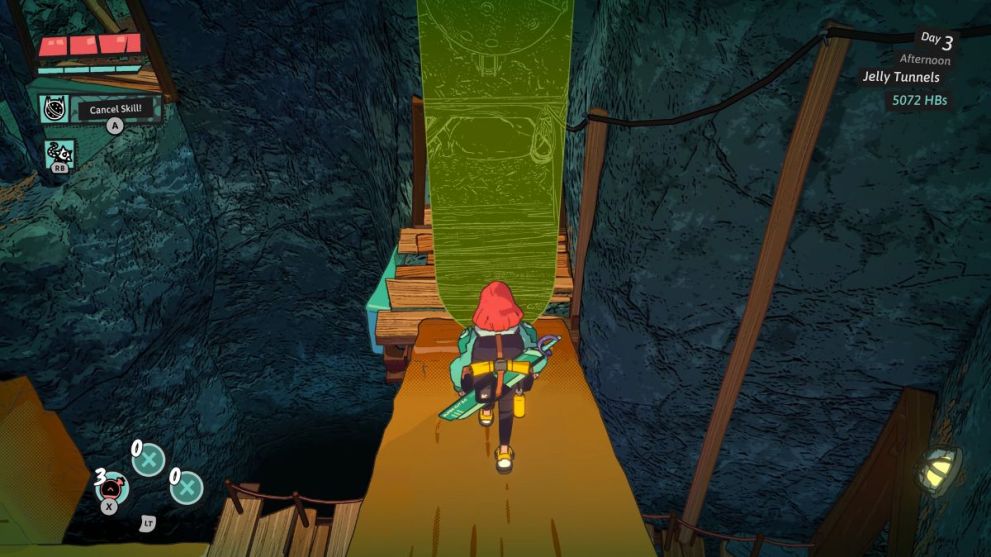
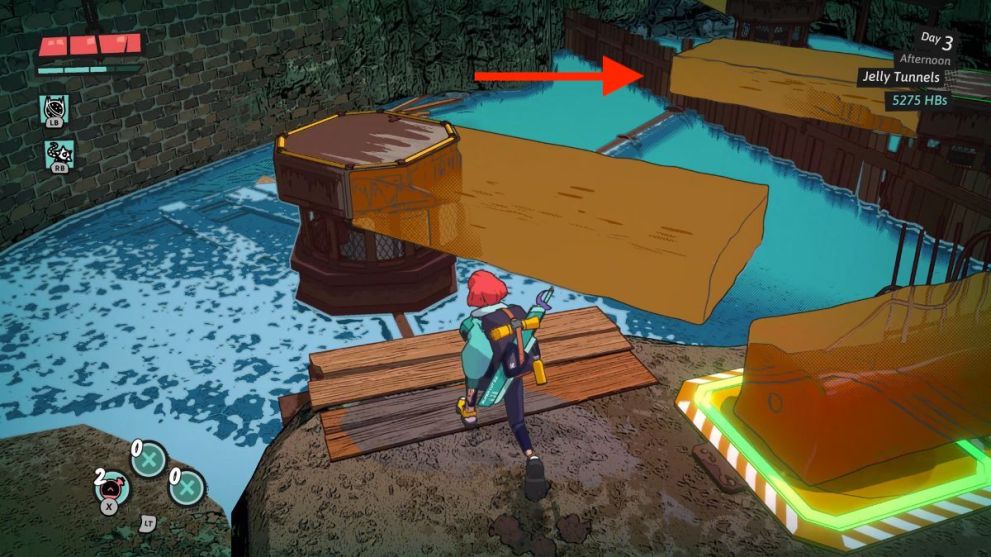
Drop the Wrecking Ball somewhere in the middle of the inclined jelly path so that it slides down and blasts in the small opening ahead. Doing so will destroy the rocks and open up the path ahead.
Use that path to reach the other side, then turn left and use the Ball & Chain ability again on the jelly point on the left to unleash another jelly path from below you. This will take you upwards, and you can now jump and reach the opening on the right side.
You will encounter the next puzzle in an open space right after fighting a few monsters in the tunnel. As soon as you reach here, you will notice a bunch of jelly pillars supporting a massive structure in the center of the room. Ignore it for now and head right to find two jelly points that you can use to move the structure up and down.

Use the Ball & Chain ability on the right jelly point to bring down the structure and make a path to the left side of the room. Now, head back up and jump across the room to reach the white ledge on the pillar and make your way to the other side.
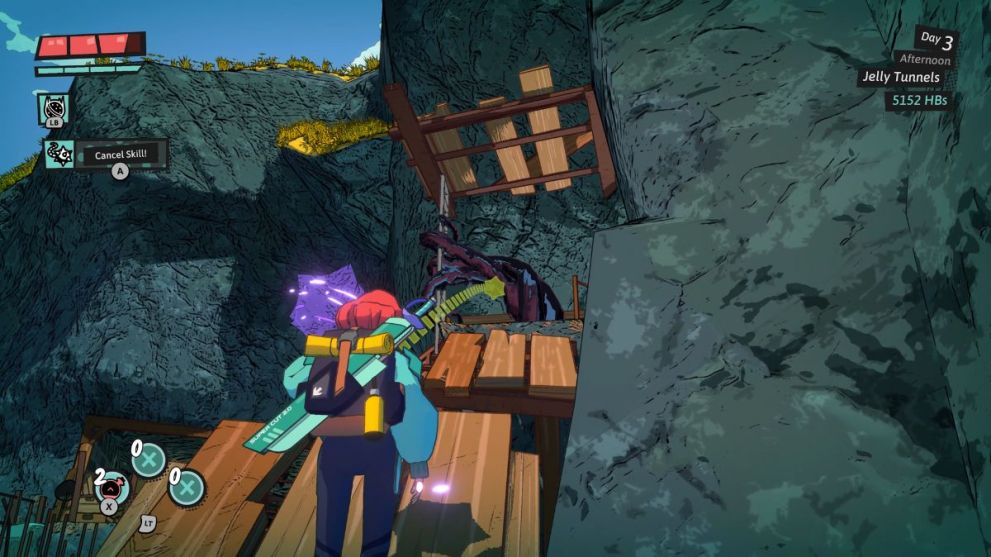
Now, you will notice three different jelly points here and a wooden pathway leading to the ladder on the left. Use the cornermost jelly point to reach the wooden path ahead and walk to its edge. Here, use the Ball & Chain ability to destroy the goo and bring down the ladder. You can now climb the ladder to reach a room with a chest.
Once you have looted the chest, head down and pull the first Jelly point. Now, head back up, and you will notice that the white ledges on the right side of the structure are now reachable. Quickly make your way up to the top of the structure, where you will find another jelly point waiting to be pulled out.
Doing so will bring out a new jelly path on the left that connects to the next room. Climb down and cross the path to reach the other side. Don’t forget to use the Waystone to save your progress.
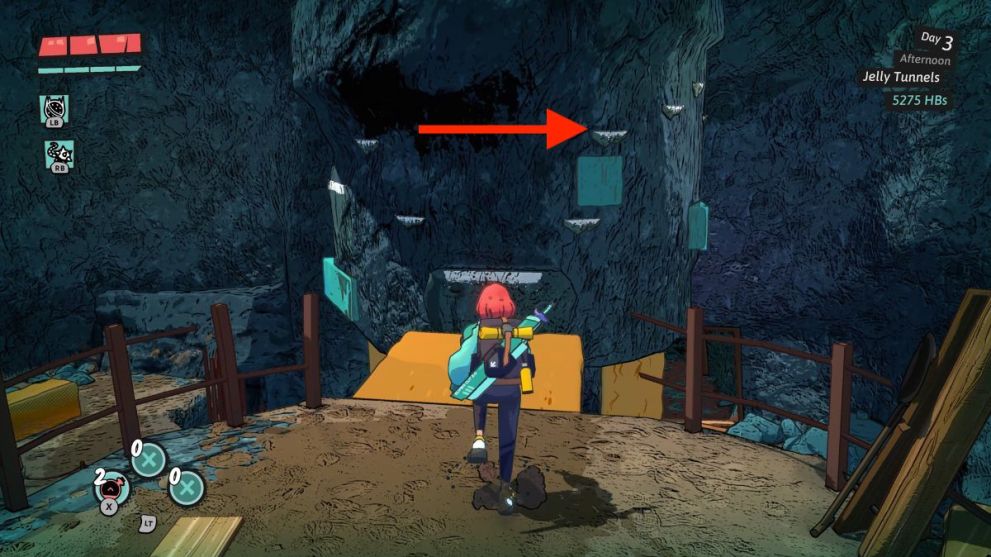
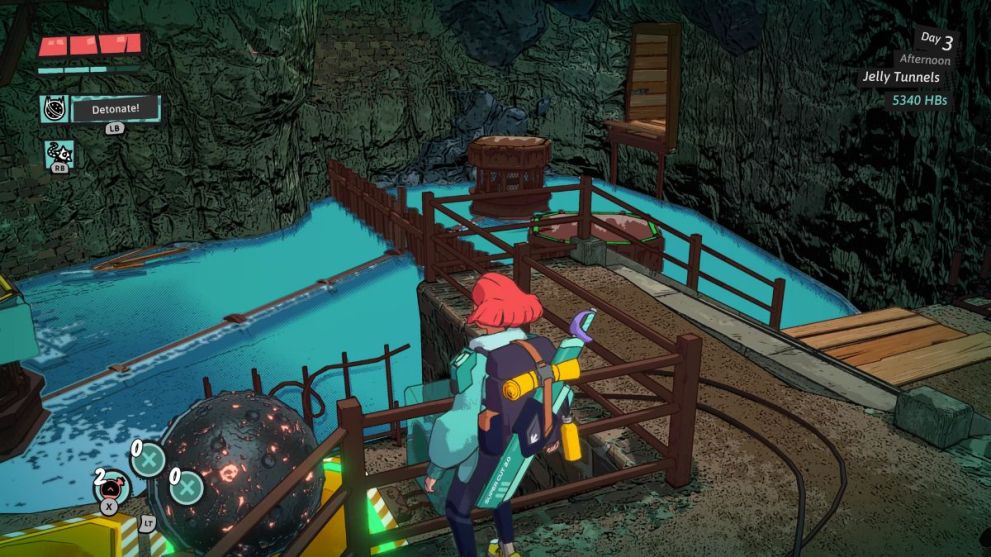
Head to the next room, where you will notice the dungeon door on the left. You can’t reach it yet, so instead, head straight ahead, and a bunch of monsters will spawn.
Once you have cleared the area, continue on ahead to reach the final puzzle with three rotating platforms divided by a boundary. There are also three pressure plates, with two on the left side of the boundary and the third one on the right side.
Standing on the pressure plates will start rotating the platforms, but you also have to pull the nearby jelly point to extend jelly paths from the rotating platforms.
Firstly, stand on the left pressure plate to activate the rotating platform on the left side of the boundary. Also, use the Ball & Chain ability on the adjacent jelly point to bring out all the jelly paths.
Now, wait for the right moment to use the jelly path on the left to cross to the other side. There are two jelly points on this side of the room. Pull on the one that removes all the jelly paths.
Head to the edge and use the Wrecking Ball ability on the second pressure plate, as shown in the screenshot above, to start moving the nearest platform on the right.

This will allow you to align the two rotating platforms on this side in such a way that allows you to cross the room and reach the other side.
And that’s it! You have solved all the puzzles in the Jelly Tunnel dungeon in Dungeons of Hinterberg.
For more on Dungeons of Hinterberg, check out our guides on all minecart workshop dungeon puzzle solutions in Dungeons of Hinterberg, and all abandoned mineshaft dungeon puzzle solutions.


Updated: Jul 18, 2024 11:01 am