
Although When The Past Was Around is a sweet and reflective puzzle game it can get quite tricky! If you need a bit of help in any chapter you can find the solutions in our When The Past Was Around walkthrough below from the Prologue all the way through to Chapter 5.
In When The Past Was Around, Eda has lost her true love and is on a journey to come to terms with her grief through memories in the hopes she can move on. It is your job to help guide her through each chapter full of puzzles and intrigue. You can find every solution to the puzzles in the step-by-step walkthrough below complete with every Achievement available highlighted in bold.
Prologue: When The Past Was Around

Eda starts in an almost empty space with feathers scattered on the floor. Unlock the cage and go through the door to the study. Some rooms in When The Past Was Around are larger than they look and you can drag the screen sideways to reveal more.
The Study
- Take the key from the hanger on the wall;
- Put the shoes away;
- Lift the rug and take the keys;
- Move the chair;
- Look closer at the desk;
- Drag Eda’s key to unlock the middle drawer;
- Look at the picture (Memoir);
- Use Owl’s key to unlock the top drawer;
- Take the box cutter;
- Drag the box cutter to the box on the left and tap the feather;
- Exit through the door to the music room;
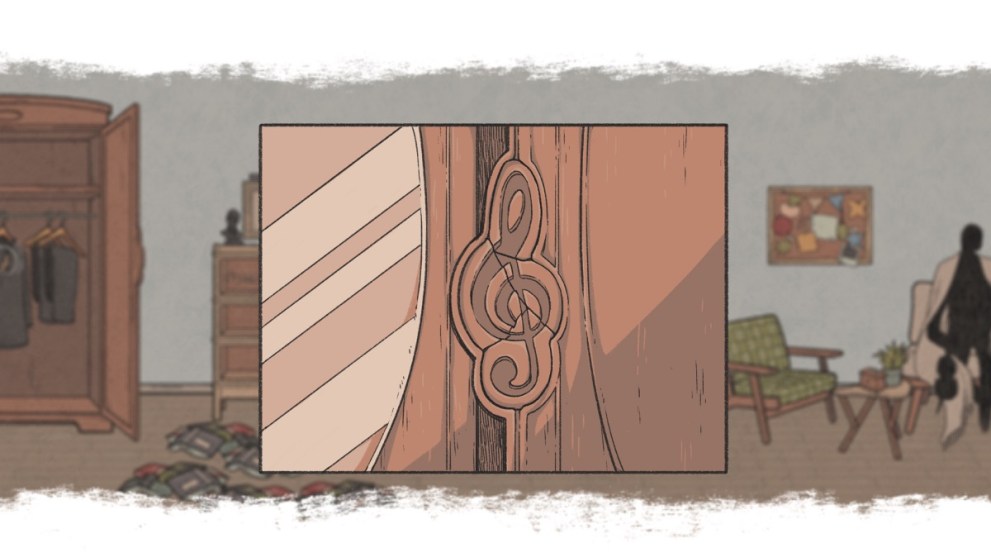
The Music Room
- Tap the drums until a key drops out;
- Take the key;
- Move the jars on the shelf to reveal a wooden piece;
- Take the wooden piece;
- Open the cupboard door on the right;
- Take the wooden owl;
- Tap the trash can on the left and pick up the handle;
- Look closer at the small wooden box on the coffee table;
- Use the handle, crank and key on the box;
- Take the second wooden piece;
- Remove all books from the bookshelf to reveal a number: 1434641;
- Look closer at the notice board and see numbers with matching symbols;
- 6 – Circle
- 2 – Heart
- 1 – Square
- 7 – Triangle
- 5 – Four-Point Star
- 4 – Five-Point Star
- 3 – Oval
- Go to the piano and play the notes according to the numbers you saw on the bookcase:
- Square, Five-Point Star, Oval, Five-Point Star, Circle, Five-point Star, Square.
- Also play the code 1155665 (Twinkle Twinkle Little Star) Square, Square, Four-Point Star, Four-Point Star, Circle, Circle, Four-Point Star.
- Take the third wooden piece;
- Head left to the wardrobe and slide the wooden pieces into the space.
- Take the feather and go through the door.
The Kitchen
- Move the two cups on the table and take the bread;
- Knock over all five plant pots;
- Pick up the dirty sponge;
- Tap the red container on the far right side;
- Take the tap piece;
- Plug in the electrical cord behind the wooden stool on the left;
- Use the tiny switch on the wall to turn off the fan;
- Take a closer look at the fan;
- Pick up the clock hand;
- Drag the bread to the blender and turn it on;
- Take the breadcrumbs;
- Look closely at the sink;
- Place the tap piece on the sink;
- Clean the sponge and turn the tap off;
- Open the window;
- Drag the breadcrumbs onto the plate;
- Take the envelope from the bird;
- Look inside and take the clock piece;
- Use the sponge to clean the mirror and reveal the numbers 1915;
- Look at the clock;
- Place the clock pieces onto the clock face;
- Change the time to 19:15 (7:15);
- Take the crowbar;
- Use the crowbar on the crate to the right and look inside;
- Take the key;
- Look at the red book near the window;
- Open the book with the small key;
- Tear off the page and take the feather;
- Open the door and exit;
- Tap on the musical notes as they appear (Prologue).
That concludes the prologue of When The Past Was Around. Read on for the Chapter 1 walkthrough.
Chapter 1: When The Past Was Around
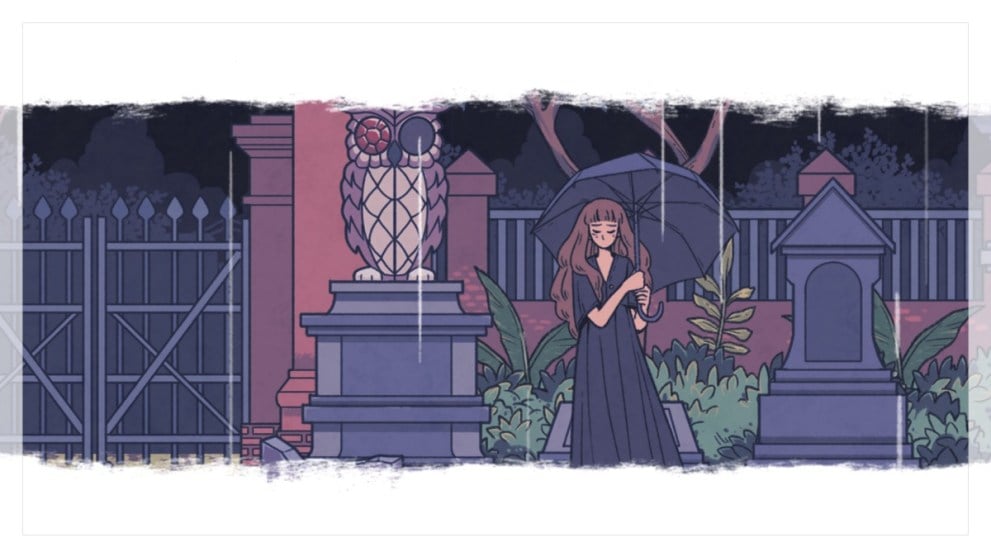
Chapter 1 of When The Past Was Around begins in a crypt…
- Break all nine tombstones (Requiem);
- Take a look in the basket on the right;
- Open up the heart-shaped box;
- Take the gemstone;
- Place the gemstone in the owl statue;
- Pull the lever and enter the crypt;
- Pick up the handle;
- Place it in the gear and turn it (Behind The Curtain);
- Open the box Owl is holding;
- Look at the picture.
Eda’s Room
- Look closer at the red box on the desk;
- Open it and take the box cutter;
- Open the large suitcase;
- Take the tape;
- Put away the books and boxes;
- Fix the posters on the wall (Spick and Span);
- Find a key under the rug;
- Loo closer at the desk;
- Use the key on the desk door;
- Take the power button;
- Use the box cutter on the large package to cut the strings;
- Place the power button on the TV;
- Push the buttoms in order to see Eda growing up: 2, 4, 5, 1, 3;
- Take the owl key;
- Tap the door and use the key to get out.
Hallway
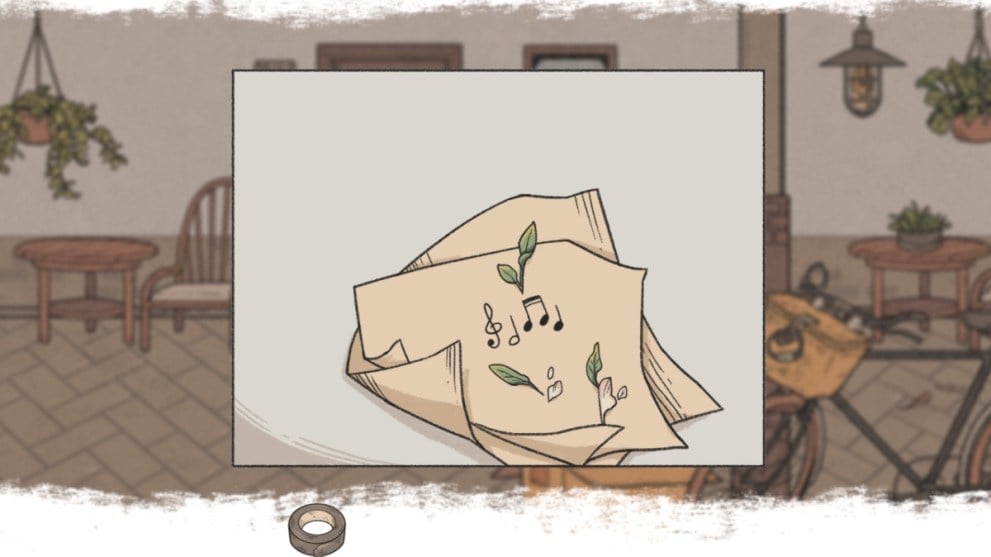
- Pick up the flowers and open them to reveal musical notes;
- Look at the locked bicycle basket;
- Enter the notes in the right order to unlock:
- Take the button from the basket;
- Look at the door to the right;
- Place the button on the door and press it;
- Tape up the broken wire;
- Press the bell again;
- Turn the handle and tap the notes — do this twice;
- Collect the feather (When The Door Opened).
Chapter 2: When I Found You
Chapter 2 of When The Past Was Around begins back in the Crypt…
- Pick up the handle from behind the boxes on the left;
- Take the key from on top of the cardboard box;
- Use the key and handle on the music box;
- Take the music symbol;
- Tap the violin case and add the music symbol;
- Look at the scarf.
Cafe
- Open all four of the windows;
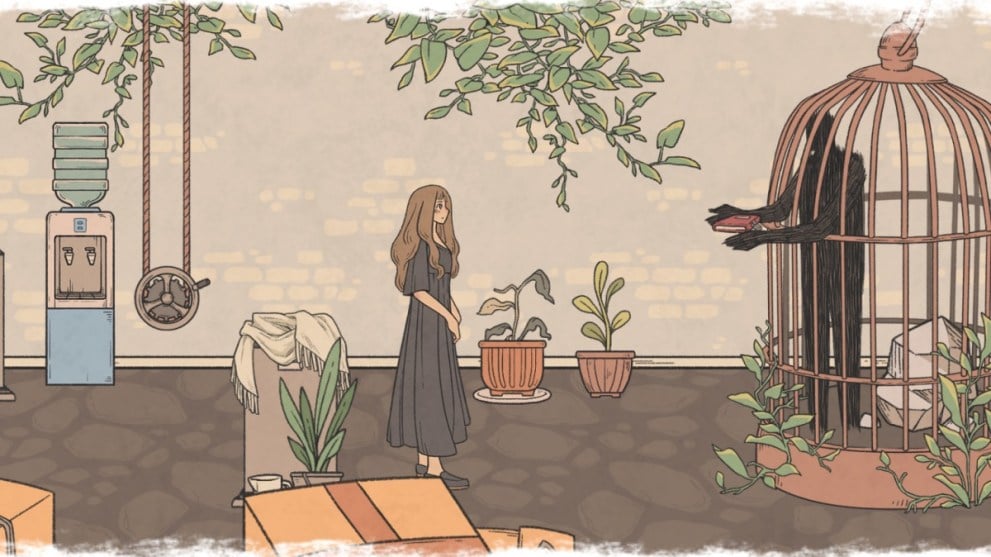
- Take the envelope from the bird and look at the letter;
- Look at the table closest to the door;
- Open the wallet and take the money;
- Give the money to the barista;
- Open the cupboard near the barista and take the teapot;
- Go back to the table;
- Use the teapot on the teacup;
- The teacup reveals a flower-like symbol with four petals;
- Look at the paper with the grid of symbols;
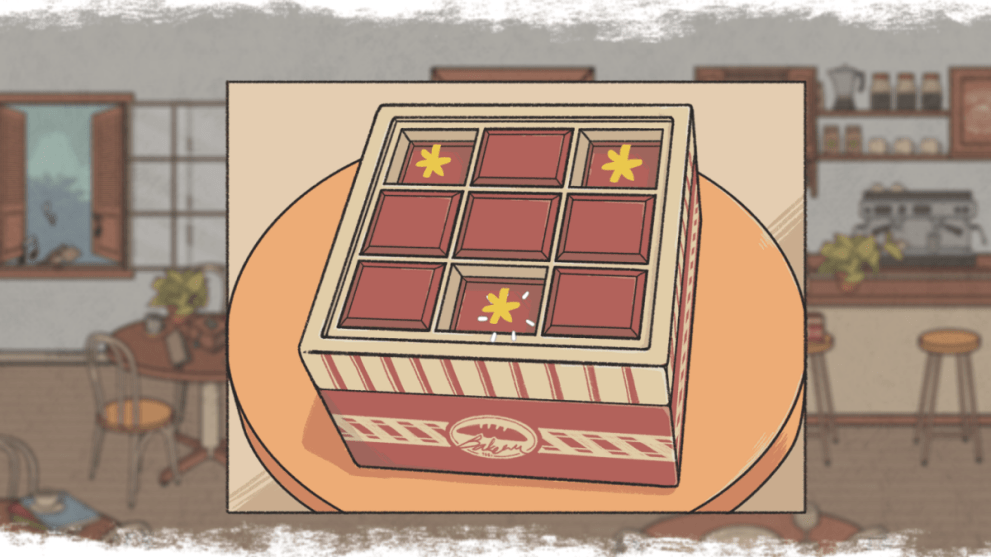
- Go to the red box sat on a bar stool;
- Press the buttons that correspond to the grid of symbols and teacup as shown below;
- Take the piece of cake.
Street
- Place the cake on the bench;
- Take a closer look at the gate and note three symbols;
- Tap the bird and take the metal shape it drops;
- Tap the bird on the bench and take the other shape;
- Closely look at the box with musical notes floating around;
- The three posters nearby show the symbols to click:

- Take the metal piece;
- Tap the bird (Messenger Bird);
- Place the metal pieces in the gate lock;
- Open the gate;
- Click on the musical notes;
- Tap the scarf and take the feather (When I Found You).
Chapter 3: When We Were Together
Our When The Past Was Around walkthrough continues with chapter 3 and yet again Eda is starting in the crypt.
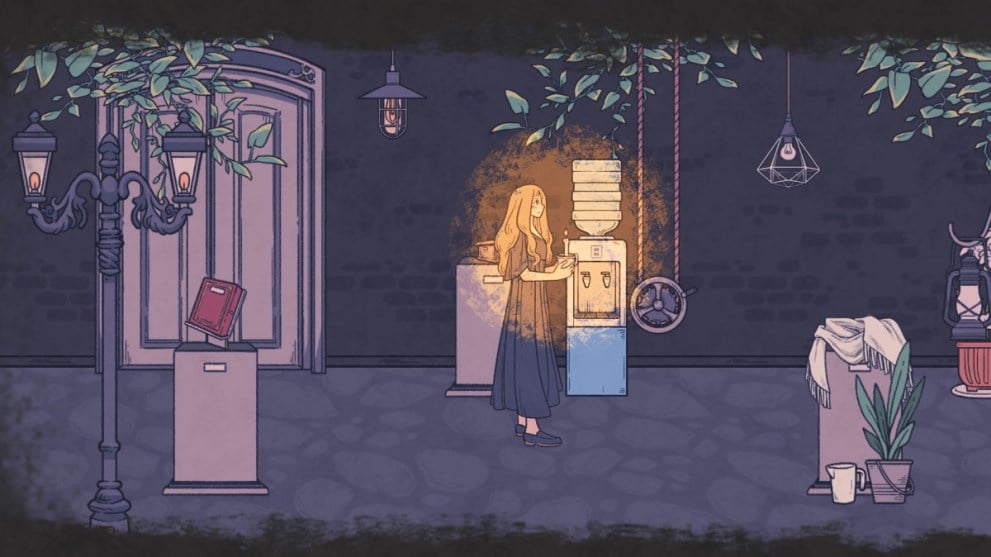
- Pick up the jug by the box;
- Fill it with water at the dispenser;
- Water the dying plant;
- Take the key;
- Tap the book owl is holding;
- Use the key on the red book;
- Tap the pictures.
Kitchen
- Look closer at the green table to the right;
- Move the feathers;
- Take the matchbook;
- Take the buoe paper;
- Use the matches on the candle;
- Take the cup;
- Look closer at the kitchen counter;
- Make coffee by adding ground coffee and milk to water;
- Add the coffee to the cup;
- Take the cup of coffee;
- Place a cup on the counter;
- Make tea by adding brown tea leaves and flower petals to water;
- Add the tea to the cup;
- Take the tea cup;
- Go to the table;
- Give tea to Eda and coffee to Owl;
- Take the cookies from the oven;
- Give the cookies to Owl and Eda;
- Take the flower from by the vase;
- Tap the cookies until they are all gone;
- When Owl holds out half a cookie tap it so he shares a quarter (Tea Time Symphony);
- Tap the notes to write them in the book;
- Go through the door.
Beach
- Grab the brown coral by the wooden post;
- Look under the red bucket;
- Take the starfish;
- Go left to the ice crea cart;
- Tap the ice cream to break it in two;
- Tap on the right ice cream to eat them up (Right Tastes Better);
- Take note of the logo at the top left ad the writing on the sticks;
- Take a flag from the ship and from the coconut drink;
- Place the flags on the sandcastle;
- Take the shell;
- Look at Owl;
- Place the shell, flower, starfish and coral inside;
- Click the music notes;
- Go through the door.
Camp Site
- Use the matches to light a campfire;
- Open the door of the van on the left;
- Take the camera lens;
- Look through the telescope and find where the circles match the stars;
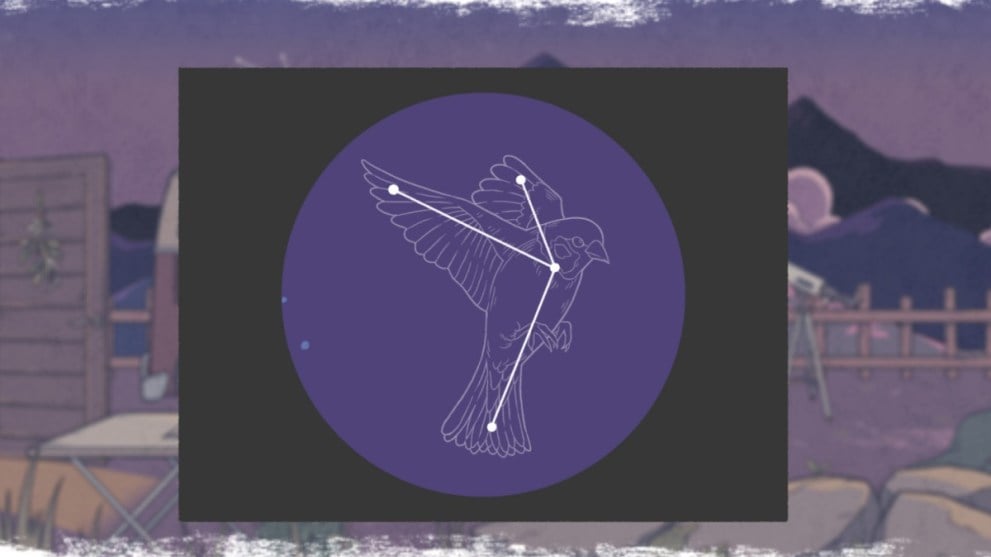
- Find the telescope on the right;
- Add the lens;
- Look through amd match the stars again like before;
- Check out the book nearby and find a bunch of clues;
- Go to the picnic basket;
- Set the clock to 3:05 (worked out using the clues on the clocks);
- Look at the sandwich hint;
- Take the scissors;
- Go back through the doors to the kitchen.
Kitchen
- Look at the red box by the fire extinguisher;
- Using clues from the sandwich and the symbols on the ice cream sticks press 2, 3, 7, and 0;
- Take the crowbar;
- Go back to the beach.
Beach
- Use the crowbar to open the crate;
- Take the pin from inside;
- Head back to the campsite.
Camp Site
- Look at the table on the left;
- Put the blue paper on the table;
- Cut it four times with the scissors;
- Fold it four times;
- Place the pin on the paper;
- Pick up the newly made pinwheel.
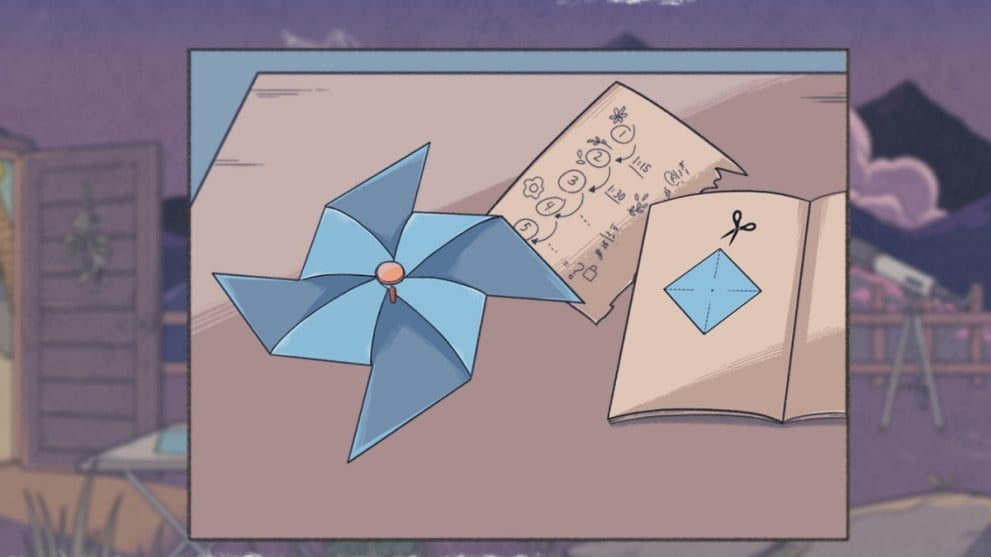
- Look at the stick by the telescope on the right;
- Place the pinwheel on the stick;
- Click the musical note;
- Take the feather (When We Were Together).
Chapter 4: When The Day Arrived
When The Past Was Around Chapter 4 starts in the crypt. Turn on the lights and take the feather. You will appear on the rooftop.
Rooftop
- Hang out all the clothes;
- Go to the left and turn off the radio (Sound of Silence);
- Take a closer look at the safe under the table;
- Enter the code 1915 and pull the handle (1915) but the safe will not open;
- Open the cupboard on the left;
- Take the detergent;
- Pick up the red bucket;
- Take the scarf from the clothes line;
- Turn on the tap;
- Fill the bucket with water;
- Open the washing machine;
- Put the scarf inside;
- Close the washing machine door;
- Look at the washing machine controls;
- Put water and detergent inside;
- Turn it on;
- Open the door and remove the scarf;
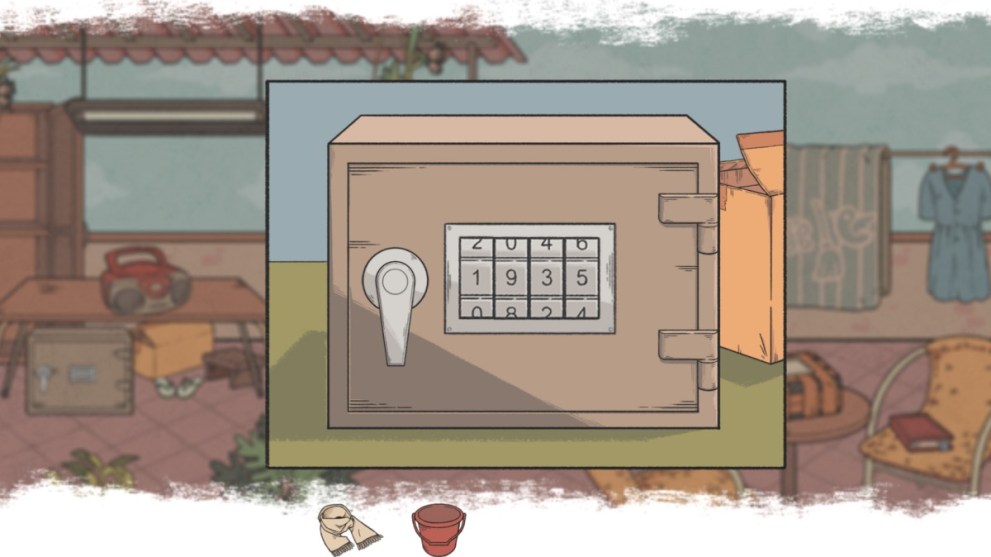
- Look at the symbols on the rug;
- Count the number of objects shown;
- Owls: 1
- Butterflies: 9
- Brooms: 3
- Birds: 5
- Use the code 1935 on the safe;
- Take the pills.
- Fill the bucket with water again;
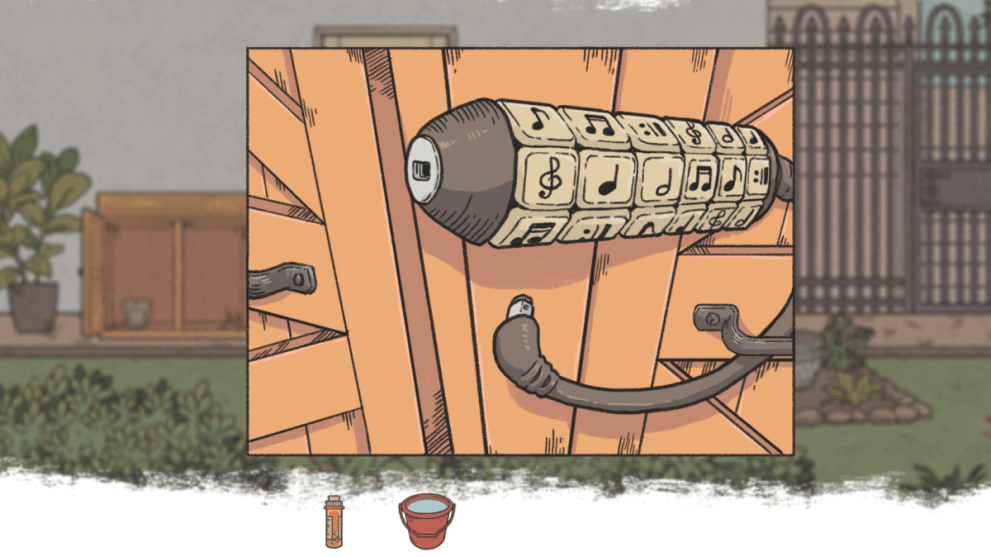
- Look at the red book on the chair and take note of the codes:
- Square, Circle, Triangle, Circle, Square.
- Treble Clef, Crotchet, Minim, Semi-Quaver, Quaver, Repeat.
- Give the scarf and pills to Owl;
- Click on the musical notes;
- Open the gate.
Garden
- Take the pills from the shelf by Eda;
- Look at the large locked crate on the left;
- Enter the second code from the book (musical notes);
- Take the seed packet;
- Go to the middle of the garden and look at the empty pot;
- Put the seed inside and water it;
- Give the flowers and pills to Owl;
- Click the musical notes and open the door on the house.
Hallway
- Tap the music notes;
- Knock over the trash can;
- Look at the papers to see the code;
- Look at the electrical meter and enter the code 1, 3, 1, 2, 1, 5.
- Turn the power on by the switch;
- Pick up the trowel from the plant pot;
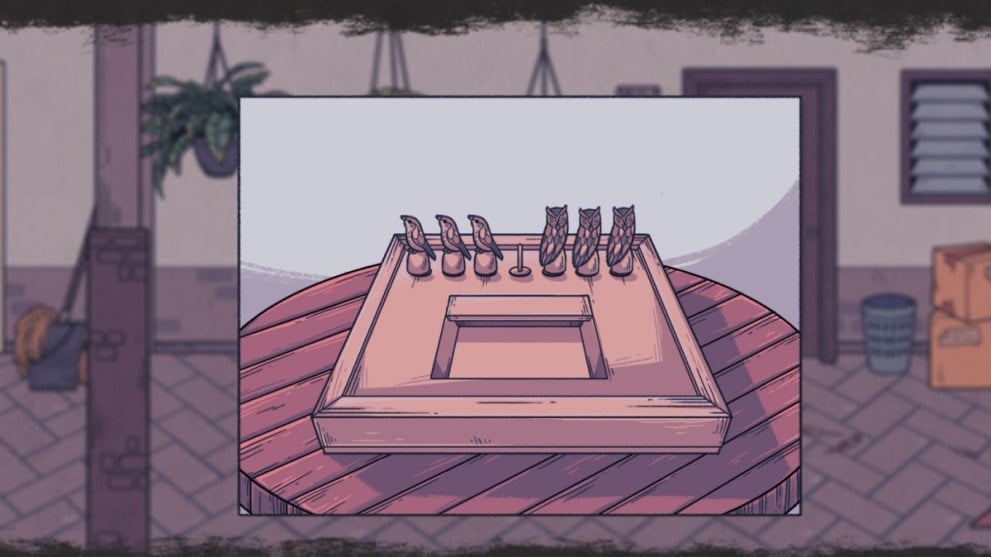
- Go left and look at the game table;
- The object of the game is to swap the owls and birds positions so all birds ends up on the left and all owls end up on the right. Number the positions 1 to 7 from left to right and then click on each one in this order: 3, 5, 6, 4, 2, 1, 3, 5, 7, 6, 4, 2, 3, 5, 4.
- Take the black cube;
- Head to the left and hang up the clothes;
- Look at the blue shirt;
- Take the box cutter;
- Go back out of the door.
Garden
- Dig the earth with the trowel;
- Starting from the outer ring, spin them until the image is complete;
- Take the black shape;
- Go through the gate.
Rooftop
- Look at the package on the round table;
- Open it using the box cutter;
- Solve the sliding puzzle by getting the rose tile over the rose space;
- Take the black piece;
- Go through the gate and then the door.
Hallway
- Look at the locked door;
- Place all three black pieces in the lock;
- Press them in order of the shapes code you saw in the red book:
- Square, Circle, Triangle, Circle, Square.
- Knock over everything until you find the pills;
- Give the pills to Owl;
- Keep tapping the feather until you have it;
- Go through the door (When The Day Arrived).
Chapter 5: When The Past Was Around
The walkthrough concludes with chapter 5 of When The Past Was Around and Eda is in a cafe.
- Open all four windows (Let The Wind Blow);
- Search the cardboard boxes until you uncover a musical note;
- Tap Owl;
- Exit through the door.
Beach
- Knock down all the sandcastles until you uncover the musical note;
- Tap Owl;
- Exit through the door.
Garden
- Knock over six plant pots (Shattered);
- Take the music notes;
- Tap Owl;
- Exit through the door.
Crypt
- Check out each stone plinth and add each note;
- Take the feathers;
- Look at Eda and use the feathers on the shadow;
- Tap the musical notes;
- Exit through the door (When The Past Was Around).
Credits
- Click on the music notes (Virtuoso);
- If you have collected all achievments you will gain the Finale achievement now!
That’s it! You have completed the entire When The Past Was Around walkthrough. For more walkthroughs, including puzzle games such as Money Heist or Lost Lands 4, check out the list below.


Updated: Mar 13, 2024 11:51 am