
After three seasons, a brand new Exotic mission has released in Destiny 2 known as Operation: Seraph’s Shield. This mission tasks you with entering a Rasputin bunker that will transport you to an orbital station above Earth. Your goal is to inject a virus into Rasputin’s network from the station so Clovis may gain access to its system in the hope that he can potentially restore Rasputin. However, an army of Hive and Fallen forces stand in your way to prevent you from doing so. So today, let’s discuss how to complete Operation: Seraph’s Shield in Destiny 2.
Enter the Bunker

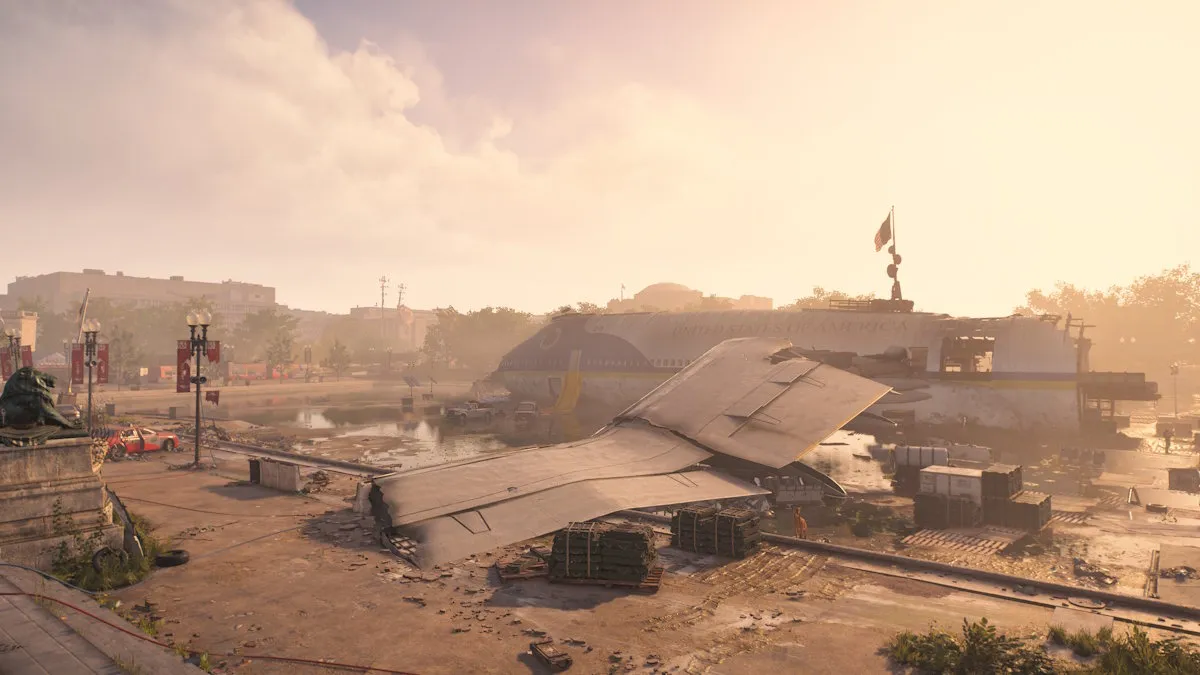
When you first load into the Operation, you’ll be met with the Seraph Towers attempting to one-shot you as seen in previous Operations. Use the rocks as cover and make your way into the Bunker as shown on in the image above. It’s a straight shot from where you spawn. Enter the Bunker to proceed to the next portion.
Use the Scanner Buff
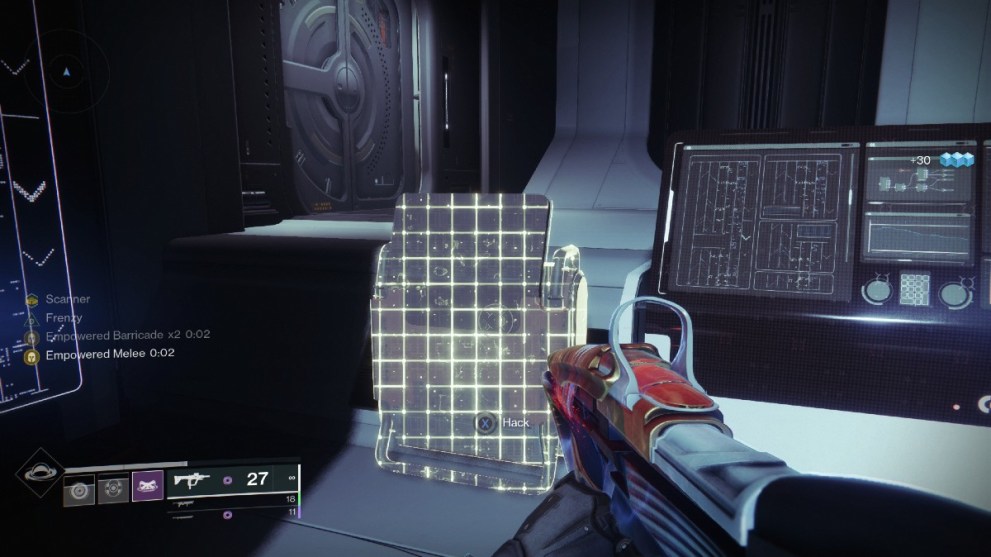
Once inside the Bunker, you’ll be met with a group of Fallen enemies, including a Vandal with a yellow icon above it. Defeat them, and the Vandal will drop the icon for you to collect. Collecting it will give you the Scanner buff, which will allow you to see yellow-highlighted terminals to activate to help you proceed to the next area.
Continue using the buff to enter the elevator, which will take you to the orbital station. Once inside, you’ll be met with multiple mini-puzzles that will task you with finding more yellow-highlighted terminals. Complete them all and move on to the next step.
Use the Operator Buff to Unlock More Areas
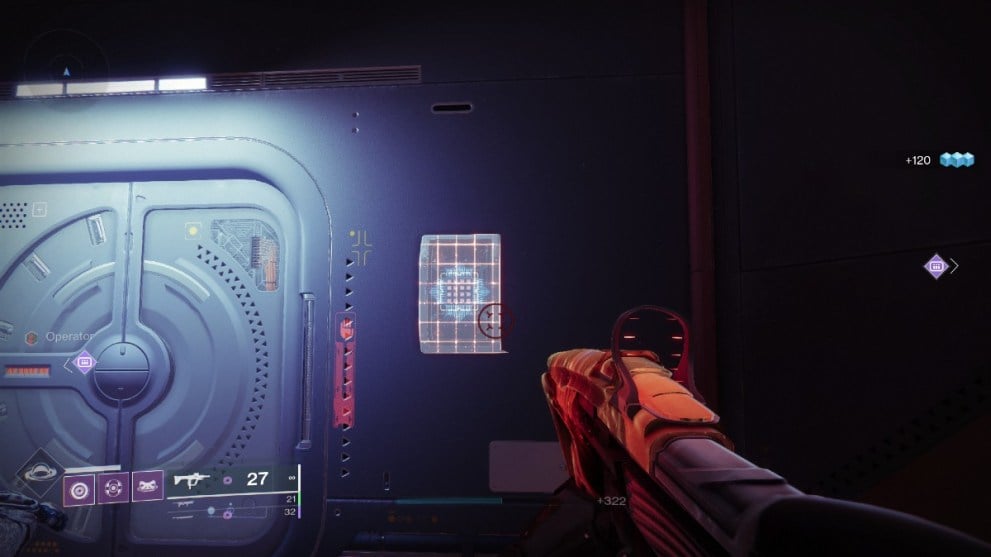
After completing all of the Scanner puzzles, you will enter a room full of Fallen enemies once more, only this time one of the Vandals will have a red icon above them. This is the Operator buff, which essentially serves the same purpose as the Scanner buff, but instead of using terminals, you must now shoot the glowing red panels like the one shown in the image above.
Just like before, you will need to complete multiple mini-puzzles of finding hidden panels throughout a given area to unlock the next room. Continue to do this until you finally reach the first boss of the mission.
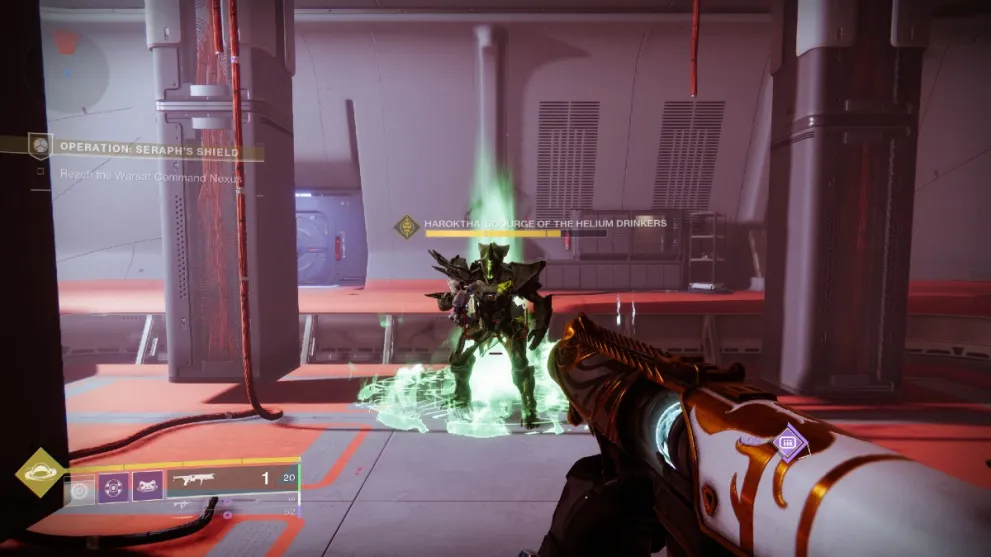
Repel Haroktha, Scourge Of The Helium Drinkers
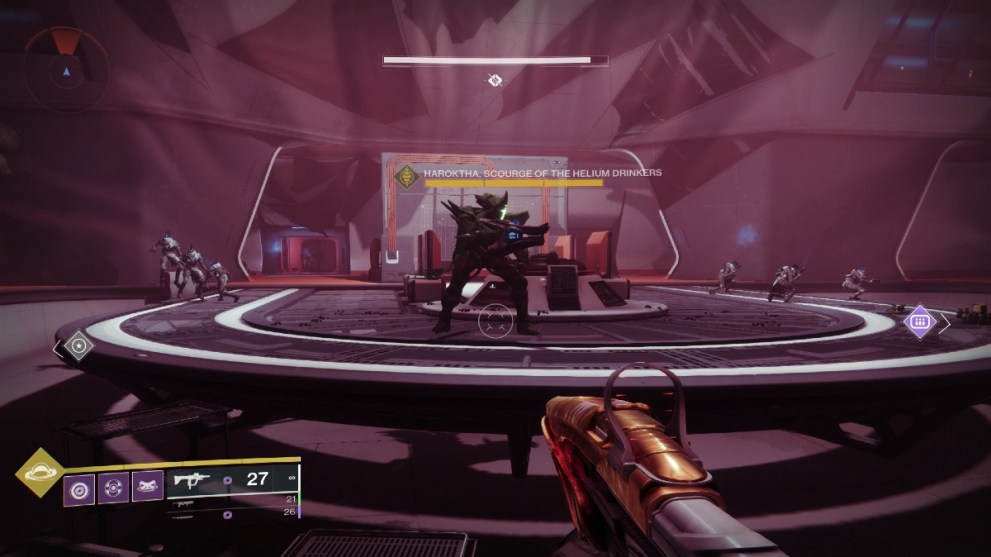
After completing the Operator mini-puzzles, you will come face to face with the first boss of the mission, Haroktha, Scourge of the Helium Drinkers. This boss fight doesn’t have any special gimmicks, but it does have a lot of enemies to defeat.
After dealing enough damage to the boss, it will retreat and summon more enemies for you to defeat. These enemies include Fallen Captains, Vandals, and three Brigs. Defeat them all to move on to the jumping puzzle portion of the mission.
Traverse the Jumping Puzzle
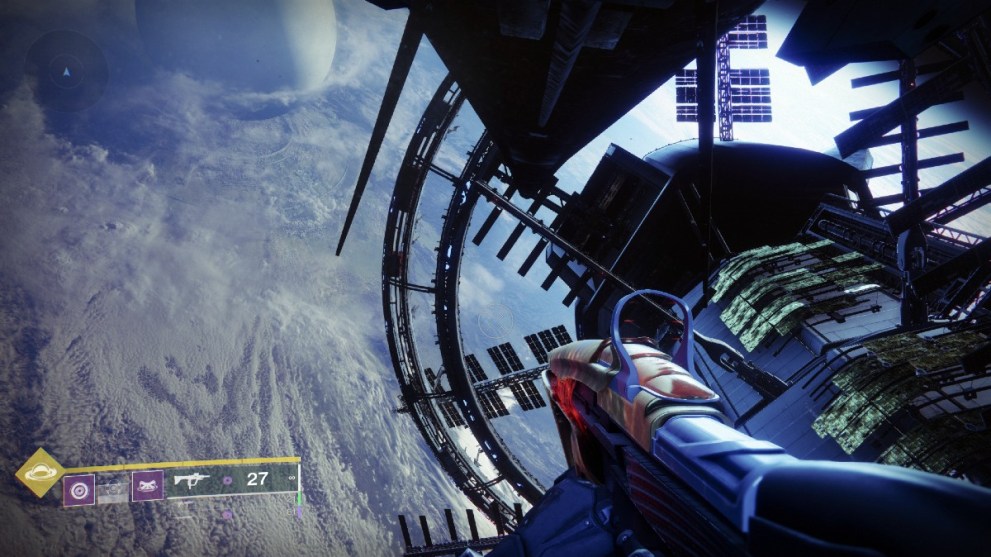
Once you repel Haroktha, it’s time to head outside of the station to traverse the jumping puzzle portion. To reach the next area, you’ll need to make your way onto various platforms scattered on the side of the station.
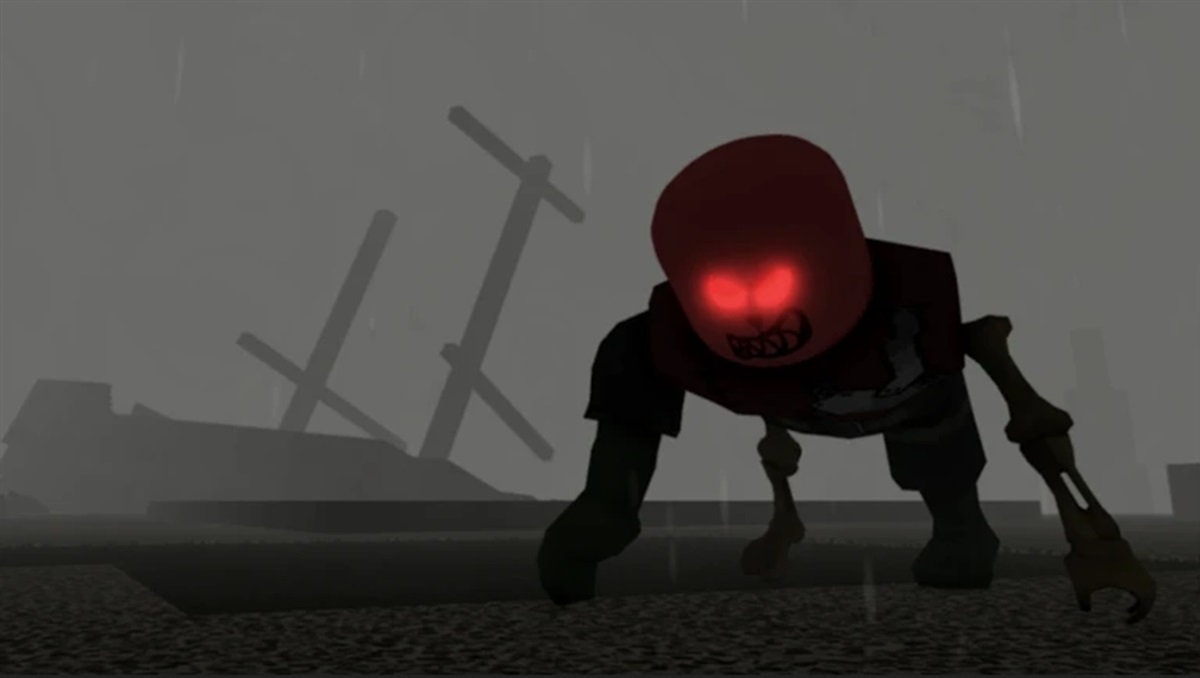
After your initial jump down, the path is pretty clear on where you’re supposed to go, but try not to look down! However, if you accidentally slip, Bungie implemented a funny death animation to ease the pain a little.
Defeat Harokatha, Scourge Of The Helium Drinkers
After you make your way back inside the station, Haroktha will be back for round two. Just like in the first fight, there’s no special gimmicks to this fight, and the enemy density is significantly lower than before, so defeating Haroktha shouldn’t be an issue for most Guardians. Defeat the boss and make your way into the next section.
Use the Suppressor Buff
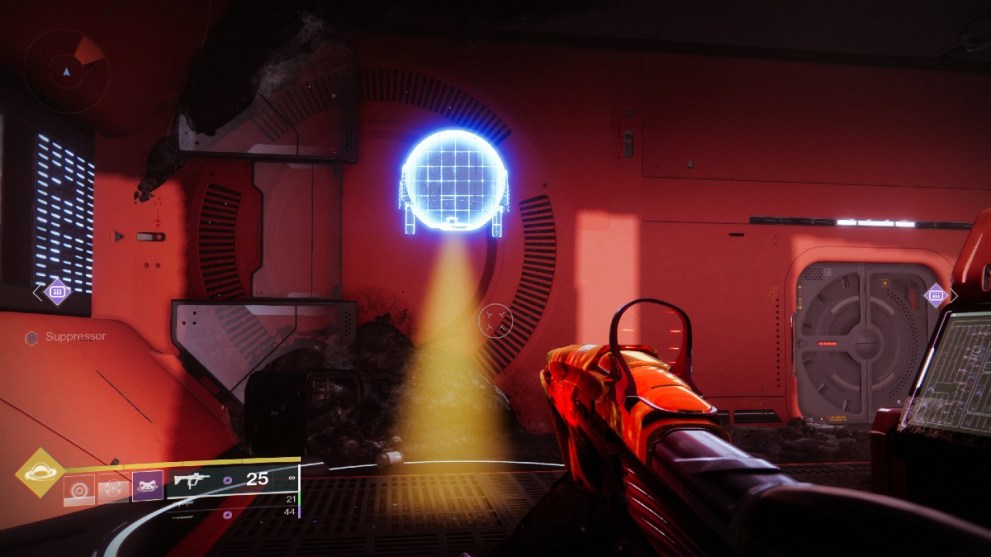
After defeating Haroktha, the next area will contain one more group of Fallen enemies, which includes a Vandal with a blue icon above it. This is the suppressor buff, which will be used to defeat the final boss shortly. You must use the suppressor buff to take off the shields of the Servitor in the room with you, and then the final boss soon after.
To remove the shields, stand underneath the blue-highlighted drones in the white ring, as shown in the image above. You must do this three times and then destroy the nearby security drones to finally remove the shield. Destroy the Servitor to proceed to the final boss of the mission.
Defeat Praksis, The Defiled
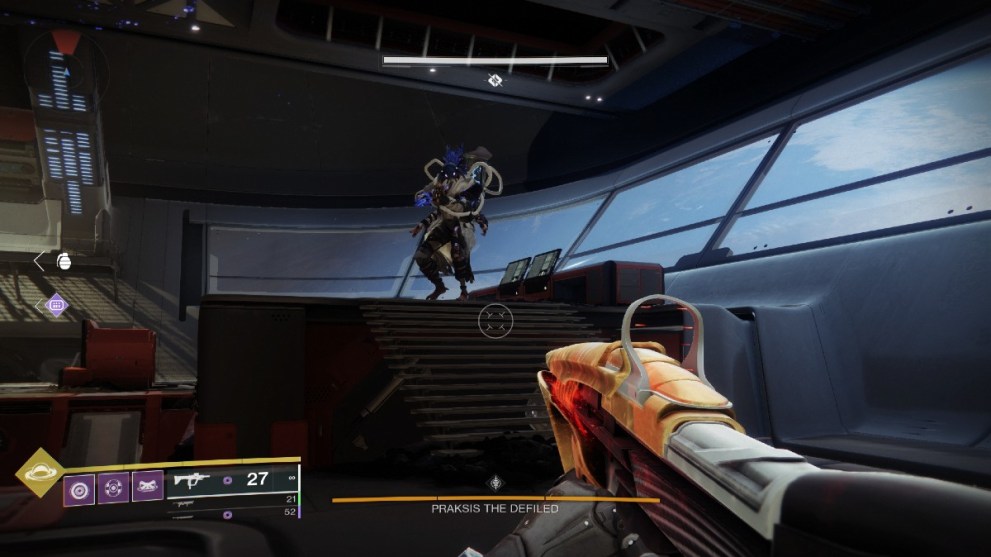
It all comes down to this. The final boss of Operation: Seraph’s Shield, Praksis The Defiled, is waiting for you in the command room. The main gimmick of this fight is to use what you just learned with the suppressor buff to remove Praksis’s shield when it appears after enough damage is dealt. You can keep track of this by looking at its health bar, which has two stop points, meaning Praksis will put up a shield twice throughout the fight.
Once the shield is up, you must now go and find a Vandal with the suppressor buff. Defeat this Vandal and claim the buff, which you must then use to stun Praksis by standing under the blue-highlighted drones as before. Once you stun Praksis with the three blue drones, three security drones will appear in the left, right, and middle sections of the boss arena.
Destroy them all to remove Praksis’s shield to deal damage once more. After enough damage is dealt, Praksis will enable the shield once more, and then it’s rinse and repeat. When you remove Praksis’s shield for the second time, you can finally deal enough damage to defeat him for good.
With Praksis out of the way, make your way into the nexus room to hack Rasputin’s network. After doing so, the mission will finally be completed, and you will be rewarded with various pieces of Seraph gear, including the new Revision Zero Exotic Pulse Rifle for those who complete it for the first time.
That’s everything you need to know on how to complete Operation: Seraph’s Shield in Destiny 2. Be sure to check out our latest Destiny 2 guides, like how to get the Archangel’s Refit Exotic Sparrow, or how to get through the Blocked Lasers in Operation: Seraph’s Shield.


Updated: Dec 23, 2022 11:02 am