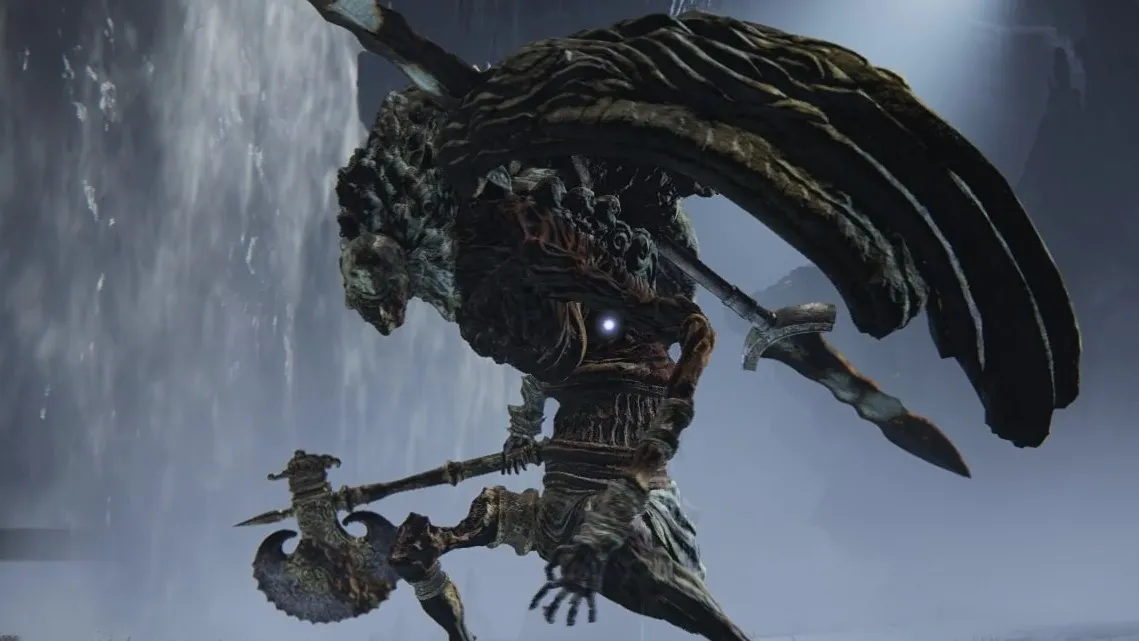
We all know that Sousborne bosses are a different breed of difficulty. And what’s harder than fighting a single tough boss in these games? Fighting two of them at the same time, of course. That’s what you’re up against in this underground battle. So, if you’re having trouble beating the Valiant Gargoyles in Elden Ring, we have some pointers.
How to Beat Valiant Garboyles Boss Fight in Elden Ring
This boss fight is an unfair two-on-one challenge that isn’t in your favor, so the first thing you’ll want to do is even up those numbers as much as possible by obtaining the Mimic Tear Ashes Spirit Summon. This specific summon creates a duplicate of your character that includes currently equipped armor, weapons, items, Sorceries, and Incantations.
The mimic has infinite FP, unlimited use of equipped items, and can even use flasks to heal. The Mimic Tear Ashes are actually located nearby, in Nokron as well. Check out our guides on where to get the Mimic Ashes summon and how to upgrade summons using those links.

Once you do have it, equip magic items like Glintstone for attacks and Warming Stones for constant AOE healing so that the mimic can aid in multiple different ways. The gargoyles take significant magic damage, so equip a staff or seal when summoning as well if you’ve leveled up Int or Faith.
Valiant Gargoyles Boss Phase 1
The first phase of this fight will be two on one in your favor if you decide to summon the Mimic Tear right away. Try not to be too afraid and stay active in the fight, or else the mimic will likely die long before the second Valiant Gargoyle shows up.
Both gargoyles are mostly close-range melee attackers that need to be near you for the majority of their moves to hit, which is another reason why giving the mimic long-range options is beneficial. If you’re both standing right underneath the gargoyle at all times, it can take you both out at once. What you want is for the gargoyle to be torn between two targets in different directions and at different ranges.
Even at a distance, though, this first gargoyle can breathe a poison mist that spreads quickly, so give it some space when you see that move starting. It can also shoot blades of wind along the ground after raising its weapon in the air to charge the move. This is a very obvious tell, so whenever its weapon is raised, prepare to dodge left or right.
The one other non-melee move it has is the ability to spin its weapon above its head to create a small cyclone that deals AOE damage. In short, whenever a gargoyle raises its weapon is above its head, remember to back up.
The gargoyle can use several short combos, circular sweeping moves, a charging rush, and dive attacks when it isn’t doing the moves mentioned above. You’ll have to learn the dodge timings for them through experience, but those moves only become hard to dodge in the second phase.
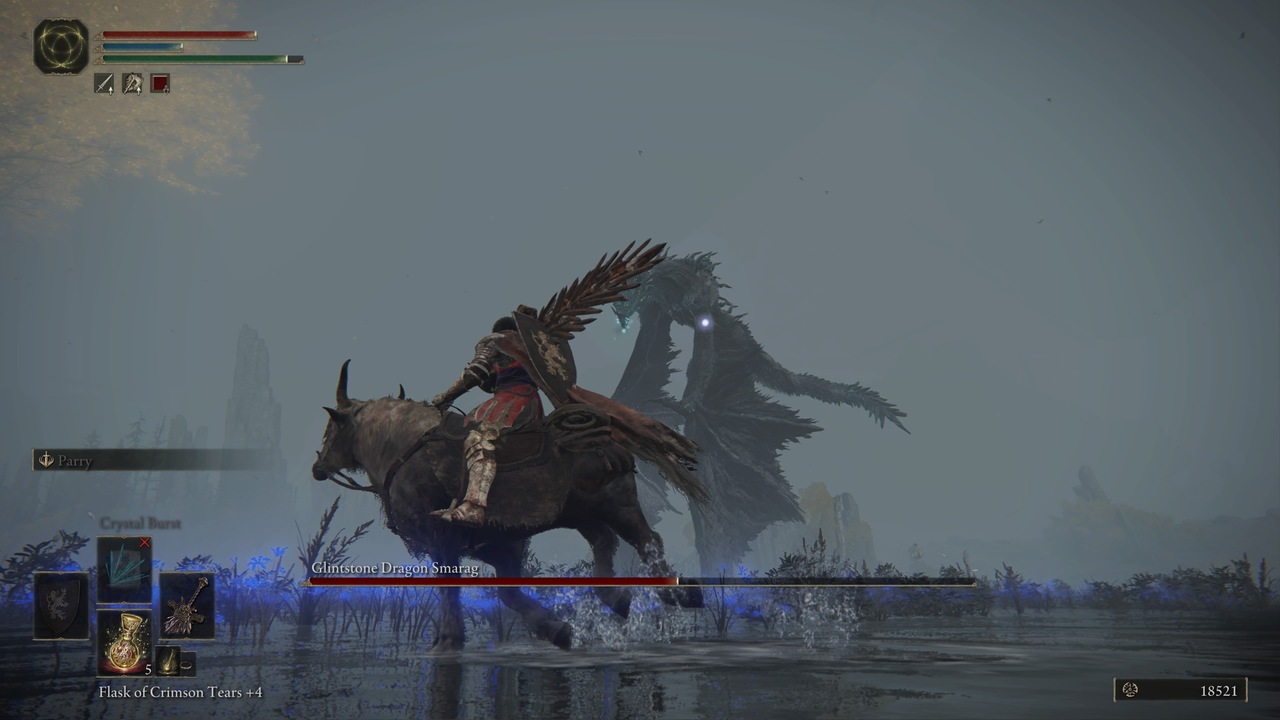
As you can see in the clip above, I took this fight on at medium range using the Moonveil katana’s special ability since my build focuses on Int. Use our guide on where to find it right here if your build is also Int-focused. It deals massive damage because of the high magic attack stat.
Valiant Gargoyles Phase 2
The second phase is where things ramp up. As soon as the first gargoyle loses half its HP, a second one will appear that uses a different weapon. This is why you’ll want the Mimic Tear to survive as long as possible — fighting two Valiant gargoyles alone is the situation we desperately need to avoid here.
Do your very best to focus on the one with the lower health and kill it before the Mimic Tear gets overwhelmed and dies. If you can manage to separate the two gargoyles so that the second one attacks your mimic and the other goes after you, this should work. By the time you win your little one-on-one battle, the mimic might be gone, and it’ll be time for a more regular boss experience with one Valiant Gargoyle that has nearly full health.
This second one has more range since it mostly uses twinblades to attack, and it can still breathe poison, so stay alert. This one has wider sweeping moves along with longer melee combos and an AOE ground slam to deal with.
Try your best to learn the timing for its swings because it doesn’t have the long-range moves that the first one did, but it hops around much more. You’ll need to get up-close and personal here, or cast spells from a great distance if it’s safe to do so.
This fight might take more than a few tries and a bit of luck when it comes to the Mimic Tear’s decisions. It’s usually smart but can, sometimes, die too early.
That’s everything you need to know on how to beat the Valiant Gargoyles boss fight in Elden Ring. Be sure to check out our guide wiki for more tips, tricks, and other boss guides as you make your way through the Lands Between.


Updated: Mar 8, 2022 11:24 am