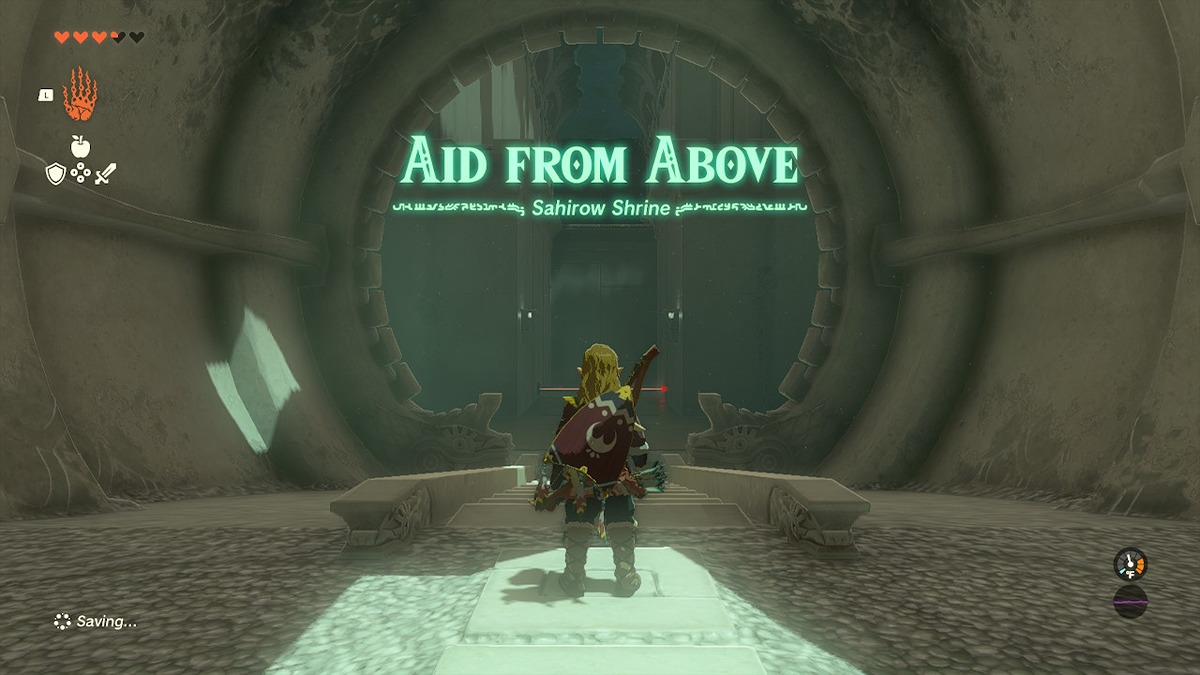
Sometimes shrines seem straightforward, but they have a definite twist. A simple beginning might give way to something that feels impossible somehow. In these instances, we have gone through to try and bring you the best solution there is for any given shrine. Here is our full walkthrough for the Sahirow Shrine in Zelda: Tears of the Kingdom.
Zelda: Tears of the Kingdom Sahirow Shrine Walkthrough
Sahirow Shrine is found northeast of Gatakis Shrine and Rito Village at the coordinates -3353, 2385, 0360. The lasers in this shrine won’t do damage, but they are sensors that will drop you through the floor.
Part One
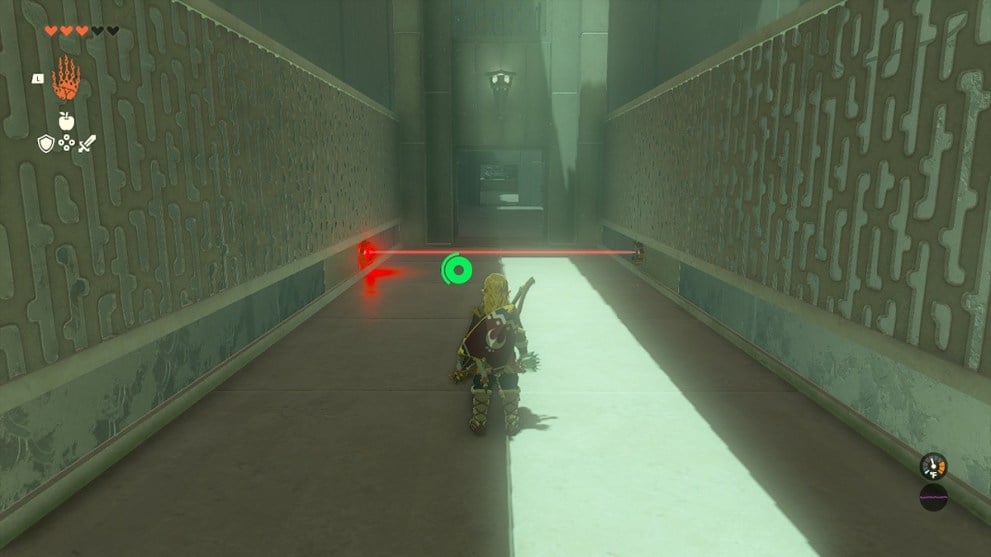
The first two lasers aren’t an issue and are only there to teach you how they work. Jump over them and work your way to the wider section.
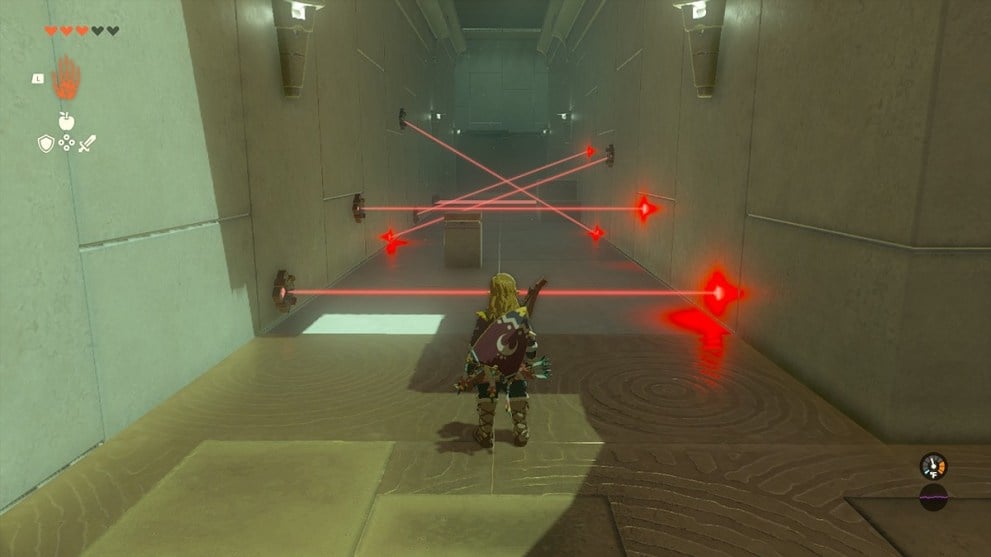
Crouch (L3) through this area until the stairs on the right. Climb up onto the second stair and get a running jump off, and you should clear the three lasers without any problem.
Part Two
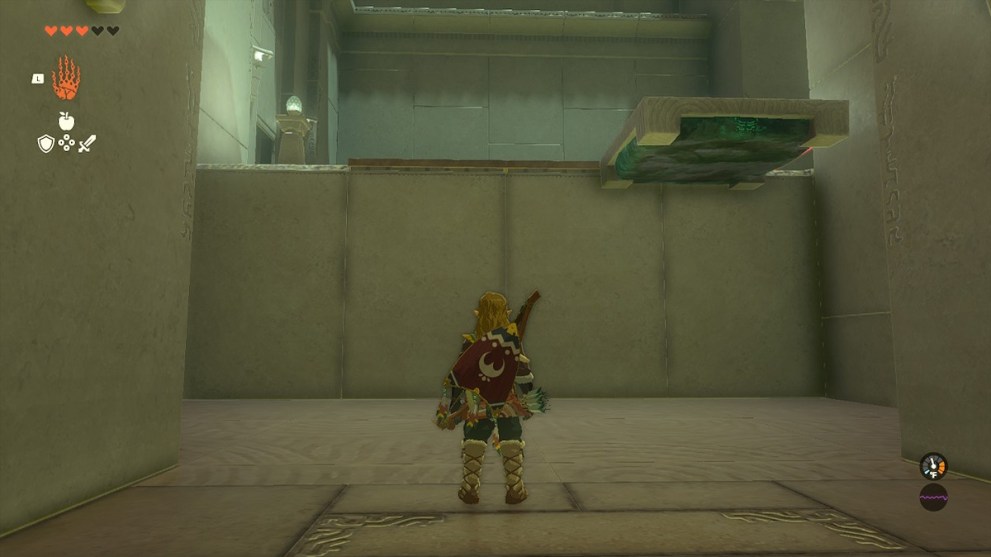
Use Ascend on the moving platform ahead to get onto the next level.
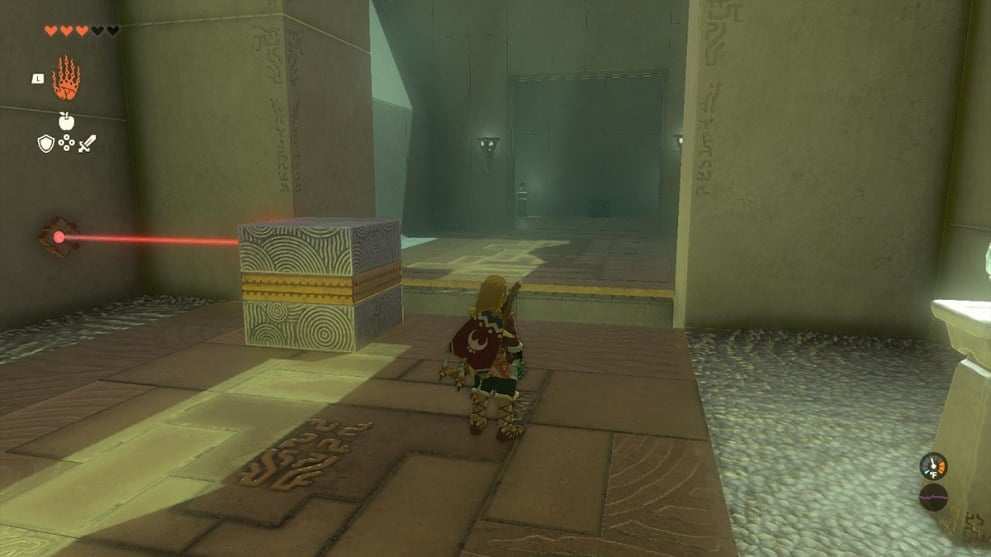
From here, turn left and grab one of the cubes to block the laser on your side. This will open the gate by the chest while also causing a gap in the floor. You can easily make that in a running jump and then you can collect the Spicy Elixir from the chest.
Part Three
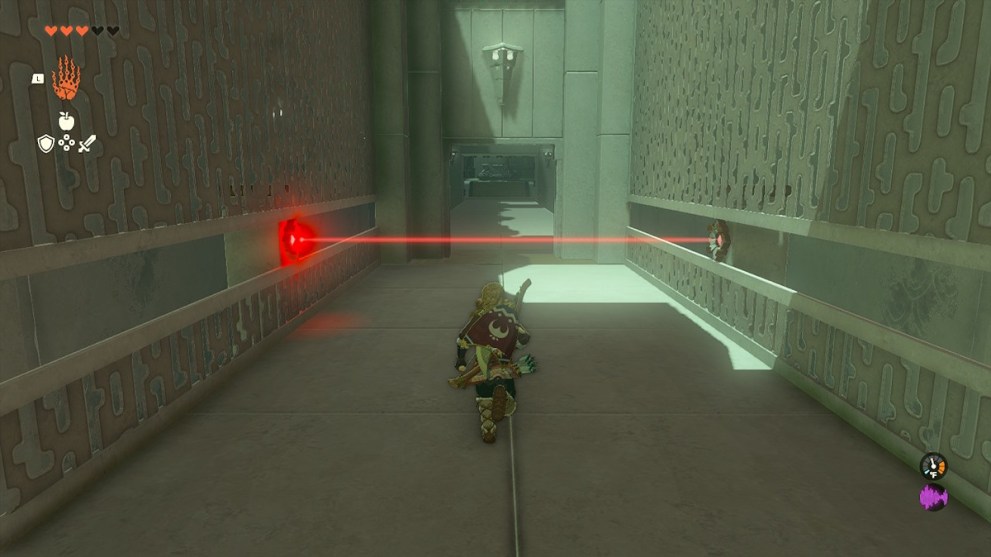
This part is just three sections of lasers you must avoid. First up is a low laser you can jump over and run to the end.
The second section is a mid-height laser you can crouch under and walk to the end.
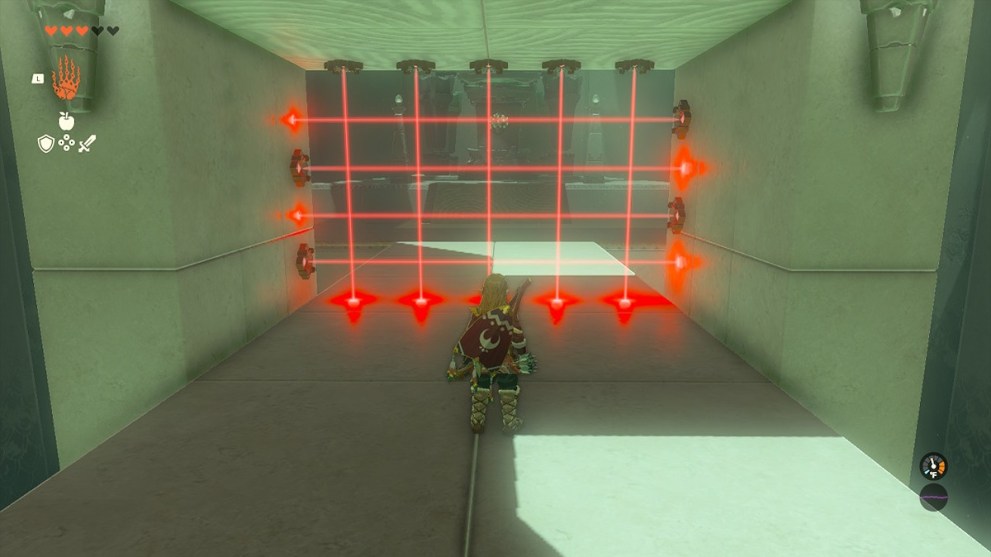
The final section is tricky because it’s a whole grid that you cannot go through. Instead, when you walk through the gate, and it closes, step back and press yourself against it. When the grid comes as close as it can and starts moving away, follow it. Make sure to be there when it hits the end and sprint jump forward through it to reach the Light of Blessing pedestal before the floor gives way.
This concludes our full walkthrough of the Sahirow Shrine in Zelda: Tears of the Kingdom. For more guides to create the strongest Hyrule warrior, check out the links below.


Updated: Jul 6, 2023 08:20 pm