Forgot password
Enter the email address you used when you joined and we'll send you instructions to reset your password.
If you used Apple or Google to create your account, this process will create a password for your existing account.
This site is protected by reCAPTCHA and the Google Privacy Policy and Terms of Service apply.
Reset password instructions sent. If you have an account with us, you will receive an email within a few minutes.
Something went wrong. Try again or contact support if the problem persists.
Gasas Puzzle Solution in Zelda: Tears of the Kingdom - How to Solve & Hidden Chest Location
Image Source: Nintendo via Twinfinite

Gasas Shrine Puzzle Solution in Zelda: Tears of the Kingdom – How to Solve & Hidden Chest Location

This definitely isn't how you're supposed to solve this shrine.

Shrines are a great way to flex your skills in various ways. They help players figure out the best method to use the game’s trickiest mechanics. Some might be harder than others, but things also come down to trickery. That’s somewhat the case with this specific shrine. Here’s our full walkthrough for the Gasas shrine in Zelda: Tears of the Kingdom.

Recommended Videos

Gasas Shrine Walkthrough for Zelda: Tears of the Kingdom

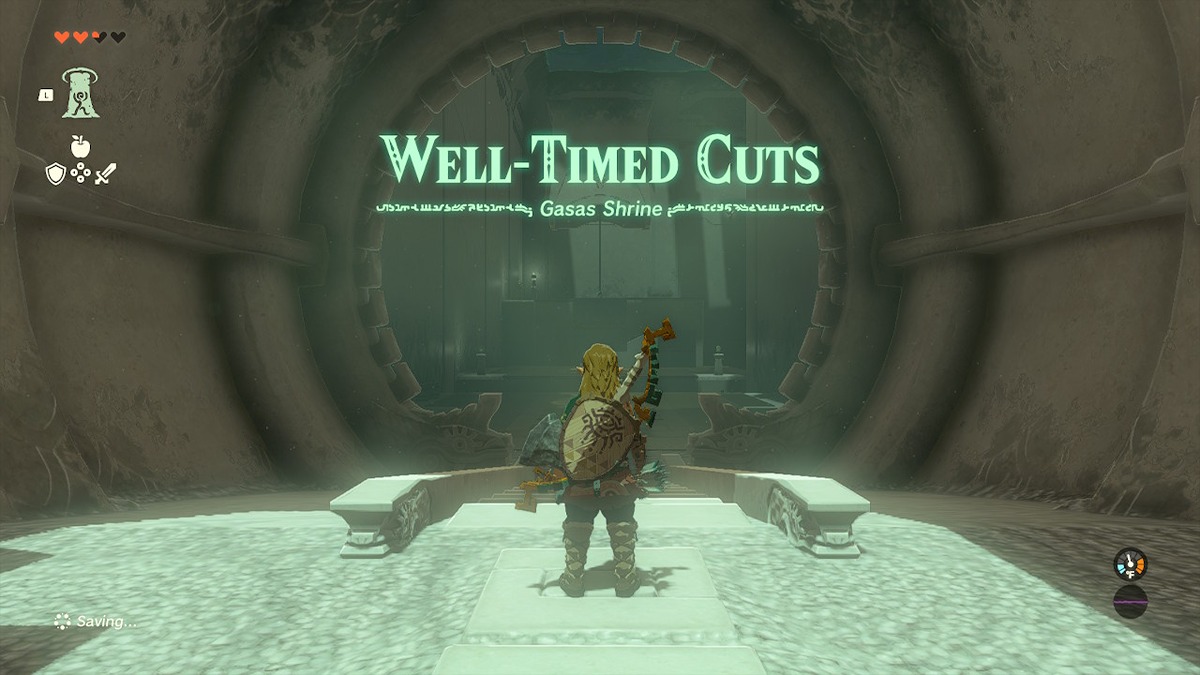
The Gasas shrine is found northwest of the Turakawak shrine, tucked away in a canyon with the coordinates -4152, 0098, 0040.

Part One

Shoot the cube down and then use it to jump over the gap. Don’t worry about picking it up; you won’t need it again.
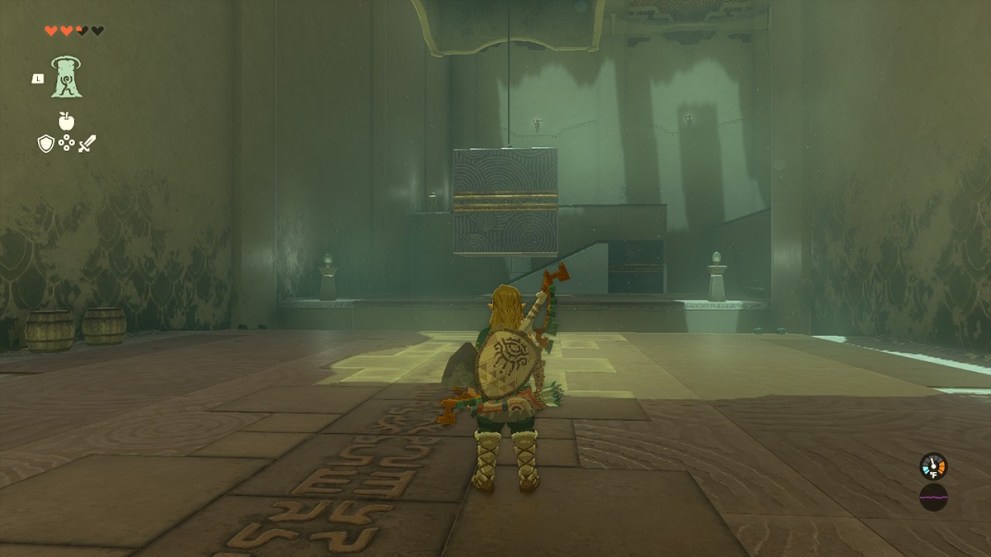
Gasas Shrine Cut Down Cube
Image Source: Nintendo via Twinfinite

Take the cube in front of the stairs and hang it over the edge of the platform next to it just enough that you can use Ascend to get through it.
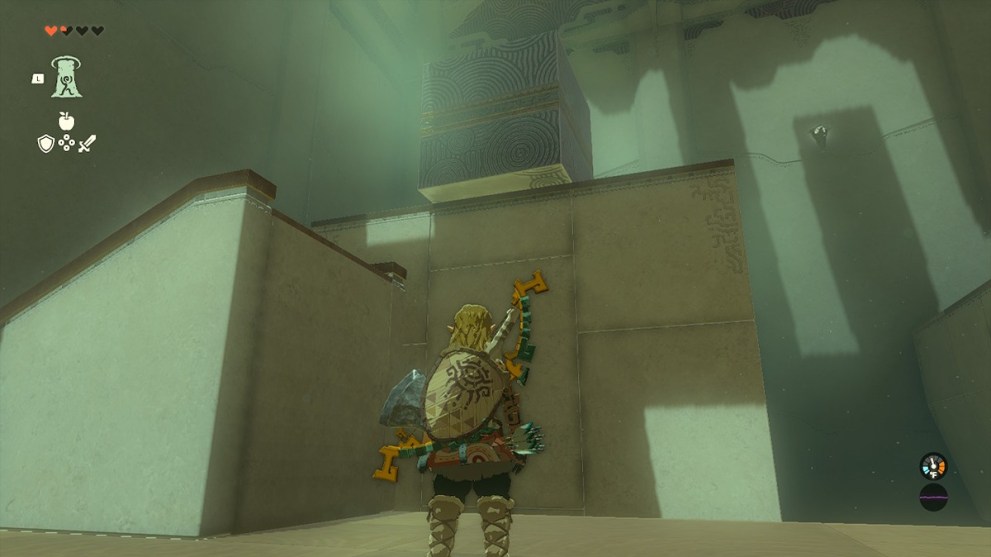
Gasas Shrine Place Cube for Ascend
Image Source: Nintendo via Twinfinite

Fuse these two boards and use them to cross the gap.
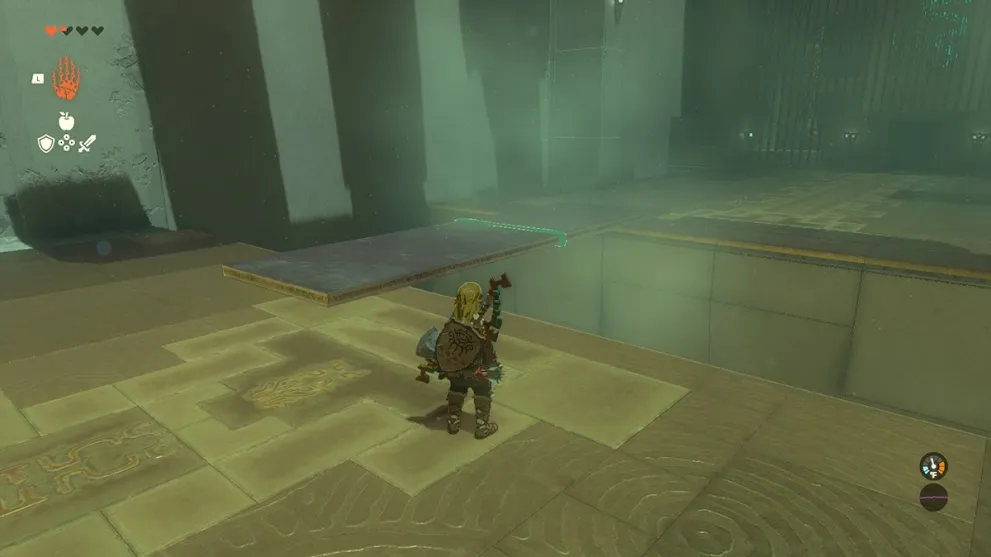
Gasas Shrine Place Boards for Gap
Image Source: Nintendo via Twinfinite

Once crossed, pick them back up and place them under the hanging chest to collect the Large Zonai Charge.
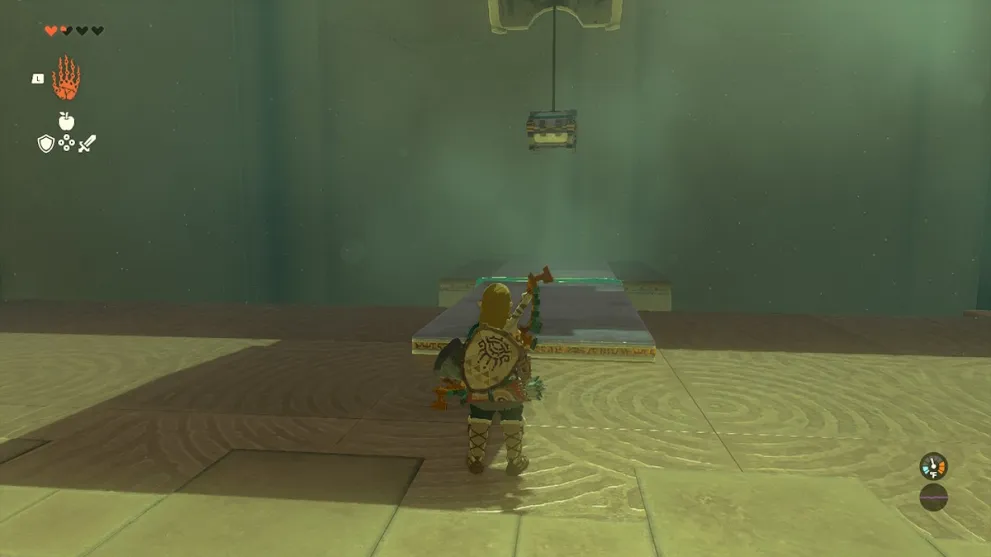
Gasas Shrine Place Boards for Hidden Chest
Image Source: Nintendo via Twinfinite

Turn around with the boards still connected and lodge them against the wall under the chest. Move the cube up to connect to a corner of the boards to ensure they won’t accidentally fall.
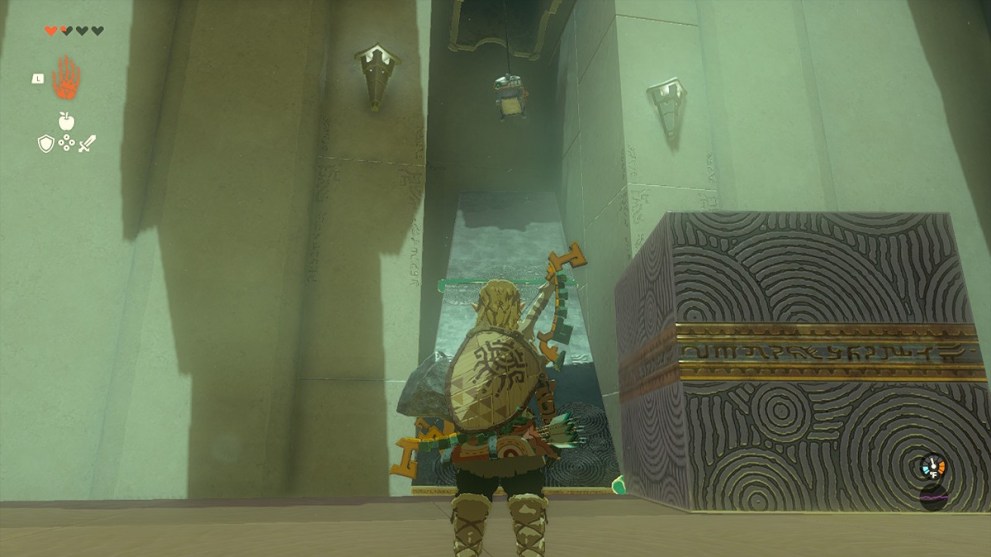
Contraption to Catch Small Key Chest
Image Source: Nintendo via Twinfinite

When you think it’s safe, shoot the chest, and it should tumble down the boards to your feet. Open it for the Small Key to unlock the door to the next part.
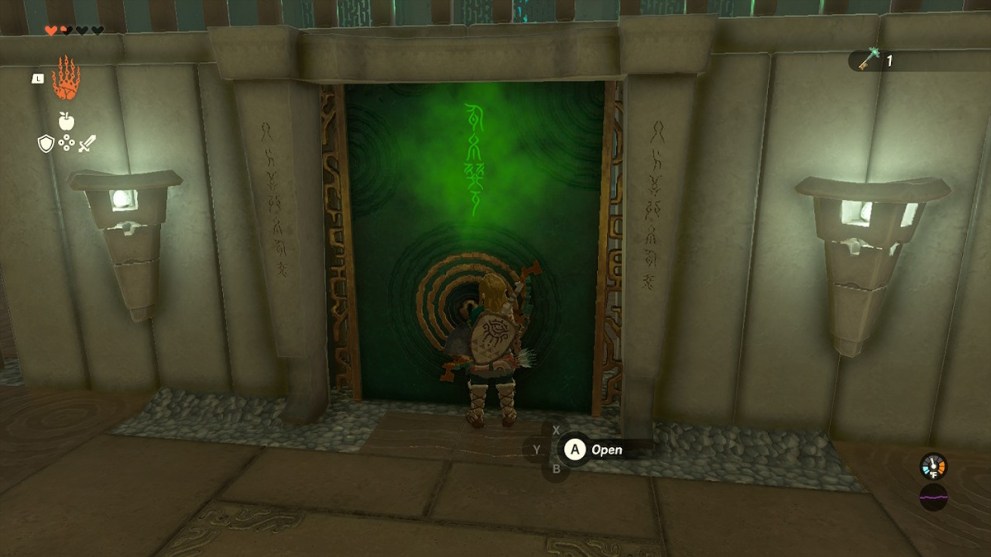
Gasas Shrine Small Key Door
Image Source: Nintendo via Twinfinite

Part Two

Separate the boards and angle them just right to they will fit through the door.
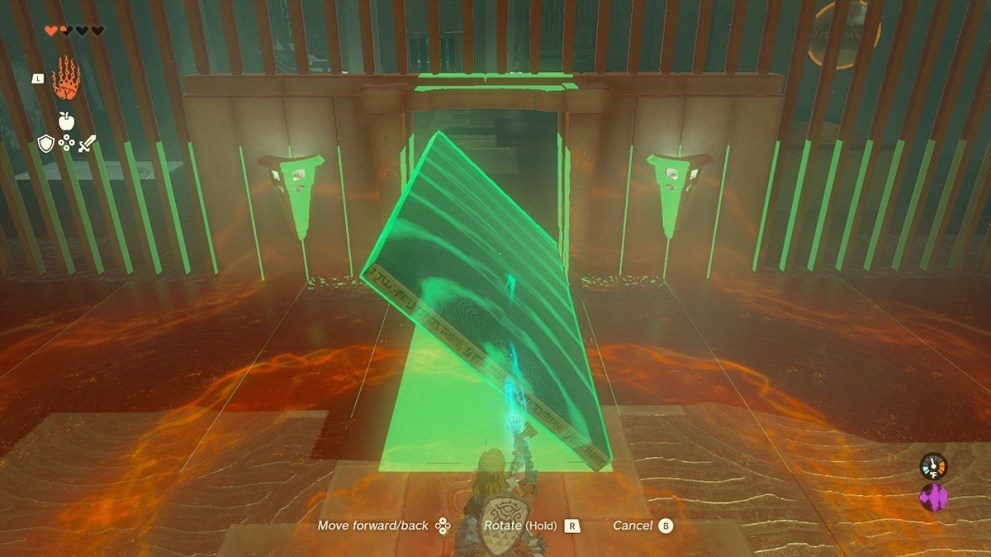
Gasas Shrine Fit Boards Through Door
Image Source: Nintendo via Twinfinite

Reconnect them and place them under the ball. Shoot the ball and immediately pick it up with the Ultrahand. It shouldn’t roll, but you can never be too careful.
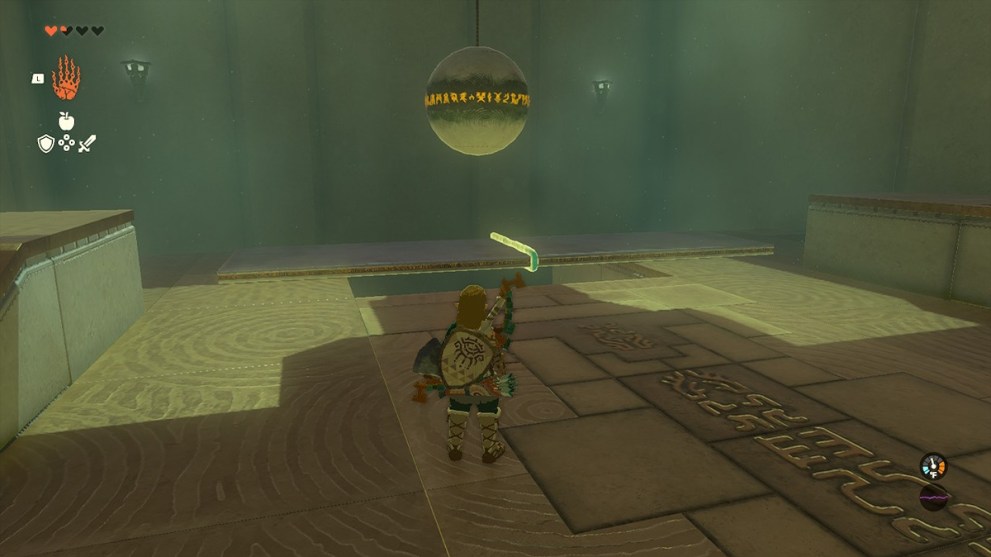
Gasas Shrine Place Boards to Catch Ball
Image Source: Nintendo via Twinfinite

The shrine exit will open once you place the ball in the hole behind you.
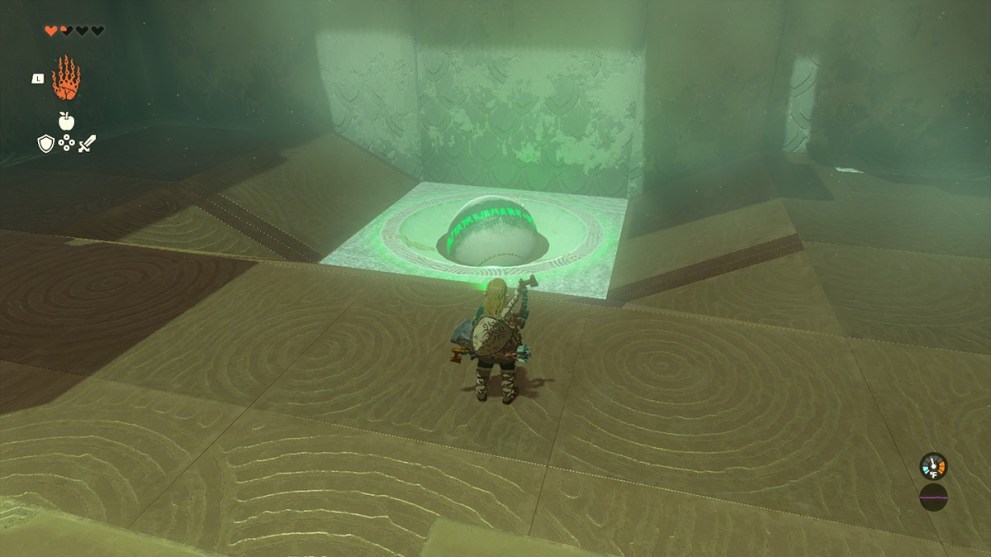
Gasas Shrine Drop Ball Into Hole
Image Source: Nintendo via Twinfinite

You can now collect the Light of Blessing and leave the shrine.

Thus concludes our Gasas Shrine walkthrough for Zelda: Tears of the Kingdom. Check out our links below for more tips and tricks on surviving the deadlier Hyrule.

Twinfinite is supported by our audience. When you purchase through links on our site, we may earn a small affiliate commission. Learn more about our Affiliate Policy
Author
Image of Cameron Waldrop
Cameron Waldrop
Cameron is a freelance writer for Twinfinite and regularly covers battle royales like Fortnite and Apex Legends. He started writing for Twinfinite in late 2019 and has been lucky enough to review many really great games. While he loves a good shooter, his heart will always belong to JRPGs.