


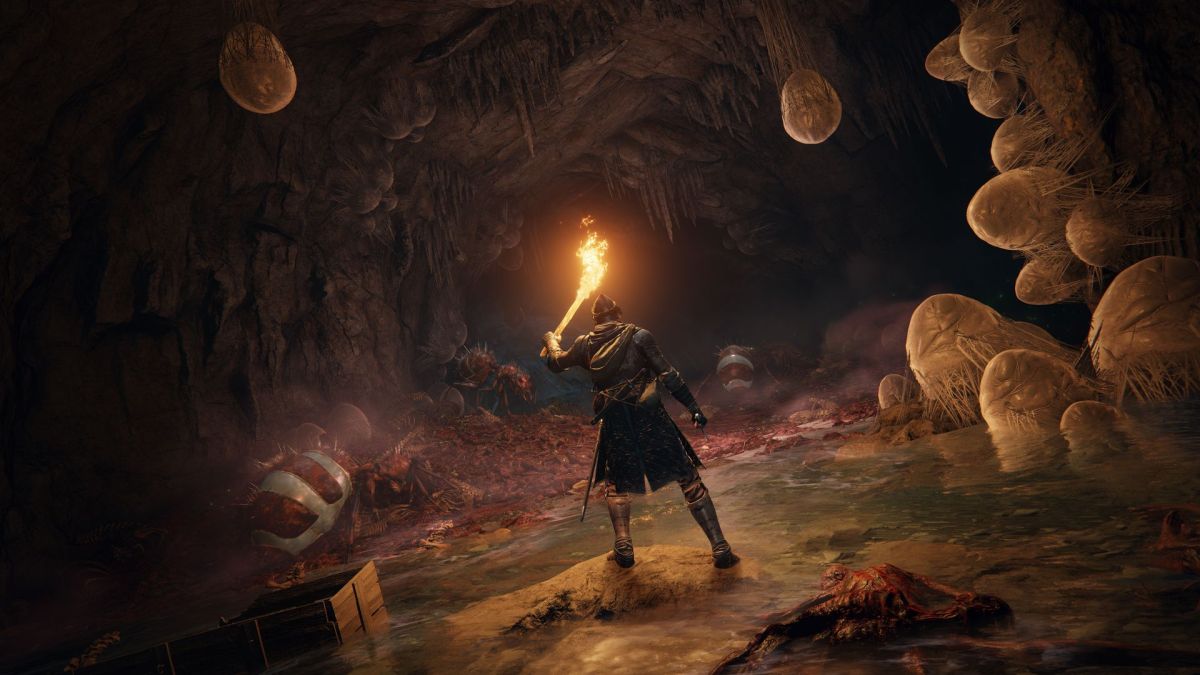
To locate and defeat every boss in Elden Ring, players must progress through specific regional difficulty tiers while completing required world triggers to unlock hidden encounters. This guide outlines direct navigation paths, precise map landmarks, and prerequisite requirements to reach every mandatory and optional boss across the base game and expansion.
Regional Level and Weapon Scaling
Smooth progression across the Lands Between requires balancing character level and weapon upgrades with regional scaling factors. Matching character stats to regional difficulty keeps combat fair and manageable.
| Stage | Geographic Region | Recommended Level | Standard Weapon Upgrade | Somber Weapon Upgrade |
|---|---|---|---|---|
| Stage 1 | Limgrave Overworld and Stormhill | Level 1 to 15 | +0 to +2 | +0 |
| Stage 2 | Weeping Peninsula and Castle Morne | Level 15 to 25 | +3 | +1 |
| Stage 3 | Stormveil Castle and Liurnia of the Lakes | Level 25 to 40 | +4 to +6 | +1 to +2 |
| Stage 4 | Altus Plateau, Mt. Gelmir, and South Caelid | Level 40 to 70 | +7 to +12 | +3 to +5 |
| Stage 5 | Leyndell Capital and Mountaintops | Level 70 to 100 | +13 to +20 | +6 to +8 |
| Stage 6 | Farum Azula, Haligtree, and Secret Zones | Level 100+ | +25 | +10 |
| Expansion | Shadow Realm Regions | Level 120+ | +25 | +10 |
Draining Shadow Keep Church District to Reach Scadutree Avatar
Draining the floodwaters from the Church District inside the Shadow Keep is required to reach the lower levels and open the path to the optional Scadutree Avatar boss.
Prerequisite Requirements: Access to Scadu Altus via Castle Ensis or the Fort of Reprimand southern route, along with an active installation of the Shadow of the Erdtree expansion.
Path to Drain Water
- Begin at Moorth Ruins in central Scadu Altus, descend into the sinkhole using protruding rock ledges, traverse the subterranean cave, and climb the vertical ladder out of the Bonny Village well.
- Cross the eastern wooden bridges of Bonny Village, head north past the Cathedral of Manus Metyr, and enter the tunnel leading to the Church District Entrance Site of Grace.
- Jump across the flooded rooftops along the northern side to reach the roof of the large central church.
- Walk up the diagonal stone buttress to the upper circular roof, then drop through the central opening onto the timber support rafters.
- Drop down to the stone balcony level, then drop again to the lower stone hallway.
- Head west, turn left, cross the outdoor stone bridge to the outer castle ramparts, and follow the wall past the bats to reach a ladder.
- Climb the ladder to locate the gear assembly, then turn the mechanical lever to drain the water from the district.
Path to Scadutree Avatar
- Return to the Church District Entrance Site of Grace, drop to the dry plaza level, and locate the chapel housing the Sunken Chapel Site of Grace.
- Enter the main church building, take the corridor to the right, and ride the large elevator down.
- Follow the linear cave path through the Tree-Worship Sanctum Site of Grace directly into the flooded arena.
Critical Failure Points and Bugs
Finishing Phase 1 or Phase 2 of the Scadutree Avatar using a stance-break critical hit or riposte triggers a known engine bug. This causes the boss to respawn in the next phase with 100 percent health instead of incurring the standard 30 percent health reduction penalty. Deplete the remaining health pool using standard attacks during a stance break to secure the phase penalty.
Navigating Specimen Storehouse Loft to Reach Commander Gaius
Reaching Commander Gaius requires traversing the high rafters of the Specimen Storehouse inside the Shadow Keep.
Prerequisite Requirements: Draining the Church District to unlock the elevator leading into the Specimen Storehouse Back Section.
Navigation Steps
- Start at the Storehouse, Back Section Site of Grace, head west to the ladder, and climb it.
- Run up the eastern stone stairs, look behind the large bookshelf, and step through the wall hole to reach the Storehouse, Loft Site of Grace.
- Take the wooden lift adjacent to the grace up to the upper iron rafters.
- Turn left out of the lift, cross the narrow horizontal metal beam, and climb the vertical wall ladder.
- Walk along the beams to the northern side of the upper rafters.
- Look over the northern edge to spot the top of an arched stone doorway directly below.
- Drop down onto the stone archway, walk through the door, turn right, and ride the hidden lift down.
- Step out to activate the Shadow Keep, Back Gate Site of Grace, then proceed through the double doors to the north to face Commander Gaius.
Common Mistakes
Misjudging the vertical drop from the rafters onto the stone archway results in fatal fall damage. Ensure visual alignment with the flat stone door frame before stepping off.
Unlocking Scaduview Hinterlands and Shaman Village
Accessing the secret eastern Hinterland region and Shaman Village requires executing a specific gesture at a statue of Marika.
Prerequisite Requirements: Retrieving the O Mother gesture from Bonny Village.
Step-by-Step Execution
- Travel to Bonny Village and head to the broken bridge on the northeastern cliffs.
- Jump across the ravine to find a headless stone corpse along the cliff face, then interact with it to acquire the O Mother gesture.
- Fast travel to the Shadow Keep, Back Gate Site of Grace.
- Walk through the eastern archway into the small chapel containing a statue of Marika.
- Stand directly in front of the Marika statue and perform the O Mother gesture.
- Hold the pose until the statue slides aside to reveal the hidden doorway into the Hinterlands.
- Follow the main path east through Scaduview to enter Shaman Village.
Execution Errors
Performing incorrect gestures or canceling the animation early will fail to open the secret passage.
Completing Count Ymir Questline for Metyr Mother of Fingers
Unlocking the Legend boss Metyr, Mother of Fingers requires completing Count Ymir’s questline across multiple Finger Ruins.
Prerequisite Requirements: Accessing the Hinterlands to reach the Finger Ruins of Dheo.
Quest Steps
- Speak with Count Ymir inside the Cathedral of Manus Metyr to receive the Hole-Laden Necklace and the first Ruins Map.
- Travel to the Finger Ruins of Rhia in Cerulean Coast and ring the central hanging bell.
- Return to the Cathedral, speak with Ymir to receive the second Ruins Map, and travel to the Finger Ruins of Dheo via the Hinterlands to ring the second bell.
- Return to the Cathedral, speak with Ymir to get the third Ruins Map, and exhaust all dialogue with Swordhand of Night Jolan.
- Open the world map and fast travel to any site of grace outside Scadu Altus, then fast travel back to the Cathedral to force the area state to update.
- Interact with Count Ymir’s empty throne to activate the switch, descend the exposed rope ladder, and defeat the invading NPC Swordhand of Night Anna in the Finger Ruins of Miyr.
- Walk to the end of the path and interact with the hanging bell to teleport to the Metyr, Mother of Fingers arena.
Area Reload Bug
Resting at the Cathedral Site of Grace will not trigger Count Ymir to leave his throne. Players must fast travel outside Scadu Altus and return to update the NPC location.
Reaching Dragonlord Placidusax in Crumbling Farum Azula
Finding the secret arena of Dragonlord Placidusax requires descending past the lower temple structures of Crumbling Farum Azula.
Prerequisite Requirements: Reaching Crumbling Farum Azula after triggering the forge event in Mountaintops of the Giants.
Navigation Steps
- Start at the Beside the Great Bridge Site of Grace, turn around, enter the stone elevator, and ride it down.
- Exit the elevator room, run straight through the flooded temple filled with Beastmen, and pass through the front entrance doors.
- Walk straight to the edge of the floating platform and look down over the cliff.
- Carefully drop down onto the suspended stone platforms below.
- Follow the rock path down to the large curved stone structure at the bottom.
- Locate the specific architectural recess that is completely empty of skeletal bones.
- Stand inside the empty recess and select the Lie down prompt to teleport into the arena.
Fatal Failure Point
Jumping off the main bridge near the Draconic Tree Sentinel causes immediate death from out-of-bounds kill zones. Drops must strictly originate from the platform outside the lower temple exit.
Summoning Lichdragon Fortissax in Deeproot Depths
Challenging Lichdragon Fortissax requires progressing Fia’s questline to unlock her deathbed dream.
Prerequisite Requirements: Acquiring the Cursemark of Death by reaching the top of the Divine Tower of Liurnia.
Quest Execution Steps
- Speak to Fia at Roundtable Hold to receive the Weathered Dagger, then deliver it to D, Hunter of the Dead.
- Reload the area to find D dead, retrieve his Twinned Armor, and speak to Fia before she leaves.
- Defeat the Valiant Gargoyles in Nokron’s Siofra Aqueduct and ride the stone coffin to Deeproot Depths.
- Climb the giant tree roots to reach the Across the Roots Site of Grace and defeat Fia’s Champions.
- Deliver the Cursemark of Death to Fia at the Prince of Death’s Throne.
- Rest at the site of grace until Fia falls asleep, approach her, and select Enter the deathbed dream to fight Fortissax.
Unlocking Stone Coffin Fissure for Putrescent Knight
Accessing the Putrescent Knight inside the southern Stone Coffin Fissure requires breaking the spell seal over the peninsula.
Prerequisite Requirements: Defeating Shardbearer Mohg and triggering the breaking of Miquella’s Great Rune.
Navigation Steps
- Approach the Shadow Keep or cross the Bonny Village bridge to trigger the breaking of Miquella’s Great Rune.
- Start at the Cerulean Coast Site of Grace and ride directly south past the blue flowers to the tip of the peninsula.
- Locate the massive crater and drop down the northwestern ledges to reach the Fissure Site of Grace.
- Navigate through the fissure past the laser enemies to reach the Fissure Depths Site of Grace.
- Walk to the giant stone head at the edge of the bridge platform and jump into the abyss to trigger the battle.
Progression Barrier
Arriving at the crater before Miquella’s Great Rune breaks leaves a yellow barrier blocking the descent.
Parrying and Defeating Abyssal Woods Untouchables
The Aging Untouchables in the Abyssal Woods are immune to standard physical and magic attacks, requiring a precise parry mechanic to make them vulnerable.
Execution Steps
- Fast travel to the Church Ruins Site of Grace in the Abyssal Woods.
- Walk northwest along the stream toward the four glowing stone warning signs.
- Walk into the path of an Untouchable to trigger its detection.
- Allow the creature to teleport and knock the player down, then stand up immediately.
- Lock target onto the Untouchable and step back roughly 15 feet.
- As the Untouchable raises its lantern head and lunges forward, execute a parry using a small shield or parry Ash of War.
- Perform a critical hit on the staggered enemy to kill it and claim the Aged One’s Exultation talisman.
Solving Ordina Liturgical Town Evergaol Puzzle
Solving the puzzle in Ordina Liturgical Town to unseal the portal to Miquella’s Haligtree without being killed by invisible assassins or archers requires specific stealth gear and a targeted navigation route.
Recommended Gear: Equip the unaltered Black Knife Armor set to muffle footstep noise, cast Unseen Form to reduce enemy sight range, and hold a Sentry’s Torch in the off-hand to reveal invisible assassins.
Puzzle Steps
- Enter the Evergaol using the blue portal at the back of town.
- Candle 1: Turn left down the stairs, turn left again, and light the ground-level statue candle.
- Candle 2: Run east past the central stairs, navigate behind the western building to find a ladder, and climb it to light the second candle atop the tower.
- Candle 3: Drop off the eastern roof onto the lower red roof, cross the stone archway, climb the double tower ladders, and light the third candle.
- Candle 4: Drop to the ground plaza, wrap around the right side of the western building to bypass the assassin, climb the two side ladders, and light the final candle.














Updated: Aug 3, 2026 03:09 pm