
Baby Steps is not your typical walking simulator, but a real challenge for your controller triggers. Here, you need to control each leg separately, which basically turns the protagonist named Nate into a kind of ragdoll. The open world of Baby Steps is extensive, and if you don’t know where to go, then it can take way too much of your time. This guide will help you reach the top of the mountain in less than a couple of hours.
Table of contents
The Lowlands & The Desert
Before you venture into the unknown, you need to consider a few important aspects of the game that you may find too hard or simply annoying. To prevent this from happening, here’s what you can expect from this adventure:
- The physics and controls are consistently crashing or reverting your progress, which can be painfully frustrating, especially on long climbs, or if you come across game-breaking bugs, and there are quite a few of them, unfortunately.
- Sliding down hills feels awful, although there’s no fall damage in this game. Still, you’d often have to restart from sections that feel mundane in the same locations. In this case, simply try to be as careful as possible, moving more slowly than usual.
- You may find that there’s no clear objective in this game because you’ll get no tips during your gameplay whatsoever. Of course, the objective exists, and it is to get to the top of the snowy mountain where you’ll find a new home.
- Lastly, note that some of the cutscenes may seem crude, but you can easily skip them without losing a perspective on the gameplay if you follow this guide exactly.
Reach the Giant Candle
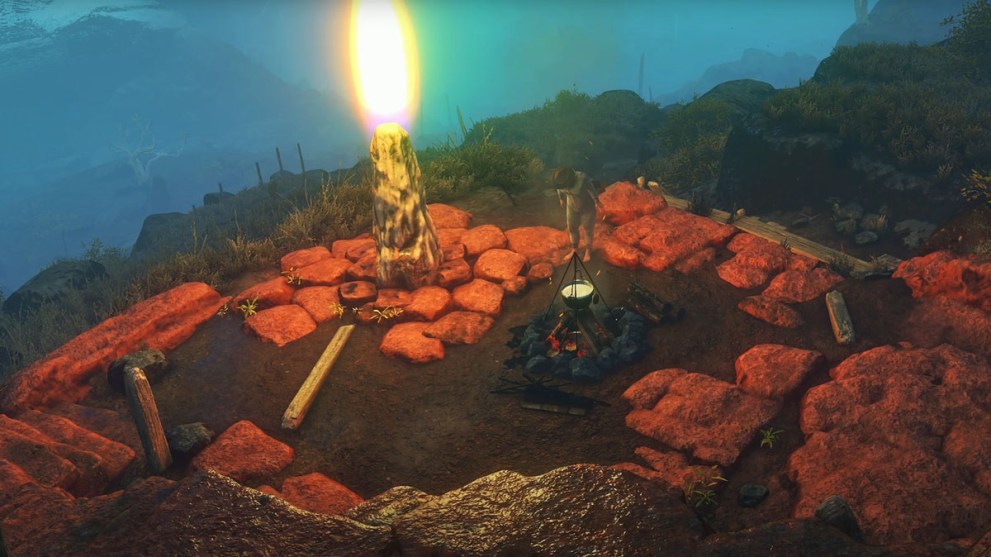
As soon as you start a new game, you’ll spawn in the moss-covered cave. This is where you basically start walking along the only available path until you reach the exit. Then, follow these steps:
- Once you reach the arch, turn to your right before the arch and keep following that path.
- Keep walking along the wooden fence until you reach a wooden bridge.
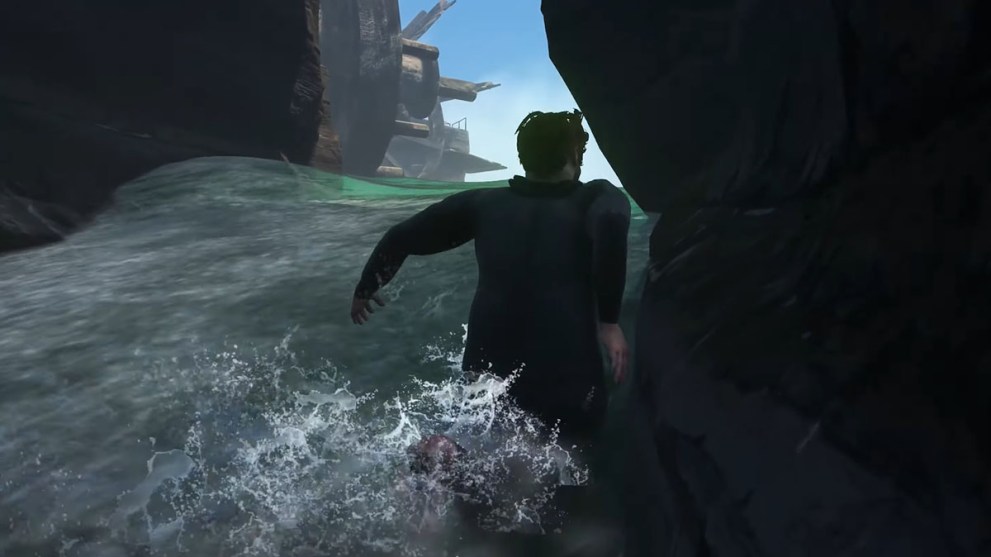
- Cross the waterfall and keep walking along the edge of the cliff until you find a red plank.
- Walk up that plank and turn right, walking past the broken Ferris wheel.
- Once you see an old wooden cart with the word “CUP” on it, go there.
- Walk past the cart, turn right, and keep climbing up until you reach a giant candle at the top.
Onward and Upward

After taking a quick nap at the candle, keep ascending the stairs that lead upwards. Then, do the following:
- Use the left path, which will bring you to another broken stone arc.
- Try to stand on the rocks and not the mud beyond the archway, or you’ll end up sliding down.
- Also, look out for dry patches of mud that are a bit safer to stand on top.
- Once you were able to get past the mudslides, use the giant boulders to keep climbing atop.
- Good indicators of progress are towering stacks of small stones; this means you’re on the right path.
- Keep shifting to the left until you reach a big tree and another broken arch.
- Finally, you should arrive at the viewing terrace and a small waterfall.
Beyond the Waterfall
Keep moving past the terrace and the waterfall to your right. As soon as you reach a set of giant stone steps, do this:
- Ascend the steps until you reach a spot with a campfire and a bowl of stew.
- After taking a rest, descend another set of stairs until you reach a wooden star on the ground.
- At this point, turn left and cross the stream of water using the log of wood.
- If you reached the “Do Not Climb” sign, then you’re on the right path.
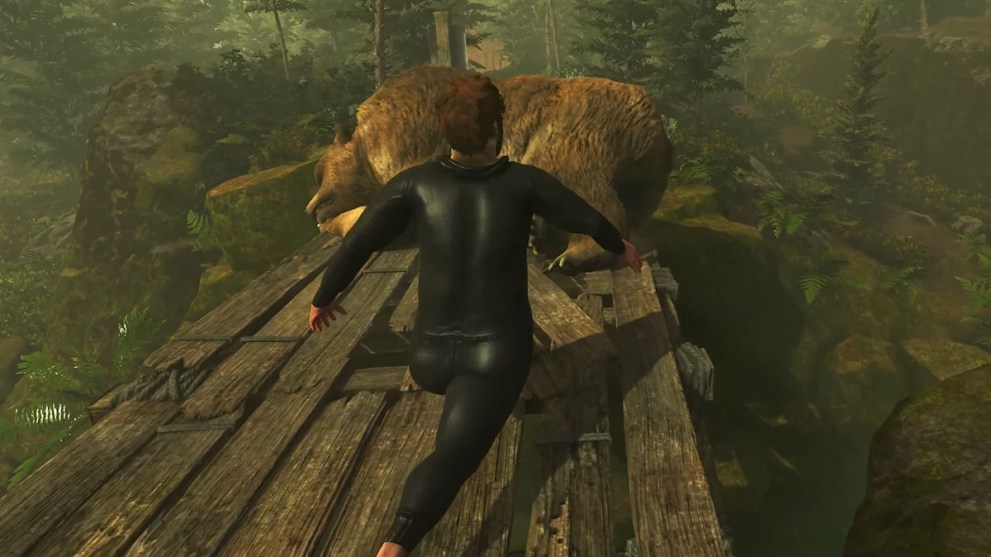
- Once you reach the bridge with a sleeping/dead bear, jump under the bridge.
- Pick up a green clock and keep moving along the path.
Behind the Castle Gates
The path will lead you to an old, derelict house with a garden in front, but you should just keep walking by it to the right side.
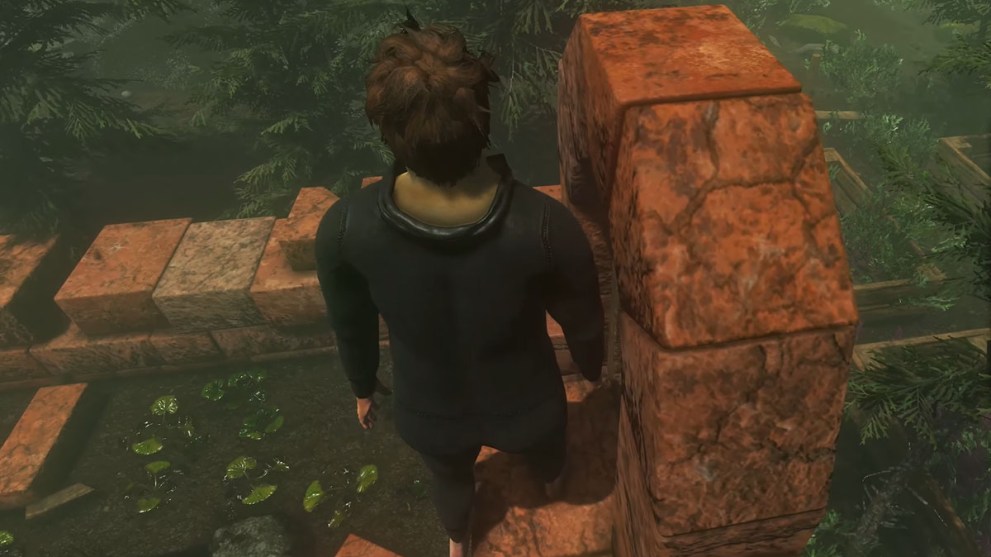
- Cross a few narrow gaps, and soon you should reach a pond.
- Beyond this pond, you’ll encounter a closed castle gate.
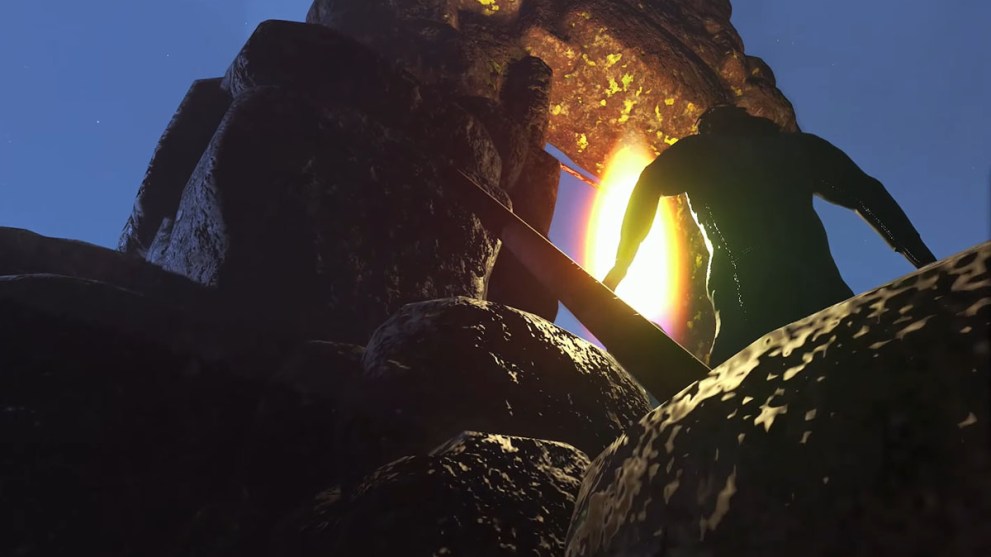
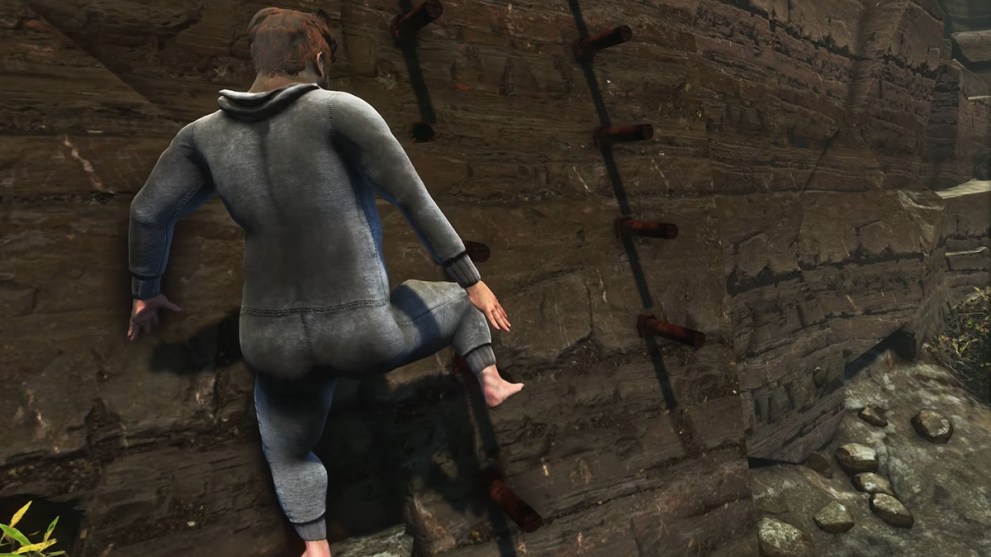
- Approach the gate and turn left for the stairs leading up the wall.
- Use the wooden structure above the closed gate to enter the castle.
- Don’t be afraid to fall off the wall, as there’s no fall damage in this game.
- Pick yourself up and approach the campfire, where you can take a rest and save your game.
The Castle Hill
Don’t be surprised when Moose disturbs your sleep. You can either listen to him or just ignore his ramblings and continue on:
- Go in the western direction from the campfire and straight into the forest.
- Keep walking until you reach a wide valley and a grove filled with fallen leaves.
- Follow the western pathway until you reach a small pond and a set of stone stairs.
- Climb up a steep hill in the direction of the castle atop the mountain, which you should see clearly in the distance.
- Be extra careful when you reach the wooden planks area, and then cross the bridge.
- Keep following the stony pathway upwards until you arrive at the sandy and deserted top of the hill.
- Cross this deserted area and swim over a calm, shallow river to reach another campfire checkpoint on the opposite shore.
In The Desert
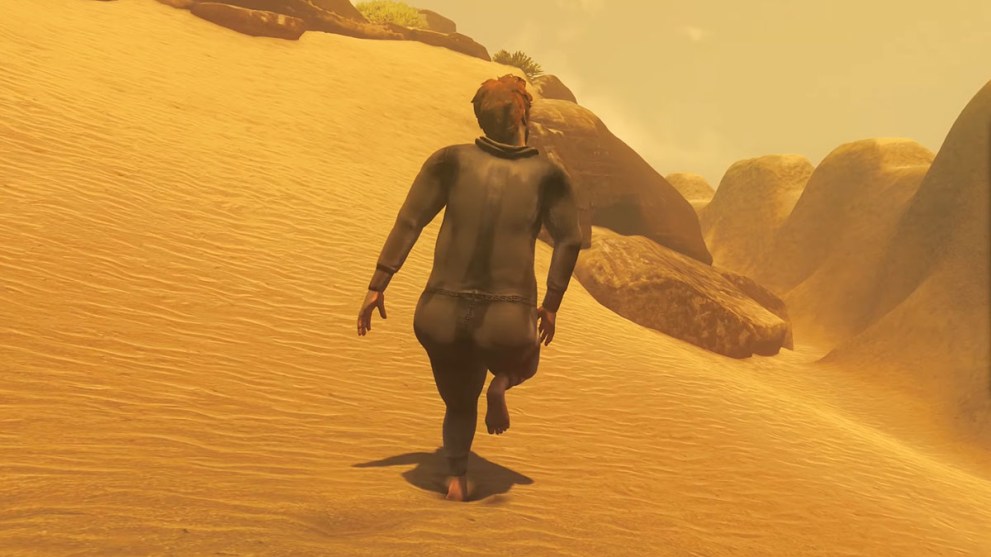
There you’ll encounter Moose again, but don’t pay much attention and just keep walking further using the stairs made of sand that lead to a small desert building.
- Move eastward (to your right) from the small building and keep walking along the edges of the dunes.
- Keep following the same route and circle around the rocky hills further on.
- Use the winding paths to climb up these rocky hills.
- Once you’re there, you should see the bright red cap on top of the circular hill in the distance.
- Go in the direction of that red cap until you reach a snowy-white road.
- Follow this road to the area under the hill and go up using sandy steps.
- You should be able to cross the bridge made of a giant yellow plastic shovel.
Ancient Cave
Once you’ve crossed the shovel bridge, turn to your right and follow the path until you arrive at the foot of the ancient civilization:
- Find your way up into the ancient city and enter the cave structure supported by sand pillars.
- That’s where you meet Jim, who will scare you a little bit by appearing from behind.
- After talking to Jim, keep passing through the cave into the lit-up area.
- You’ll find out that it’s actually Moose holding two lanterns.
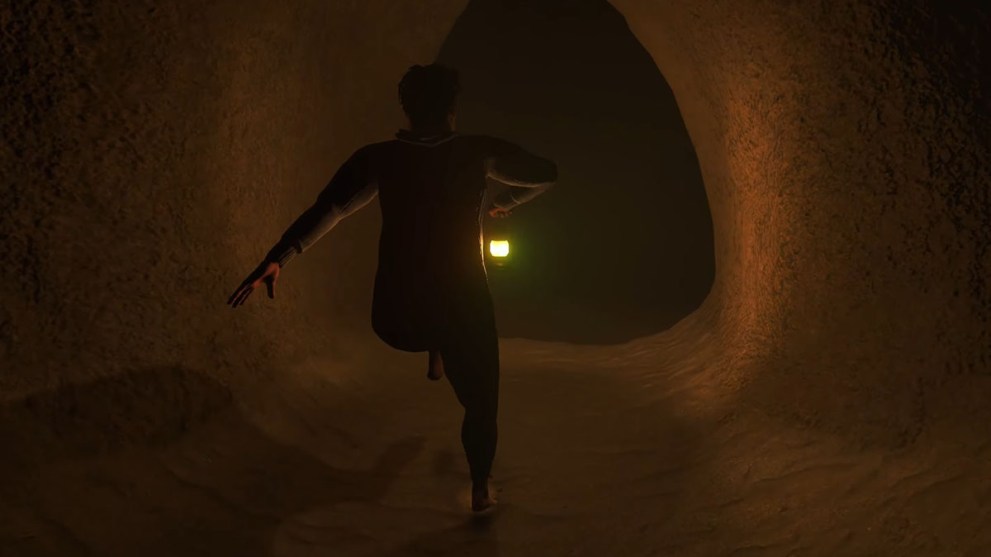
- Pick up one of the lanterns and continue traversing the dark tunnels of this cave.
- Note that walking on soft sand inside the cave is extremely uncomfortable, so be patient.
- Once you reach a fork, turn left and approach the descending escalator, which you need to ascend.
The escalator will bring you to another large part of the cave inhabited by the donkey people, hanging out near the campfire. You can take a rest here and keep on ascending through the tunnel until you reach a statue of the baby angel. This interaction signifies the end of the first part of your adventure.
The Snowy Mountains
After you wake up in the dark cave, you’ll have only one option to leave it by ascending the circular path that goes upwards. Once you reach the exit door on top, follow these steps:
- Enter an apartment and keep circling around from one room to another until the dialogue is over.
- You’ll notice that each time you enter and leave the same rooms, their interior will change.
- Keep doing this until the apartment disappears and leaves you outside the cave.
- Approach the campfire nearby and take a nap.
Beyond the Highway
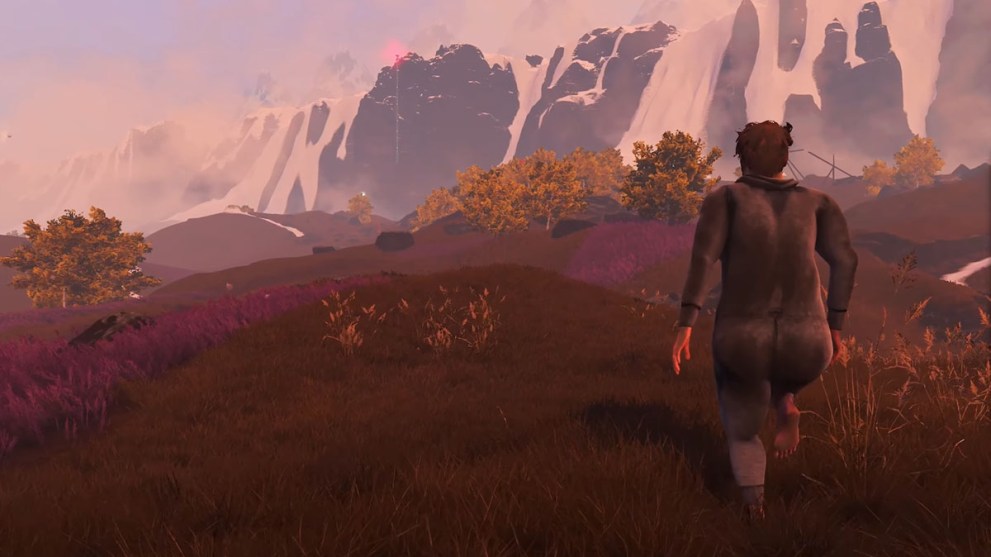
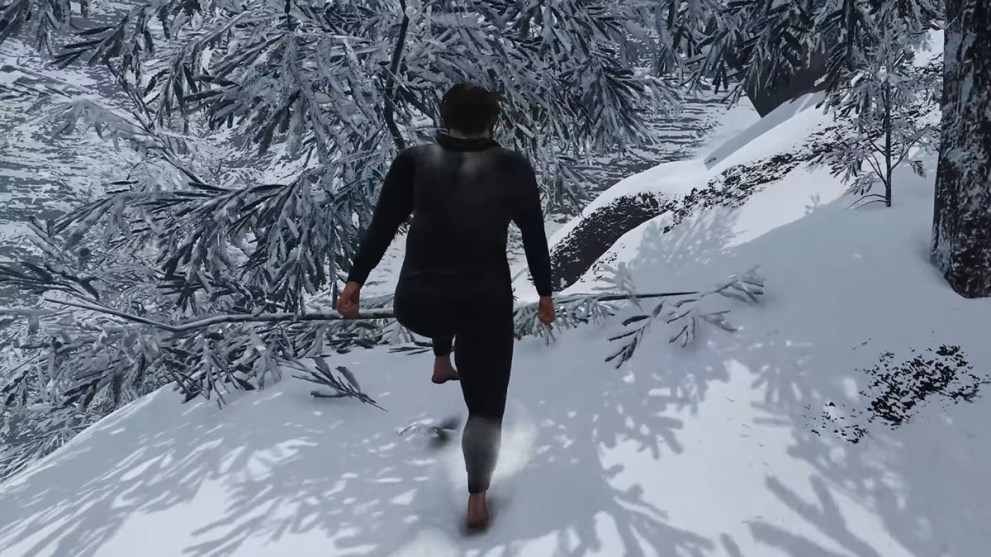
The Moose will wake you up to the view of a massive snowy mountain, which signifies the second part of your journey in Baby Steps. Here’s what you need to do after speaking to Moose:
- Naturally, you need to move forward in the direction of the highway and cross it.
- Keep walking along the stony fence in the northern direction.
- Once you’re past the stony fence, follow the path on the ground until you reach your first strip of snow.
- Keep walking towards a large curved piece of a meta construction pillar that looks like a giant snake in the distance.
- Beyond this structure, you’ll reach the edge of the cliff with a river flowing down below.
- As before, don’t be afraid to drop down, as there’s no fall damage in this game.
- Ascend the wooden staircase that goes along the cliff, which will eventually help you cross the river.
Across the River
At the top of the staircase, you should find a derelict rail bridge with a mine cart. Use the bridge to cross the river and do the following:
- When crossing the railway bridge, try to stand only on the railway itself and don’t step on the wooden planks that are too fragile.
- Once you’ve crossed the first bridge, keep ascending until you cross all the railway bridges in this area.
- Be extra careful on the last bridge with a minecart in the middle, which you can walk around by moving really slowly without falling down.
- You should be able to enter an abandoned mineshaft at the end of this journey.
- Keep traversing the tunnel until you reach the other end of it with Moose sitting next to a campfire.
Reach the Watermill
After taking a rest at the campfire, continue on along the railway in the eastern direction:
- Once you arrive at the bridge crossing, don’t go any further but drop under the bridge instead.
- Keep walking along the shore under the bridge until you reach a short waterfall.
- Climb up on top of this waterfall using the protruding stones until you reach the other side of the pond with a wooden structure in it.
- Jump straight into the water and swim through the water reservoir between the cliffs.
- Once you’re at the shore, climb up the stone wall and move to your left, using the broken railway as the staircase.
- You should arrive at the rotating watermill, which you can use as an elevator to reach the upper levels of the cliffside.
- At this stage, simply keep climbing up to the very top.
The Manbreaker Cliff
At the yellow sign that indicates the danger of falling, you should see a metal plank with a yellow construction hat at the end. You can reach it by carefully walking along this plank. Once that’s done, follow these steps:
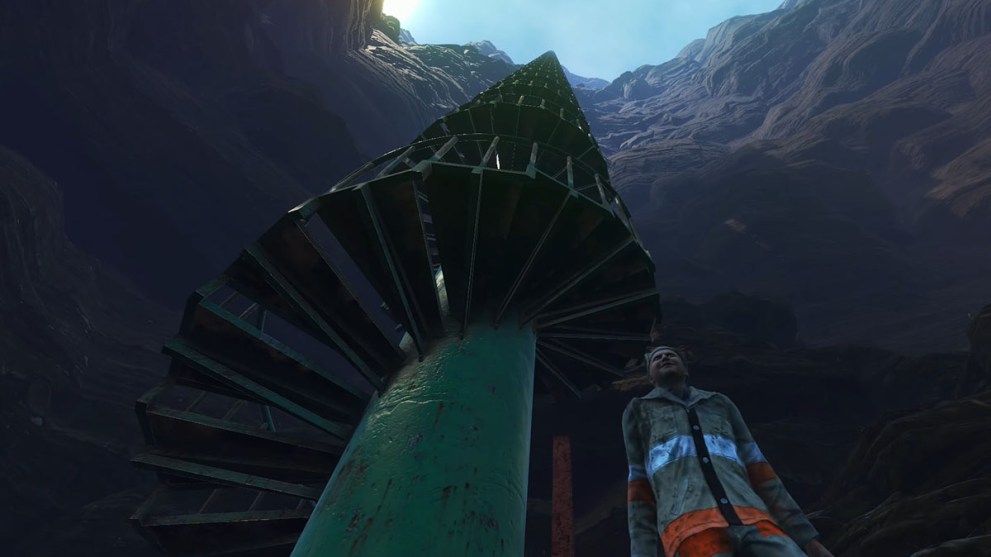
- Walk along the trail in the grass in the direction of a circular staircase, further leading upwards.
- You’ll meet Jim there, who will explain that this staircase is 250 stories tall and that he made it.
- Alternatively, he’ll offer to climb the cliffside nearby, which he calls the Manbreaker.
- Of course, you should ascend the staircase, which is much safer and faster than the cliff.
- Once you reach the top of the snowy mountain, Jim will meet you there and give you a reward.
- Then, follow the snowy path between the rocks and reach the campfire to take a rest and warm up.
Ascend the Snowy Mountain
As soon as you wake up and interact with a giant mother figure sitting on the snowy rocks and keep following the path right behind her.
- Since everything is covered in snow in this area, you need to look out for indicators that you’re moving in the right direction, and the first one will be a snowman.
- Keep going past the snowman along the frozen stream of water.
- It’ll bring you to a frozen lake, and although you can explore it, it’s better to stay closer to the left-hand edge, since ice is extremely slippery.
- Then, keep going through patches of snow and another small frozen pond.
- Another indicator of the correct direction is that you’ll start hearing somebody calling for help.
- Just keep circling around the snowy hill and ascending along the rocky path until you reach a third indicator, which is a red hat hanging off the tree branch.
Note that to reach the red hat, you may have to fall off the cliff, as the branch sticks out beyond its edge. But the way back up isn’t too long, so it’s definitely worth it.
The End of the Journey
Regardless of whether you grabbed the hat or not, keep following the snowy path past the tree branch:
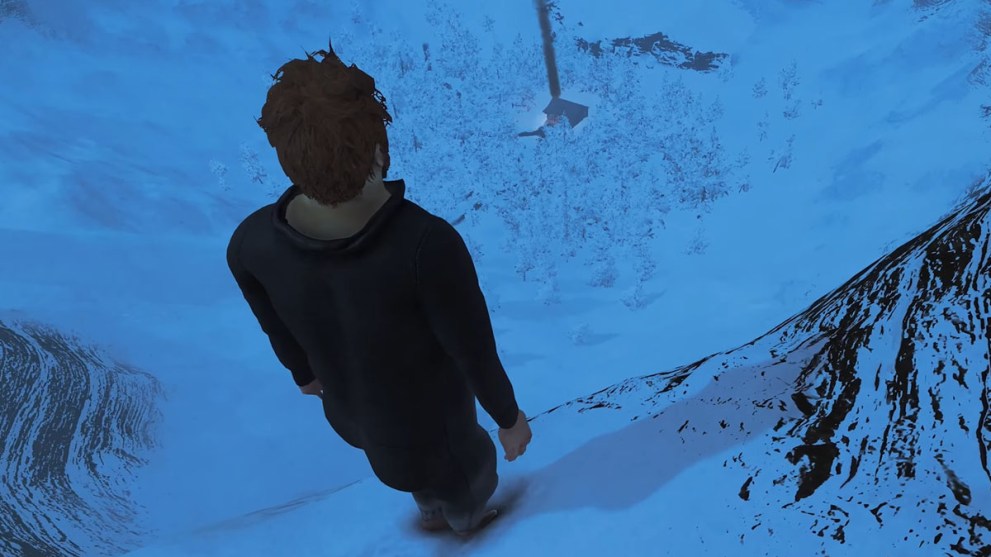
- The final stages of ascension may be tough, as some areas will be covered in snow while others will not, making it impossible to go any further.
- Keep circling the peak of the snowy mountain to find the snow-covered areas, which you can use to ascend the peak.
- Once you reach the final stage, the camera will naturally move away from Nate, giving you a grandiose view of the entire mountain range.
- Just keep going until you reach a tiny patch of forest with a wooden cabin.
- Approach the cabin and watch the final cutscene, where Moose will let you take a rest inside after an awkward but funny conversation.
As the final touch of the story, during the credits you’ll see an interactive map of your path through the open world of the game, giving you an exact idea of how you got there.
That’s everything you need to know on how to complete Baby Steps walkthrough in the fastest way possible. For more guides, check out Roblox Piggy Decay & Delirium Walkthrough Guide and Supraworld Walkthrough Guide — All Solutions & Achievements.


Updated: Oct 5, 2025 09:18 am