Monster Hunter World released to critical acclaim in 2019. Capcom followed that up to keep the momentum going with the release of a major new expansion, Iceborne. Here’s how to use View Mode and take screenshots in Monster Hunter World Iceborne.
How to Use View Mode in Monster Hunter World Iceborne
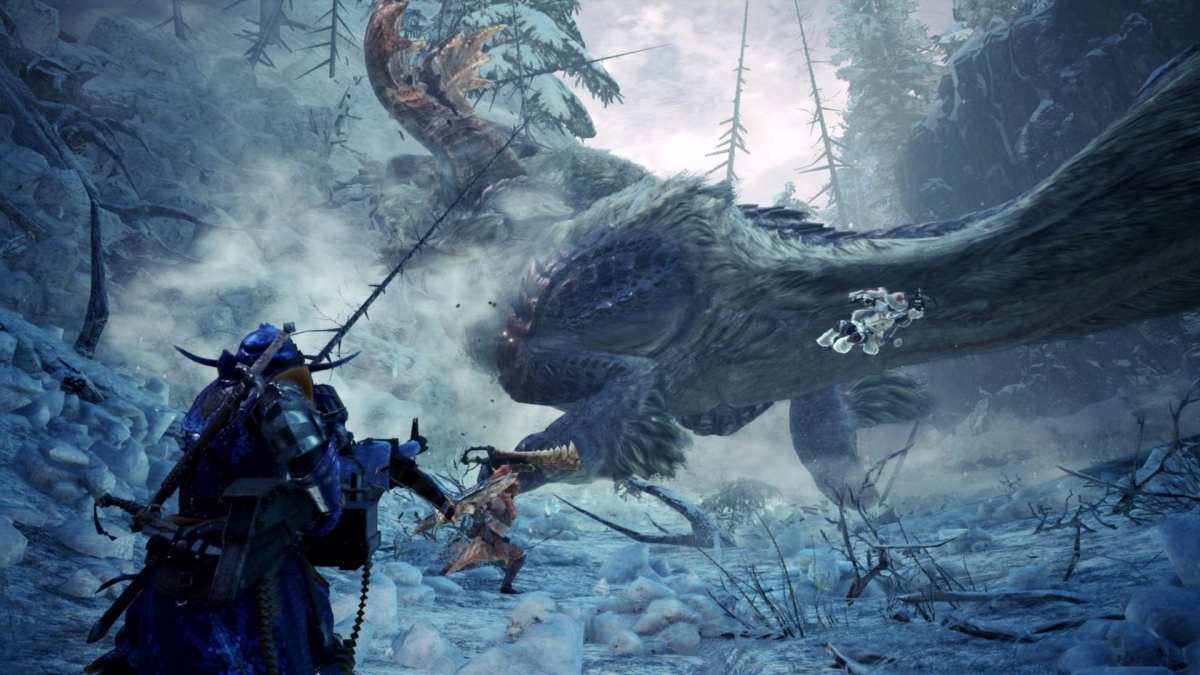
Along with new monsters to hunt and new locales to explore, the Iceborne update also comes with a new feature called View Mode. This is essentially like a photo mode that lets you take better screenshots. Once you have the latest update installed, you’ll be able to use it whenever you want.
To use View Mode, simply bring up the menu. Then, go to the System tab, and select the View Mode option from there. This will allow you to control the camera freely, and let you get the exact angles for the shots you want.
Once you’ve angled your shot correctly, just use the screenshot feature for whichever platform you’re on to take the photo. It’ll automatically be saved to your platform of choice.
To surmise,
- Open the Menu
- Go to the System Tab
- Select ‘View Mode’
- Angle your camera to get the perfect shot
- Use the screenshot button on your platform to take the photo.
Share button on PS4, double press home button and then press Y on Xbox One. Print Screen on PC.
However, do be warned that time does not stop when using View Mode in Monster Hunter World Iceborne.
While you can make use of the feature when you’re out in the wild, or even in the middle of combat, monsters can still hurt you while you’re busy posing and angling a shot. So you’ll need to be extra careful about when and where you use it.
That’s all you need to know about how to use View Mode and take screenshots in Monster Hunter World Iceborne. Be sure to search for Twinfinite or check our Monster Hunter World guide wiki for more tips and information on the game.







Updated: Jan 5, 2024 07:37 am