
The Decaying storyline in the Roblox Piggy game consists of two chapters: Decay and Delirium. Both chapters are interconnected and send you on a journey to save your friends from evil shadow ghosts. This guide will provide you with a complete walkthrough of both chapters in the game, including solutions to all the puzzles.
Table of contents
Chapter 1: Decay
The first chapter of the Decay storyline begins at the metro station, where Bunny was left from the previous storyline. Here’s how you proceed:
- Start by standing up and exploring the metro station for all the exits.
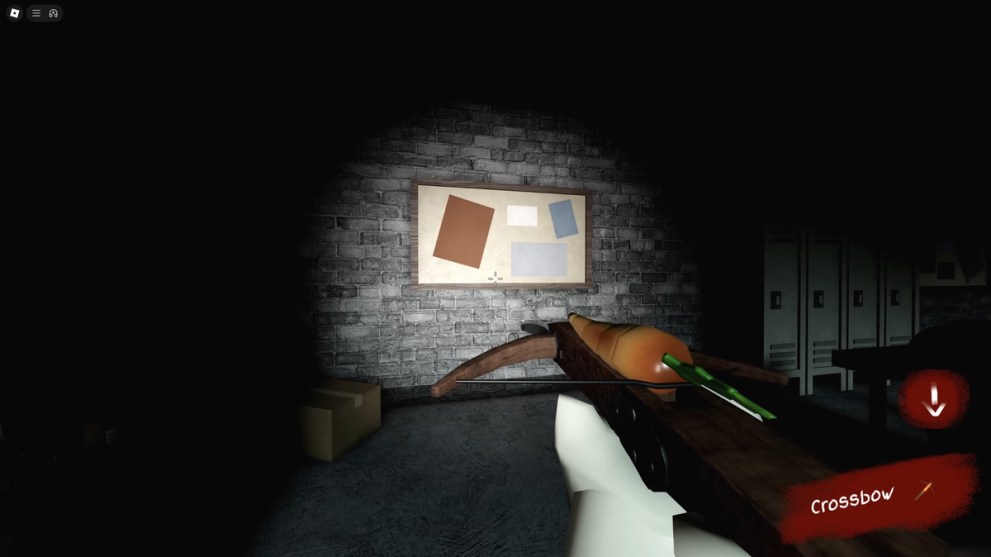
- Pick up a Crossbow weapon that’s sitting on the floor of the station.
- Most doors will be locked except the Transit Office, which can be seen right behind where you first spawn.
- The office itself doesn’t have much of value, but it shows you the direction of where to go next.
- Exit the office and follow the railway in the same direction, which is to the right of spawn.
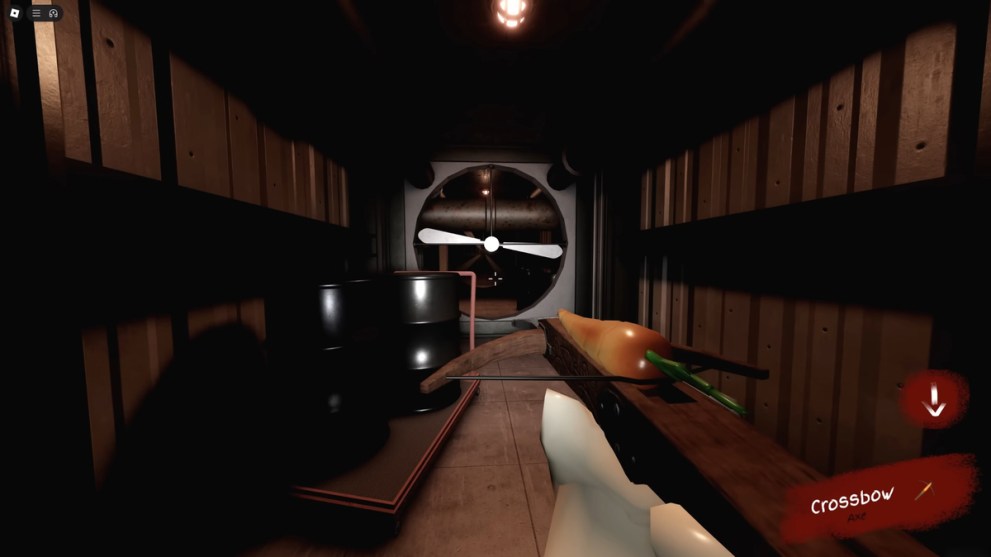
- As soon as you reach the gap in the ground, look upwards and shoot your Crossbow at the board attached to the ceiling.
- The board should fall down, creating a small bridge, which you can use to cross the gap.
In The Metro
If you keep following the railway after the gap, soon you should arrive at another station with the open door:
- Enter the doorway and proceed through the hallway with some empty lockers.
- There are two more doors at the end: the green door is locked, but the other one isn’t.
- Check the first cabin to the left in the room to pick up the Green Key.
- You can also read a note on the table, indicating the terrible state the station is in.
- Return to the green door and open it using the key you just found.
- Walk past the Station 5 Hospital sign to your left and proceed to the next room.
- Pick up a Screwdriver from the shelf and leave the room.
- Proceed in the opposite direction until you reach a set of stairs.
- Once you go up, you’ll encounter your first enemy, an infected mouse, so shoot it with your Crossbow.
The Shop Area
Now you can freely explore the rest of the shop area, although not all the doors will be open. Here’s what you need to do:
- Go to the Cathy’s Cafe and read the notes on the table.
- Then, enter the Chez Castor shop and go to the backroom.
- Find the ventilation grate on the wall and use your Screwdriver to unscrew the grate.
- Enter the ventilation shaft and follow it to the other room.
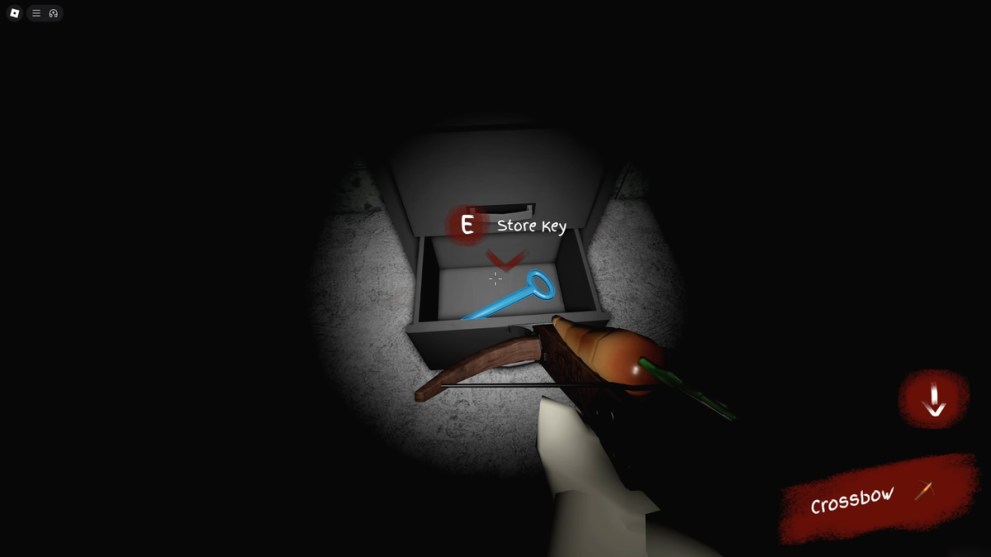
- Open the bottom drawer and pick up the blue Store Key.
- Get back into the ventilation shaft and use this key to open the Case Closed shop.
- Pick up the Metro Ticket from the table and leave the store.
Station 6 City Center

Continue on until you reach the stairs of Exit Station 6 and walk up to the next level. Then, do the following:
- Turn right at the top of the stairs and follow through to the Station 6 City Center area.
- Once you reach the dead end, turn left and open the door.
- Read the note on the blue bed and pick up a Medkit from the shelf.
- Leave the room and use your Metro Ticket to enter Station 6 City Center gate.
- Kill another infected mouse and turn left at the corner.
- You should see an open door to your left, which you need to enter.
- Proceed to the very end until you reach another door.
- Inside you’ll notice two shadows and a scripture on the floor: “You left us for him.”
Employee Office
Keep going until you see the shadows again and appear in another room. Pick up a plank from the shelf and do this:
- Leave the room and kill another infected mouse at the station.
- Cross the broken bridge by fixing it with the plank that you picked up earlier.
- Enter the hallway on the other side and kill an infected mouse.
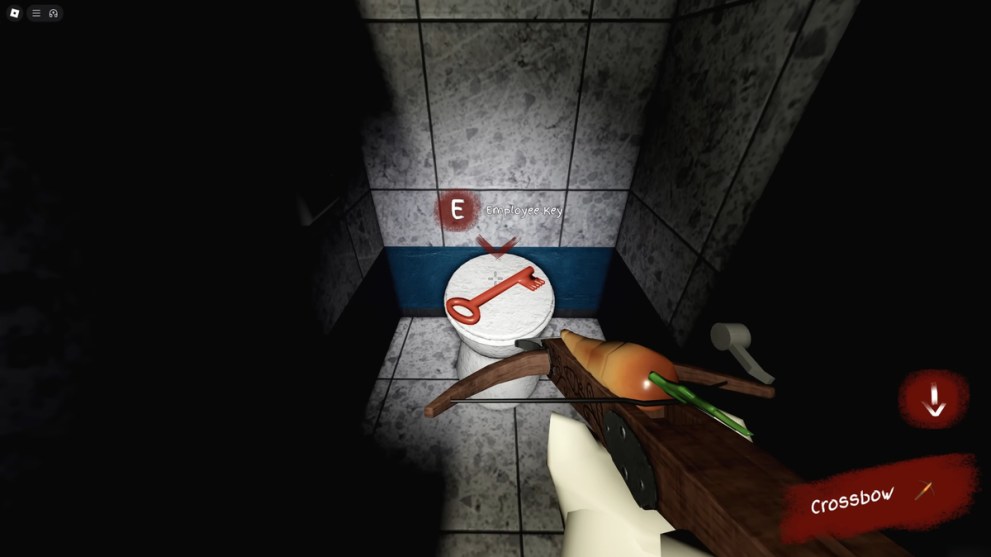
- Enter the bathroom to your left and pick up the Employee Key from the middle cabin.
- Return to the station and use the key to unlock the Employee door.
- Pick up a shovel from the locker and go back to the station.
- Jump onto the railway and use the shovel to dig away the dirt obstacle.
- As soon as you arrive at the middle station, be sure to kill the infected mouse.
Fan Blades
Enter the middle station and walk up the stairs until you reach another locker with a Medkit. Then, follow these steps:
- Continue going upwards until you reach a door that leads to a balcony above the railway.
- Use the rotating ventilator over the railway to shift to the opposite side of the balcony.
- Go left and open the door, where you can read another message on the table.
- Go to the opposite room and pick up a Fan Blade from the locker.
- Return to the balcony and fix the broken fan to your left.
- Use the fixed fan to shift to the opposite side of the balcony as before.
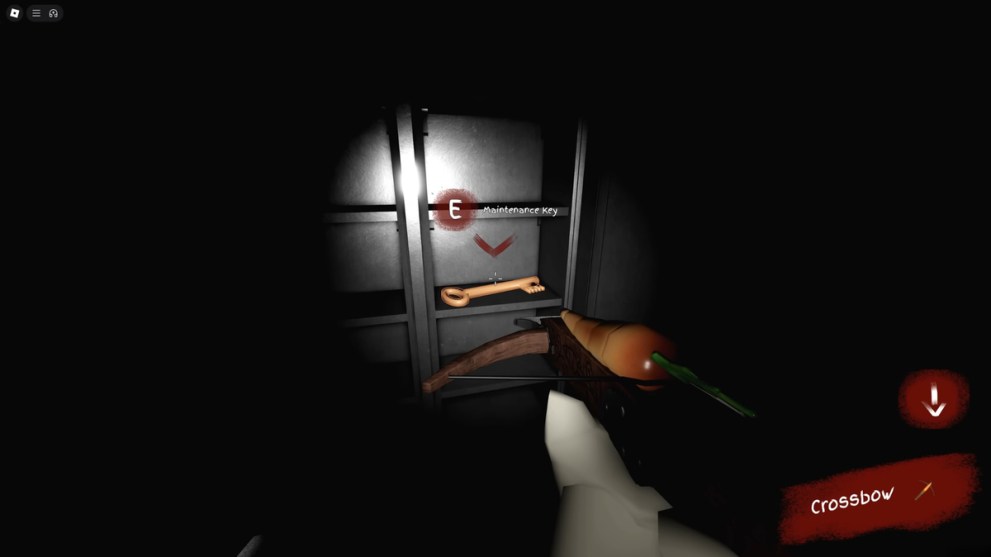
- Now move left until you reach another door with the Maintenance Key in the locker.
The Steam Room
Descend all the way back to the railway and keep moving forward until you reach another middle station, where you can use the Maintenance Key to unlock the door.
- Move through the corridor and turn left until you reach another door.
- Be careful here, as there’s another infected mouse inside.
- Pick up an axe from the locker and return to the corridor.
- Turn the red valves to stop the streams of hot steam from the pipes.
- Turn right until you reach another door with two shadows inside.
- As soon as one of the shadows leaves the room, you’ll be transported to another location.
- Leave this room until you reach a set of large fans, blocking the way.
- These giant fans are slow and broken, so you can time it right and crouch through them.
The Fan Room
As soon as you reach the two ventilation shafts, be sure to break the grate on the left one and move forward.
- When you reach the other side, you should end up in another room with large fans.
- Use your Crossbow to hit the fan blades to be able to crouch through them.
- When you reach a fan that moves too fast, use your axe to put in a wedge and stop the fan.
- Go to the door on the left and kill another infected mouse.
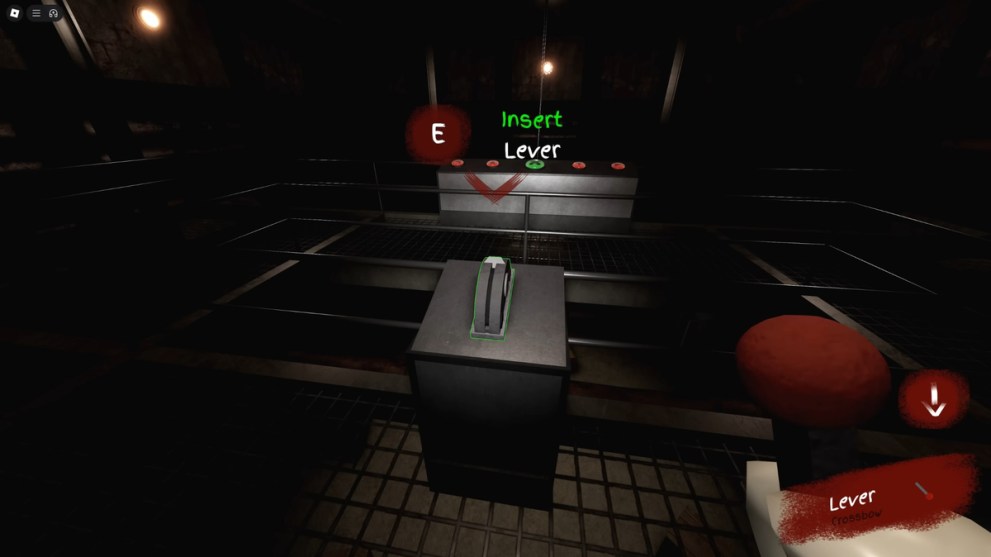
- Pick up a Medkit from one of the lockers and the Lever from the opposite one.
- If you find a stack of wooden crates, be sure to check out another message hidden in between.
- Go up the stairs until you reach a control panel with a broken lever.
- Use the Lever you picked up earlier to fix it and switch it on.
The Burlap Bag Puzzle
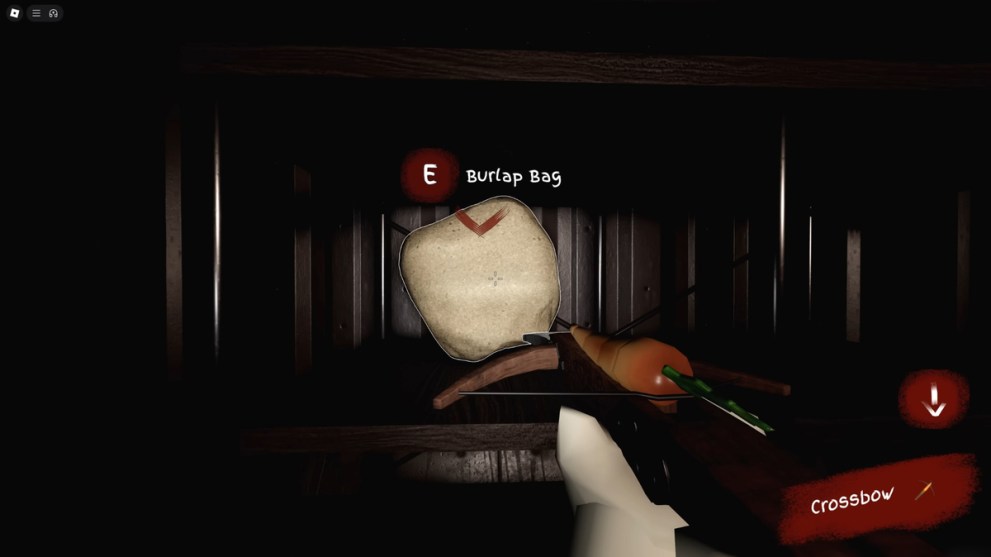
This will trigger a mechanism that will lower the hook crane, so it’s a good time to get back down:
- On your way down, pick up a Burlap Bag from one of the rooms.
- Attach the Burlap Bag to the hook crane and switch back the lever to bring it up.
- There’s a puzzle on the ceiling that you need to solve by pressing the following buttons on the control panel, counting from left to right (1-5):
- Button 2
- Button 2
- Button 5
- Button 2
- Button 2
- Button 1
- Button 4
- Button 3
- If you did everything right, you should be able to drop the bag in the right spot.
- Go back down and enter the hole in the floor, created by the fallen bag.
- Turn left, right, right, right, left, left, right, left, and down.
Station 2 Citadela City Hall
You should arrive at the railway, where you can pick up the Tunnel Key on the ground. Note that as soon as you try to grab the key, a wall will collapse and an infected rabbit will jump out.
- Don’t try to fight the rabbit and simply run away along the railway.
- Use your crossbow to break the wooden obstacles on your way.
- Keep running until you reach the door and use your Tunnel Key to unlock it.
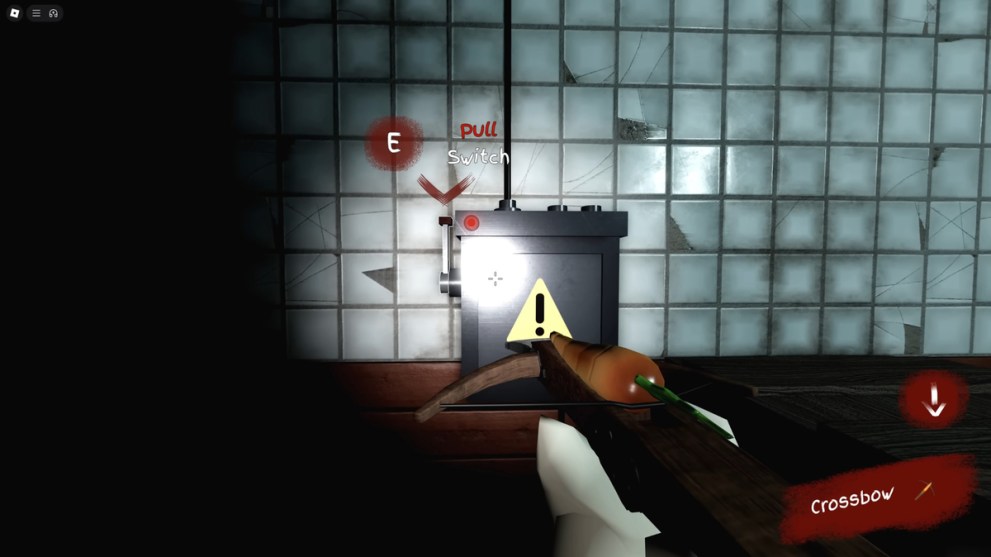
- Go upstairs and turn right until you find the door with the electric switch.
- Pull the switch and pick up a Medkit from the locker.
- Go to the Washrooms area and pick up a purple Gate Key.
- Return to Station 2 Citadela City Hall and use the key to unlock the gate.
- Turn left and find the door with the wooden planks.
- Use your Crossbow to break the planks and enter the room.
Exit Station 1
Inside this room, you’ll find another electric switch, which you need to turn on. Then, read the message on the table and follow these steps:
- Continue on to the station and be sure to kill all the infected mice there.
- On the other side of the railway, you should find a Pickaxe.
- Pick it up and return to the starting area of the station, where you can find another door.
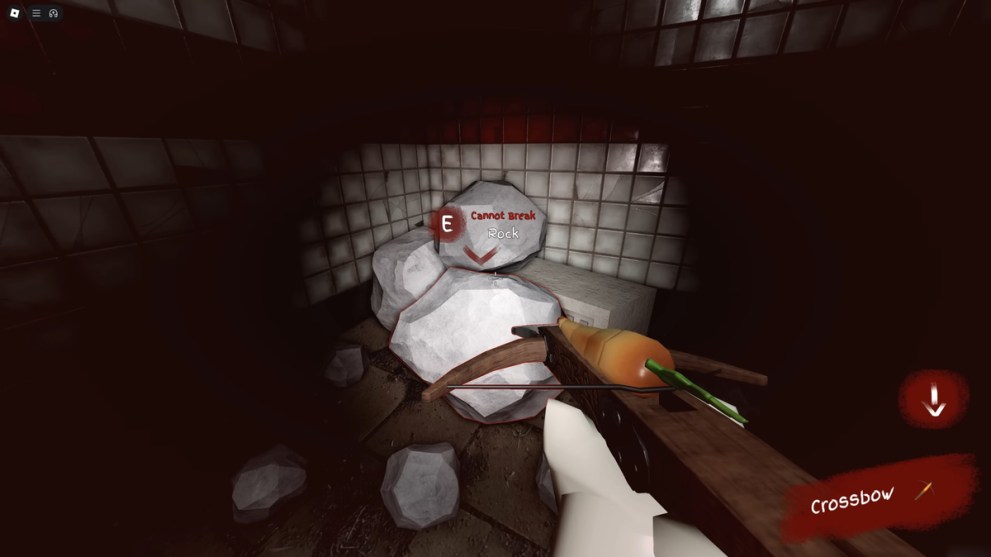
- Enter the room, pick up a Medkit from the locker, and use your Pickaxe to break a pile of rocks in the corner.
- Pick up a white Station Key from the locker, which was under a pile of rocks.
- Cross the railways again using wooden bridges and open the Station Door on the other side.
- Continue on into the hallway and turn left in the direction of Exit Station 1.
- As soon as you reach the next door, the wall behind you will crumble, revealing another infected rabbit.
- As before, keep running, avoiding all obstacles, until you reach a dead end.
Here, you need to break the ventilation grate to your left and enter the shaft before the rabbit grabs you. Follow the shaft to the very end of the first chapter.
Chapter 2: Delirium
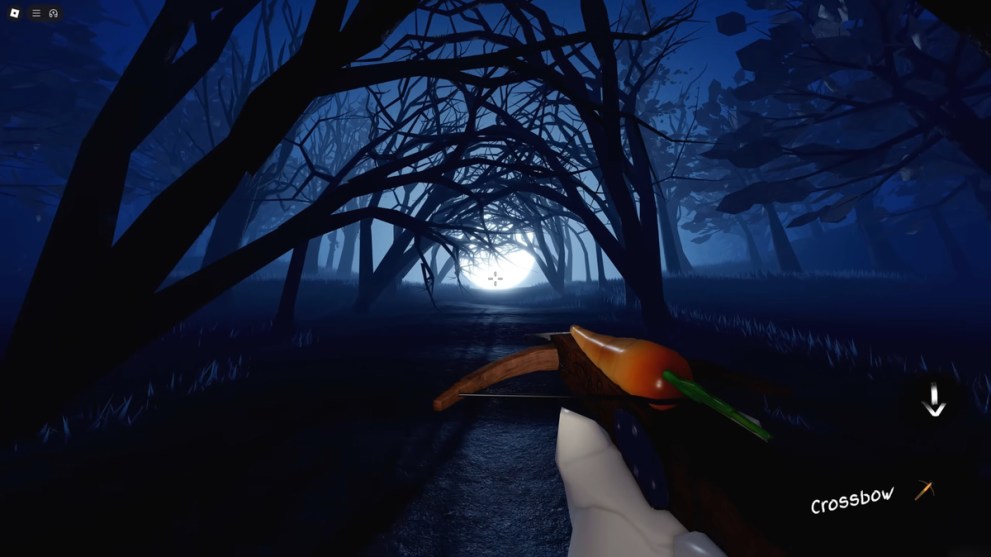
After a short cutscene, the second chapter of The Decaying storyline will begin in the night forest. Here’s what you need to do:
- Follow the path through the forest until you reach the playground.
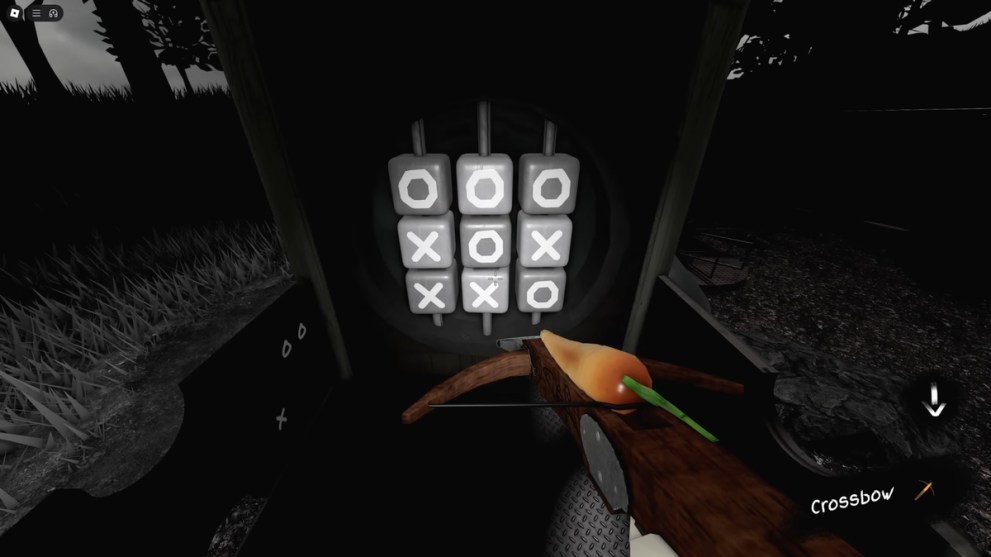
- There, you’ll find a mini-game with three missing pieces.
- One piece can be found right under the mini-game.
- Another one can be seen on the table next to a swing.
- The third piece is hidden in the tower on the other side of the swing.
- When all pieces are in place, turn all of them from X to O.
- You can also find hints inscribed with colored chalk on the walls, showing you the right answers to this game:
- Turn back the bottom left piece to X.
- Turn the middle left piece to X.
- Turn the middle right piece to X.
- Turn the bottom central piece to X.
- If you did everything right, the puzzle will collapse, revealing a tunnel path.
Missing Wood Pieces
As soon as you pass through the tunnel shaft, you’ll end up in the color box. Then, follow these steps to get out of it:
- Enter the red tunnel and turn left into the pink tunnel.
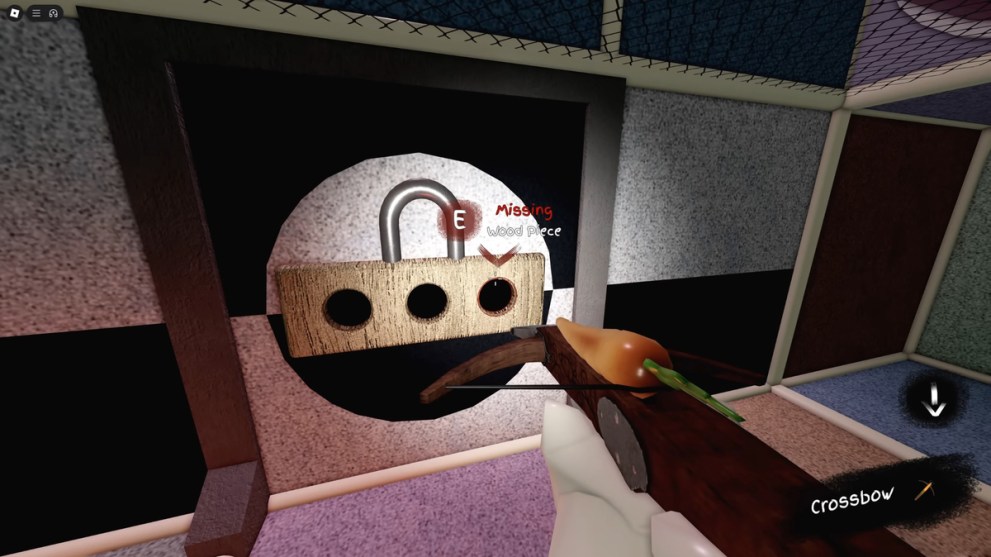
- Find a puzzle on the wall with three missing wood pieces and remember its location.
- Turn in the opposite direction and descend the staircase.
- Enter the Birthday Room to your right and pick up a Medkit from the table.
- Pick up a blue Woodball behind the table and leave the room.
- Return to the puzzle on the wall and insert the Blue Ball into the right slot.
- Find your way upstairs and search for the Red Wood Triangle on the bench in the back of the arcade room.
- Return to the puzzle and insert the Red Wood Triangle into the left slot.
- To find the final piece, pass through the red and green tunnel into the shop area, where you’ll see the Green Wood Cube on the bench next to the Boot’s Books shop.
The House on the Hill
As soon as you insert the final piece into the puzzle, the lock will fall down and open the door into a new area:
- Keep walking straight through the hallway until you fall under the floor.
- Three shadows will start chasing you, so just keep running away in the opposite direction.
- As soon as you reach the dead end, you’ll be transported to the night forest again.
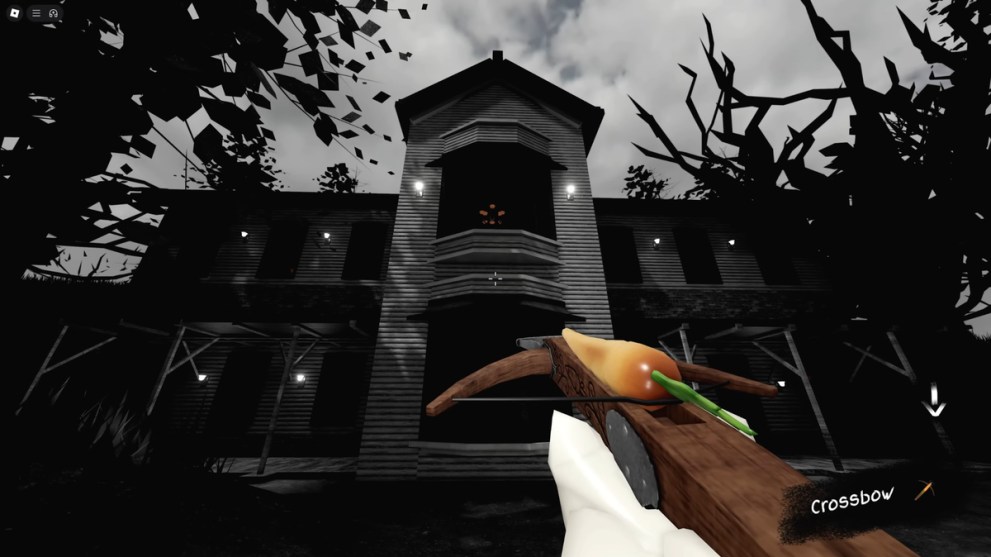
- Keep following the ground path until you reach the house on the hill.
- Enter the house from the right side and open the door next to a TV set.
- Pick up a Medkit in the kitchen to your right and go back into the main hall.
- Enter the living room with the hearth and pick up a purple Reading Room Key from the closet.
- Now you can finally go upstairs and find the door with the purple lock.
The Basement
Use your purple Reading Room Key to unlock the door and pick up a Basement Key from the closet. Then, do the following:
- Find your way back into the main hall on the ground floor, where you started.
- Use the Basement Key to unlock the door to the basement and descend the stairs.
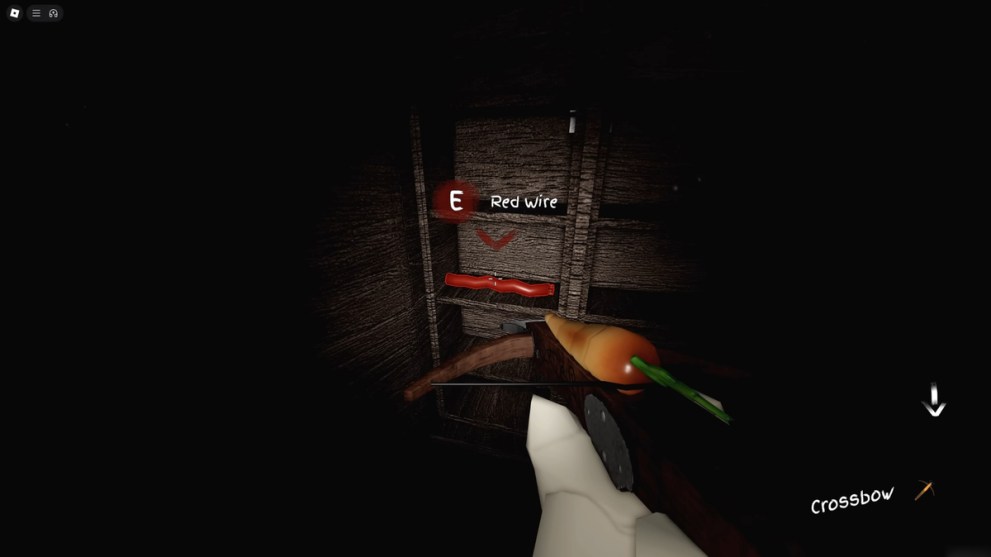
- Look out for a control panel with the missing wire on the wall.
- You can find the missing blue wire in the closet at the kitchen.
- The red wire can be found inside the closet in the living room with the hearth.
- Now place both missing wires into the control panel in the basement and pull the lever.
- This will open a new area in the basement behind the wall.
- At this point, you need to escape another shadow, running through the narrow basement halls.
Millstone Medical School
The chase will end as soon as you reach the green exit sign on the wall, prompting you to ascend the stairs:
- Once you leave the basement, follow the path outside downhill.
- Soon you’ll encounter a chained infected rabbit, so shoot it with your Crossbow.
- Continue following the path until you reach the gate of the Millstone Medical School.
- Enter the yard through the gate and follow the path to the entrance.
- There, you’ll see another shadow appearing at the staircase.
- Follow it to the second floor and turn left.
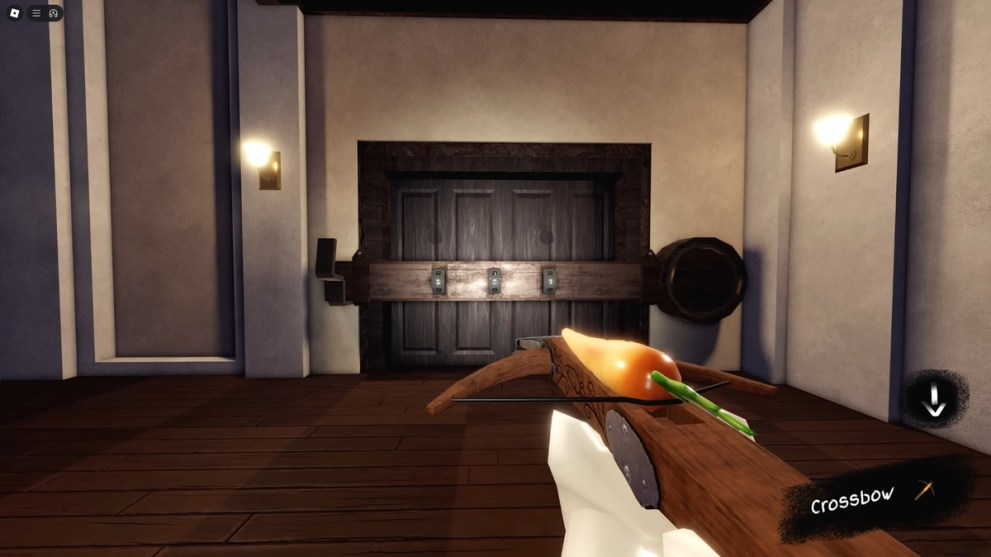
- The ghost will lead you to a large wooden door with the numerical lock.
- Ascend the staircase to the third floor and enter the lecture room behind the library.
This is where you begin to solve the mysterious code of The Moon, The Sun, and The Star. All three of these symbols correspond to the three numbers that can unlock the big wooden door. In three different lecture rooms, you’ll find the three symbols and a number of books with these corresponding symbols. Since there are four books with the moon symbol, two books with the sun symbol, and three books with the star symbol, this means that the password for the giant lock is: 4-2-3
Behind the Door
After opening the door, you’ll end up on the path outside the Millstone Medical School. Here’s what you need to do to complete the game:
- Follow the path until you cross the bridge.
- Start shooting shadow enemies that are indicated with red color using your Crossbow, but don’t hurt the green ones.
- Once you kill all the red enemies, this will complete the second chapter.
That’s everything you need to know on how to complete Decay and Delirium chapters in Roblox Piggy. For more guides, check out Supraworld Walkthrough Guide — All Solutions & Achievements and Is This Seat Taken? Walkthrough Guide — All Solutions.


Updated: Sep 8, 2025 07:44 am