
If you need a hand in the platformer’s second main world, our Astro Bot Tentacle System walkthrough is here to help. We’ve got images and tips on getting all of the bots and puzzle pieces across the various levels, and an explainer of the secrets lurking in the cosmos!
All Astro Bot Tentacle System Bot Locations
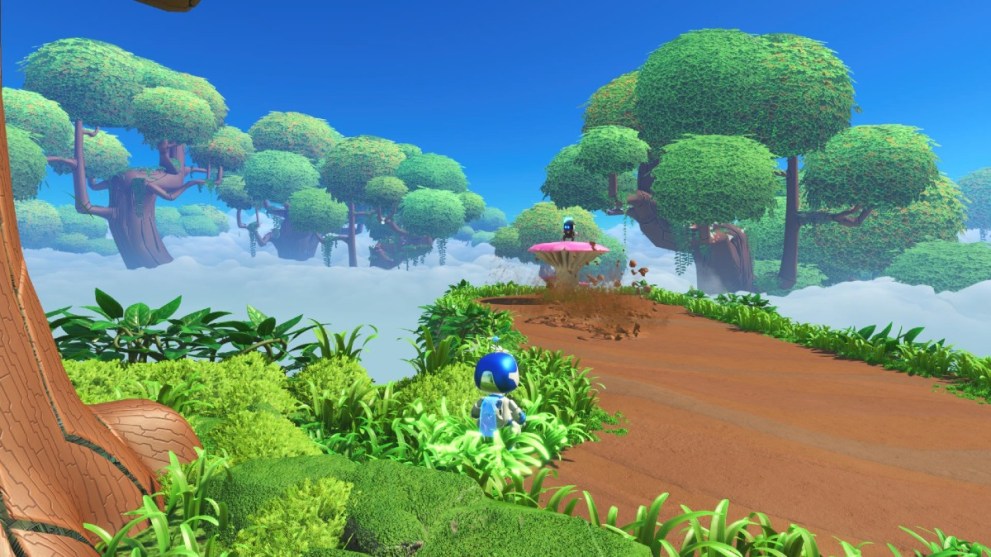
Go-Go Archipelago! Bot Locations
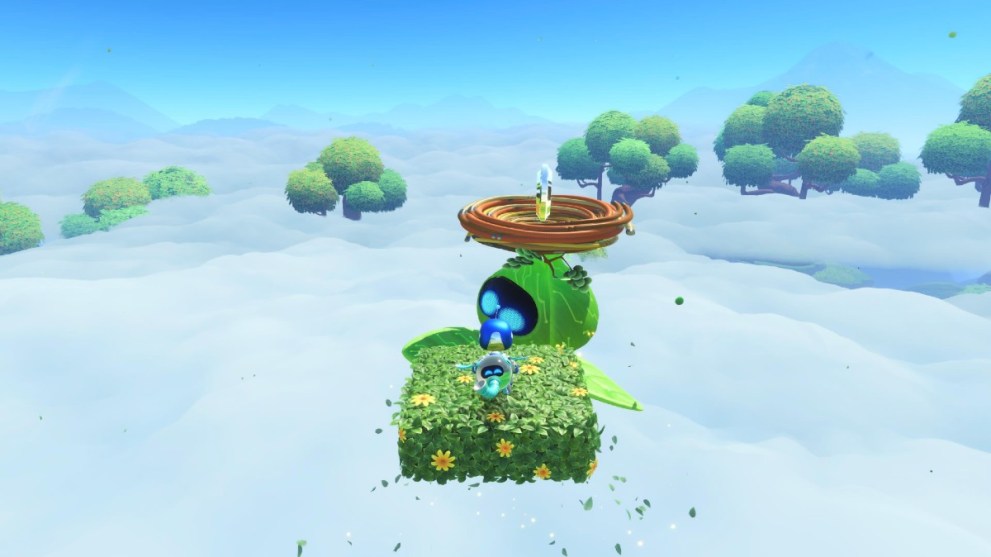
At the start of the level, head to the cavern on the left and bounce over the lilypads. You’ll find a bot tending to a campfire.
Remaining in this opening area but heading to the right instead, you’ll spot a bot tied to a tree surrounded by enemies. Just defeat them to save it!
Climb past the area where you claim the level’s second puzzle piece, destroying the wooden crates and following the path right to a bridge with a caged bot on it. Smash the bridge around the crate to cause it to fall down, and the bot will be accessible on the ground.
On the ground from where you saved the third bot, pick up the big boulder with two hands and throw it at the cliff edge with a face on it. There’s a lit door to open by pressing down on the correct pressure plate, and a helpless bot inside a cave to rescue.
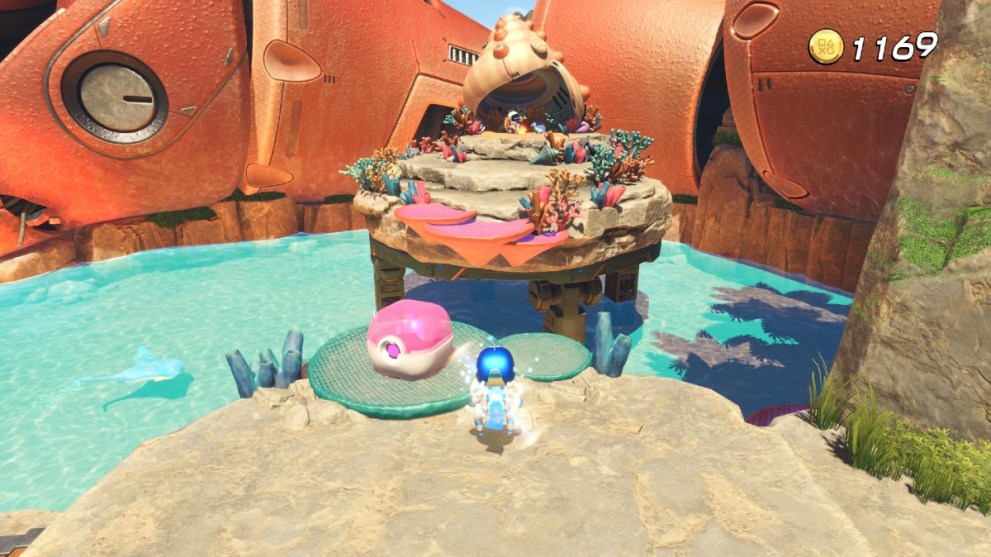
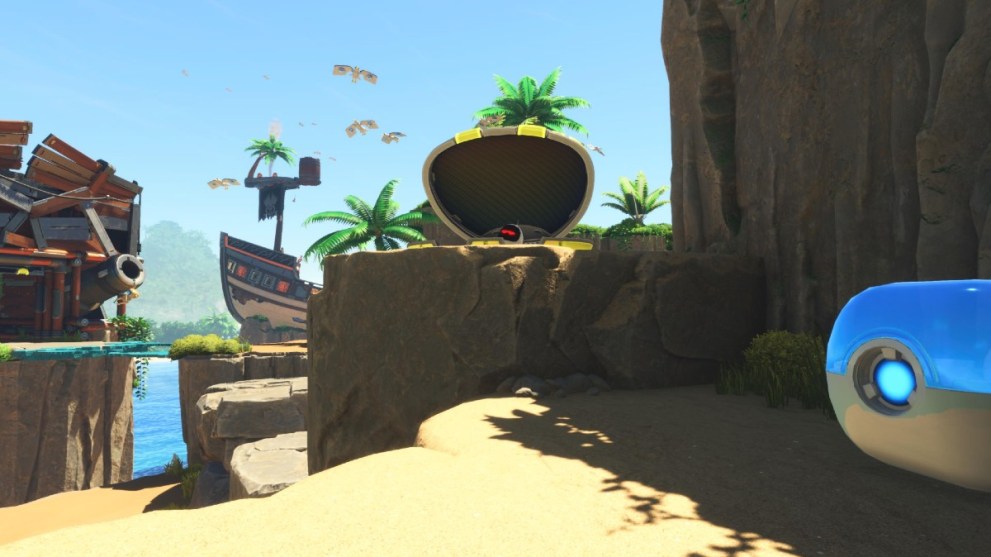
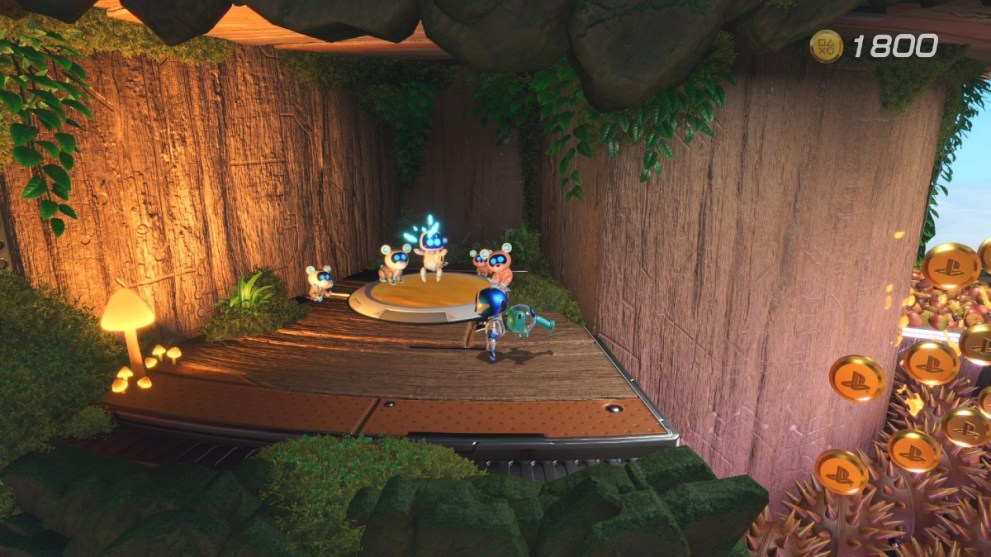
Head back up the cliff to where you first saw the bridge, but walk to the left instead. Slam down on the pressure pad to sprout three flowers you can climb up. There’s a clam-shaped enemy with a bot in its mouth, but it closes as you get near. Use the gloves to hold both sides and fling it open, saving the bot within.
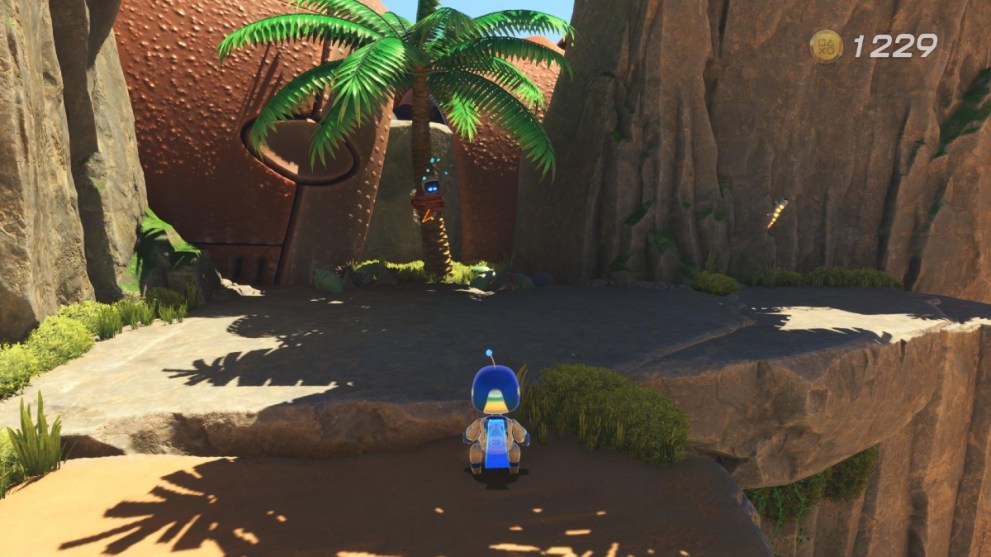
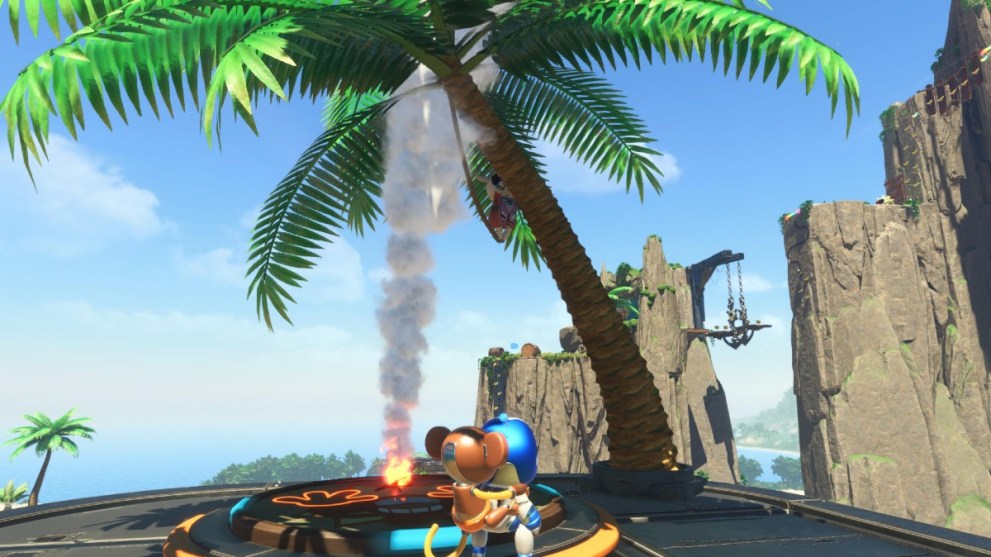
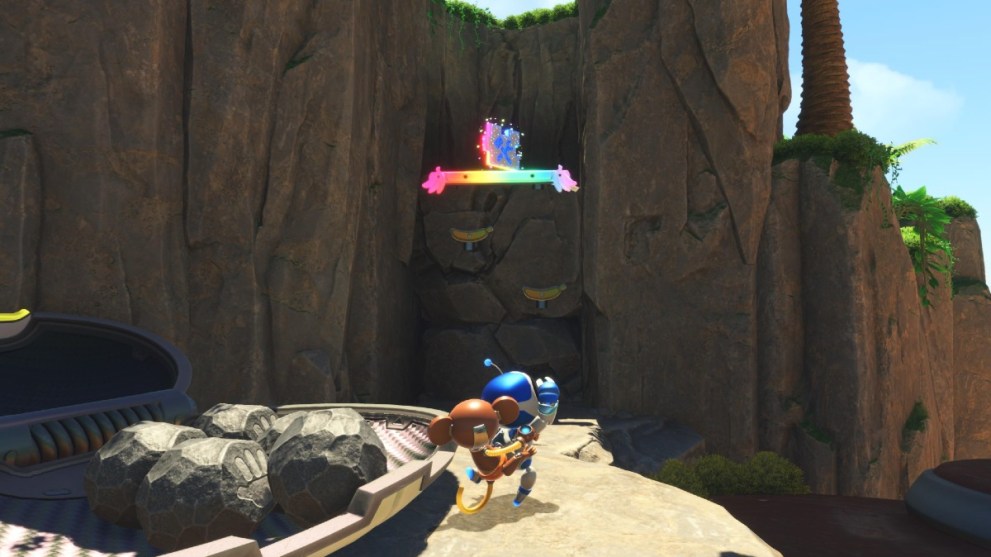
Next, go beyond that bridge and climb up the banana handrails that appear. Instead of going forwards, turn south and you’ll spot a cannon with a pressure plate surrounded by enemies. Slamming it spawns a wire to walk across to an island with a shipwreck on it. Make your way to the top and slam on the pressure plate to free a bot stuck in a tree.
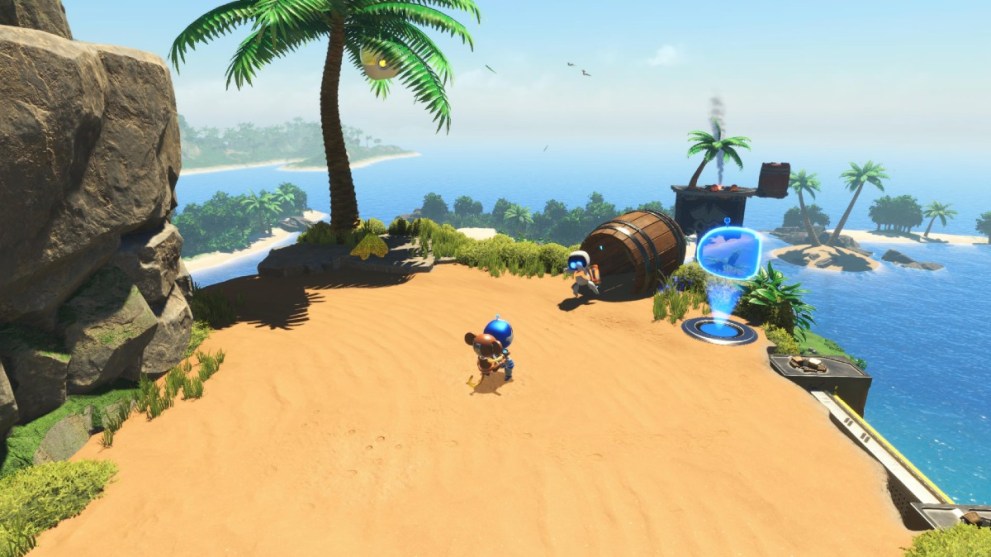
Progress through the level until you reach a cliff with two bunny enemies on it. Once you defeat them, head towards the barrel with a wire pointing out the end, and pull it to reveal a bot.
Trunk of Funk Bot Locations
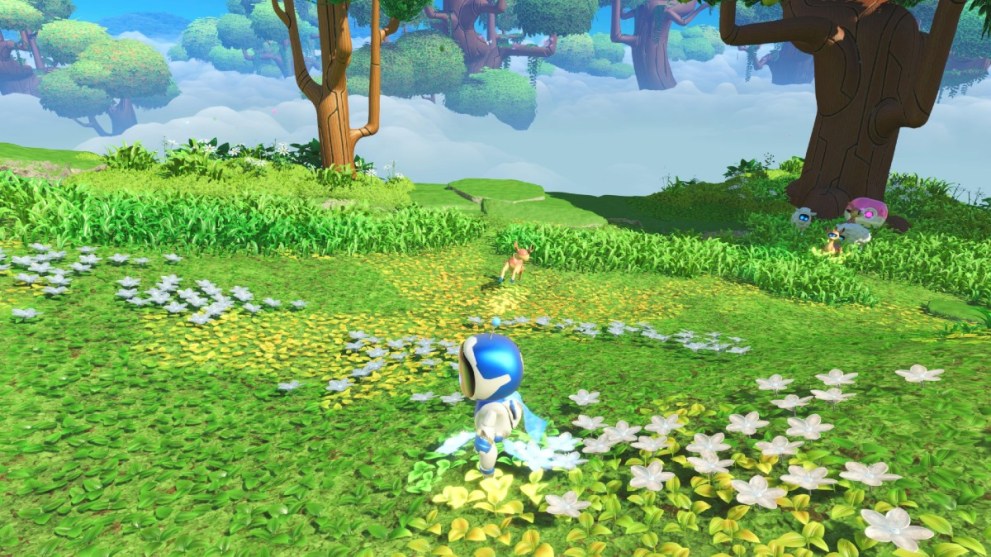
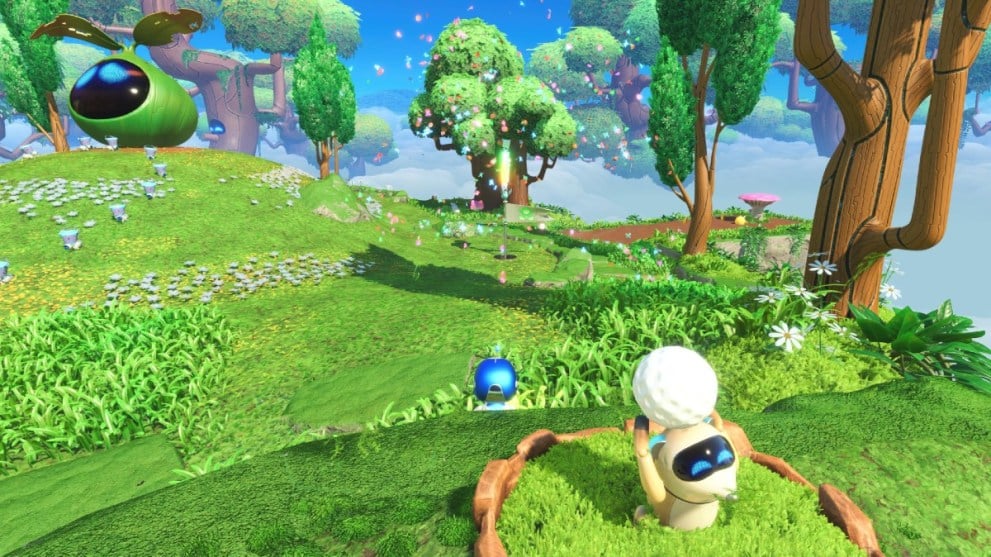
This level’s first bot is riding a deer in the first main area after the intro. It runs in a fairly erratic way, so try to predict its movements to intercept.
Just to the right of the first bot is one stuck on a mushroom top, protected by a mole. Fortunately, this moves slowly enough that you can just glide over to save it.
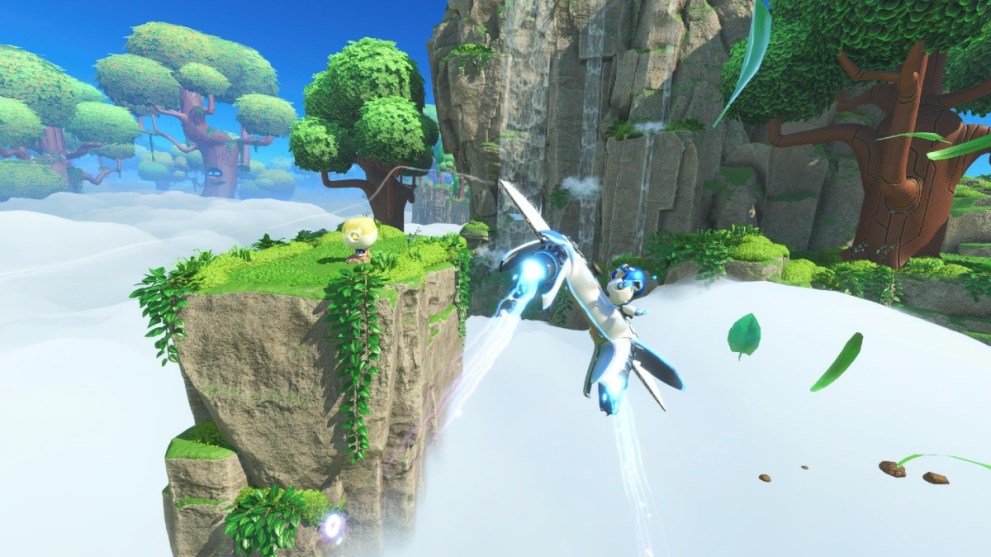
Progress through the level until you unlock the slime jetpack and are climbing the edge of a tree. To the right of the proper route is a bird’s nest with a bot trapped in an egg. Just use the slime to create bridges to it and smash the egg open!
Keep going until you’re past the point where you glide up a stream of air using your abilities for the first time. While a door opens to the right to let you out into the rest of the level, travel upward and yank on a wire hanging from a bulb to free another bot.
Once more, there’s a bot stuck on a floating platform way off the main path once you’re out of the tree. Use the slime to create platforms to reach it.

Once you’re at the checkpoint at the edge of the tree with a massive worm poking out, go left instead of right. Pull out the wire that appears when you defeat the sole enemy, press the right pressure plate on the wall, and there’s a bot within.
After the encounter where you fight two jar enemies at once, head to the left instead of the main objective path on the right. Use honey to bounce past the spikes in the ground and you’ll see the final bot stood in a cavern.
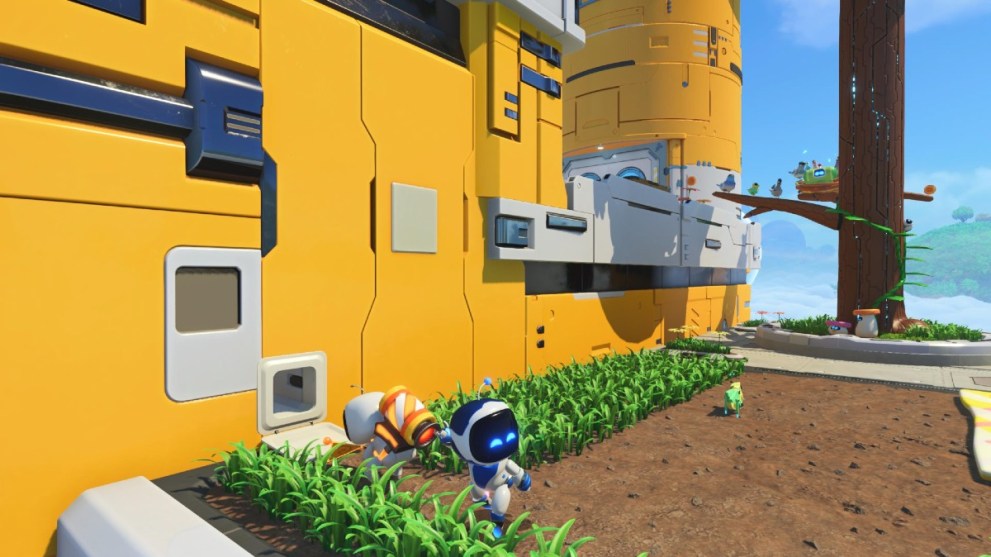
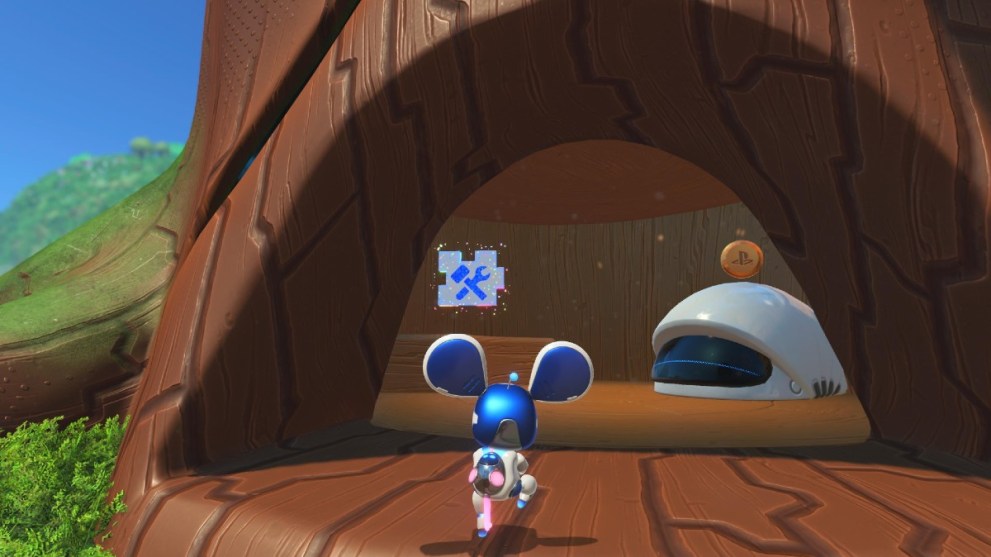
Downsize Surprise Bot Locations
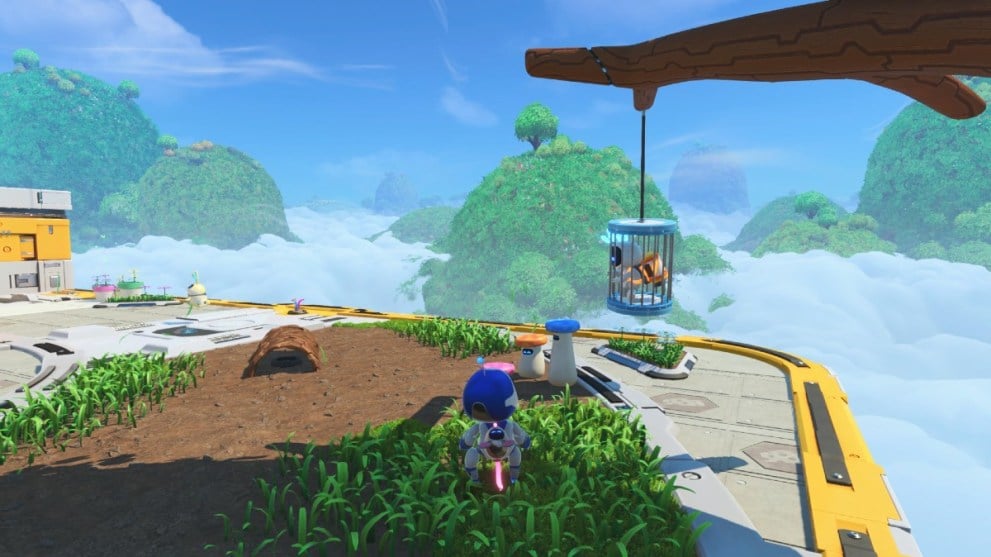
The first bot appears in a hanging cage on the right after you’ve shrunk for the first time and climbed up the wall. Shrink yourself, climb up the mushrooms and into the cage, then expand again and it’ll fall out!
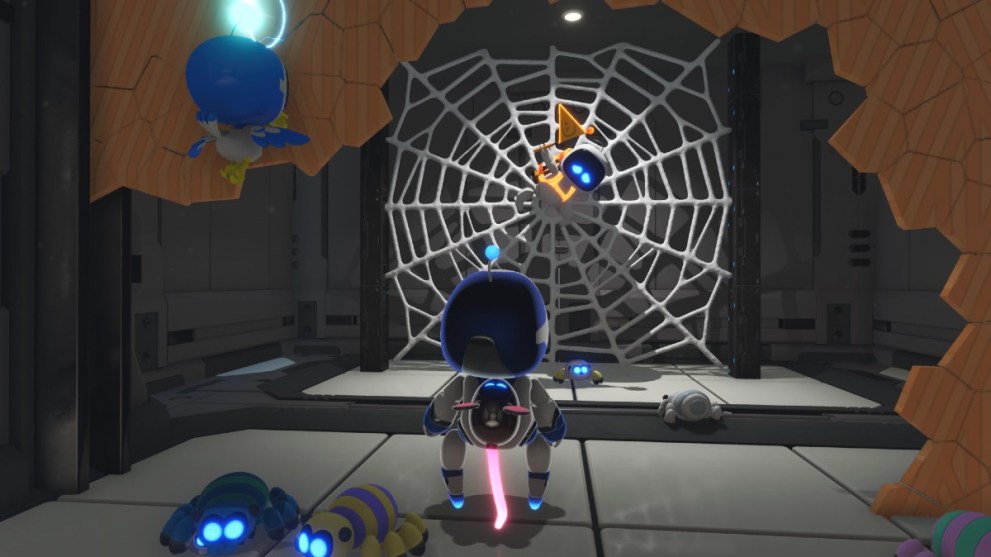
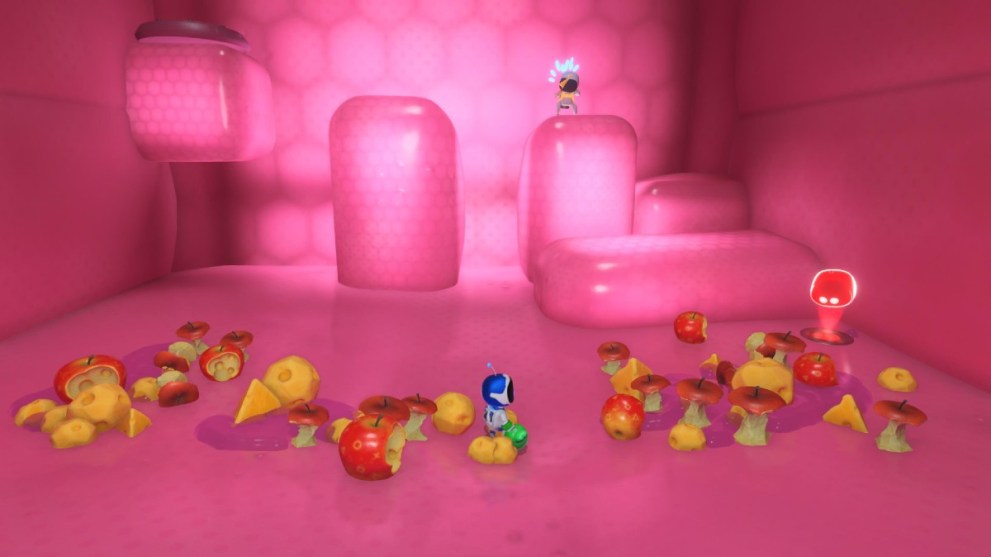
Before climbing up the clothing line, go back to the main yard and all the way to the left. Destroy the crates containing apples and shrink down to enter the cubbyhole. Destroy the brown wall within and you’ll spot a bot caught in a spider’s web.
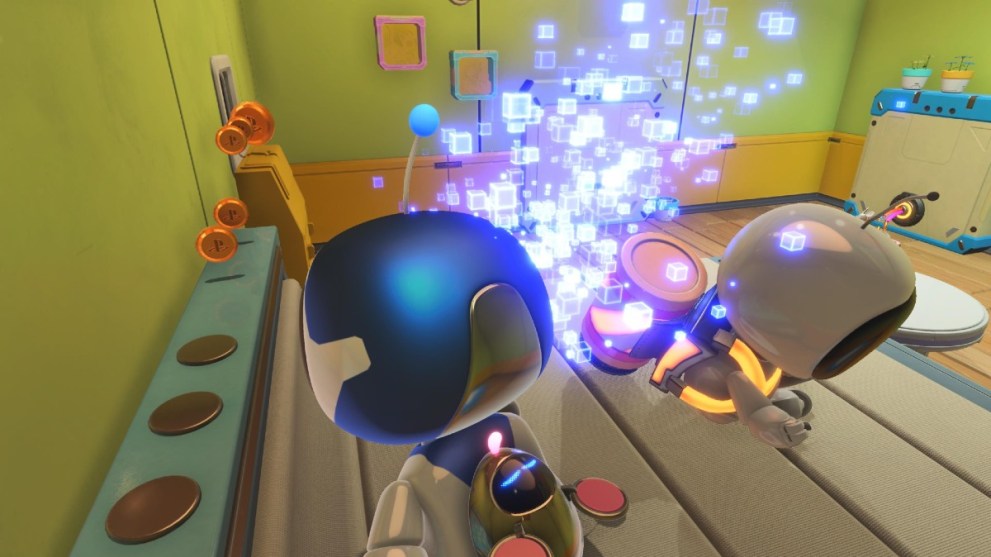
In the bedroom, you’ll spot a bot-shaped bulge in the bed. Shrink down so you’re under the blankets and then expand again to free the bot!
Next, a bot will jump out at you as you exit from the bedroom into the garden. It falls directly where you were just stood, making it impossible to miss.
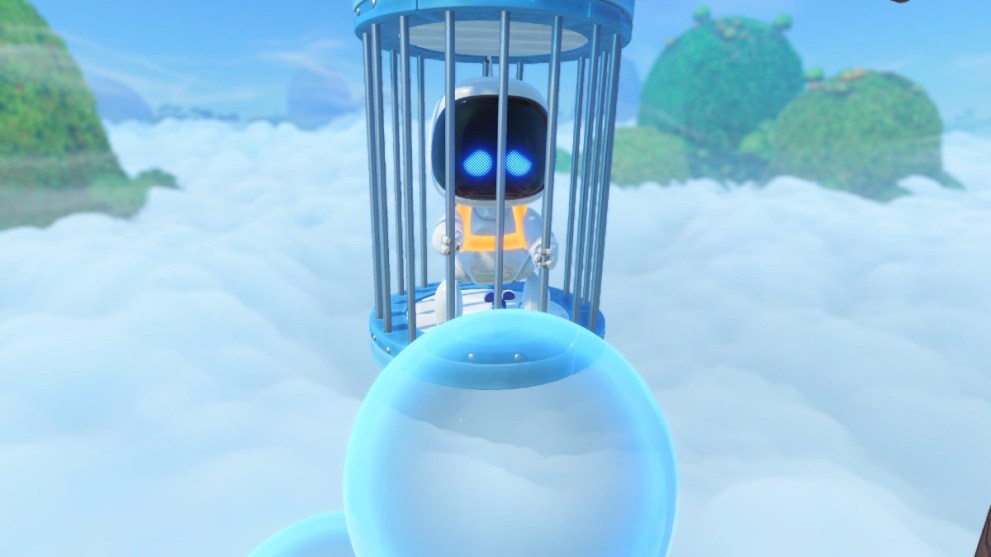
To the left-hand side of the terrace beyond the bedroom, you’ll end up on a rooftop with a toy frog that blows bubbles. Shrink down and ride one of the bubbles, jumping into the bird cage where another bot is trapped.
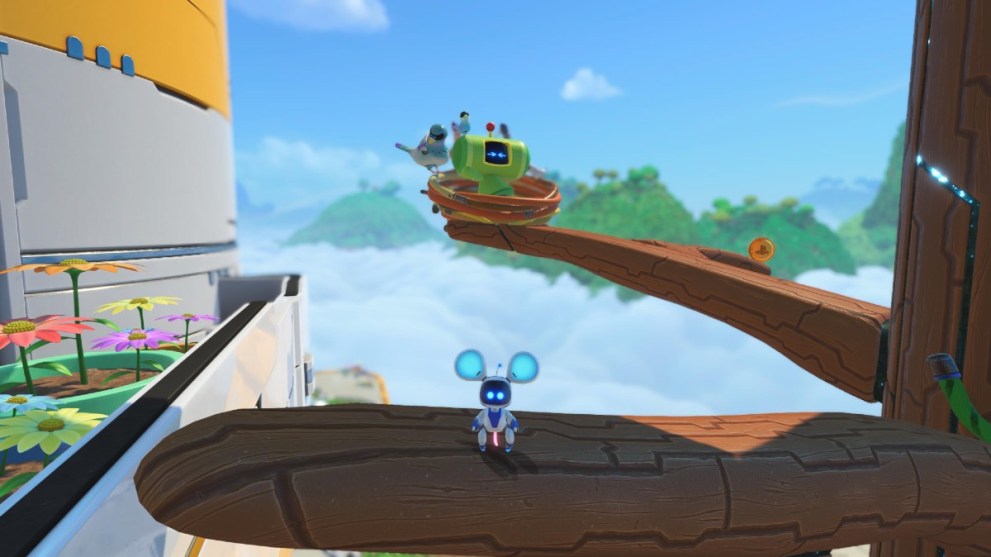
In the garden, shrink down and climb up the tree using mushrooms and leaves. In a bird’s nest is a green-tinged bot!
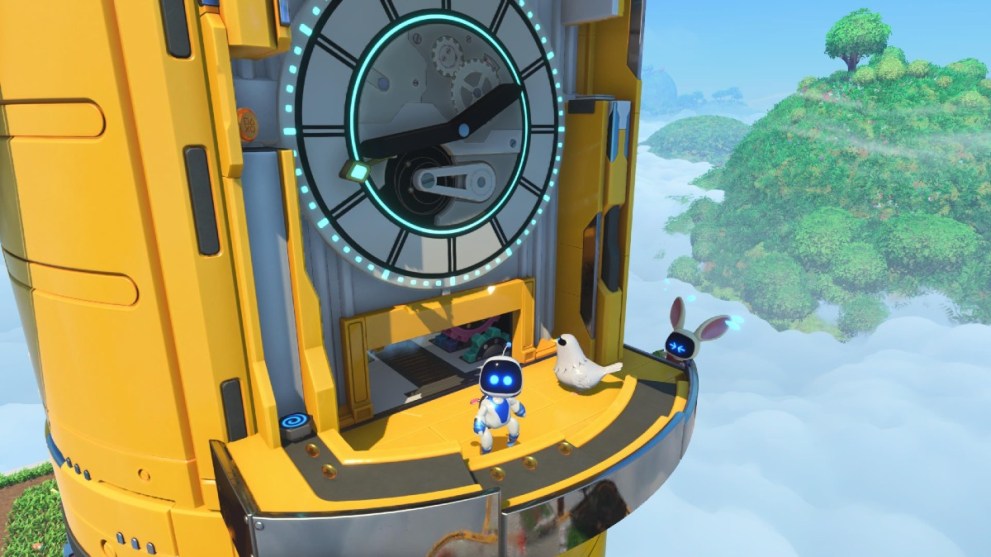
Up from the tree to the terrace, climb into the padlock and up the edge of the clock, until you come out on the other side. There’s a bot hanging from a ledge to save.
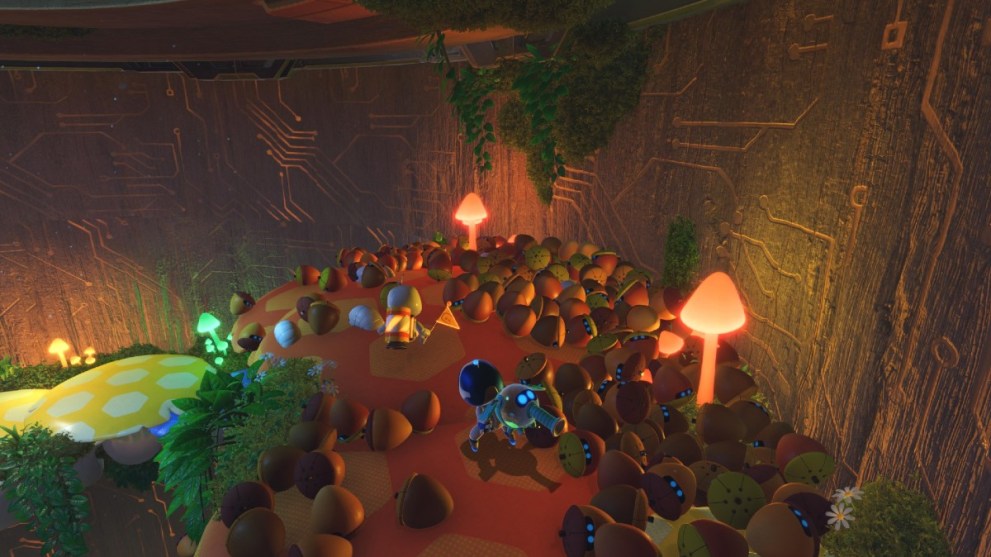
Wormy Passage Bot Locations
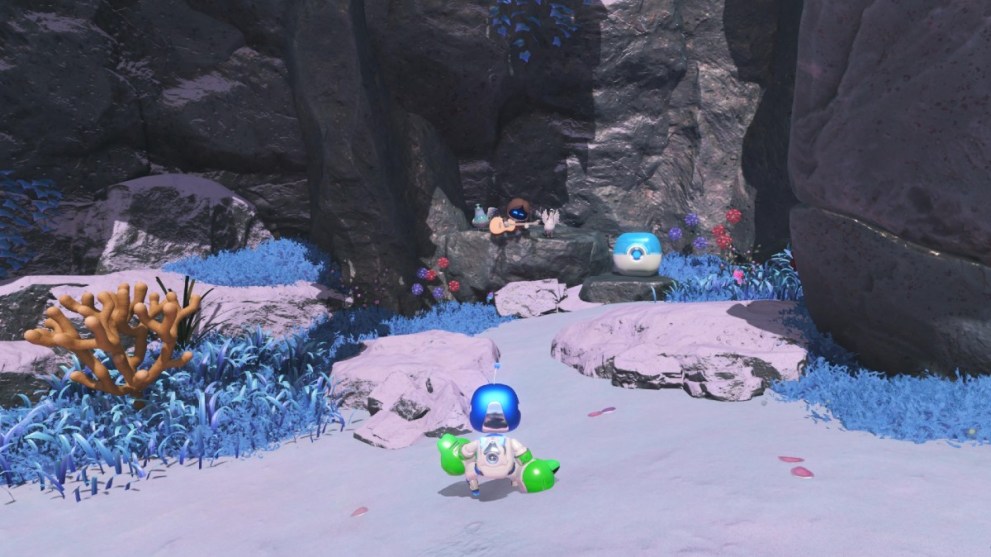
In the level’s opening passage, before the first door head to the left and climb up the rocks to find a guitar-playing bot.
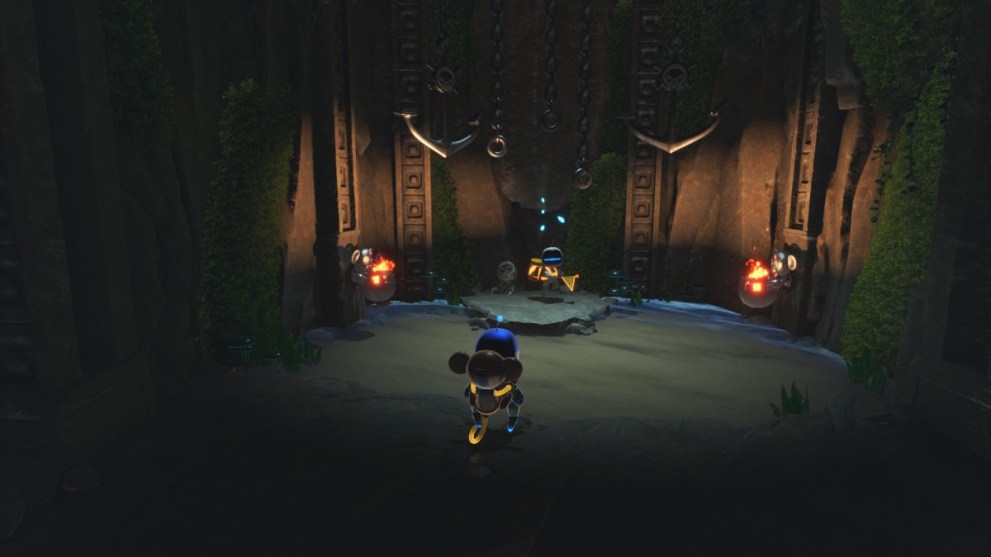
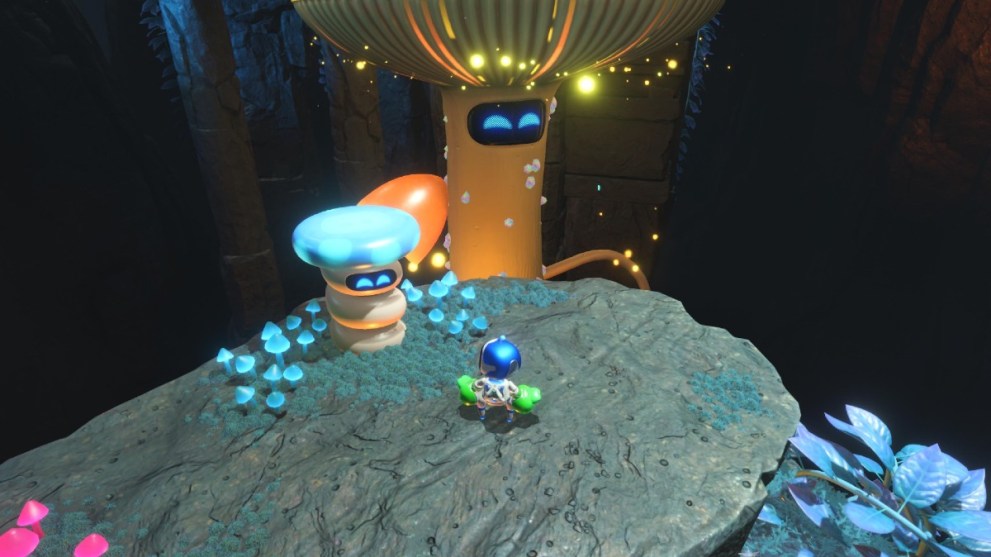
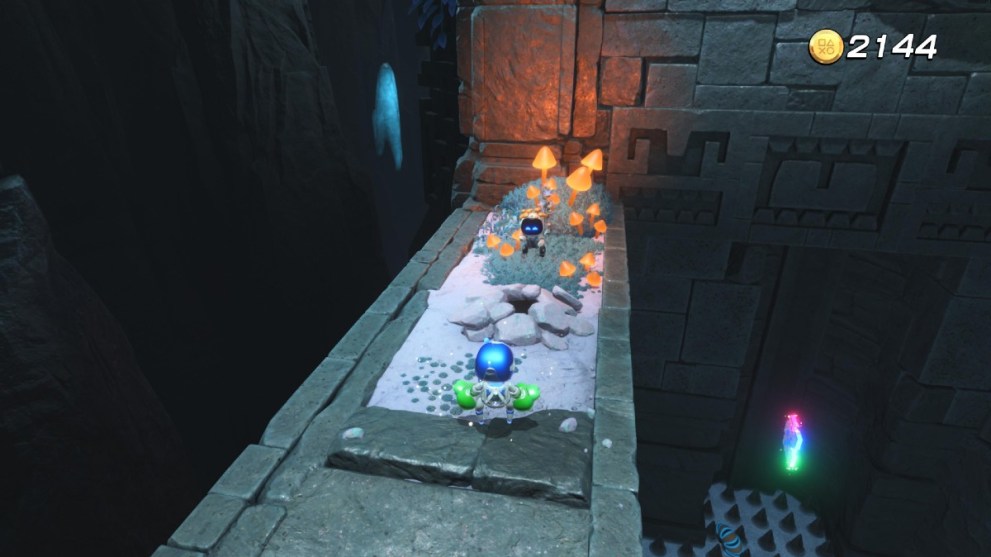
Head to the alcove on the left-hand side of the first cave, to an area with a mushroom hanging down from the ceiling. There’s a bot stuck on a pedestal, so punch the mushroom to knock it off and collect.
Just before bouncing on the big orange mushroom, keep an eye on its left hand. There’s a bot clinging to it for dear life, so hit it with your gloves when it emerges to your level.
After the orange mushroom, take the path left instead of right, defeating cactuses as you go. Then punch the big circular cactus and a Joel bot will emerge.
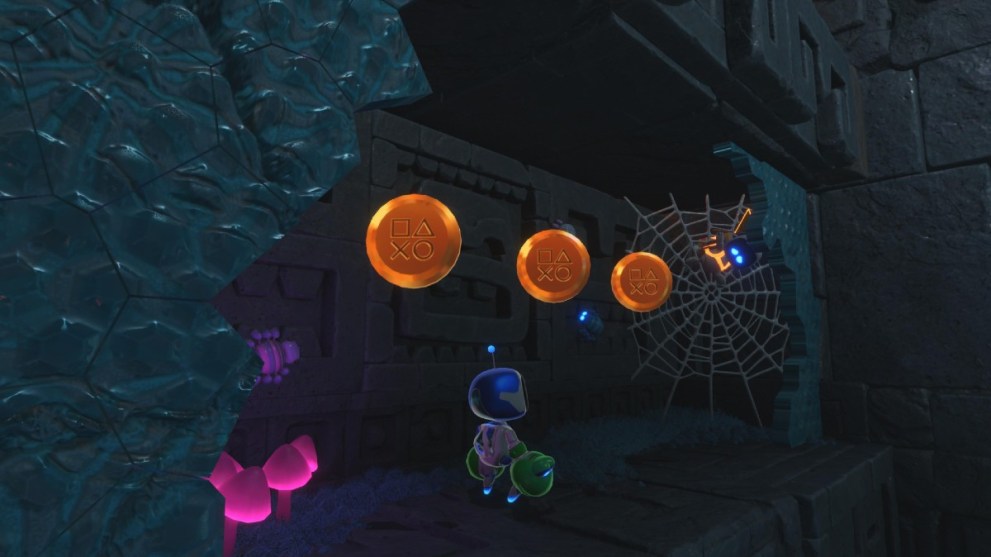
After fighting the group of worms you’ll face a wall with two windows. Smash the lower-most window and there’s a bot stuck on a spider’s web.
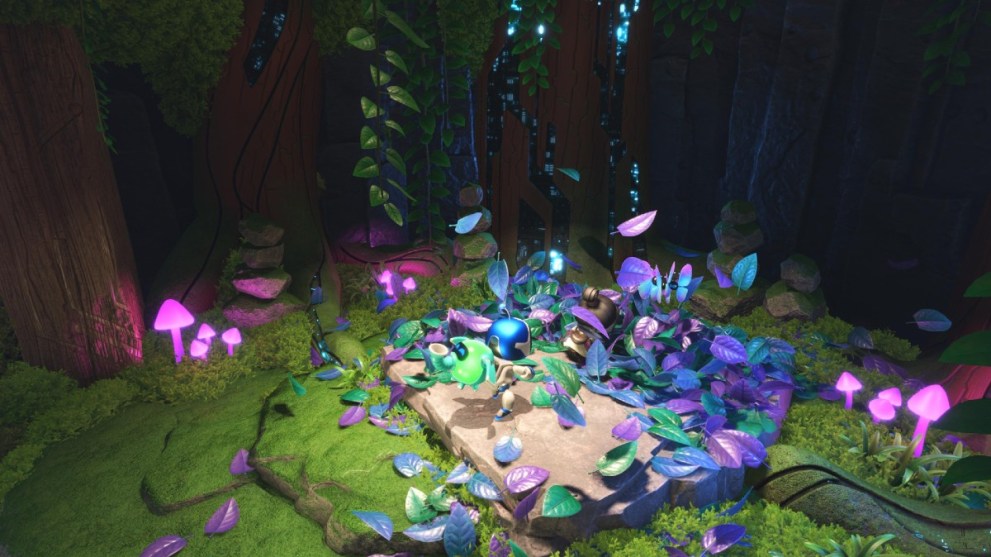
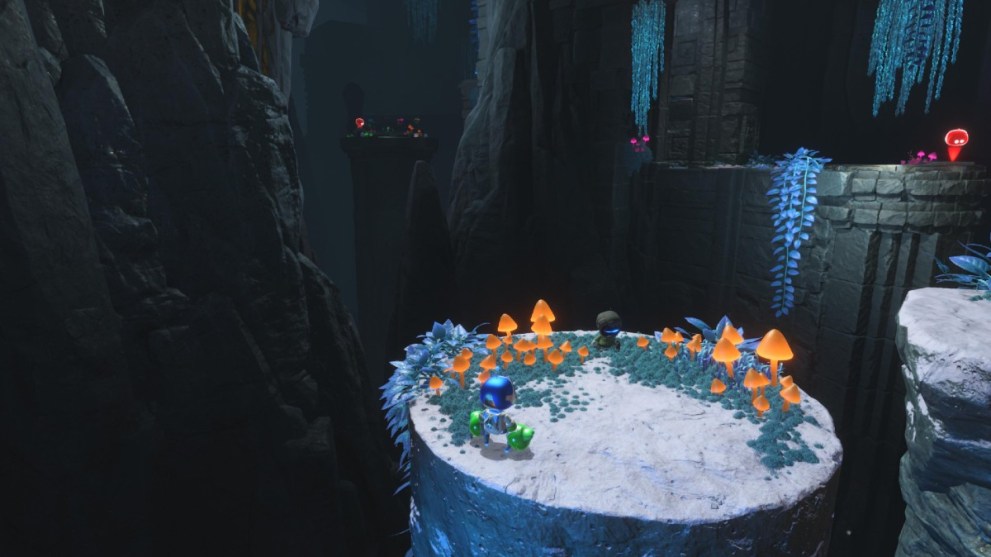
Keep progressing through the level until there’s a path going left and right. Go to the left and there’s a clicker-themed bot lurking in some bushes.
After being swallowed by the massive caterpillar as you see the level’s finish line, start climbing up and there’s an unmissable bot waving a flag.
Wako Tako Bot Locations
Defeating this world’s main boss nets you two God of War-themed bots. Nothing to catch you out here – simply finish the battle to get them instantly.
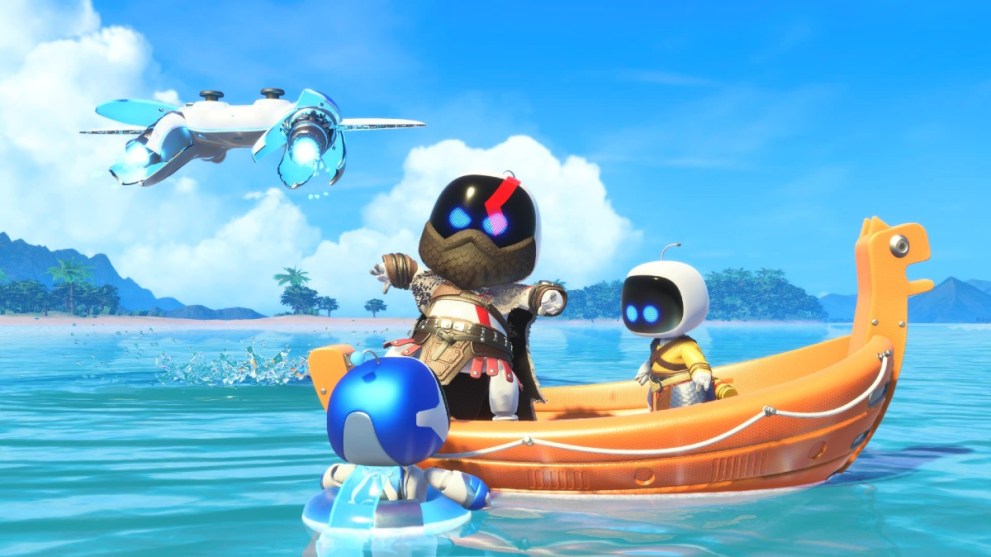
Bot of War Bot Locations
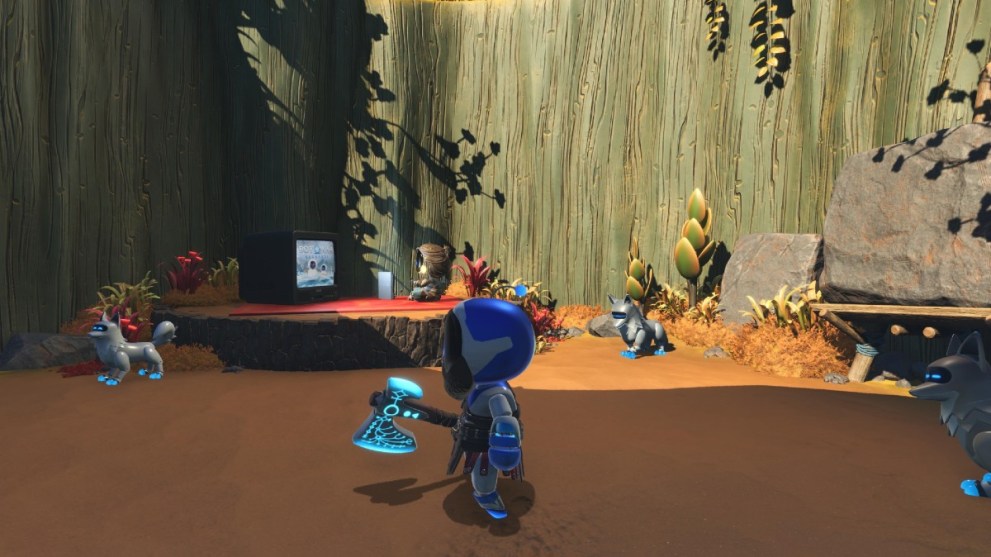
After going into the first open area, go directly to the right and through a crevice, crawling past. There’s a themed bot playing on a PS2 to claim easily.
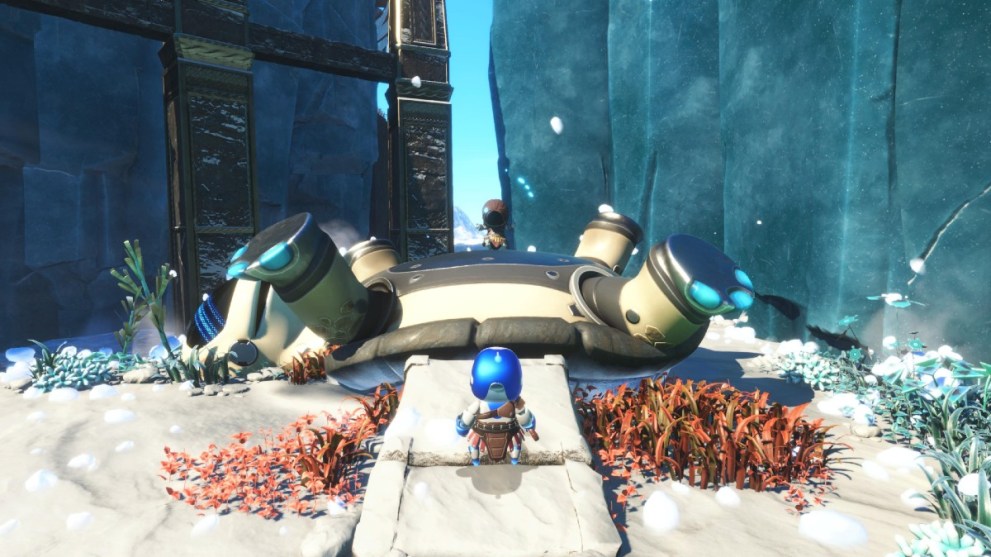
The second bot is stood on top of the fallen enemy in the first main hall. Climb up by defeating enemies and use the bounce pad to propel yourself up there.
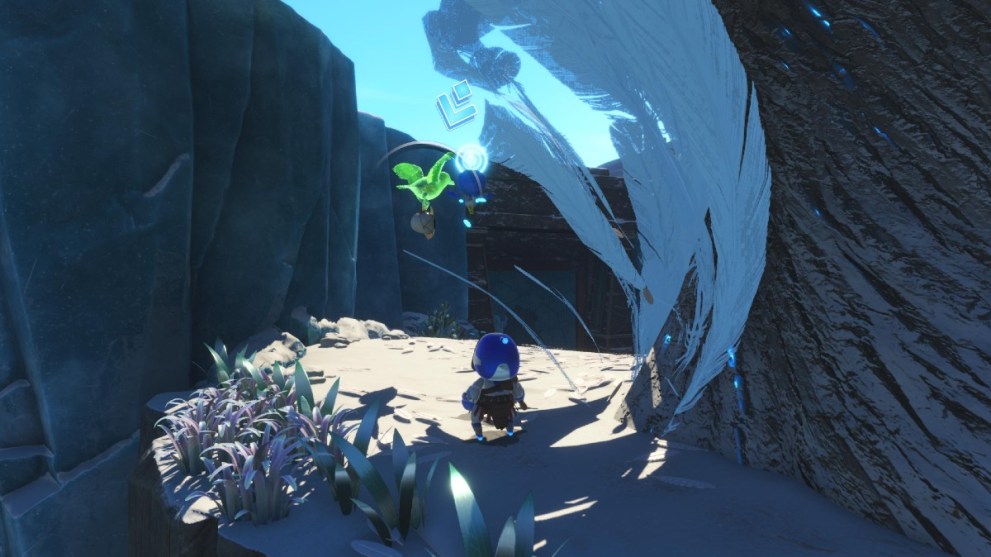
Next to where you find the second puzzle piece, continue forward to see a headless bot being held up by a bird. Hit it with your axe to save it!
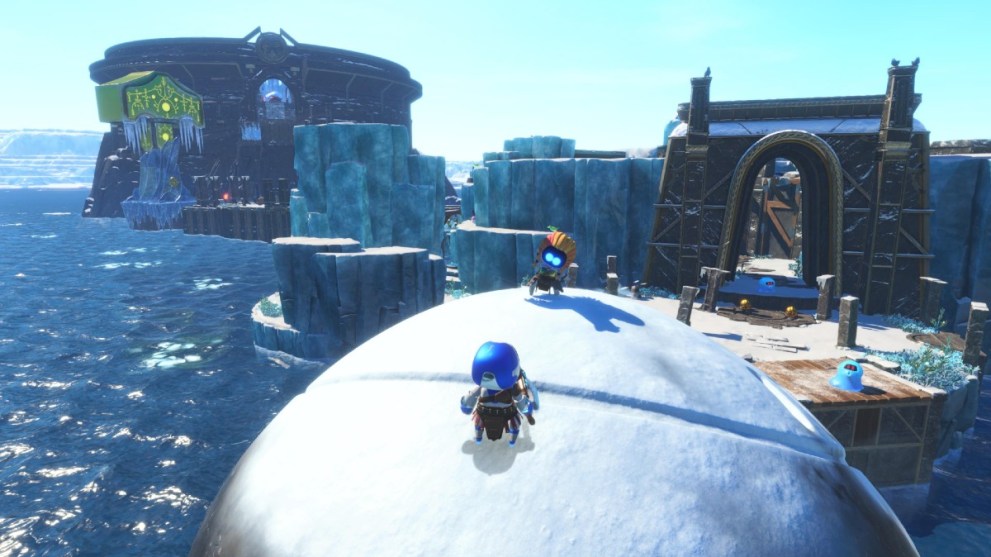
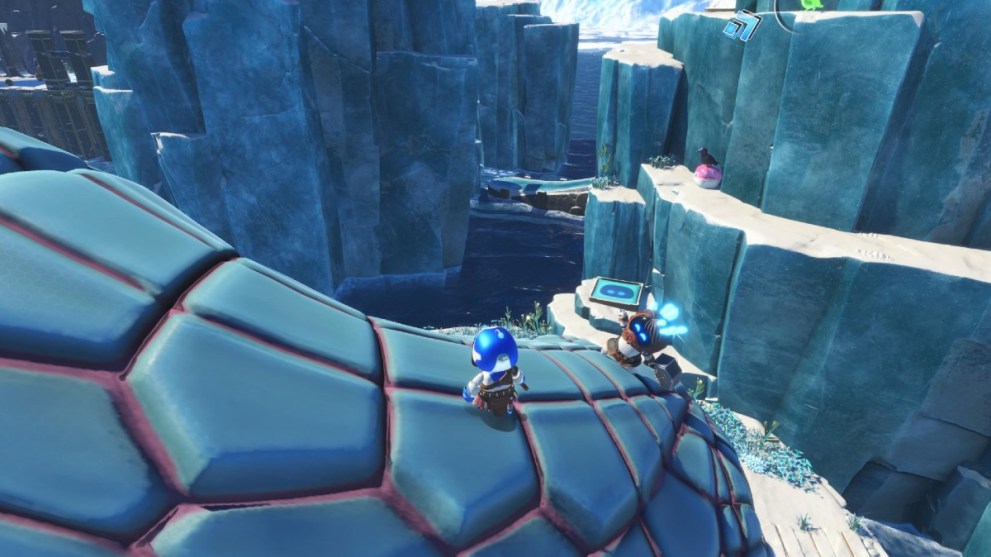
After walking over the tightrope, take the path to the right to find the giant turtle. Flip it over by interacting with the red pole and a bot is lurking underneath.
Now, take the left path after the tightrope. Smash the ice block and pull the wire to reveal a giant snake. Get onto its back using the bounce pad to the left and there’s a bot to rescue up there!
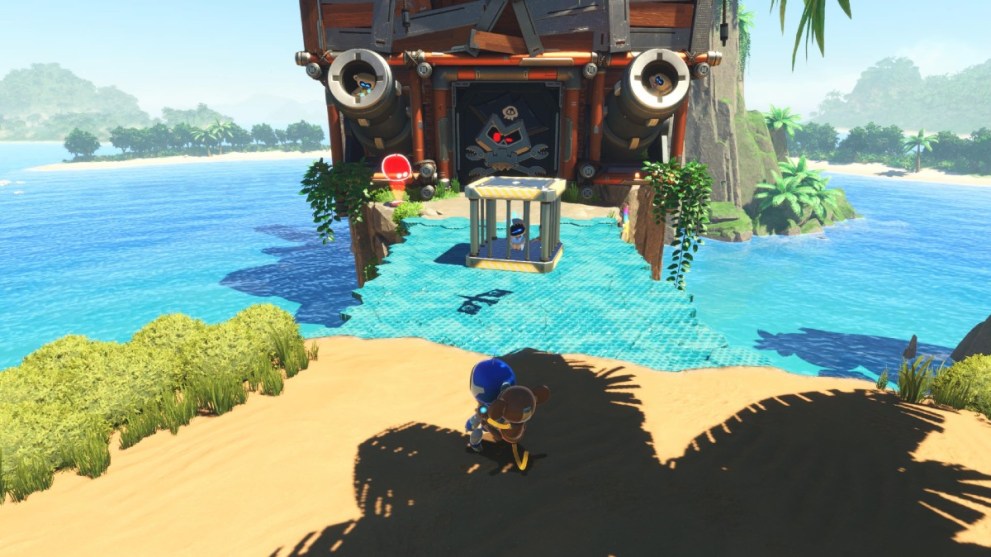
Continue through the level until you come to a drawbridge on your right. It’s a simple one here: throw your axe to lower the bridge, defeat the enemies who come off it, and save the bot inside.
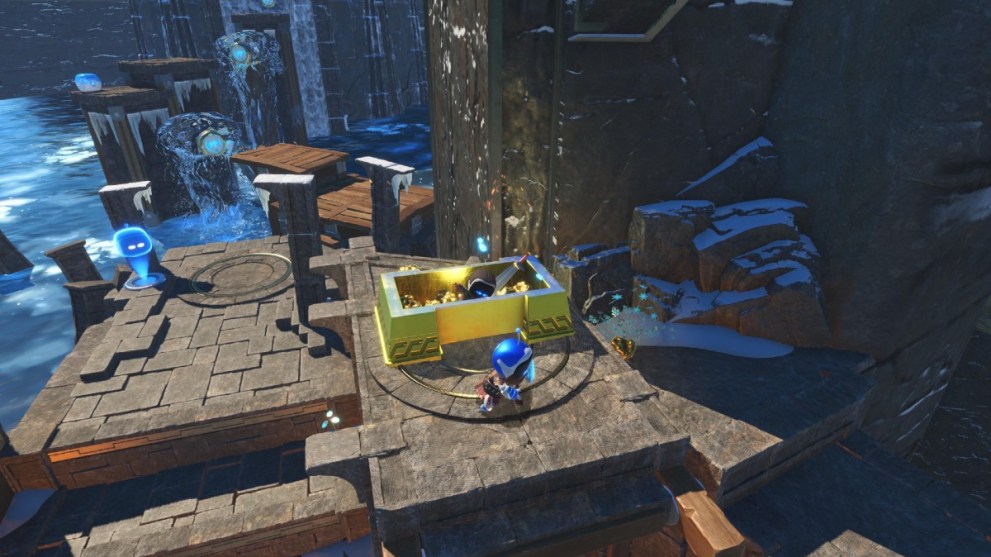
Over to the next section of the map, head up the stairs beyond the tiered pavilion and then up to its higher level by turning back around on yourself. In a gold chest, the final bot of the level is waiting for you.
All Astro Bot Tentacle System Puzzle Piece Locations
Go-Go Archipelago! Puzzle Piece Locations
The first puzzle piece in this level is a sneaky one! As you’re landing on the beach at the beginning, a bird will fly past from right to left carrying it. Angle your controller to the left to intercept it before the level properly begins.
After getting the monkey powers to climb up walls, open the enemy that contains boulders and throw one to the right. This opens up a climbing wall with the second puzzle piece at the top.
Make your way through the level until you’ve climbed the side of the crumbling bridge, but then head left instead of right. There’s a big boulder to throw into a cliff edge with a face in it, revealing the level’s final puzzle piece.
Trunk of Funk Puzzle Piece Locations
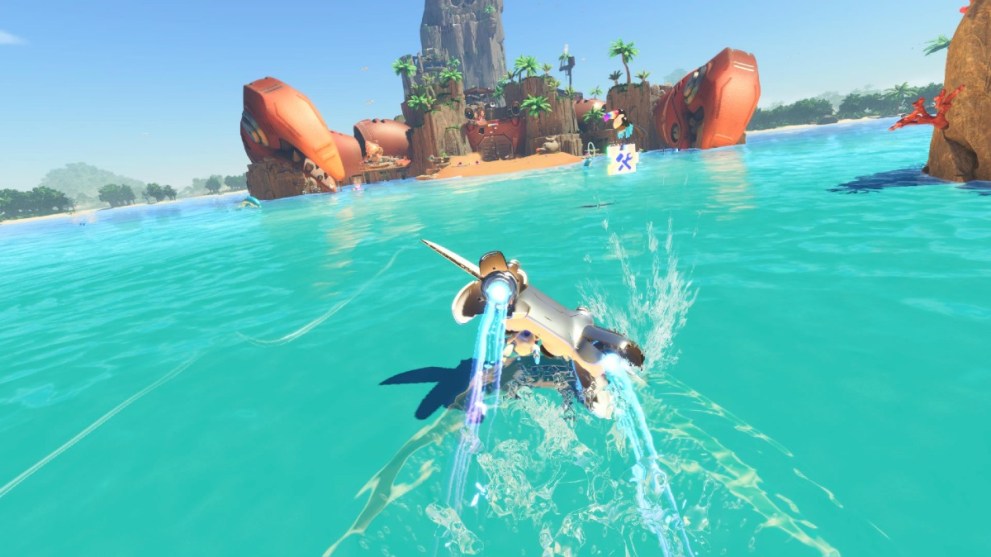
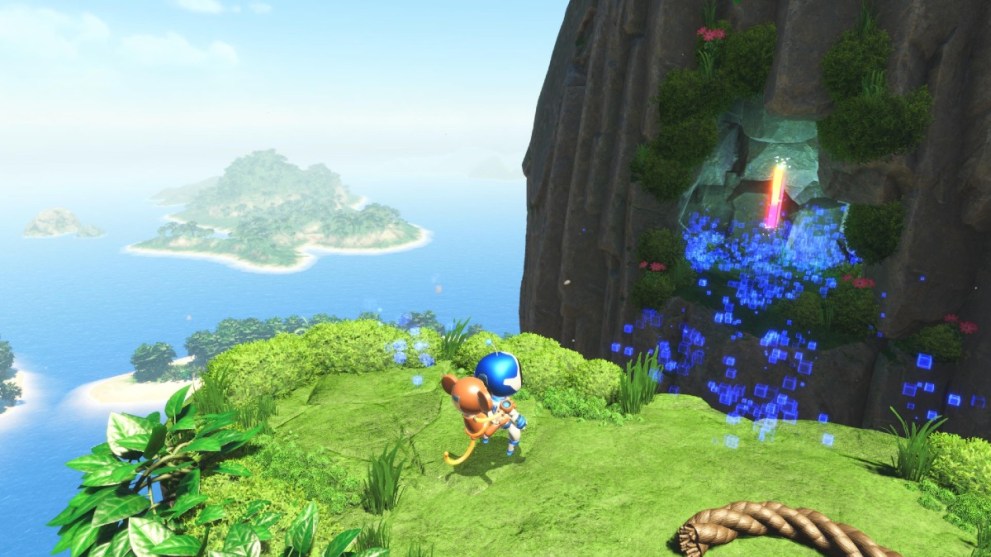
As with the previous level, the first puzzle piece actually appears during your descent into Trunk of Fun. Swing to the right and press L2 and R2 to use your rocket boosters under a waterfall containing the first piece.
On the circular green with a big plant in the middle you’ll see a golf hole and a mole holding golf balls just away from it. Hit the ball out of the mole’s hand and aim it for the hole. As soon as it goes in, you get the next puzzle piece – no need for a hole-in-one!
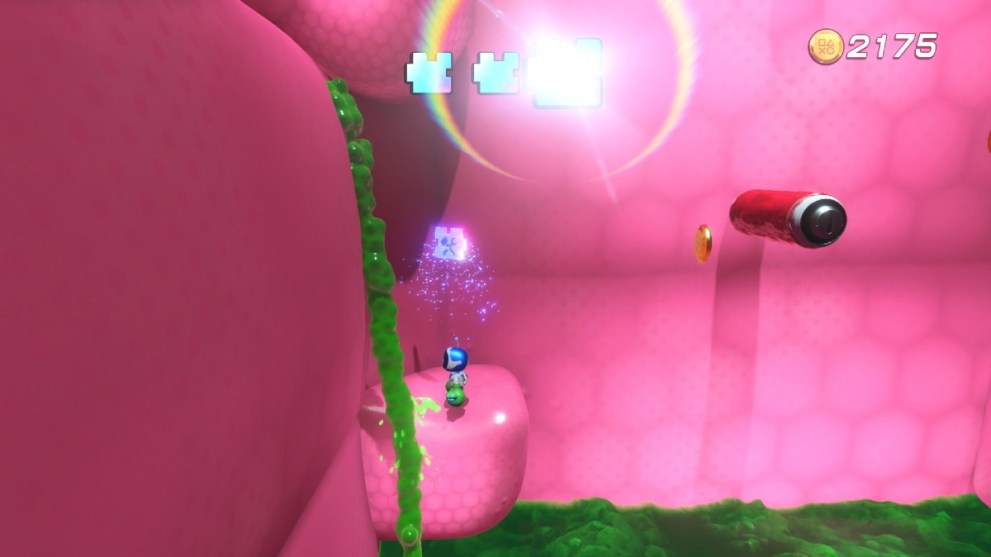
The final puzzle piece appears after you encounter honey for the first time. Continue along the level until you’re confronted by a massive bulb, and spring up to defeat it. When it’s dead, vacuum up the honey and there’s a puzzle piece in the pit below.

Downsize Surprise Puzzle Piece Locations
To the left of where you find the first bot in this level, there’s a caterpillar crawling around a tree stump. Defeat the caterpillar by hitting all of its purple blocks and pull the wire that appears, opening up a small hole inside the stump you can shrink into. In here is the first puzzle piece.
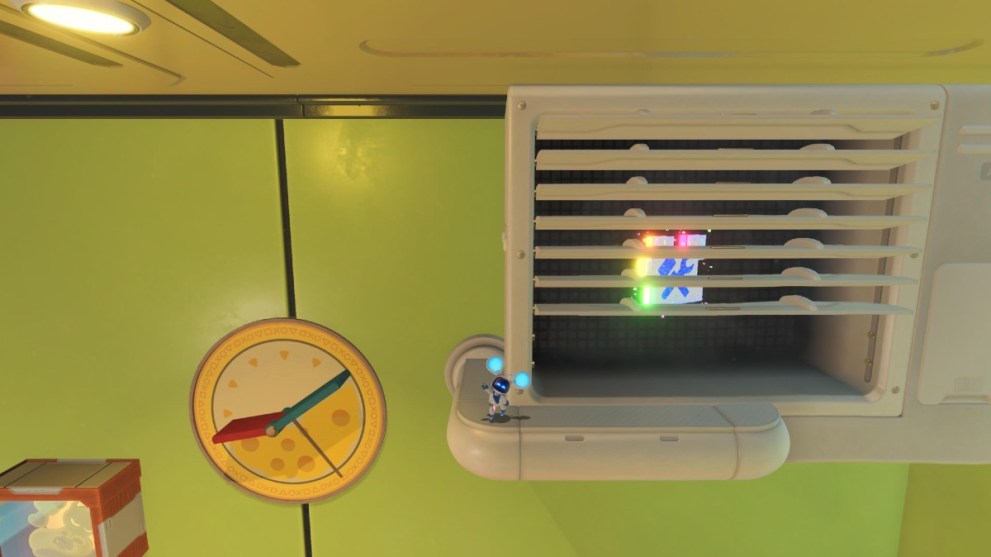
Keep proceeding through the level until you shrink down into a bedroom. Spin on the mini portal on the east-facing wall, and climb up the obstacles that emerge until you reach a slowly opening vent. The puzzle piece is hidden within.
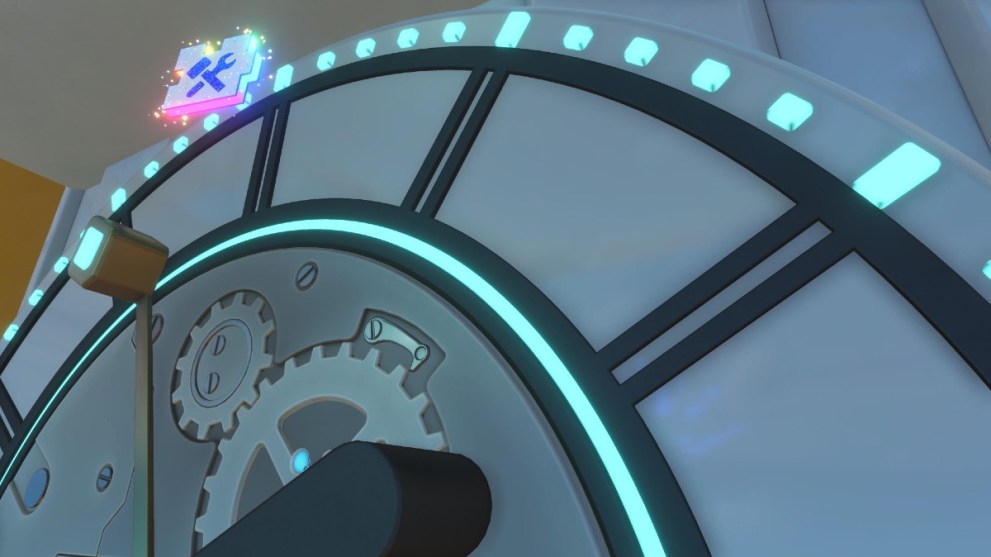
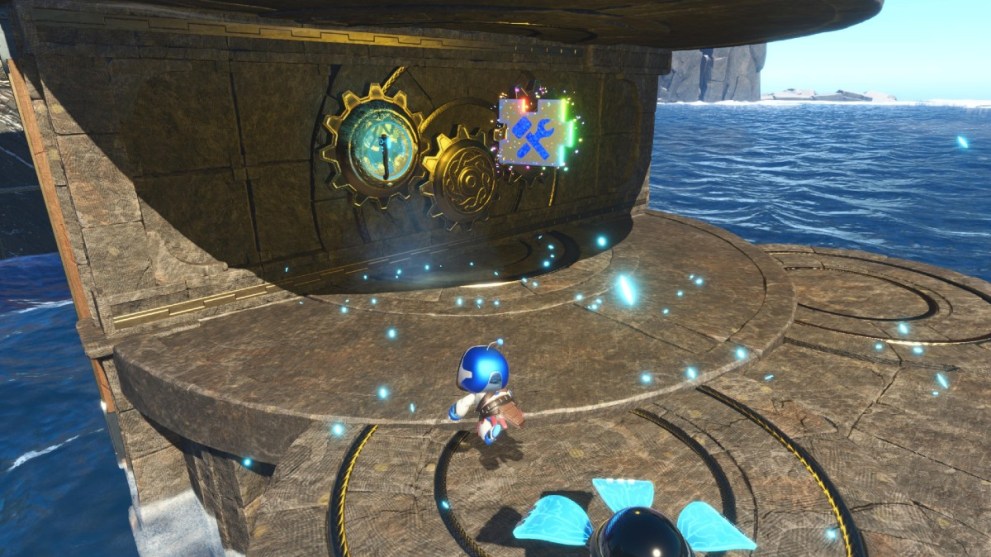
On the clock face just up from where you claim the final bot, there’s a ticking second hand that passes by the final puzzle piece. You’ll need to time your jump properly to land on it at the right time, ensuring you’re there when it sweeps by for the collectible.
Wormy Passage Puzzle Piece Locations
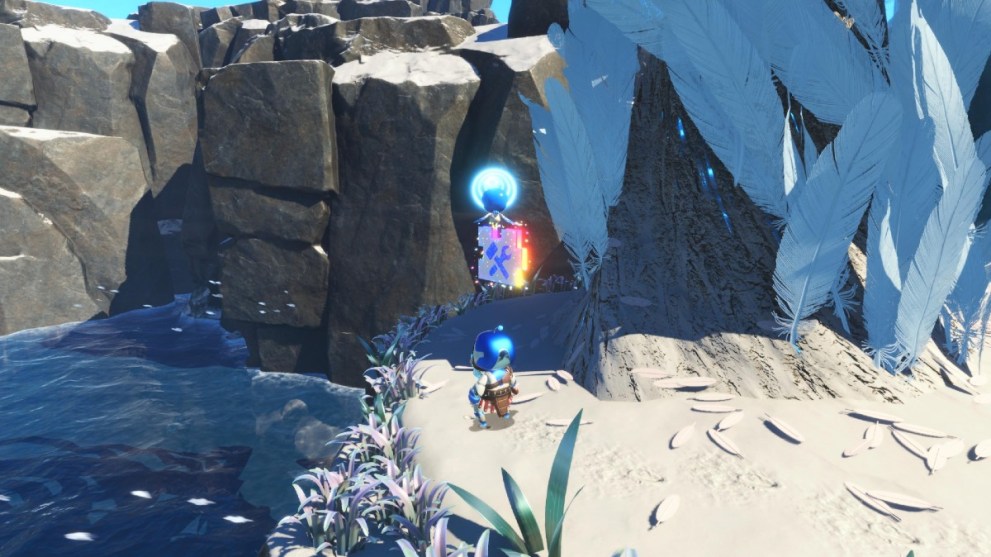
In the first cave you encounter, use the gloves to bash a section of golden crystals on the right. When it’s broken, you’ll spot the first puzzle piece.
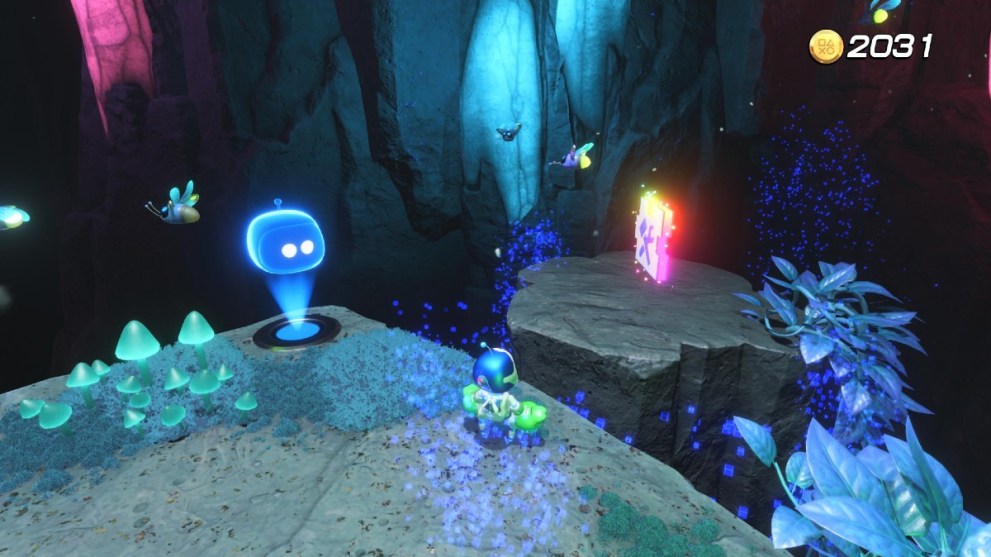
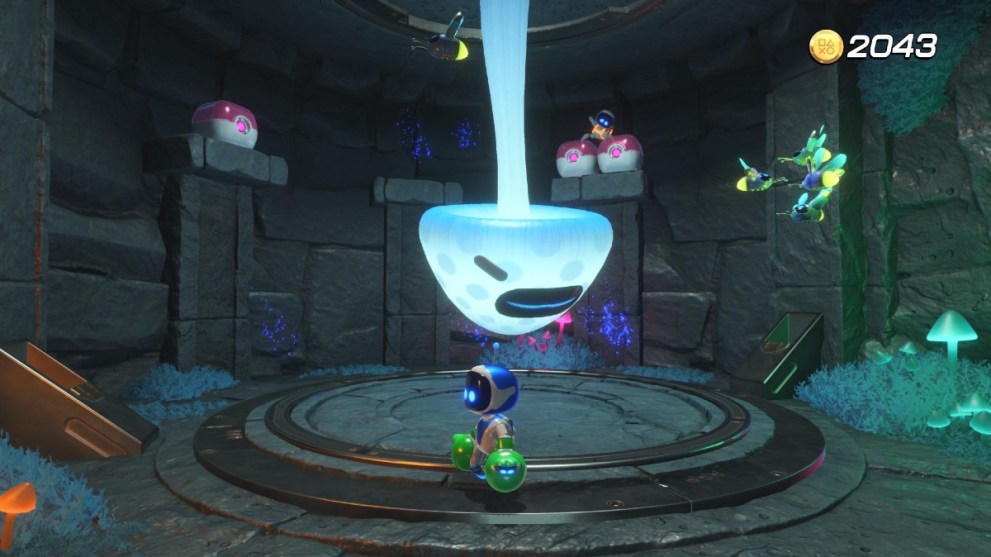
The second puzzle piece is in a cavern below where you find the clicker bot. Pull the red mouth of the nearby statue on the wall to open a tap that releases water, leaving you to swim down and grab it.
Once the fluid level starts rising inside the huge caterpillar’s stomach, ascend by swinging along the red poles and the final puzzle piece will greet you on the left.
Bot of War Puzzle Piece Locations
Below the huge fallen enemy in the first main area is a golden chest. Go up to it and press Square to open it, revealing the first puzzle piece.

Not long after your interaction with the giant turtle, head right and smash the ice block to reveal the bounce pad. Smash the layers of glass that emerge and the second puzzle piece is hidden inside.
Beyond the drawbridge and to the next checkpoint, head down to the lower level of the circular pedestal. Press the spin pad to reveal a puzzle piece underneath, and throw your axe at the glowing block to hold it in place so you can collect it.
All Astro Bot Tentacle System Secrets
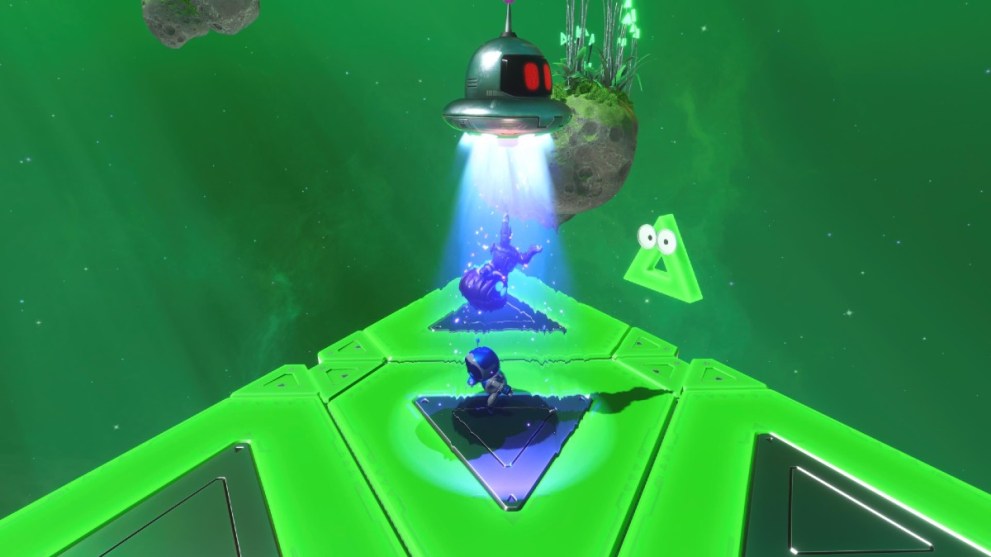
Lost Triangle Void
If you hit into the bot-shaped asteroid in the level, it opens up the Lost Triangle Void. Running through unlocks four levels: Cut ‘N Grind, Dashing Dillo, Fragile Frenzy, and Pumpkin Peril. Let’s look at them.
Cut ‘N Grind
This level requires you to dodge enemies along green grind poles. It’s fairly straightforward and you get a themed bot as a reward.
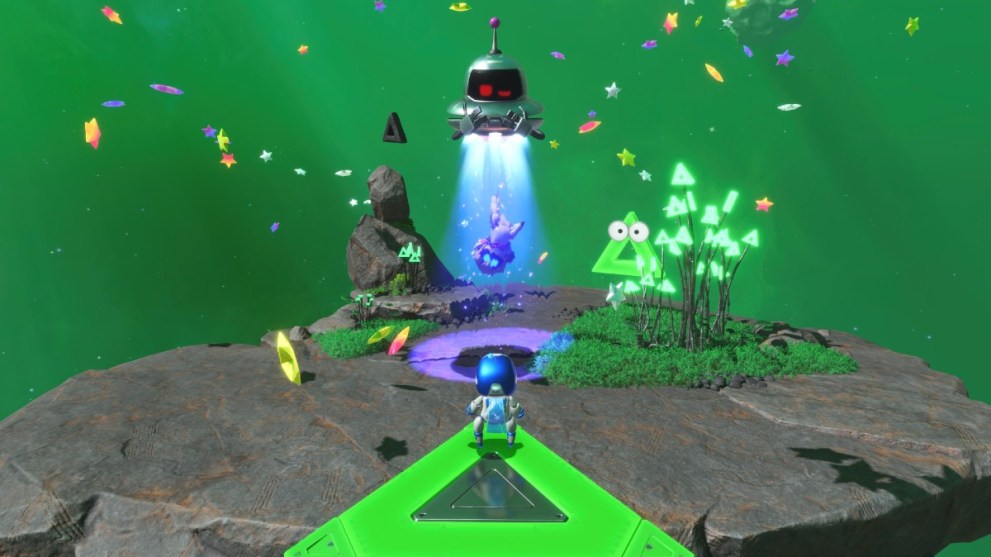
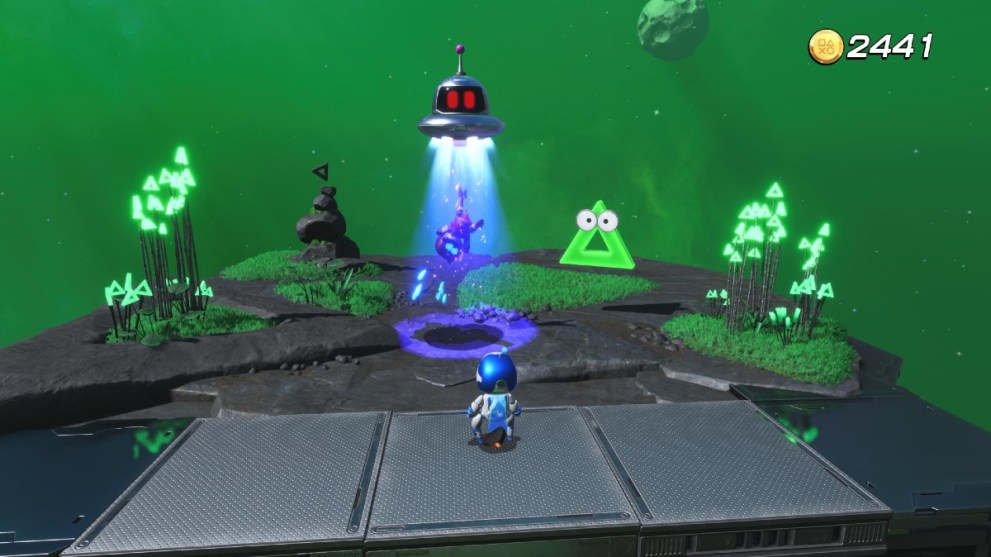
Dashing Dillo
Ride atop an armadillo, dodging spikes, electric enemies, and fields of electricity to complete the level. At the end, there’s a bot stuck in a UFO to save.
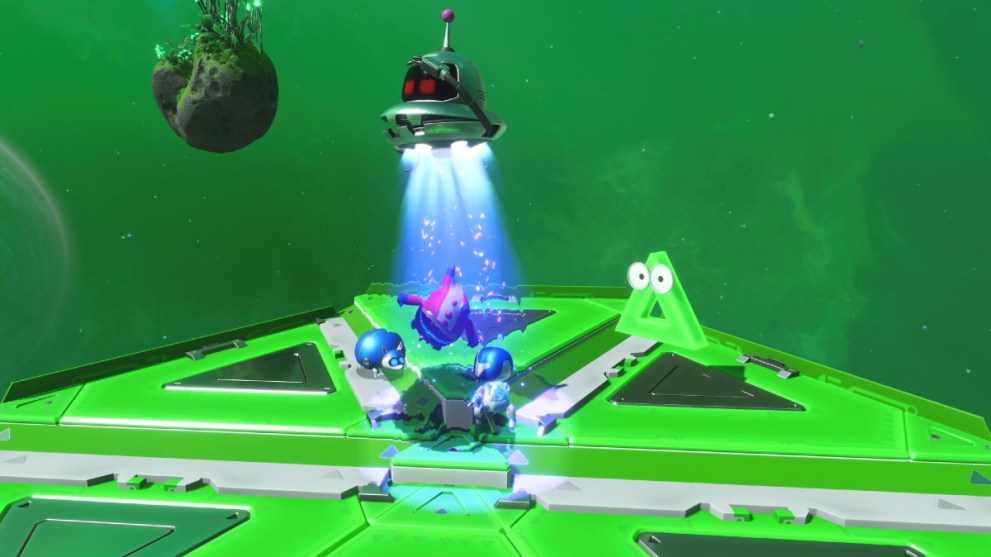
Fragile Frenzy
This level requires you to walk across the arena where nearly every tile is one pane of glass. Our advice is to never double-jump unless completely necessary, because you can always re-bounce if the glass isn’t broken. It’s the easiest level of the Lost Triangle Void, netting you another bot.
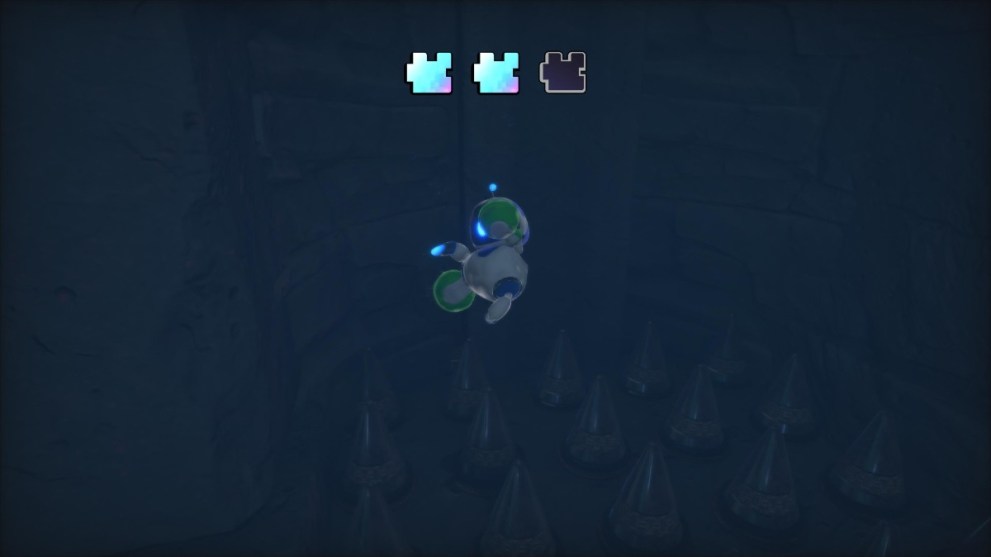
Pumpkin Peril
This level is stuffed with pumpkins firing at you as you clamber across constantly rotating platforms. It’s the most difficult one so far by quite some distance, with one bot as your completion reward.
That’s all for our Tentacle System walkthrough guide! For more like this, check out our Gorilla Nebula walkthrough and Crash Site walkthrough.


Updated: Sep 5, 2024 08:12 am