
If you need some help 100% completing the first world, our Astro Bot Gorilla Nebula walkthrough is here to help. We’ll guide you towards each and every bot and puzzle piece across the region and its planets, while also pointing out the secrets you won’t want to miss!
All Astro Bot Gorilla Nebula Bot Locations
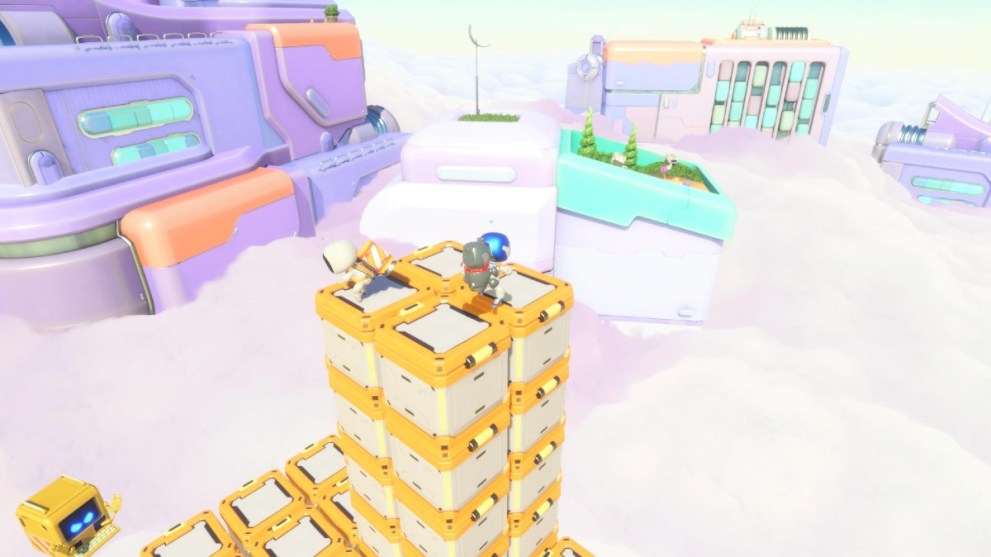
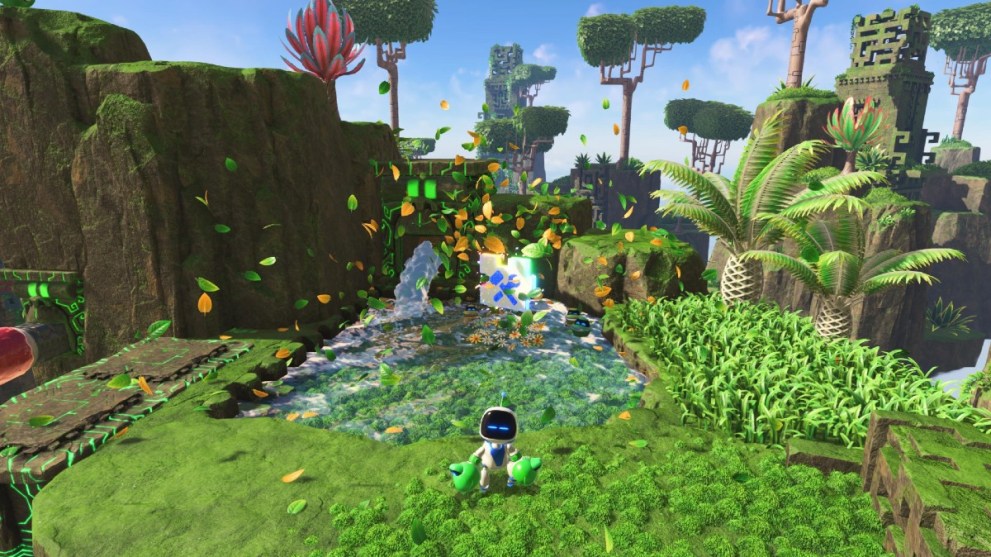
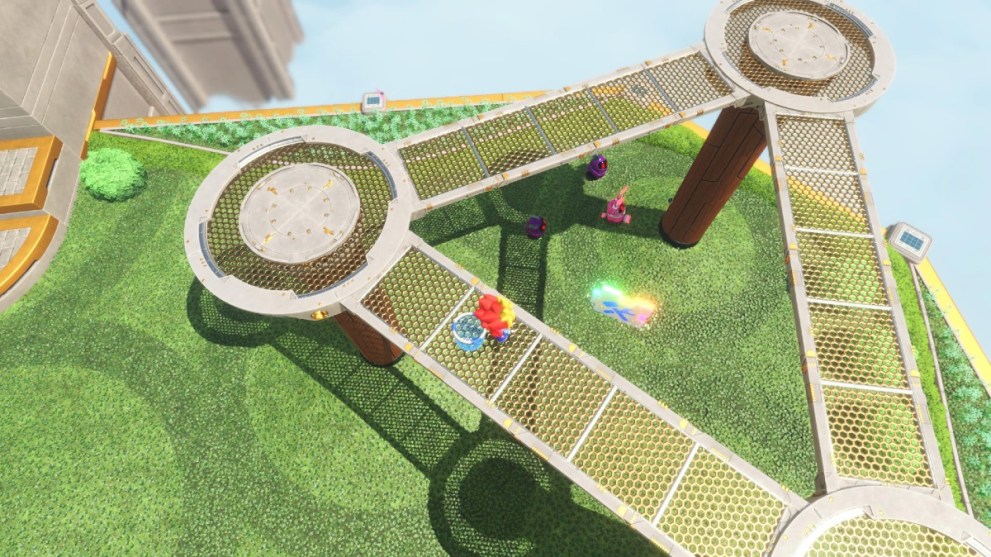
Sky Garden Bot Locations
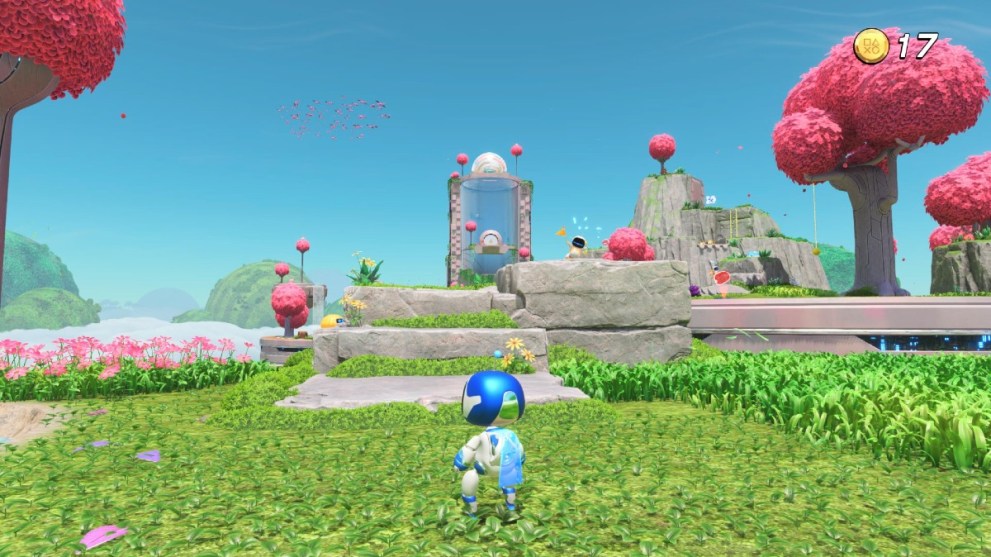
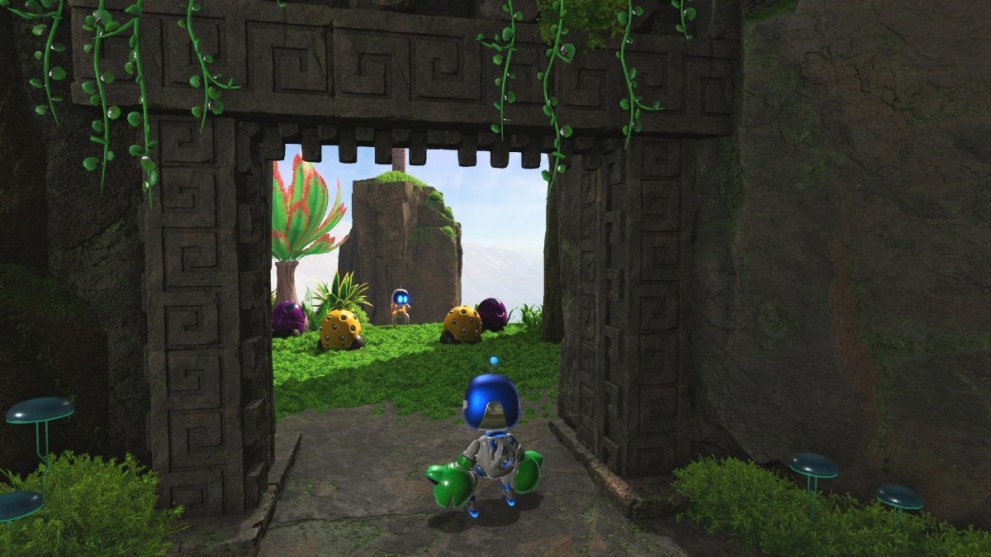
The first bot in this world is glaringly obvious. After you’ve defeated the two purple enemies on the first island of the level, climb up some rocks to spot a bot waving for your attention.
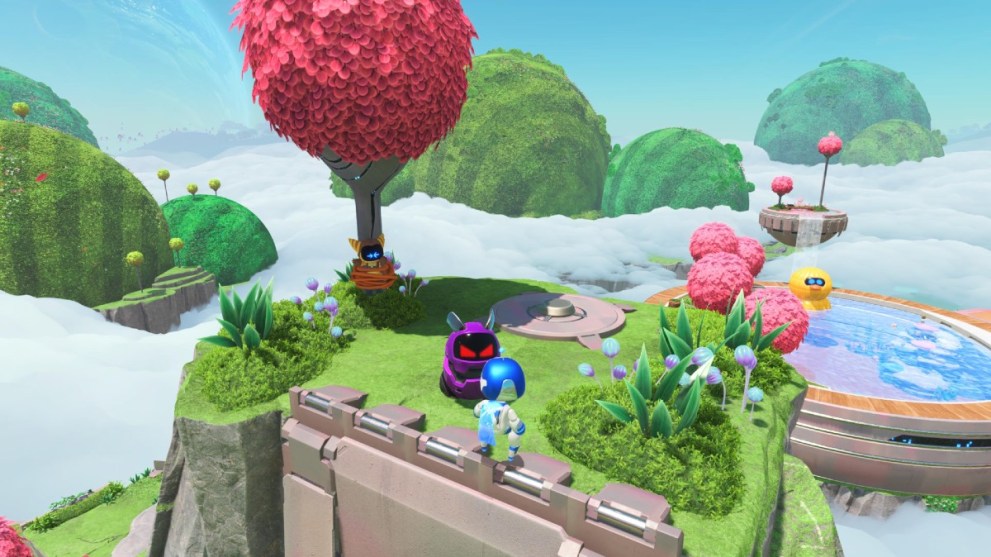
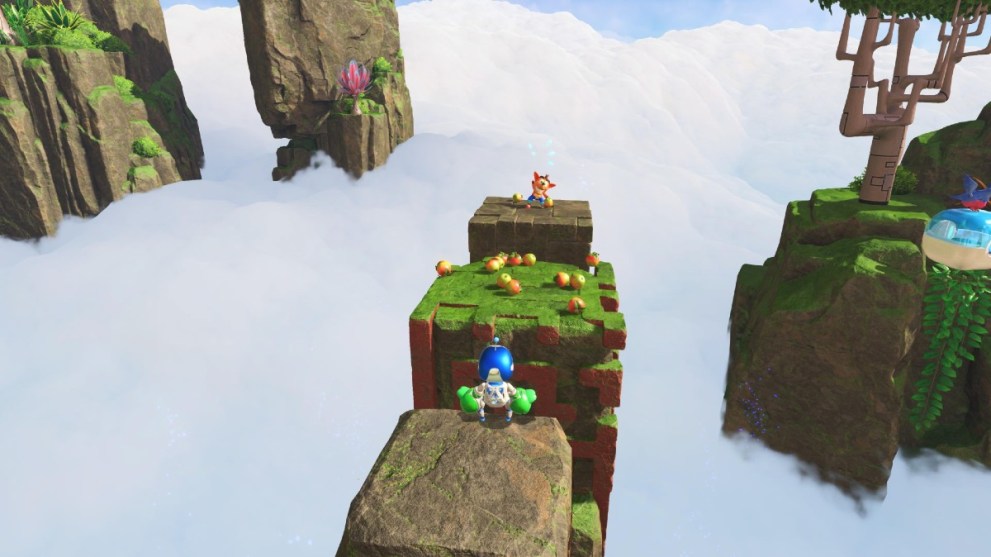
Next, climb along the floating blocks to the next island, where a bot is clinging to the edge of a cliff surrounded by enemies. Take them out first, then jump and hit the bot to save it.

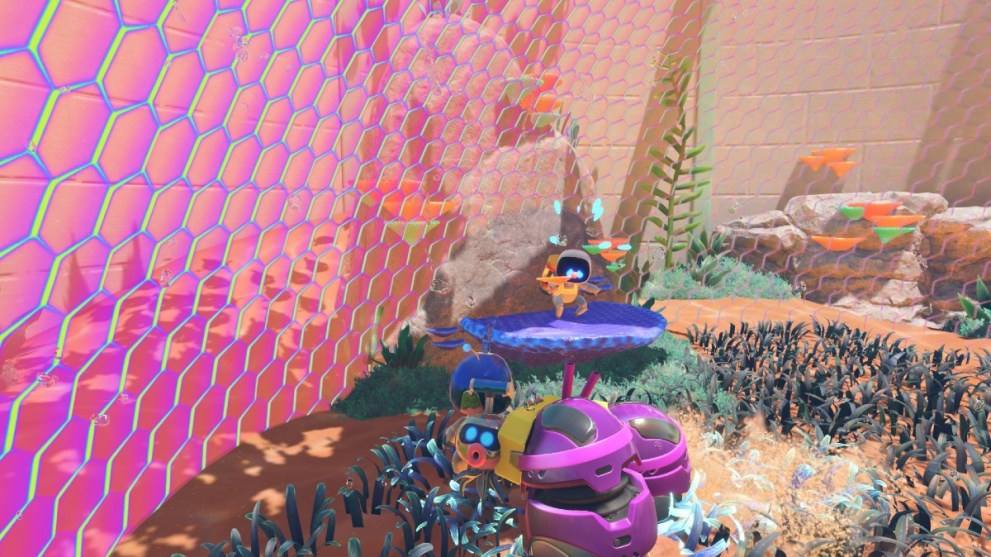
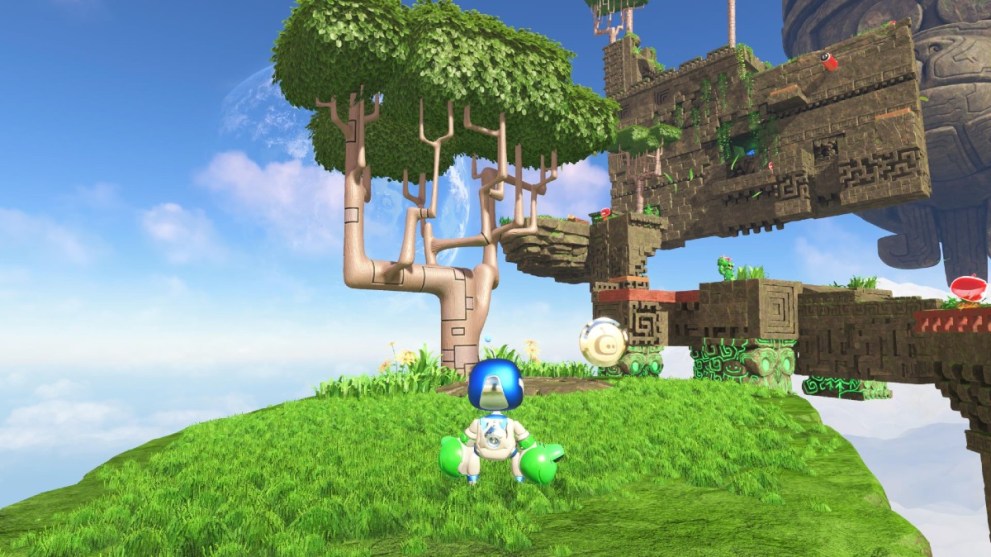
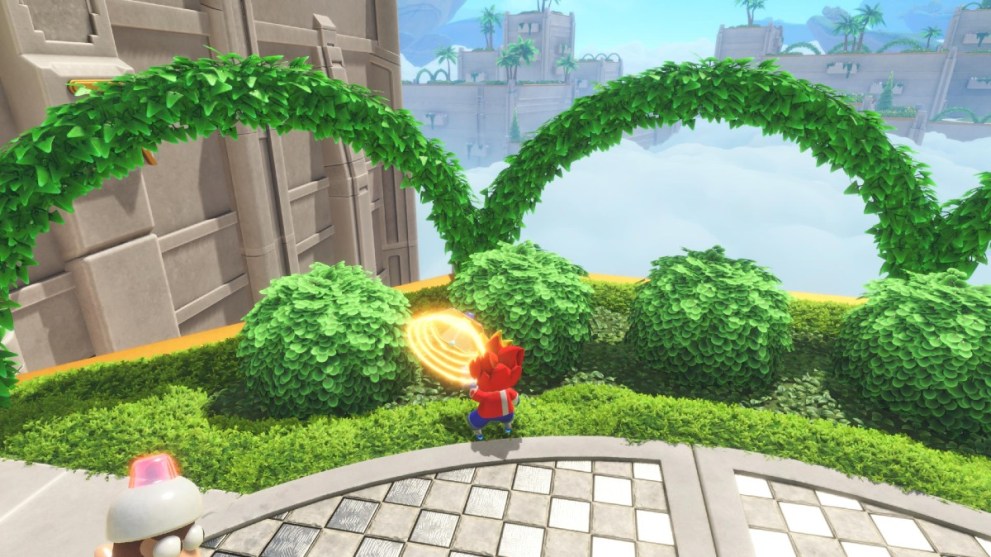
Continue through the level up past the bounce pad and through the next checkpoint. Climb the ladder, collect the first puzzle piece, and pull the wire to unlock another bounce pad. Jump up it and you’ll see a Lombax-dressed bot stuck to a tree, guarded by a purple enemy. This is the first of many PlayStation-themed bots in Astro Bot!
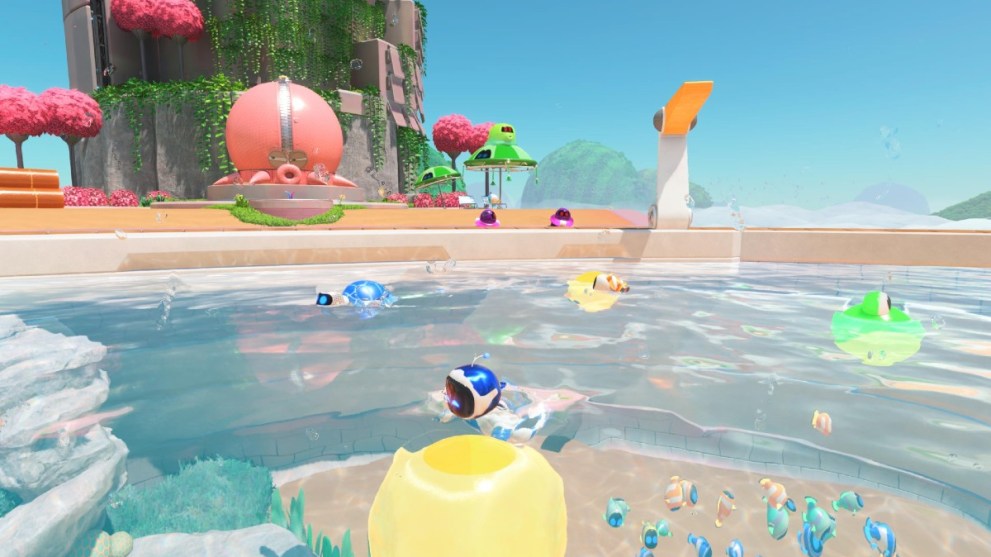
Make your way down the water slide into the lagoon of water on the third island. Look at the surface of the water and you’ll spot a bot paddling along with some turtles.
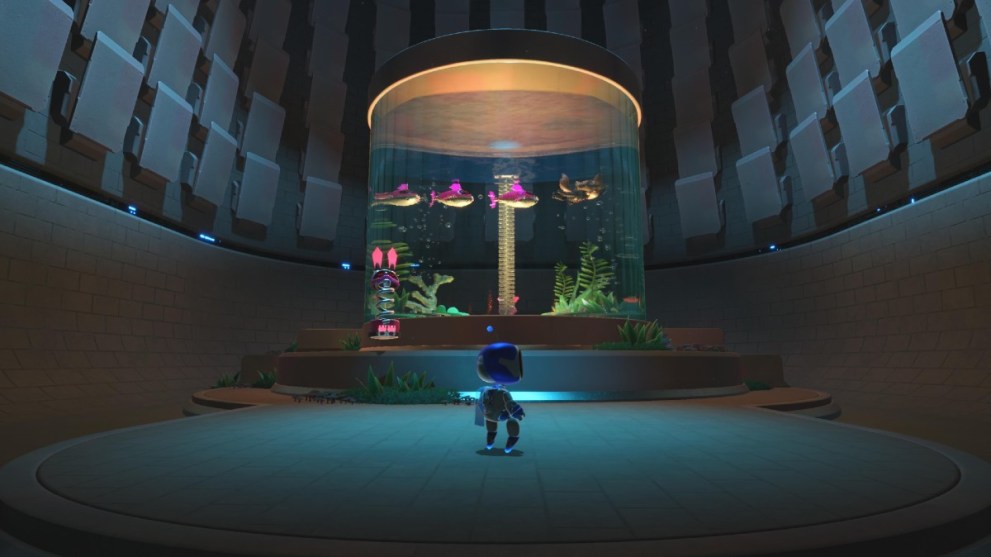
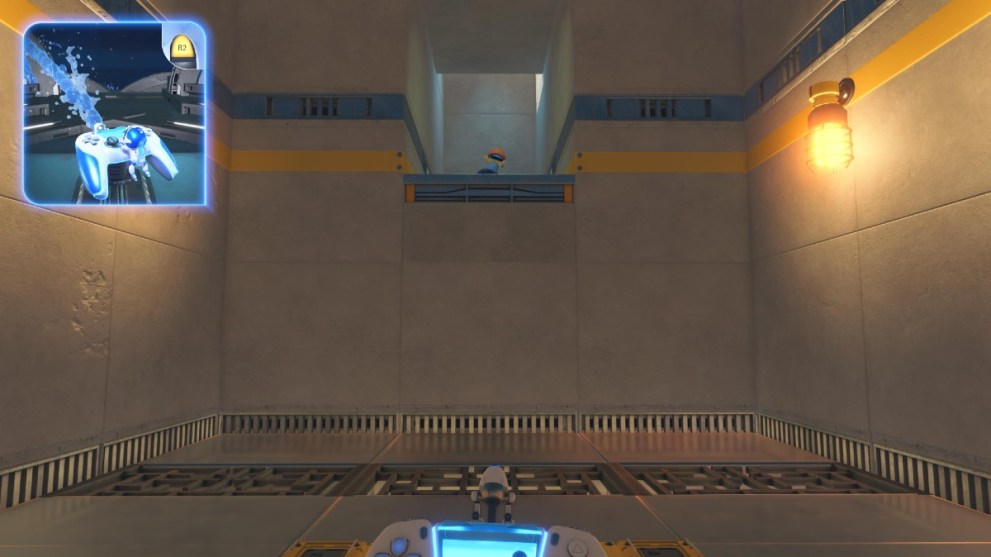
This next one is slightly off the beaten path. Inside the lagoon, look behind you to find an air bubble with a propellor you can activate by holding down Square. Doing so opens up a hole in the ground, which teleports you to a fish tank where another Lombax is being chased by piranhas. Walk to the backside of the tank, defeating the bunny enemies, and grab the zip to open it up and save the bot.
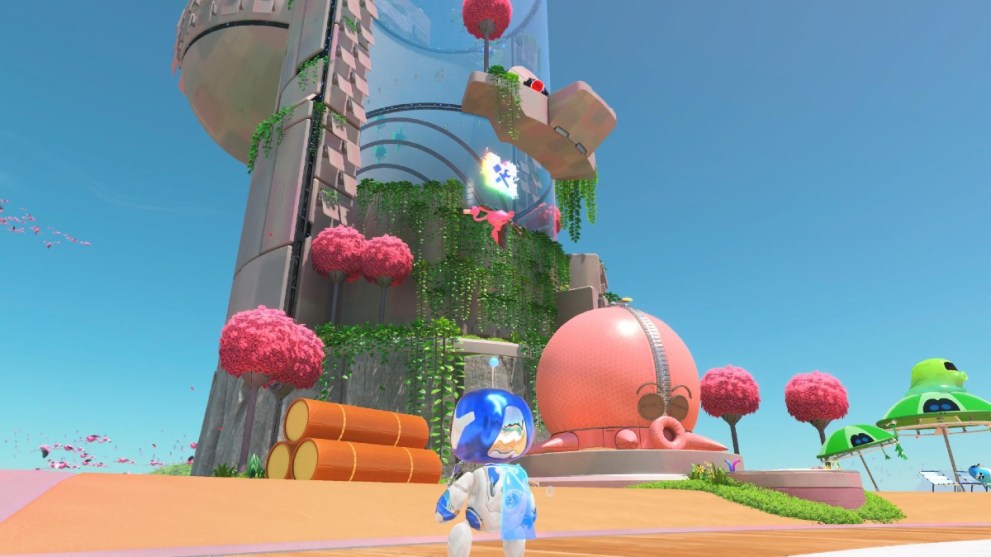
For the sixth bot, use your newfound balloon power to progress into the water tower. Allow yourself to sink to the very bottom and enter the air bubble on the ground, where a bot is staving off some enemies.
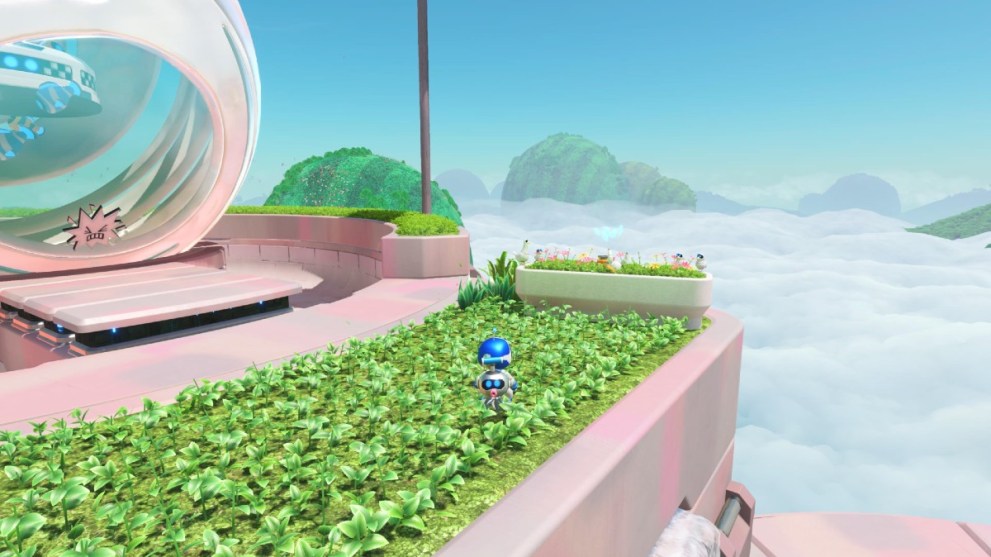
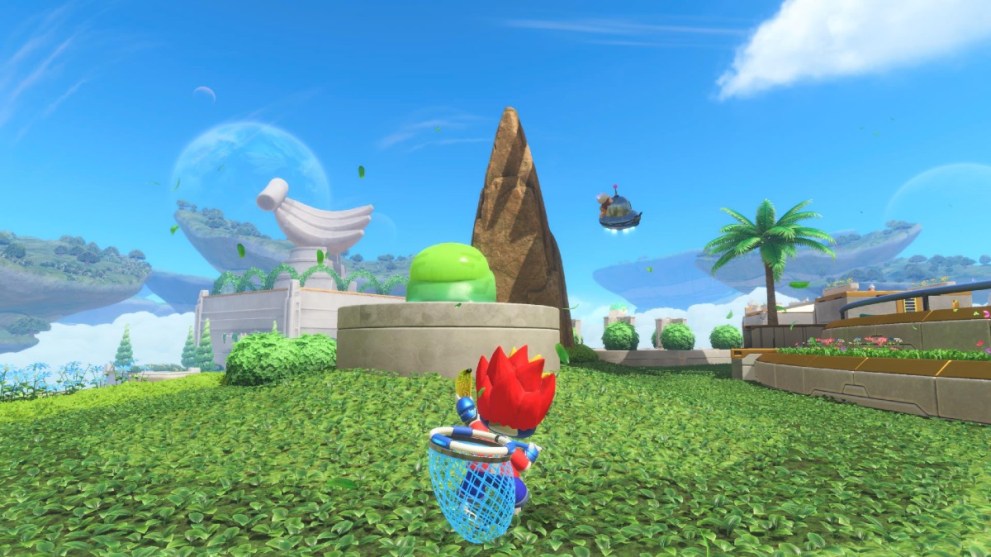
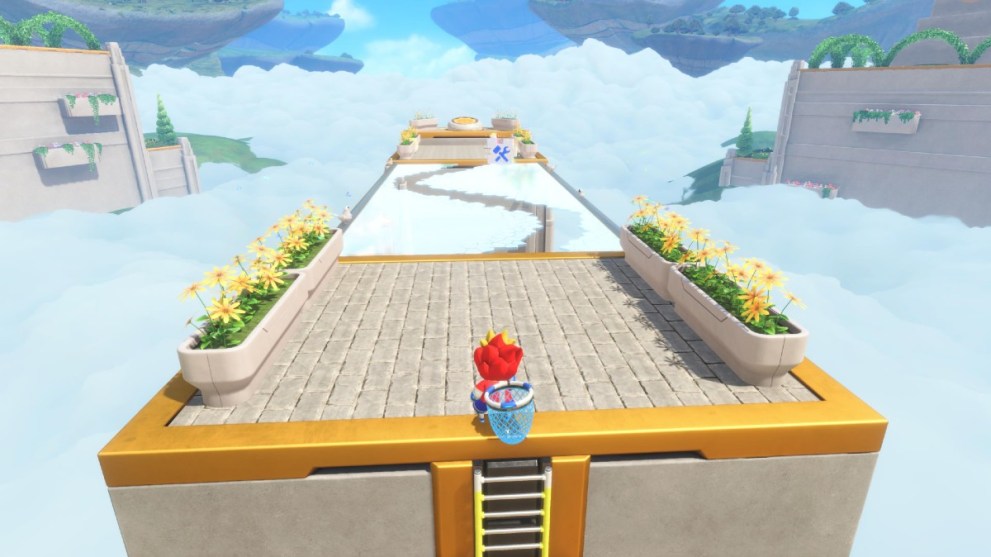
This level’s final bot is stuck in a flower bed just before the finishing area. Jump so you’re on top of the flower bed and hit it to save the bot!
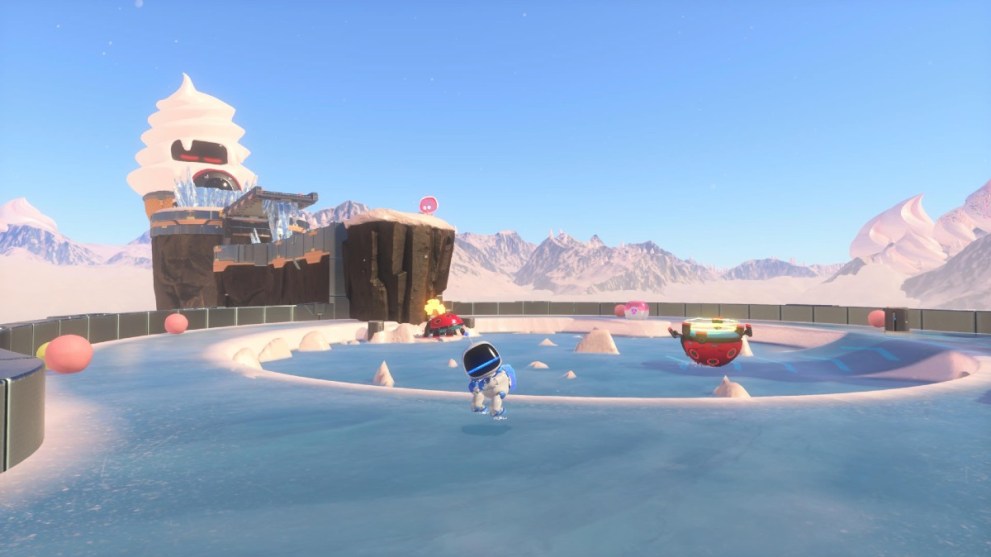
Creamy Canyon Bot Locations
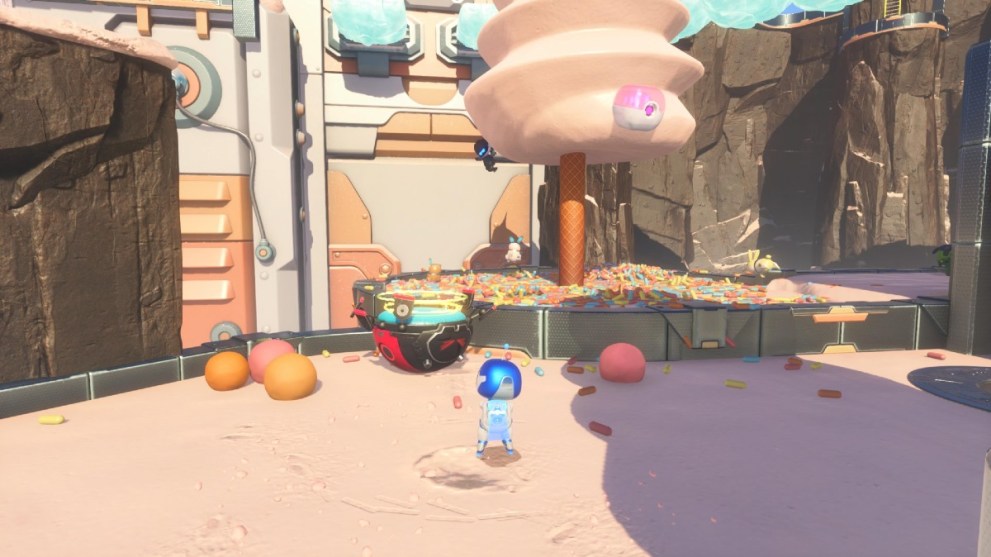
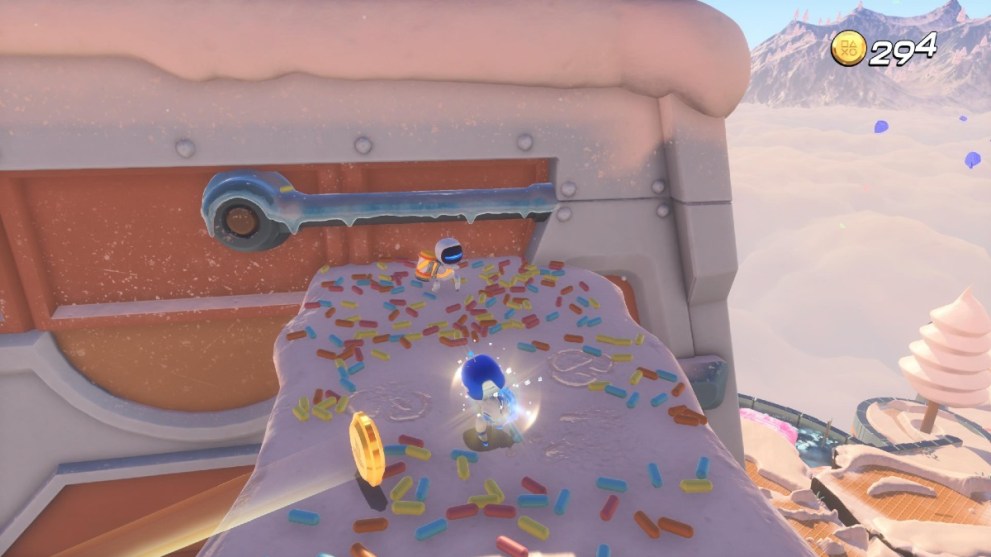
The first bot is themed around Solid Snake, and is hanging from an ice cream tree at the start of the level. Simply jump over to the tree and hit the trunk to send him to the ground, where you can claim him easily.
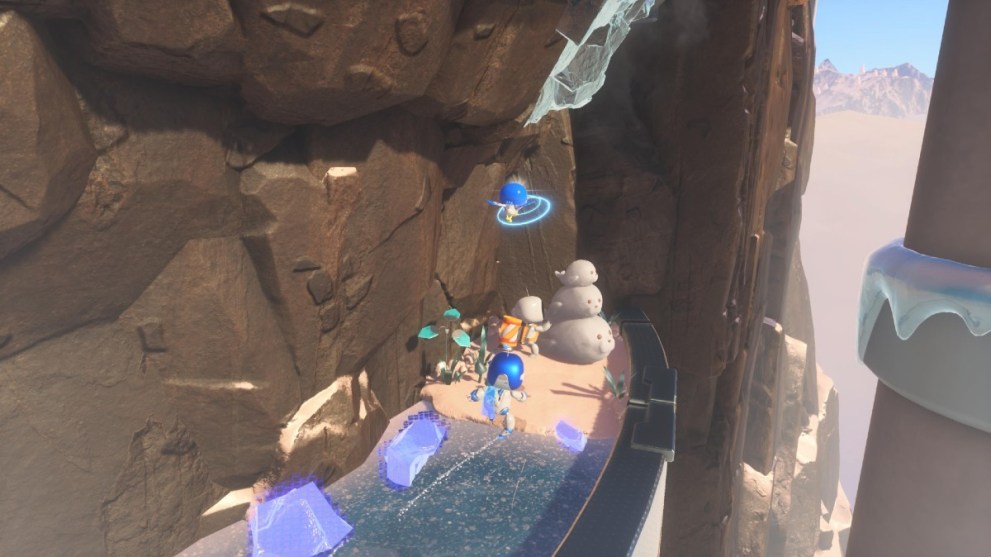
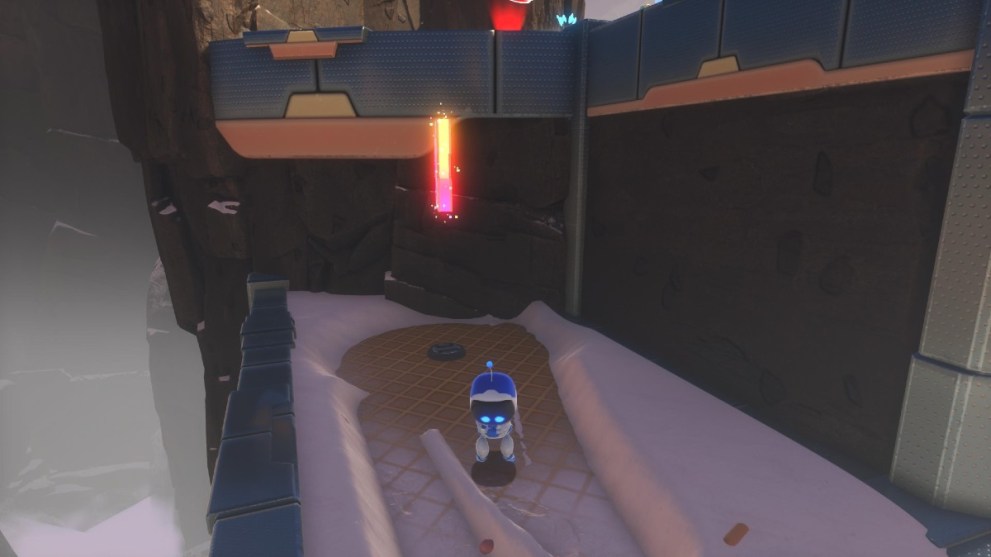
The second bot is on a pathway below the first ladybug bounce pad. Drop down and skate along the ice, avoiding falling icicles until you see a bot building a snowman.
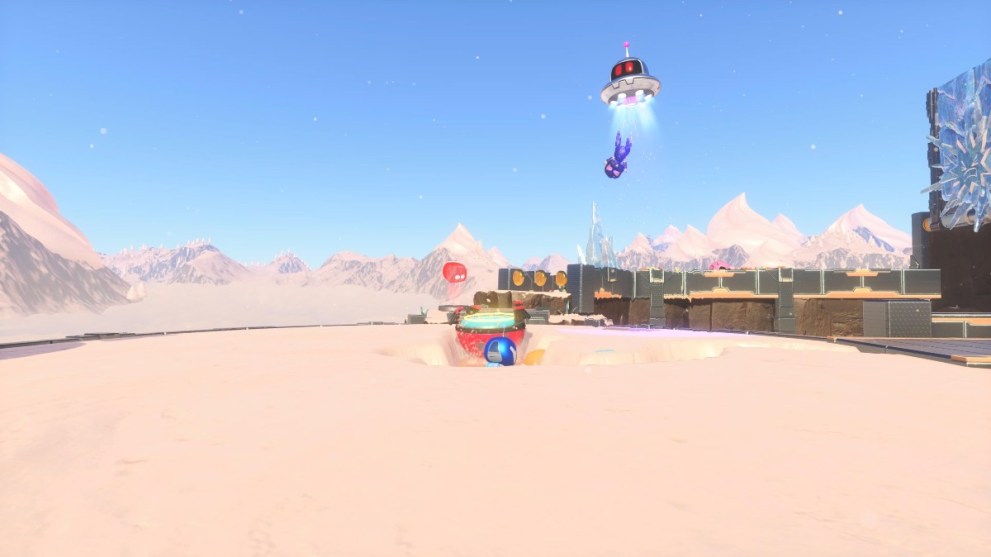
The next bot is just above the cliff from where you claimed the first one, but it gets whisked away by a UFO as you arrive on the scene. Follow it through the level until you reach a circular area with a ladybug you can hit and then bounce on. Position it with your attacks so it’s just beneath the floating bot, then leap up and claim it.
Next, head to the area with the pig and an ice block. Position yourself so the pig rams into the ice block and a blue cross opens up for you to spin on and go underground. Here, there’s a bot clinging to the wall. Just bounce on the ladybug and hit it to claim it.

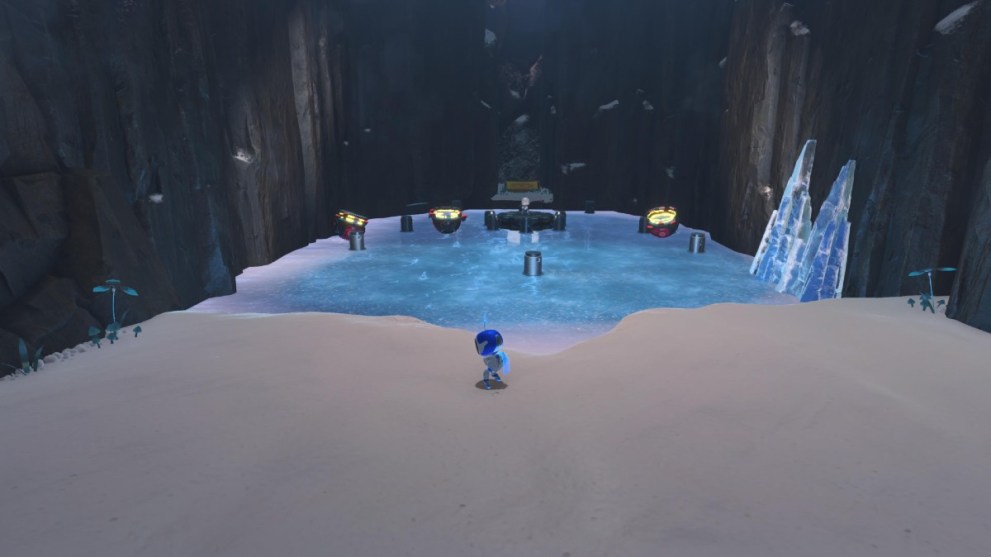
Once you arrive in the circular area where the level’s third puzzle piece is, head down the ladder on the right and spin on the blue block to enter an underground area. Attack the ladybug to send it spinning into ice blocks, which will eventually all break. Then, all that’s left to do is rescue the bot on a pedestal in the middle of the ice.
In the aforementioned circular area, look to the right and you’ll see a ramp with arrows on it. Hit one of the ladybugs up there, then jump up, defeat the two enemies, and you’ll find another bot.
The final bot in this level is unmissable. Once you’re at the final stage and swing the pig to crush the big ice block, it falls out of the ice and lands just to the left of the bounce pad you need to jump on to finish the level. Easy!
Az-Tech Trail Bot Locations
The first bot of this level is just after the rickety bridge you have to cross. Hit the ladybug into the bounce pad on the left, then hop up, defeat the yellow enemy, and there’s a bot waiting for you.

After you’ve got the punching gloves, progress up to the area with two cactuses and drop down to a lower level on the right. Use the gloves to pull the red sticky block off the wall and there’s a bot in the cavern that opens up.
Around the same area as the previous one, look for a wooden cage filled with Wompa Fruit. Hit it from afar using the gloves and a very familiar-looking marsupial bot will appear!
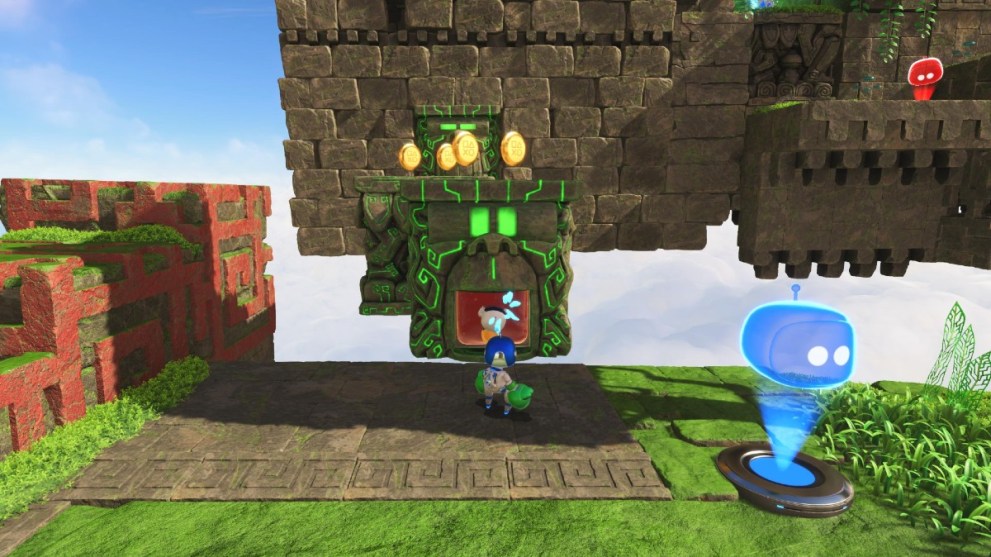
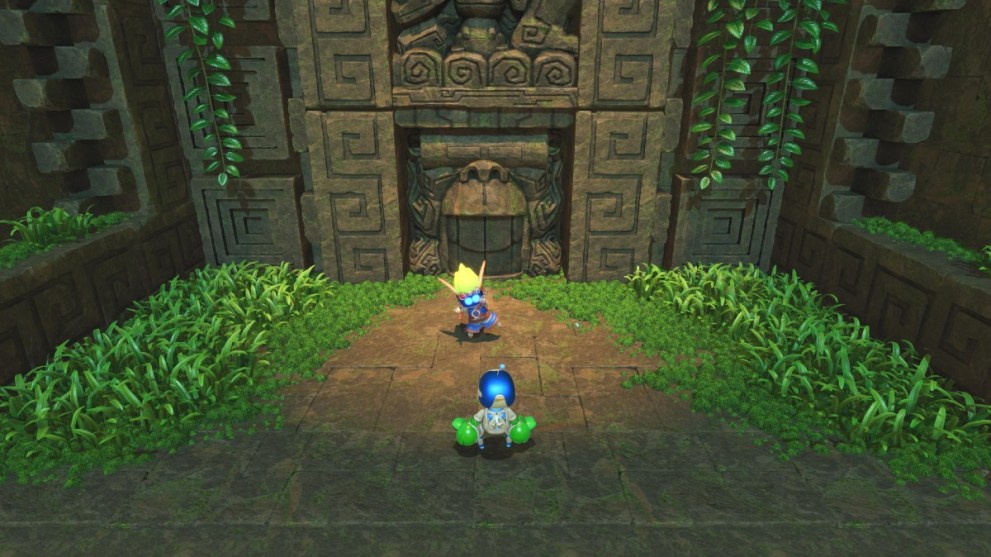
Keep progressing through the level until you’re in a cave with a gold-plated door. Bash it down with your gloves and you’ll spot a bot surrounded by four enemies. Just defeat them and free the bot!
On the next island along, look for a blue bounce pad to the very left of the area. Hop up and free the bot stuck hanging from the tree by punching the tree trunk.
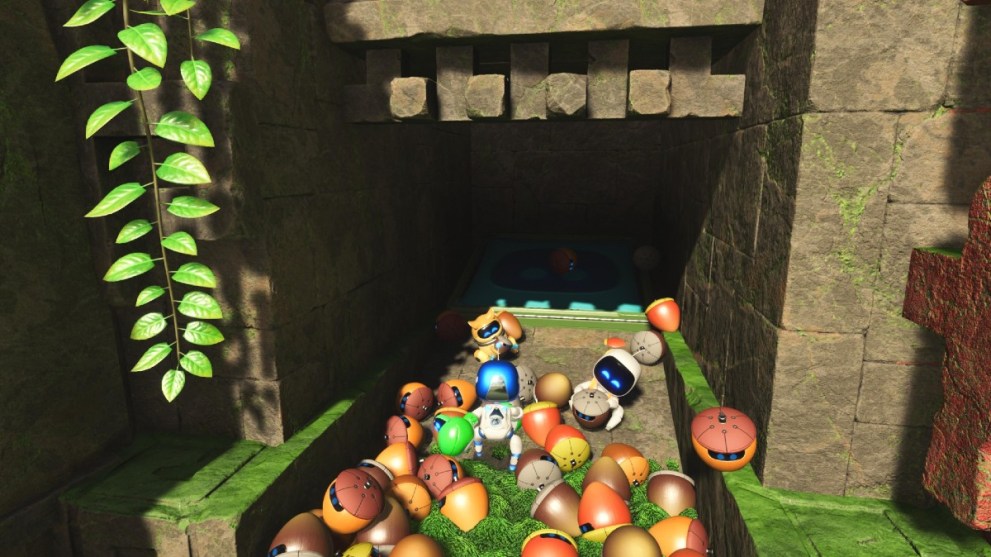
Keep on going until you come across two face-shaped blocks rotating right to left. The one closest to you occasionally opens up a red block to pull. Doing so reveals the sixth bot stuck in the jelly – just use your gloves to pull it out!
Before using the catapult to reach the final stage of this level, go to the face-shaped island before it and defeat the enemies that appear when you pull on the jelly. Then head through the blue portal that opens, avoiding electrified blocks as you go. By the time you reach the end, you’ll find a Jak-themed bot!
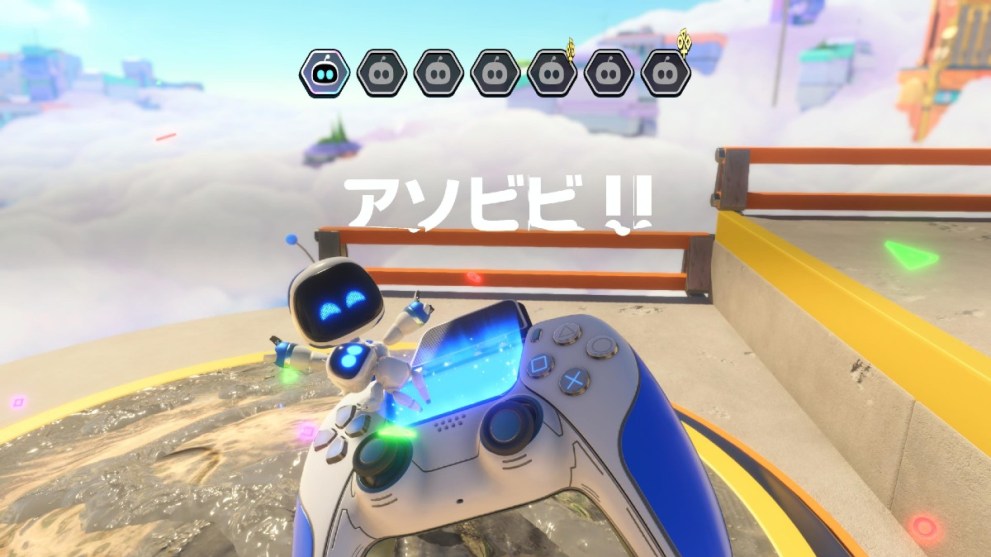
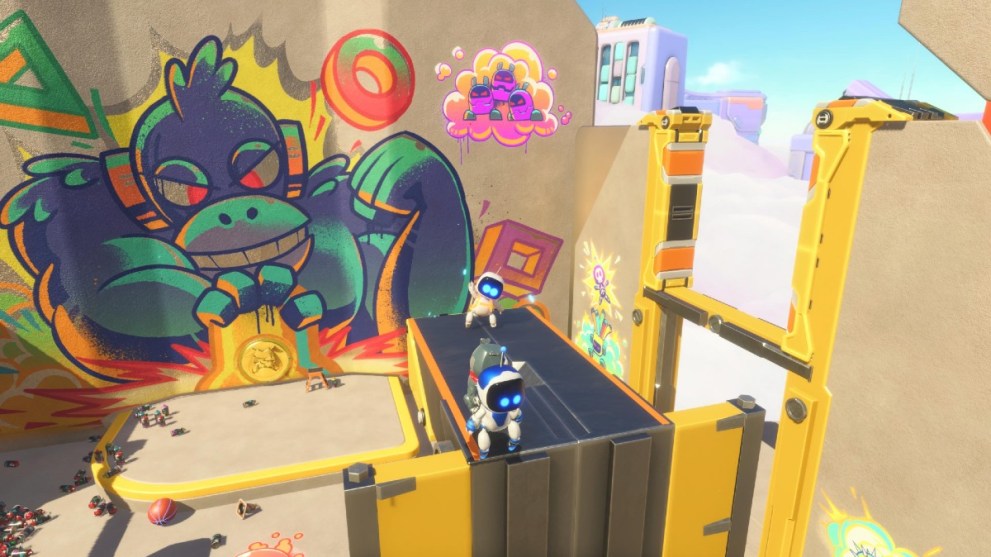
Construction Derby Bot Locations
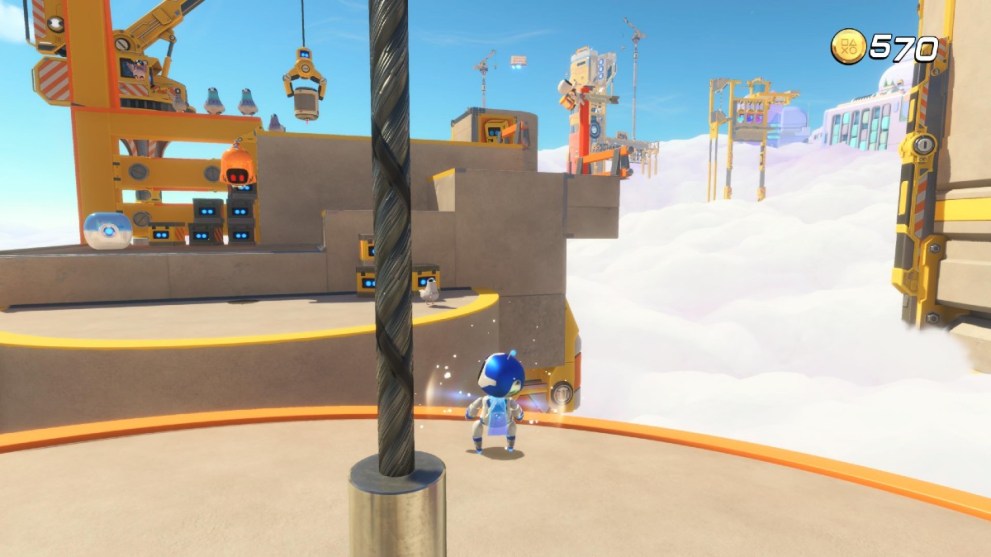
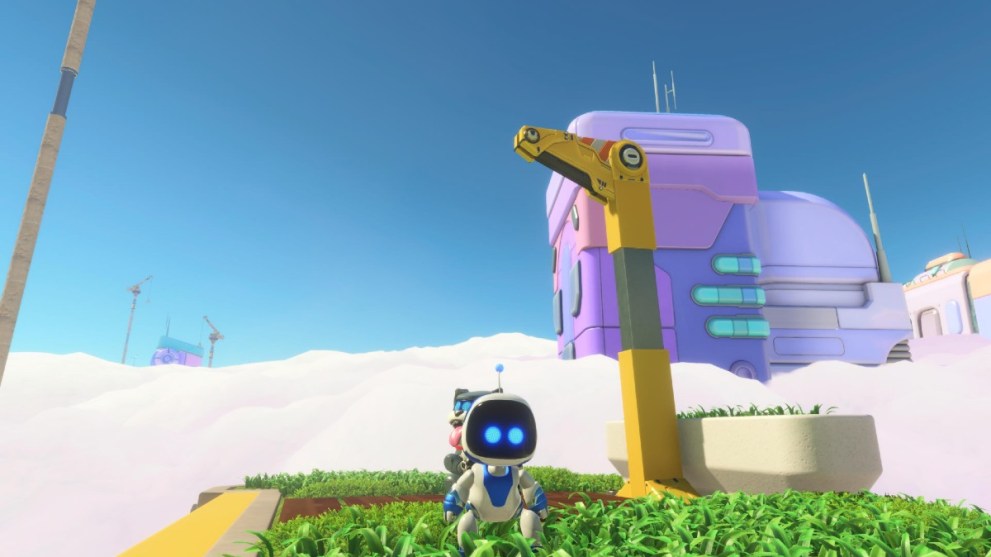
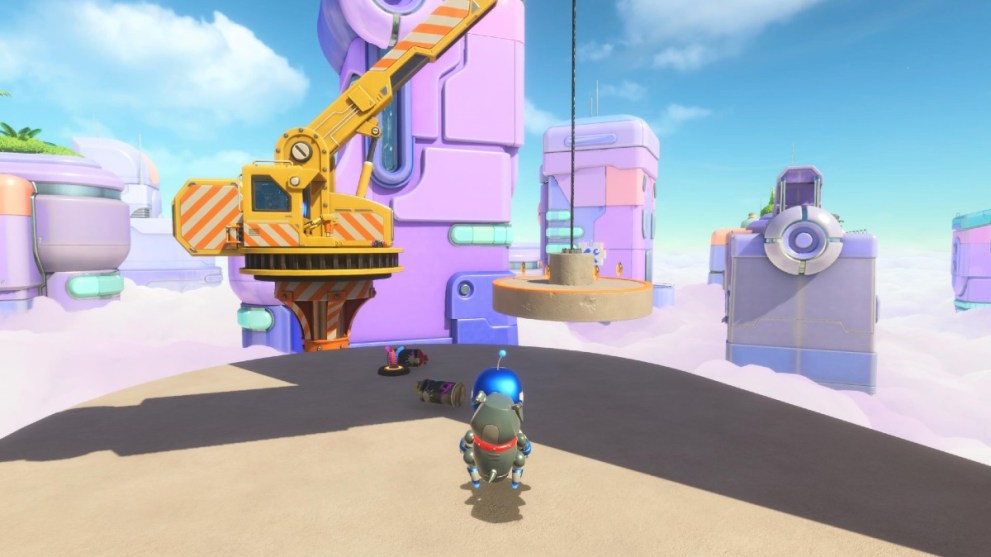
The first bot of this level comes as soon as you’ve crossed the two plates brought level with the ground thanks to some handy cranes. Clamber up the walls after them and head to the right to see a bot holding onto a pole.
The second bot comes almost straight after, as you spot a crane dangling a payload over some cement. Pull the wire on the payload to send it into the cement, then punch the debris that lands to save the next bot.
Once you’re in the construction site, find the ladder towards the center and follow the gradually ascending yellow platforms. There’s a bot stood here!
Keep progressing through the level and you won’t miss the next bot. It’s just standing in front of you – until it’s whisked away by a UFO. Fortunately, all you need to do is dash over a cavern of empty boxes to reach it.
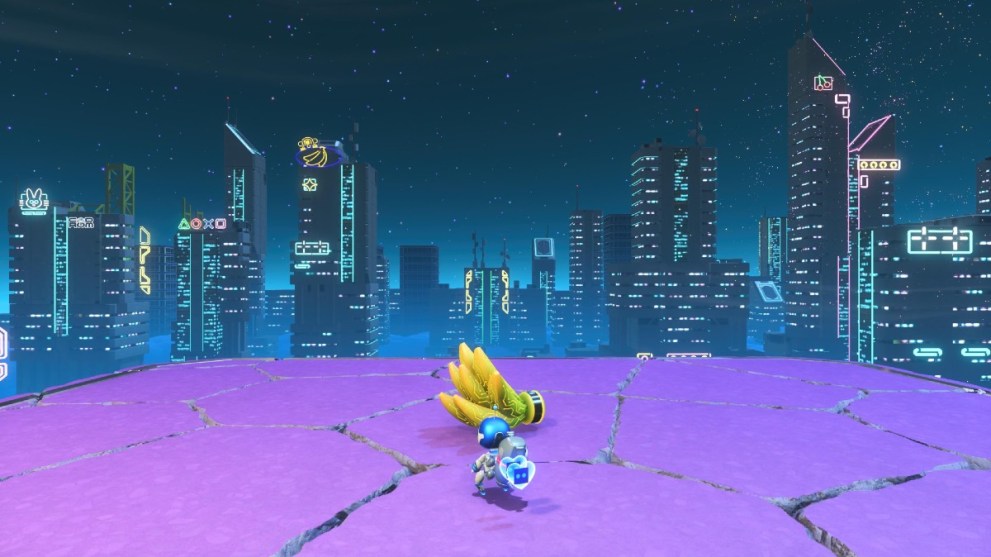
After defeating the gloved enemy alone on a pedestal, rush past until you reach a tilting platform with paint dripping down it. Instead of proceeding left, head to the right into a portal. Inside is a paint gun, which you need to use to highlight three platforms that allow you to reach the bot stuck at the top. It’s another themed one!
Then, climb back to the left of this rotating platform and follow the path until you’ve got a gloved enemy and an electricity enemy on one platform. Defeat them and head right, dashing into the bulldog tile to bring you to the top of a pile of boxes. Here is the penultimate bot in this level!
Continue climbing across the cranes until you reach a fork in the road. On the right is a glass floor with a themed bot being trapped on a small crane by some enemies. Defeat them to get the final bot!
Mighty Chewy Bot Locations
There’s only one bot up for grabs in this world’s boss fight, making it one of the easiest stages so far. It’s a very easy boss fight, and once completed you get an Ape Escape-themed bot as your reward. This then leads onto the final level of this world!
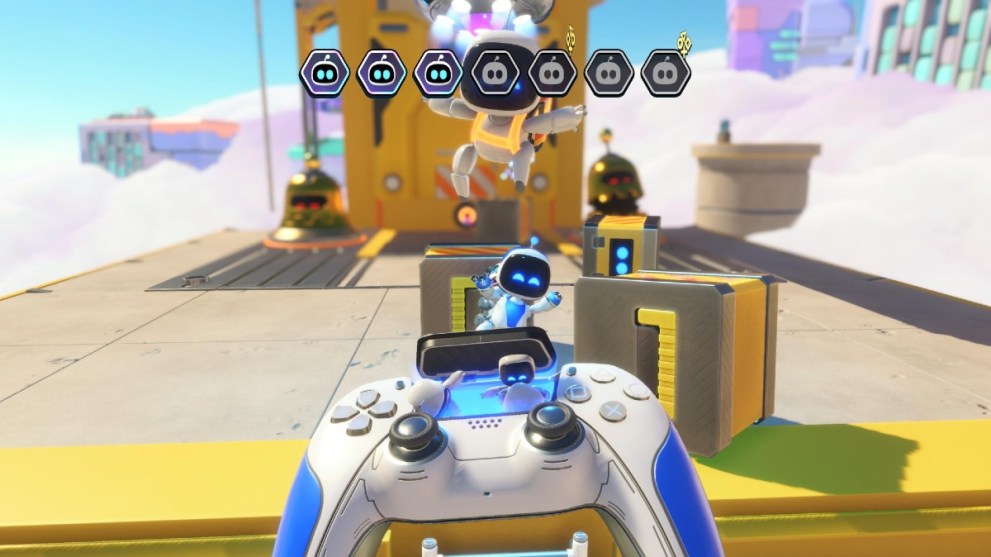
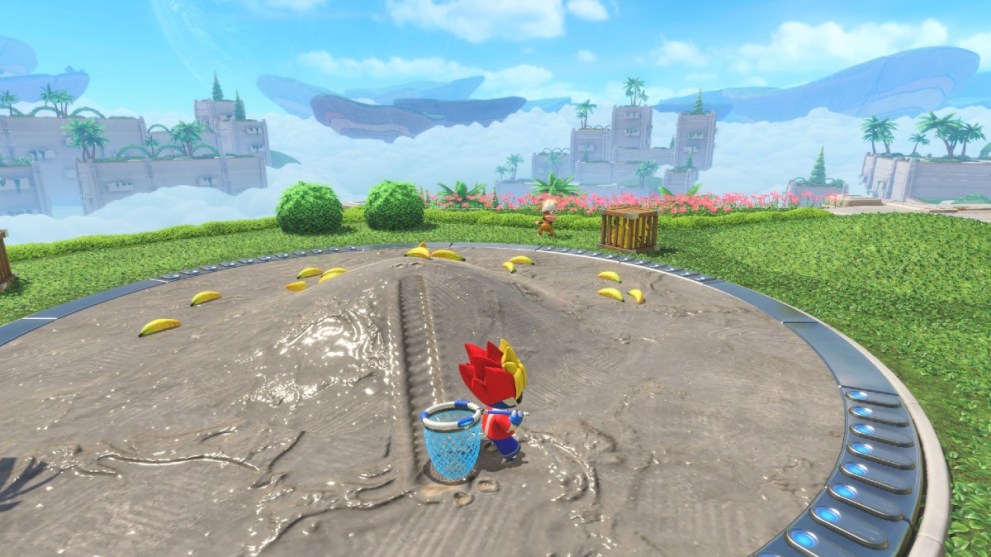
Apes on the Loose Bot Locations
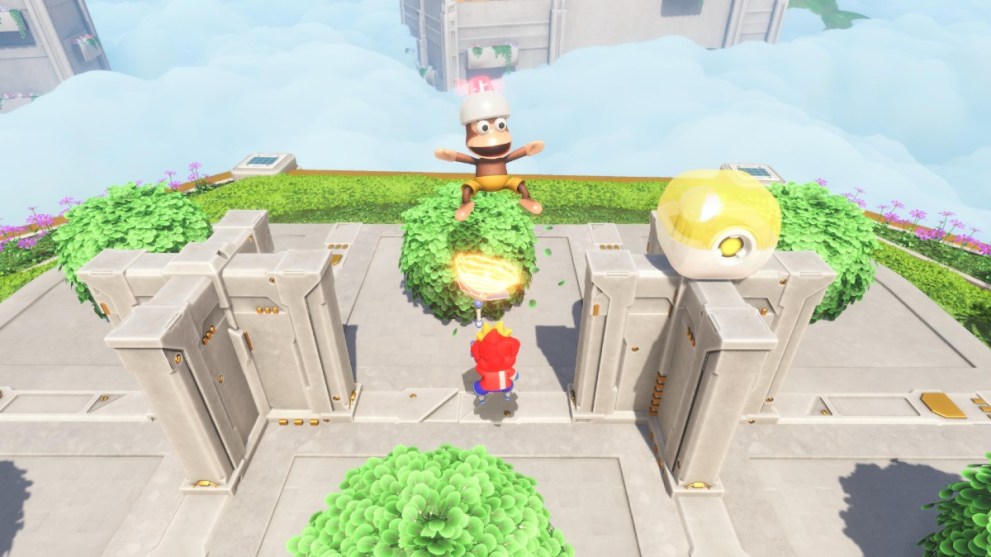
The first of ten Ape Escape-themed bots appears just after you watch its cutscene. A bot will see you and run into some shrubbery, completely hidden. Hold L2 to bring out your radar and it’ll duck out of cover when you’re close. Then, press R2 to slam down your net and catch it.
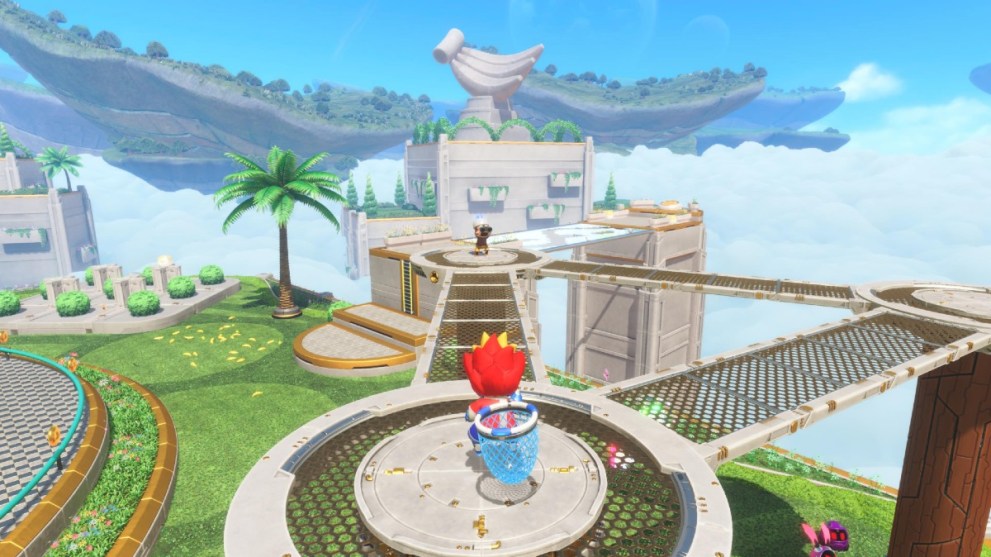
The next one starts off on a crate once you ascend into the main area, but runs away. It’s not a puzzle; just run after it, cutting corners until you get close enough to capture it.

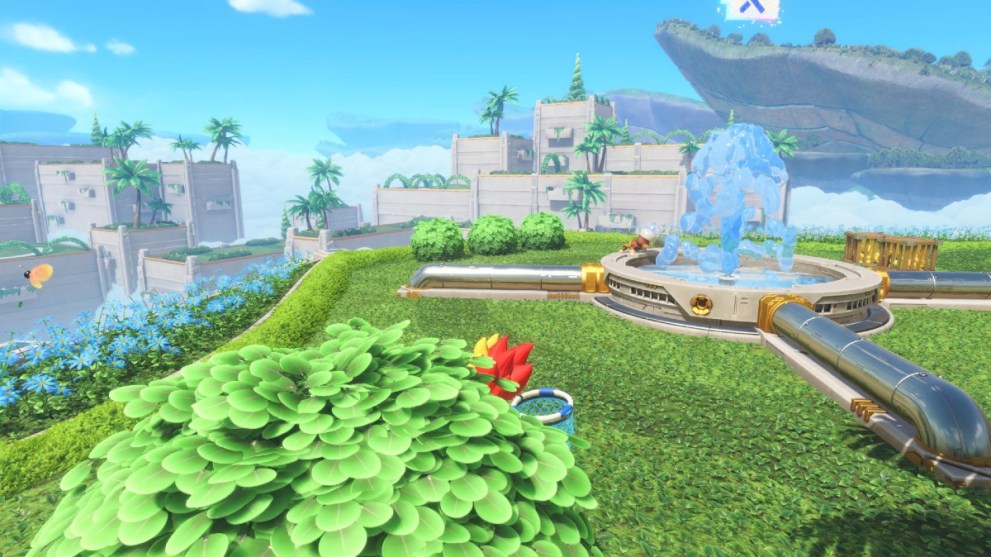
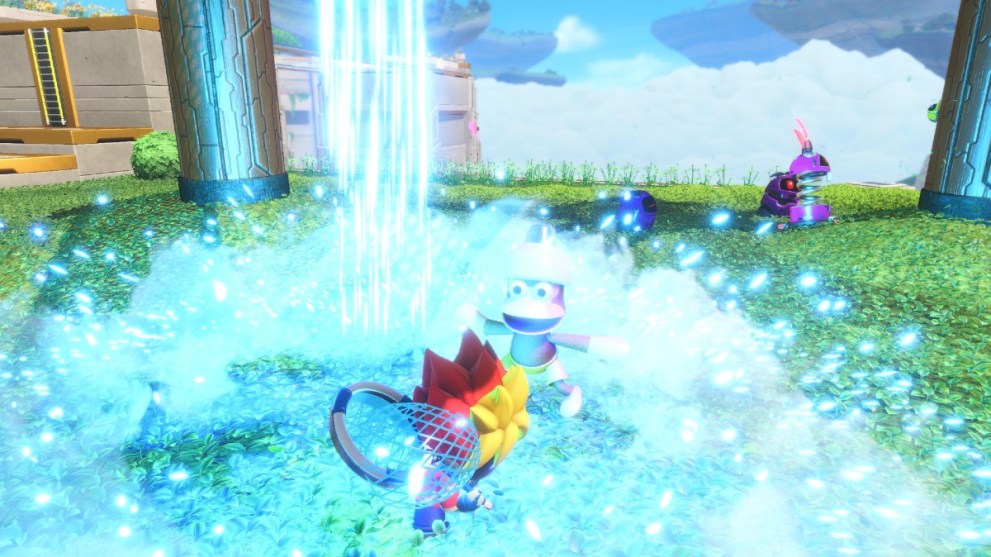
Working clockwise in this circular area, you’ll spot an ape looking into a nearby water fountain. It’ll spot you even if you sneak up on it, so cut the corner of the fountain to grab it.
Moving along, there’s an ape-bot caught by a UFO rotating around a rock monument. Defeat the nearby slime creature to open a wire. When pulled it gives you a stick of dynamite to throw at the UFO and send the ape falling to the ground.
Next is a grid of bushes that looks pretty empty – but pressing your radar with L2 indicates that there’s a bot nearby. Track it down to the correct bush and hit R2 to slam down your net and capture it!
The sixth bot is running along a pane of glass where the second puzzle piece also is. Once you’ve collected the puzzle piece and chased it off the glass, it runs back and forth across a square platform, making it really easy to grab.

Along from that, you’ll see a triangular platform slightly above ground level. Defeat the slime next to it and pull the wire to reveal a flower you can use as a propeller by pressing Square. There’s a bot along this platform, so chase it and cut corners until you’re close enough to catch.
The next ape is standing just above a one-way slide near some steps. When you climb those steps it’ll slide down and then start running away. It’s easy enough to predict its next corner and catch.
The penultimate bot is stuck in a crate attached to some cement, but when you hit the crate it instantly escapes. It’s a tricky one to catch, but bear in mind that it’ll only rotate around the edge of the cement pit.
This level’s final bot-ape hybrid at the top of the huge ape statue that appears once you’ve found five of them. Called Specter, you have to fight it by defeating the waves of enemies it sends your way. When you’ve cleared four and knocked it out of the air with a stick of dynamite, catch it as it loops around the area.

All Astro Bot Gorilla Nebula Puzzle Piece Locations
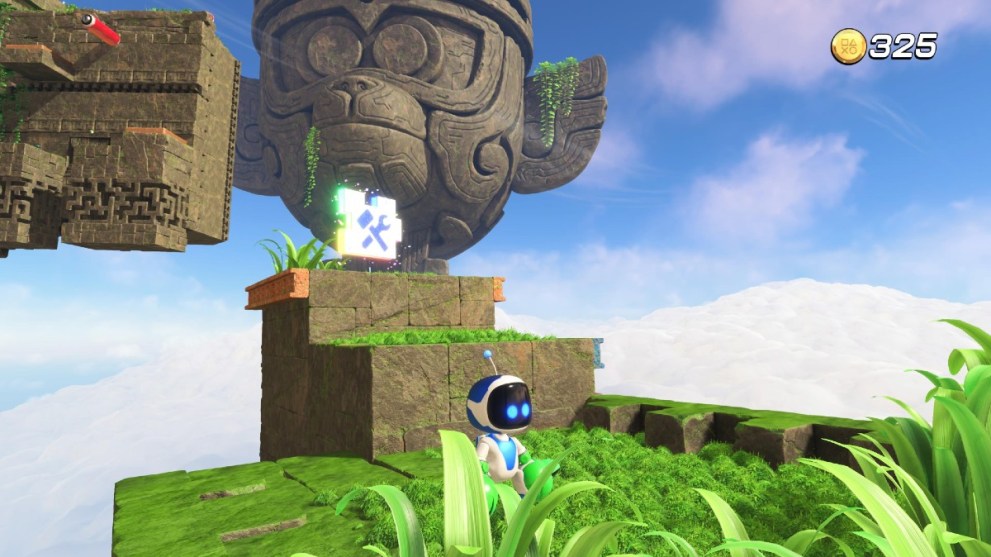
Sky Garden Puzzle Piece Locations
The first puzzle piece is fortunately unmissable. Proceed to the top of the second island, climb up the yellow ladder and it’ll be right in front of you. Once you collect it, a pullable wire unlocks to progress further.

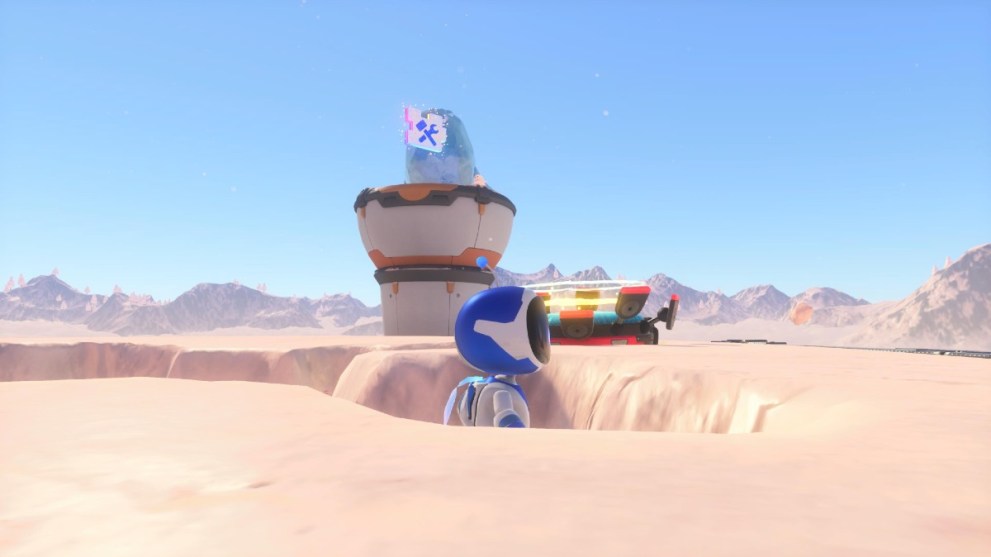
The second puzzle piece is located outside the lagoon you land in towards the end of the level. However, there’s a pesky flamingo flying around with it on its back, making it impossible to simply grab. Instead, you’ll need to use the floating gun you unlock towards the end of the level to make yourself into a balloon, floating until you’re above the flamingo and stealing the puzzle piece that way.
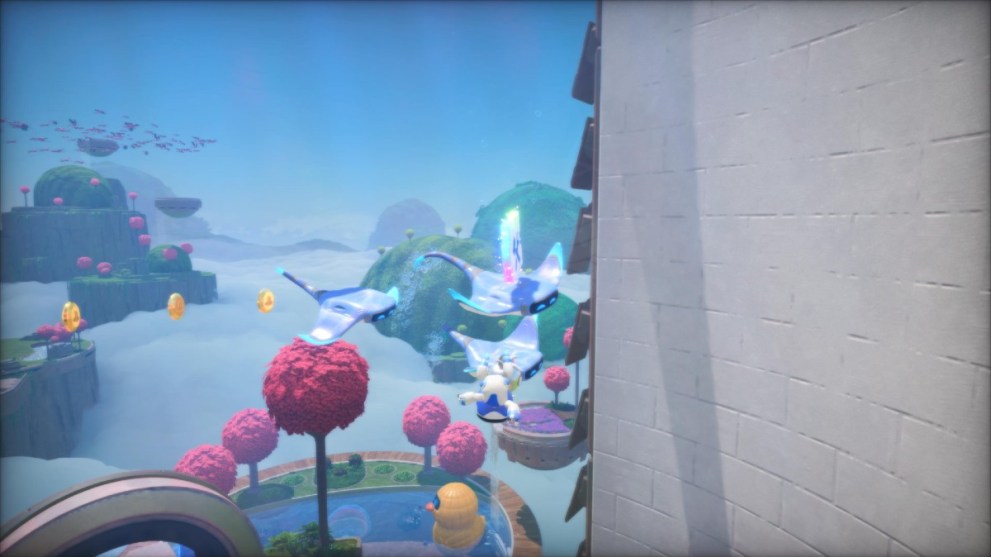
The final puzzle piece is located within the water tower once you’ve ascended the cliffs next to the lagoon. A stingray is carrying it on its back, meaning all you need to do is float above it and then exhale the balloon to land on its surface and claim the last one!
Creamy Canyon Puzzle Piece Locations
For the first puzzle piece, head towards the snowman just right of where you claim the first bot. Defeat the enemies and knock down the snowman to reveal a wire to pull on. Yank this and a puzzle piece will spring out!
The next one is in the circular arena where you collect the third bot. Hit the ladybug that’s lurking on the ground until it’s under the small cliff, then jump up it to grab the puzzle piece.
Progress past this, beyond the next ice wall, to end up in another circular area with a puzzle piece being hoisted up by a bird. It’s the same deal here; position the ladybug correctly and jump up at the right time to grab it.
Az-Tech Trail Puzzle Piece Locations
After you’ve used a horizontal red pole to swing for the first time, there’s another red block lurking just to the left of the adjacent structure. Pull it and it’ll release water into a pool – as well as the first puzzle piece!
Once you’ve found the fifth bot, there’s a red block to pull on the right-hand side of the level. Doing so opens up a bounce pad and a small island to climb up, with the next puzzle piece sat at the top.
The final puzzle piece is just after the sixth bot, adjacent to the wall you have to climb across. Swing using the red poles that emerge when opening both of the prior face blocks and dive inward while jumping to claim it.

Construction Derby Puzzle Piece Locations
The first puzzle piece is very easy to miss if you aren’t paying attention. As you’re flying into the map, passing cranes as you go, one of them has a puzzle piece nestled to the left. Tilt your controller to grab it, or you’ll need to play the level again to get 100% completion.

Once you’ve got the rushing power with the dog, head to the construction site and head right. There’s a wire to pull that unlocks a crane with the second puzzle piece in it. Simply use your magnet to collect enough metal cans, fire it at the magnet icon on the crane, and it’ll rotate so you can reach it.
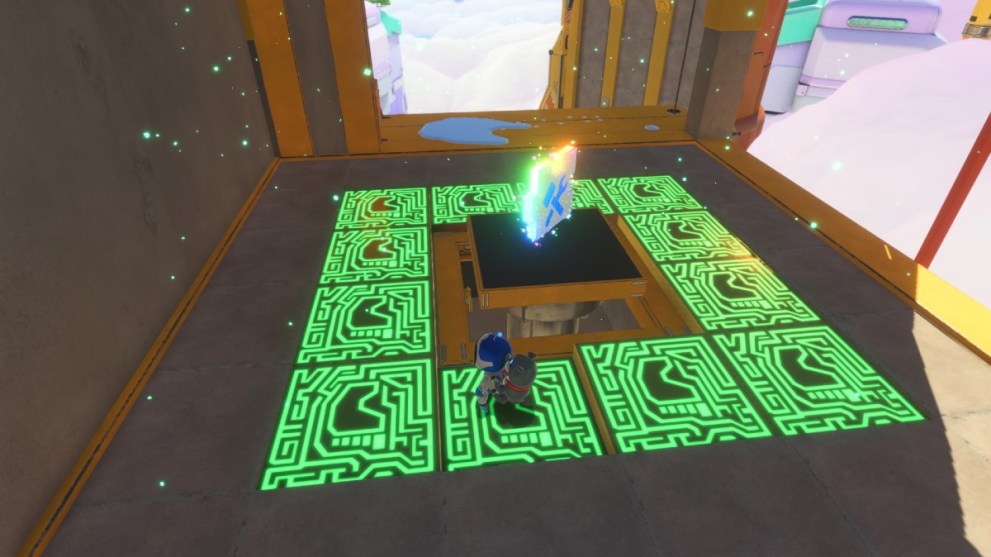
On the fork in the road where you claim the last bot in the level, descend the tower by one platform and you’ll find a wire in the floor. Pulling it reveals some green tiles on the ground. Walk across them until one makes a distinctive noise, and blast it with the lasers that come when you hover. This will produce the final puzzle piece in the level!
Apes on the Loose Puzzle Piece Locations
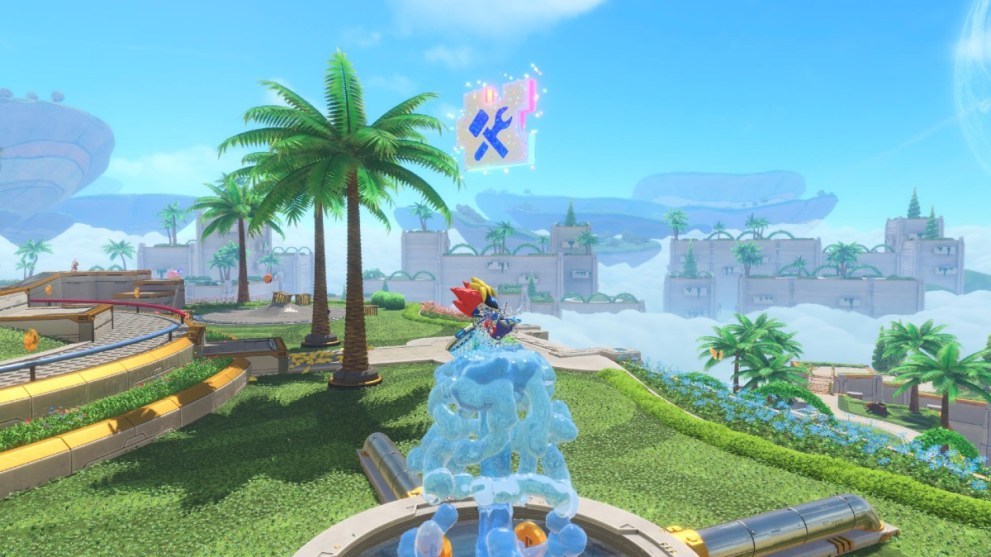
The first puzzle piece here is above the water fountain where you find the third bot. Simply walk onto the stream of water and it’ll propel you upwards, meaning all you have to do is jump once to grab it.
After finding the fifth bot, continue clockwise and go up the ladder by a stone pedestal. There’s a monkey that’ll run across the glass floor, but also a puzzle piece on it. Glide carefully and land on a nearby pane of glass, then jump up to claim it.
After capturing the seventh bot on the triangular platform, you’ll notice the level’s final puzzle piece hovering just below the triangle’s center. All you need to do is position your jump accurately to land on it as you fall.
All Astro Bot Gorilla Nebula Secrets
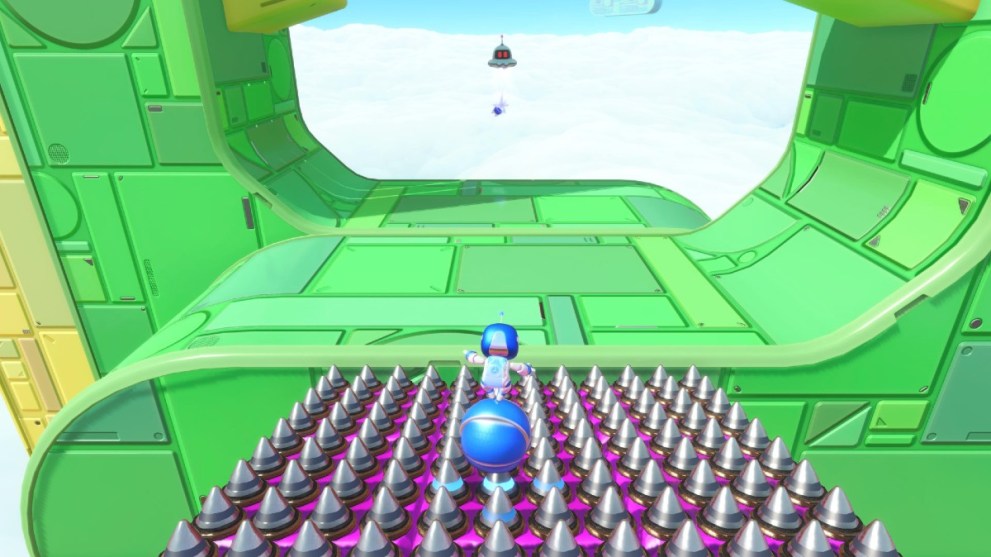
Rolling Star Sola
After you’ve cleared three of the four base levels in Gorilla Nebula, you’ll spot an asteroid flying across space. Using your ship in the hub area, fly over to it to send it crashing down.
This is a short level where you roll atop a ball, navigating obstacles to reach the end of the course. Once you reach the end there’s a catlike bot trapped in mid-air, so fire the ball at it to complete the level.
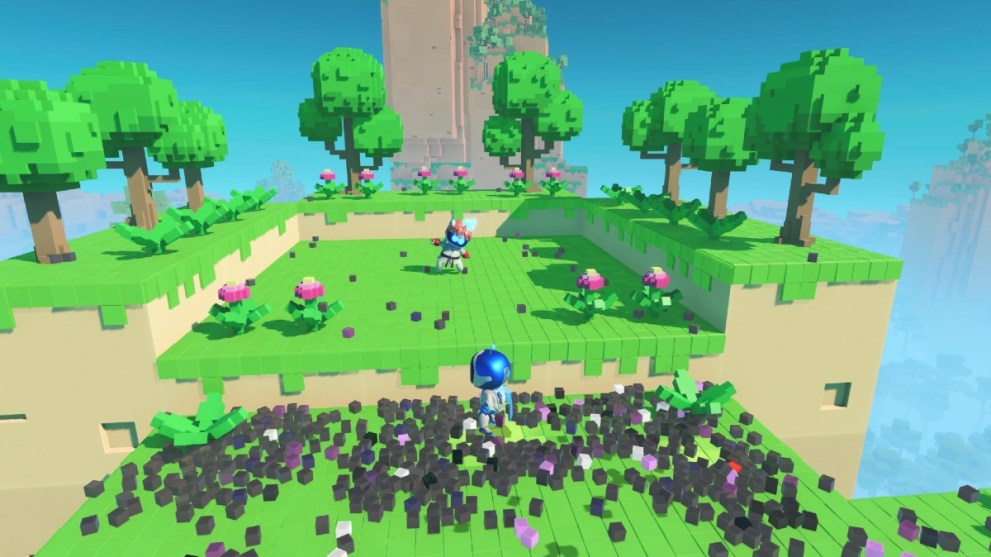
Retro Rampage 1
To unlock this level, sweep your ship across the ring of mini meteors in a full circle and it’ll spawn in. It’s a very short level with Minecraft-style bunny enemies to defeat, and a karate-themed bot as the reward.
Lost Galaxy
This portal is hidden underneath the ice dolphin within the circular area where you claim the second bot in Creamy Canyon. Progress further until you find the pig, which you can grab and spin to throw at ice obstacles. Aim it at the ice dolphin and a portal opens up. Inside is a disco ball leading to a portal area, opening up Lost Galaxy for the first time.
That concludes our full walkthrough of Gorilla Nebula in Astro Bot! For more, check out our Tentacle System walkthrough and Crash Site walkthrough.


Updated: Sep 5, 2024 08:14 am