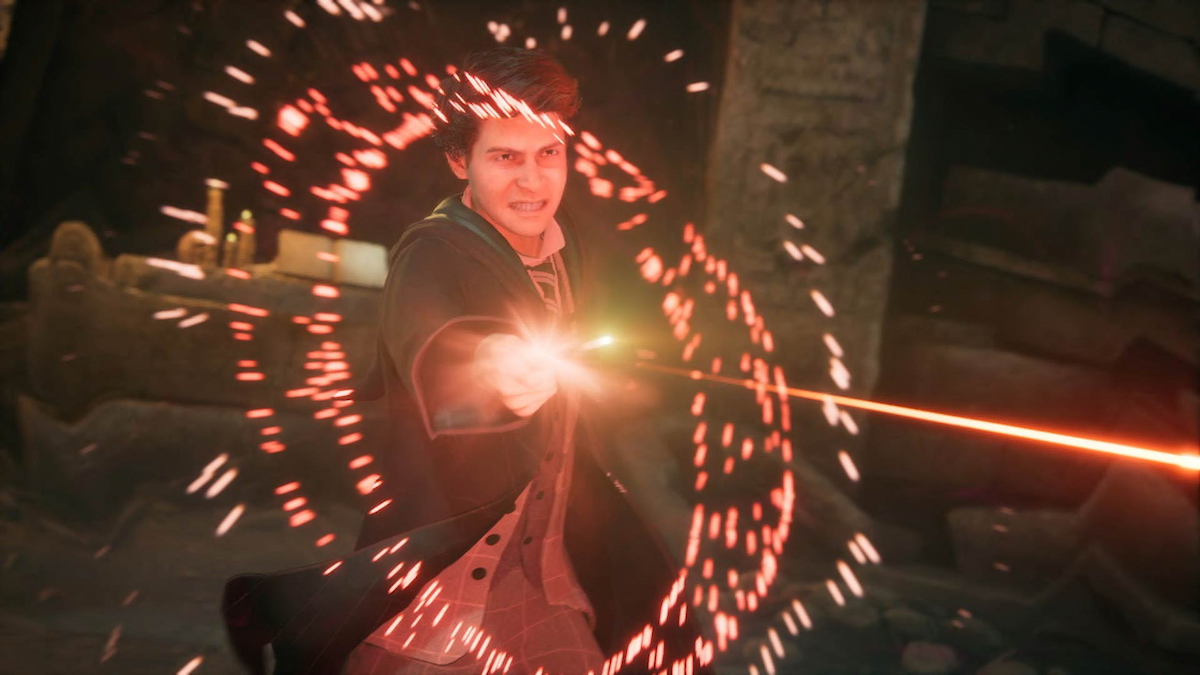
Much like the material it’s based on, Hogwarts Legacy is chock full of magical secrets and puzzles that’ll make you pull out any and every spell for a solution. The latest puzzle causing quite a collective head scratch is Depulso Puzzle Room 2, and if you’ve found yourself struggling with how to solve this puzzle, read on to discover the answers you’re searching for.
How to Access Depulso Puzzle Room 2 in Hogwarts Legacy
To access this quest, you’ll need to have completed the Halls of Herodiana quest in Hogwarts Legacy, which is given to you at a certain point when you can talk to Sophronia Franklin. Completing the previous side quest will unlock a harder version of the trial that can be completed at your leisure.
This quest starts in the Astronomy Wing after completing the previously mentioned quest, but once you visit it for the first time, it’ll be marked on your map as “Depulso Puzzle Room 2.” To reach it via Fast Travel:
- Select the Bell Tower Courtyard Floo Flame.
- From where you spawn, head directly to the left, up the first set of stairs, and enter the doorway directly in front of you.
- Head up the first set of stairs, and enter the doorway in front of you, where a suit of armor stands to the right.
- You’ll be inside of the Astronomy Classroom.
- Head to the doorway in front of the classroom entrance. You’ll need to have Alohomora to unlock this door.
Completing Depulso Puzzle Room 2 in Hogwarts Legacy
When ready to tackle the Depulso Puzzle Room 2, here’s what you need to do to prove your magical prowess:
Puzzle Room #1
- Use Depulso to push in the door which will allow you entrance to the puzzle room.
- Enter the room, and continue straight. As you enter and pass the gated door, the room will open up with the bricks moving to their set locations.
- While on the platform, use Accio on the T-shaped block.
- This will pull it towards you and the platform you’re standing on.
- Drop down to the left side of the T-shaped formation, immediately turn around and use Accio on the glowing block that made up the raised platform you were standing on.
- This will send it flying over you to the wall where the first T-shaped formation was.
- Jump across the gap where the T-shaped formation slid up, and use Accio on the glowing block directly in front of you.
- This will pull it towards you and block your path. Once you do that, use Depuslo to push it forward.
- After completing the above step, head to the right side of the block you used Depuslo on. Use Depuslo on it again to send it flying forward.
- It will fit snuggly underneath an already raised block formation, and make a small J-shaped block.
- Move to the left of the J-shaped formation, and use Accio on it.
- It’ll hit a small set of blocks that will prevent it from flying too far forward.
- Climb up to the block formation on your left, and then jump on top of the J-shaped formation.
- Once on top of the J-shaped formation, jump up to the platform with the lamp. This will open up a doorway behind you and trigger a cinematic of pieces shifting to reveal another gated doorway.
- The T-shaped formation should have moved back during the cutscene, as well as the block you sent flying over your head that made up said platform.
- Look to your left, and use Accio to pull the T-shaped formation back to the platform you stood on when you first arrived in the puzzle room.
- Safely drop down and head back to the platform by the entrance.
- Use Accio to pull the square block to the right side of the wall, and then use Accio again to send it flying over your head.
- There will be a second glowing square block underneath the one you sent flying in the previous step.
- Use Accio to pull out the second square block, which will send it flying to the wall behind you.
- Jump over the gap, like you did earlier, and navigate to the piece you used Accio on. Use Depulso on it to push it against the wall.
- Now, look to your right and use Accio on the two block formation to pull it towards you.
- It’ll hit the middle block you climbed on top during a previous step.
- Use Accio again to pull it behind you, where it will then hit the back wall.
- After completing the previous step, head to the right side corner of the two block formation. Use Depulso to push the block forward.
- Doing this will make a monstrosity of a block formation.
- Use Accio on this formation to pull it from against the wall to the middle blocks that you climbed on in prior steps.
- Use Accio to pull the formation to the wall behind you, where it will hit a giant pillar of blocks you haven’t interacted with yet.
- Look back to the T-shaped formation, and use Accio twice on it until it joins the formation of blocks you’ve assembled.
- You should now be able to safely scale this formation to reach the gated doorway.
- Head to the back left side of the formation to scale it.
Puzzle Room #2
You’ve completed Puzzle Room #1, with your reward being a second room. Here’s how to conquer Room #2:
- In the middle of the room, you’ll see a long chain of blocks, with a block pillar on the left side. Head to the left formation, and use Depulso on it.
- Once you’ve used Depuslo, climb up the middle chain of blocks.
- Look to your right, and cast Accio on the floating chain of blocks.
- This will pull it closer to you.
- Jump on top of the freshly pulled formation, look towards the formation you pushed in step one, and cast Accio to send it flying to the right side wall.
- You can now run, jump and climb that platform to reach a chest.
- Once up there jump back down to the platform.
- Cast Depuslo on the formation you climbed in the previous step.
- This will send it flying straight ahead.
- Look to the left of the formation you used Depuslo on, there will be a long chain of glowing blocks. Use Accio on it to pull the formation forward, where it will hit a pillar preventing it from flying too far forward.
- Use Accio again to fit it snuggly against the pillar.
- Use Depuslo on the long chain of blocks in the middle of the room.
- This will send it flying against the left hand wall.
- Use Accio on the right side of the freshly pushed chain of blocks to send it flying to the far right side of the room.
- It will now fit in the void left by the blocks you pulled in step five.
- Turn your attention to the straight line of blocks you used to reach the chest. Focus on the left side and use Accio.
- This will send it to the left side of the wall where it will slam against the blocks from the previous step.
- Head to the left side of the room, and use Accio to pull the formation from the previous two steps towards you.
- You can climb this formation to reach a golden archway that houses a chest.
- When you’re done, drop back down, and use Depulso to push the formation back into place.
- Climb up the right side blocks that are stuck on the pillar from step two.
- Use Accio on the formation you used to reach the second chest. This will pull it towards the middle of the room.
- Run and jump on to the middle floating block.
- Don’t worry, you can reach it.
- From there you can climb up, reach the gated doorway and complete the Depulso Puzzle Room #2.
With that, that’s all you need to know on how to solve the Depulso Puzzle Room 2 in Hogwarts Legacy. Check out similarly-themed magical tips and tricks down below to make your trek through Hogwarts Legacy a bit easier.


Updated: Feb 20, 2023 05:56 pm