The Dead Space Remake features an array of new sidequest missions that now take the player to every ravaged corner of the USG Ishimura. Arguably the most important side mission in the game that’s crucial to unlocking all of those new exploration opportunities and additional lore is called You Are Not Authorized. Completion of this mission gives you special security clearance in the form of a Master Override that will allow you to unlock high-level security crates and doors that lead to previously closed off areas of the ship.
In order to complete this side mission, Isaac Clarke must make his way through various areas of the ship and collect a total of 7 RIGs from now-deceased crew members in order to create the Master Override. Here is how to unlock the You Are Not Authorized mission, where to find all 7 RIGs, and create the Master Override in Dead Space Remake that will give you unrestricted access to the Ishimura and all of its secrets.
How to Unlock the You Are Not Authorized Side Mission
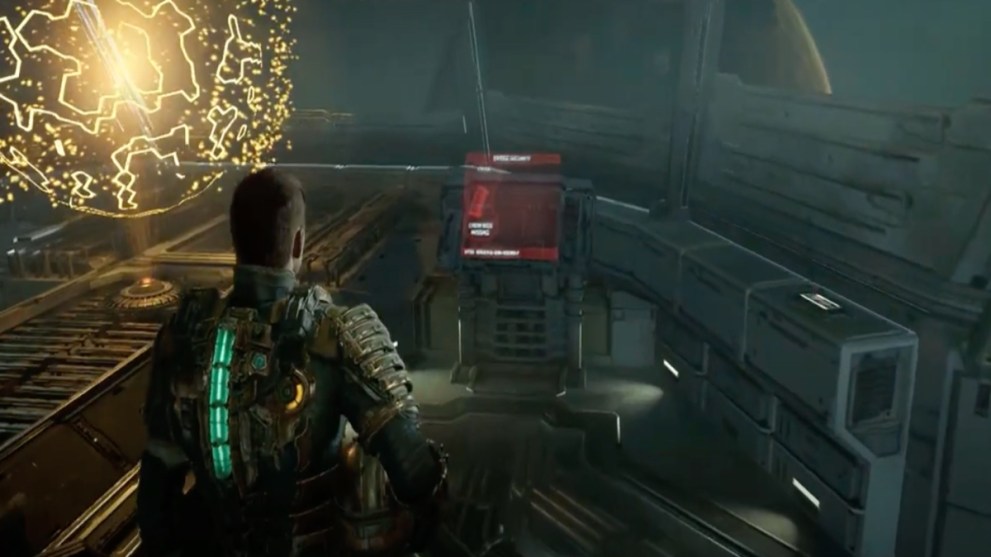
You can first unlock You Are Not Authorized during Chapter 4: Obliteration Imminent, when you go meet Hammond in the Captain’s Nest. Go to the terminal located to the right of Hammond and interact with it to officially begin the mission. After you find all 7 necessary RIGs, you will return to this terminal to create the Master Override.
Side Note: You are able to start this mission at any point before the point of no return in Chapter 11: Alternate Solution.
Here is where to find each of the 7 RIGs needed to complete the mission.
RIG of Hangar Overseer Voelkner – Accessible Early!
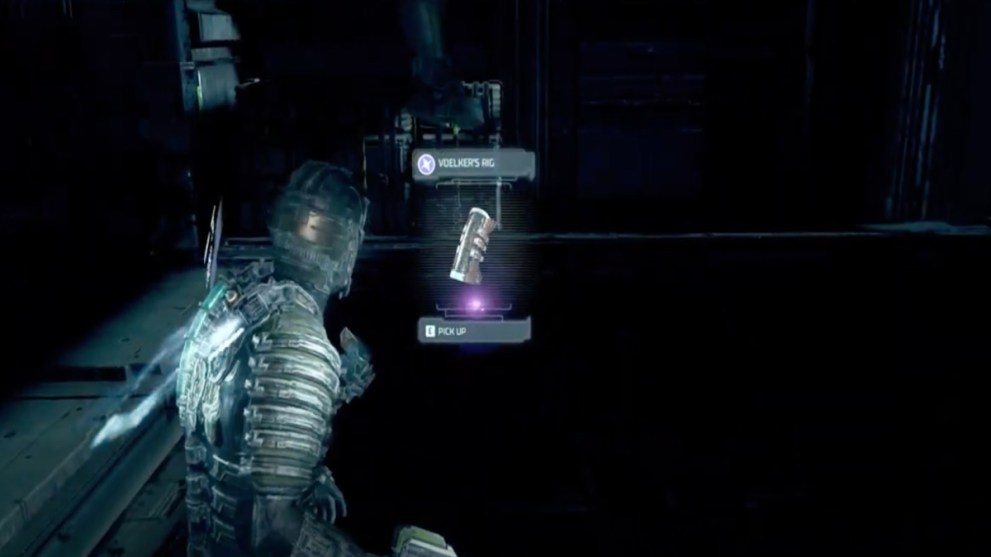
The RIG belonging to Hanger Overseer Voelkner is actually recoverable as early as Chapter 3: Course Correction. Hammond opens the Landing Bay doors in order for Isaac to reach the Engineering Wing of the ship. Upon entering the vacuum, instead of going right towards Engineering, turn left and the RIG can be found next to Voelkner’s body and an O2 station.
RIG of First Officer White – Chapter 4
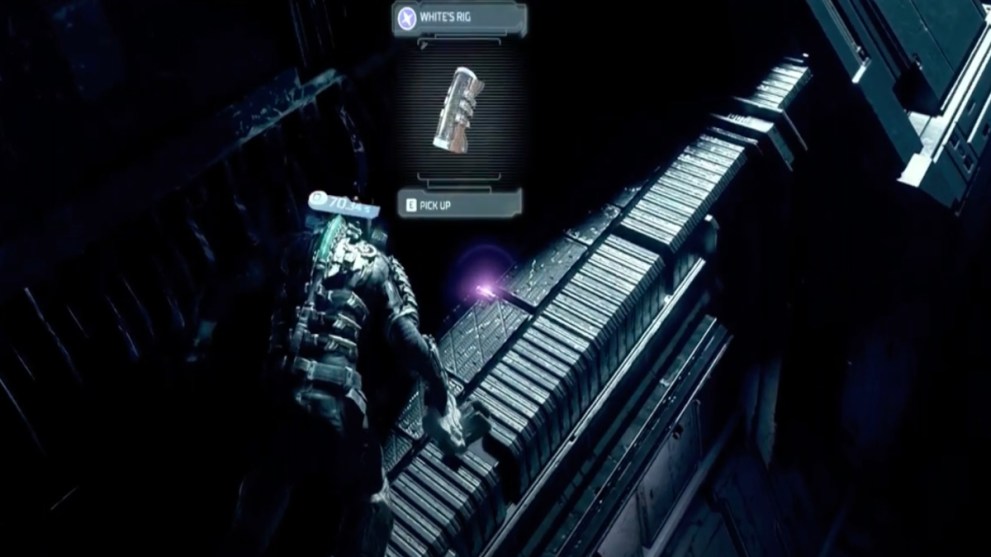
The RIG belonging to First Officer White is in a slightly more perilous location, and be sure to have plenty of O2 handy. It’s found out in the ADS Cannon Trench during Chapter 4, when Isaac is tasked with rerouting power and recalibrating the giant anti-meteor guns on the front of the ship. After taking care of the third gun on the left side of the trench, the RIG can be found nearby.
RIG of Lieutenant Commander Holt – Chapter 6
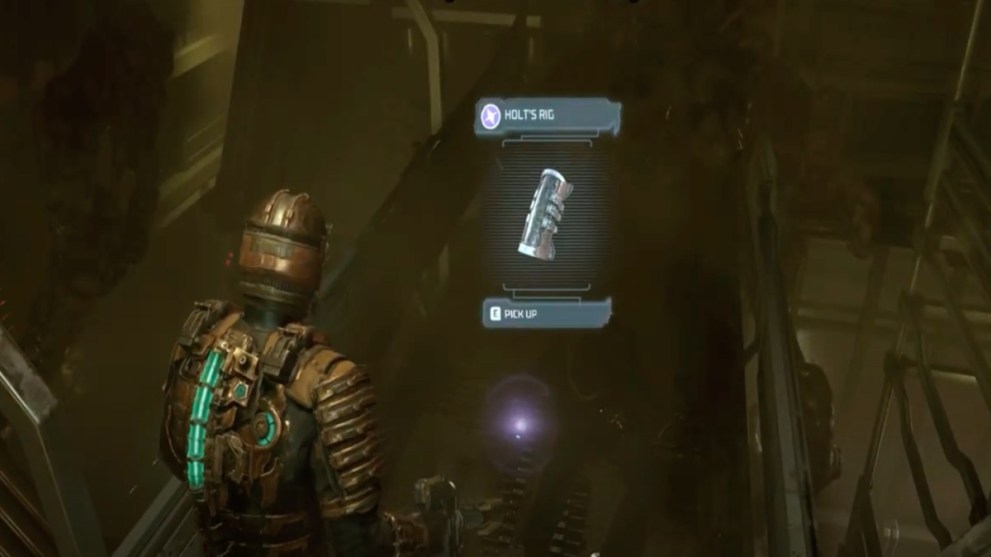
Reaching Lt. Commander Holt’s RIG requires access to the Hydroponics area, which is unlocked in Chapter 6: Environmental Hazard. During the mission to inject all the infected Wheezers in the area, upon reaching the East Grow Chamber you’ll find a huge mass of Necromorph tissue on the second floor platform in the room that conceals the area where the RIG is found. To get rid of it you’ll need to shoot the four glowing sacs located around the room.
Once all four are destroyed, head back to where the tissue mass once was, and you’ll find Holt’s RIG on the other side.
RIG of Mining Supervisor Dallas – Chapter 7
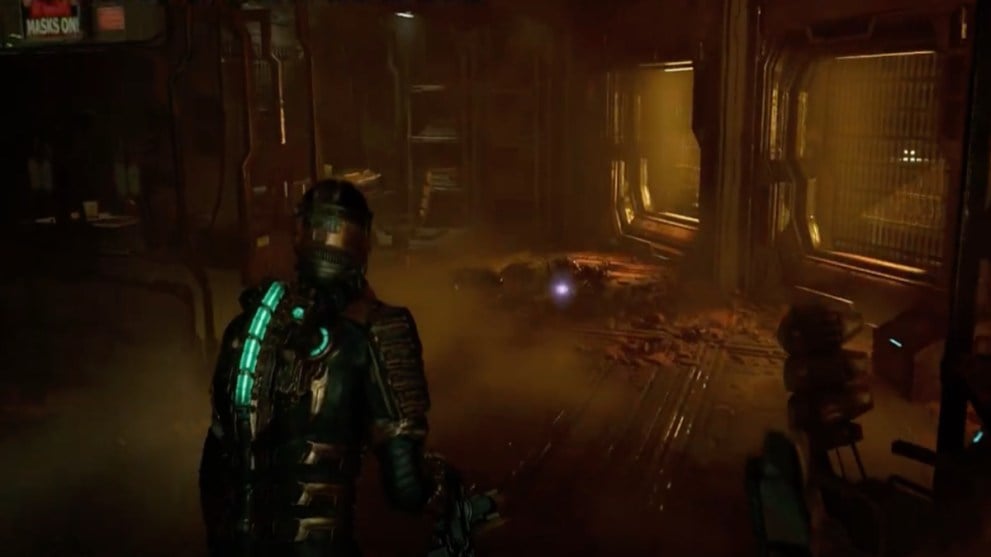
This RIG is an unmissable one, as it is required to progress through Chapter 7: Into the Void by gaining Level 3 security clearance. Simply follow the main objective’s directions until you find the RIG next to Dallas’ body.
RIG of Chief Engineering Rousseau – Chapter 8
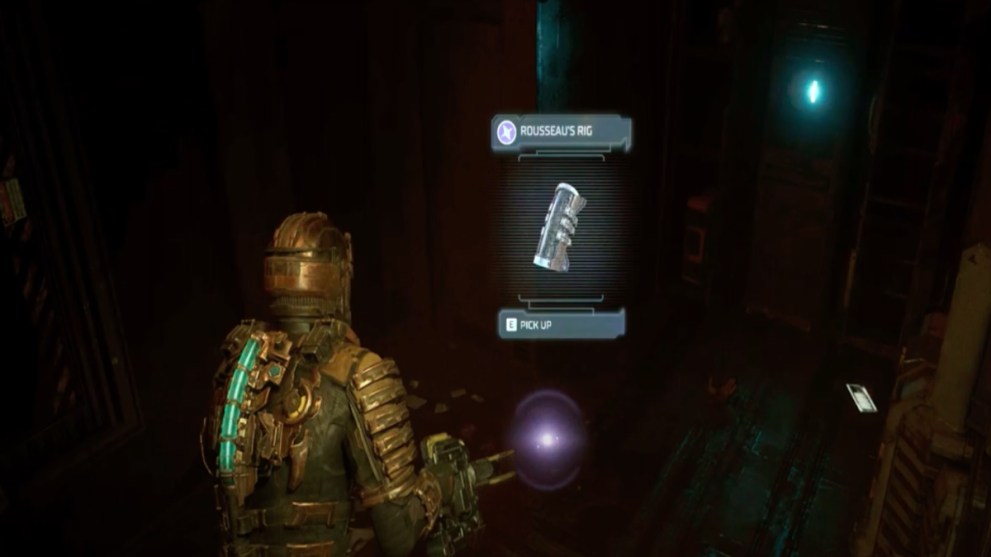
With Level 3 security clearance unlocked, this allows you to return back to Fuel Storage in the Engineering area, where you previously went to in Chapter 3 and obtained the Flamethrower weapon. A locked door in Fuel Storage that wasn’t accessible before can now be opened with your new clearance. Inside you’ll find Rousseau’s RIG lying on the ground.
RIG of Comms Officer Bailey – Chapter 8
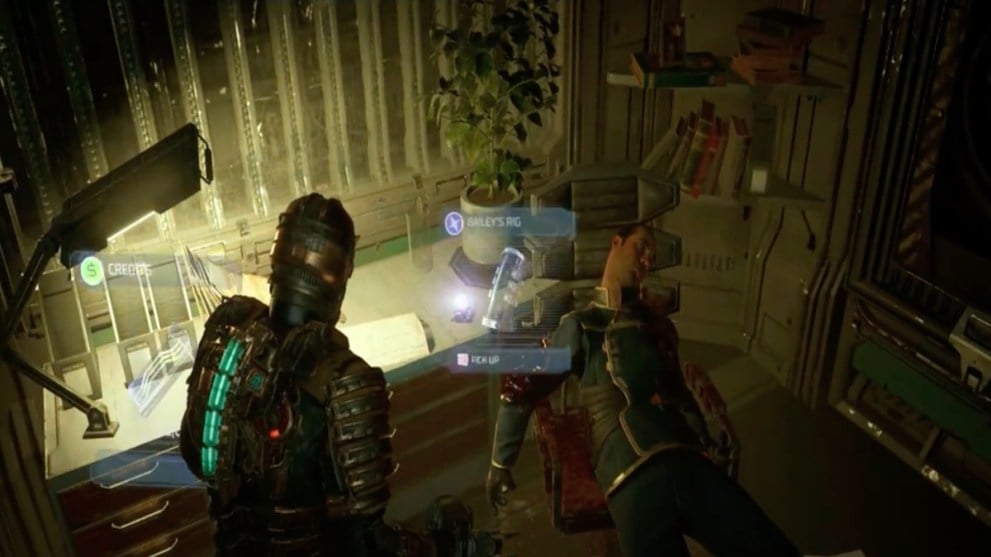
Bailey’s RIG can be found during Chapter 8: Search and Rescue, when Isaac gains access to Communications on the Bridge of the ship. Upon entering the Comms Control Room, turn and go through the door on the left. You’ll find Bailey’s RIG sitting on a desk next to his body.
RIG of Tram Supervisor Benson – Chapter 10
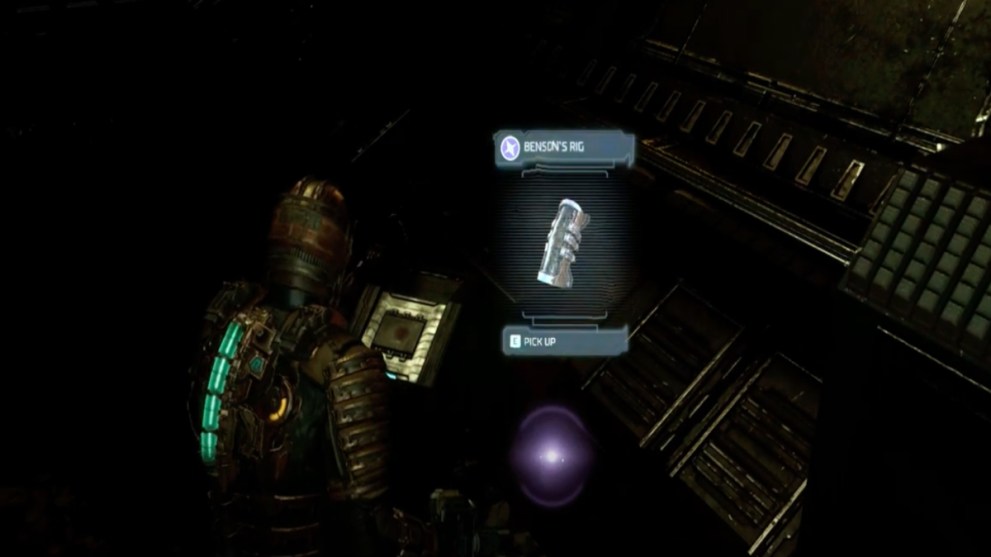
The last of the seven RIGs is found during Chapter 10: End of Days, where you’ll gain access to the Bridge’s Tram Tunnel. Upon entering the tunnel, proceed down the ramp and then go left. As you walk and keep an eye on the right side of the tunnel, you’ll soon stumble across Benson’s RIG on the ground.
Creating The Master Override
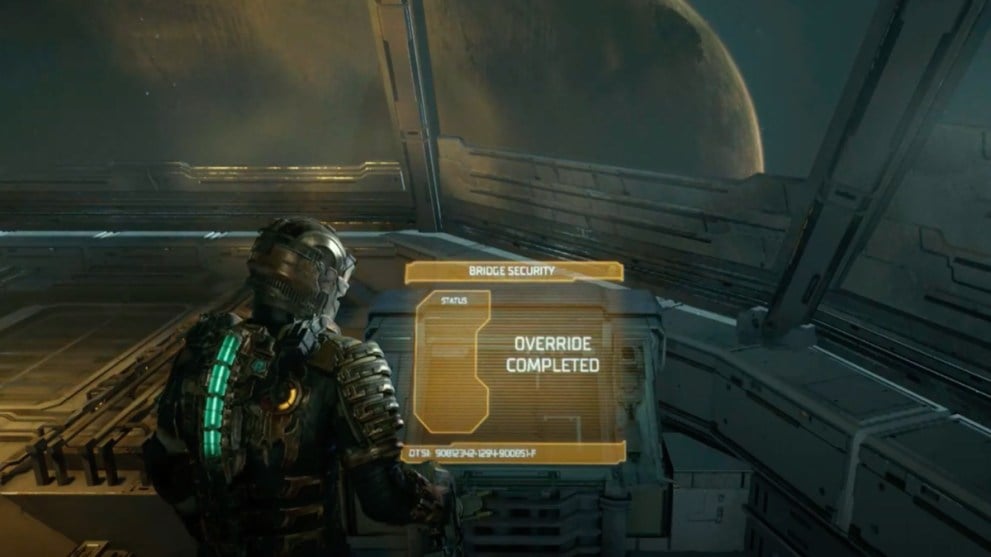
With all seven RIGs safely retrieved, you can now return to the Captain’s Nest and interact with the same security terminal on the right side of the room. This will officially reward you the Master Override, which you can now use to go unlock every crate and door on the ship to obtain all the hard-sought loot you couldn’t reach before. Have fun collecting all the ammo, collectibles, and upgrades!
So, that wraps things up for now. Hopefully, this has helped to clue you in on how to unlock the You Are Not Authorized mission and create the Master Override in the Dead Space Remake. Check out more of our handy guides covering other missions and secrets in Dead Space Remake.






Updated: Feb 23, 2023 05:16 am