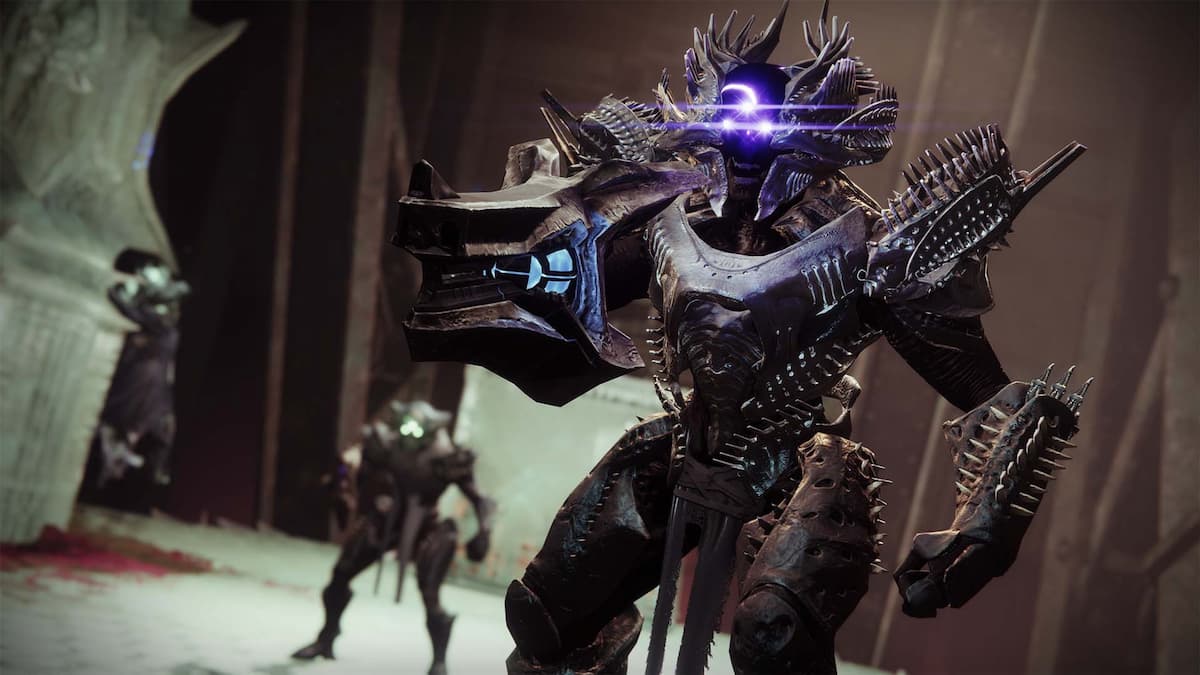
With Destiny 2 being an always-online game, there’s a good chance that you’re going to run into an error code — like Boar, Arugula, and Guitar — at some point. The Destiny 2 MARMOT Error Code is one that’s, unfortunately, a little trickier to resolve than some of the others that pop up. In this guide, we’ll run you through what causes the error to appear, and how you can fix it on PC, PS4, PS5, Xbox One and Xbox Series X|S.
MARMOT Error Code Explained
This Destiny 2 error code is a result of the game files having been corrupted either when on your system, or during the download process.
To fix this, you’ll need to repair or verify the game files themselves to restore them properly and ensure they function to boot Destiny 2. Each platform has a slightly different way of going about this, so let’s go through them one by one.
Fixing Destiny 2 MARMOT Error Code on Steam
- Close Destiny 2
- Right-click on Destiny 2 in Steam’s Library
- Select “Properties” then “Local Files”
- Select “Verify Integrity of Game Files”
- Restart Destiny 2
If the error still occurs, Bungie advises that you uninstall and reinstall Destiny 2.
Fixing MARMOT on Microsoft Store
- Close Destiny 2
- Open “Apps & Features” in Windows Settings
- Select Destiny 2
- Select “Advanced Options” and run “Repair”
- Restart Destiny 2
Fixing the Error on PS4 & PS5
- Hold down the power button on your console to turn it off entirely.
- Once the console is off, press and hold down the power button for seven seconds until it beeps twice. Release the power button.
- Connect your controller with a USB cable to the console.
- When the console is in ‘Safe Mode,’ select ‘Rebuild Database.’
Fixing Destiny 2 MARMOT Error on Xbox One & Xbox Series X|S
- Go to the Xbox home screen.
- Press the Xbox button on the controller and open Settings.
- Go to ‘Devices & Connections’ and select the Blu-Ray option.
- Then select Persistent Storage.
- Hit the Clear Persistent Storage option.
- Restart Destiny 2
If the above steps don’t work on any platform, it’s advised that you uninstall and reinstall the game.
That’s everything on how to fix the Destiny 2 MARMOT Error. For more on Destiny 2, be sure to search for Twinfinite or check out more of our handy game guides below.


Updated: Jan 12, 2023 10:52 am