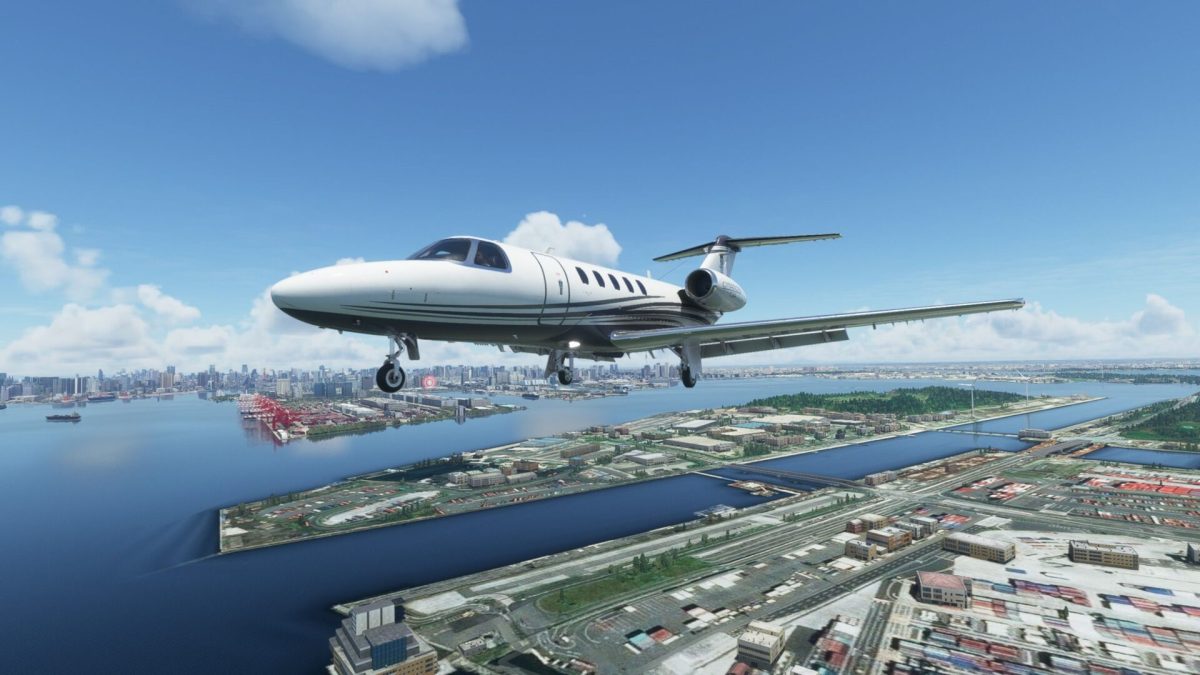
Using the Autopilot in Microsoft Flight Simulator is more challenging than most expect both on PC and Xbox Series X|S. Many newcomers to the genre have felt the frustration of pressing the “engage autopilot” button and seeing that absolutely nothing happens, wondering if they’re missing something or the bloody thing is just broken. Luckily, it’s not broken, it’s just a fairly complex system that Asobo and Microsoft did not think to make a tutorial for.
Using the Autopilot in Microsoft Flight Simulator
First of all, there are several different models of autopilot, with relevant differences in their features or where each control is located. That being said, most basic principles remain the same.
One of the most common and full-featured in Microsoft Flight Simulator is the Garmin model you see below. We’ll use it as a baseline reference for this guide.
This guide will focus on general aviation aircraft as the autopilot in airliners is a bit more complex in some ways (and simpler in others), but once you mastered this model, you’ll be equipped with the basic knowledge and concepts required to understand the rest without too much effort. Also, remember that not all autopilots have all the features described below. If one isn’t available, you’re expected to control that part of the flight yourself. A common example is the Altitude/vertical speed/flight level change features that aren’t available in less advanced aircraft. With these aircraft, you’re on your own in controlling your altitude, climb, and descent manually.
First of all, most autopilots in the game have a main GPS guidance that will follow your pre-created flight plan with great precision. One of the most commonly confusing elements is that many general aviation aircraft don’t boot up in GPS mode.
If you see that the arrow in the middle of the compass is not magenta as in the picture above (it may be green when you boot up your systems) you need to activate the GPS mode by pressing the soft key under the CDI indication at the bottom of the left Multi-Function Display (from now on, we’ll call it simply MFD) until the arrow turns pink. When it is, you’re ready for GPS guidance. When you have a less advanced autopilot, you may see a button labeled “CDI” and you can use it to change the navigation mode from VLOC to GPS. This is usually indicated just above the button.
Do keep in mind that when you hover over a button with your mouse, it will tell you what it does, but it won’t explain anything else.

Your first control to learn is the “AP” button, which engages the autopilot. That being said, you need to keep in mind that it won’t do anything else than keeping your aircraft in level flight. This won’t be enough to follow your route as the autopilot is simply armed and waiting for your instructions using the following controls.
Another important control is the button labeled “FD” which turns on your Flight Director. If your autopilot is off and your flight director is on, and you use the controls described below, a pink indicator on the MFD will give you a visual guide to follow if you want to fly the plane manually instead of having the autopilot do it for you. It’s a good compromise if you don’t want the plane to fly itself, but you still would like not to get lost.
Incidentally, you can see which autopilot modes are engaged at the top of the MFD. For instance, in the screenshot above the autopilot is set to follow the GPS flight plan and to climb with a vertical speed of 500 feet per minute. Continue reading to understand what that means.
The HDG (Heading) button instructs the autopilot to hold a selected heading, which you can set with the HDG knob. It’ll be shown in your MFD with a teal marking on the compass and a numeric “HDG” indication of the same color. Do keep in mind that this won’t follow your flight plan, but will instead just fly in the direction you want, overriding the GPS guidance.
The ALT (Altitude) button holds your altitude. An important detail here is that in most general aviation autopilots it won’t actually climb or descend to that altitude without further input. They will simply hold the altitude you have when the mode is selected (indicated at the top of your altimeter in the left MFD). Do keep in mind that you need to correctly set your atmospheric pressure in order for your altimeter to be precise.
The NAV (Navigation) button is where things really start getting interesting. It’ll follow your GPS flight plan, do all the turns for you, and keep you on course.
The VS (Vertical Speed) button will set a positive or negative Vertical Speed (in feet-per-second) toward the altitude you indicate with the ALT knob. You also have to select the vertical speed itself with the Nose UP and Nose DN (or simply UP and DN) buttons (pressed repeatedly). In some autopilot systems, the Nose UP and Nose DN buttons are replaced by a dial or knob. The vertical speed you set will be indicated to the right of your vertical speed indicator on the MFD.
When you reach your set altitude, the autopilot will switch to ALT mode and hold that flight level until further input.
The FLC (Flight Level Change) button is similar to VS, but it works in the opposite way. While VS lets you climb or descend at a set rate in feet per minute, FLC controls the rate of descent or climb in order to maintain a certain speed you set with the Speed knob (or the Nose UP and Nose DN buttons for the aircraft that don’t have a Speed knob).
For instance, if you set your speed at 150 knots and then increase power so that your aircraft speeds up beyond that, the autopilot will command nose up so that your aircraft will climb while holding 150 knots. If you decrease the power, the autopilot will command nose down so that your aircraft will descend while holding 150 knots. It’s worth mentioning that in many aircraft it’s usually advisable to use VS mode to descend and FLC to climb.
An important thing to remember is that most general aviation aircraft don’t have an autothrottle. This means that they won’t change the power for you and you’ll need to use the throttle and propeller pitch (when available) to control your speed manually.
This also means that if you don’t give the aircraft enough power to climb with FLC mode selected, it simply won’t. The same goes if you don’t decrease the power enough to descend. This can be even more problematic VS mode: if you try to climb with a set vertical speed without commanding enough power, you’ll stall and fall out of the sky. If you descend without throttling back, you will overspeed and potentially rip your aircraft apart.
The only general aviation aircraft available in the simulator that has an autothrottle is the Cessna Citation Longitude (which is included exclusively in the premium deluxe edition). It allows you to select the speed you want with the speed knob. Remember to switch the mode to “Selected” with the ring around the knob and then to arm the autothrottle with the button on the throttle itself. If you select the speed with the knob but don’t arm the autothrottle, it’ll simply set your target speed for the FLC mode without actually controlling your throttle.
The APR (Approach) button is used on landing and sets you up to capture an approach localizer and glideslope (when an ILS or Instrumental Landing System approach is available at the airport). This will basically guide you on the approach path to a runway. You should turn it on when you’re getting close to the last straight leg toward the airport. When it captures the signal of the localizer and glideslope it will take over your other autopilot modes (NAV, ALT, or HDG), and the “LOC” and “GS” indications will appear in green at the top of the MFD as you can see below. If they are white, it means that the modes are armed but not engaged yet.

If you have done everything correctly, you will see magenta arrows on your altitude and heading indicators showing your approach to the localizer course and glideslope. When they reach the middle, the LOC and GS modes engage automatically.
The localizer will guide your horizontal approach (IE: will guide you to the runway on the right course), while the glideslope will control your vertical profile, gradually lowering your altitude until you’re ready for touchdown. It’s worth mentioning that if you select a LOC (Localizer) approach, you won’t have a glideslope, so you’re on your own in controlling your descent.
Do keep in mind that the glideslope can be captured only at a certain angle from the runway, which is usually close to 3° of elevation. If you’re too high, it won’t work at all (you’ll see the magenta arrow on your altitude indicator below the middle). If you follow the altitude instructions from air traffic control, you should intercept it at some point during your approach.
It’s also important to note that, while some airliners are capable of autolanding, most aircraft don’t (and most pilots don’t take advantage of that feature excluding extreme weather conditions anyway). This means that you’ll need to disengage the autopilot when you are on final approach (usually between 1000 and 500 feet) and land manually. Also, the autopilot won’t use the flaps, landing gear, or brakes for you. You still need to remember those.
Important: please make sure to familiarize yourself with the button to disengage the autopilot on your controller (for instance, the default on Xbox is Y) or set one if you don’t have it. This is important for your final approach. If you have to fiddle around in the cockpit to find the autopilot button to disengage it, you will likely destabilize your approach, which is bad in such a critical phase in which things happen very quickly. Most aircraft in the real world have a big red button on the yoke or on the stick for this purpose, because it’s the same in real life.
If there is something you still don’t understand after reading this guide, please ask in the comments and I’ll do my best to help. The autopilot is complex, so there is no shame in asking.
If you want to learn more about Microsoft Flight Simulator, you can check out our review that will tell you everything you need to know about Asobo Studio’s new and awesome game.
Microsoft Flight Simulator is already available for Windows 10, Steam, and Xbox Series X|S.
This is all you need to know about using the autopilot in Microsoft Flight Simulator. You can also check out our growing guide wiki that includes more information that can help you get started.


Updated: Jul 27, 2021 10:39 am