How to Use Photo Mode in Devil May Cry 5
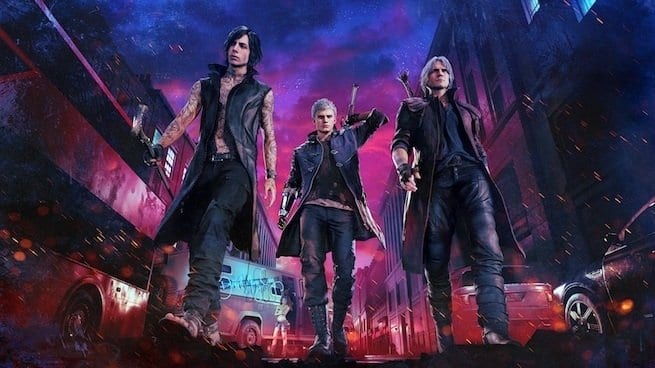
After a long wait, the Devil May Cry series is finally back with the fifth main entry in the series. It brings back familiar faces like Nero and Dante, and also introduces a new playable character named V. Here’s how to use the photo mode in Devil May Cry 5.
Most major game releases these days come with a photo mode that allows you to frame and take cool in-game screenshots, and Devil May Cry 5 is no different.
To use the photo mode, all you have to do is pause the game by bringing up the menu, then select the Photo Mode option at the bottom. This will then put you in the mode itself, allowing you to start framing your shots.
The mode in Devil May Cry 5 is pretty basic, especially when compared to games like Horizon Zero Dawn and Assassin’s Creed Odyssey. You can use the sticks to move the camera around and change up your angles, and you can also use the d-pad to adjust the camera position as you see fit.
However, there don’t seem to be any filters or character poses that you can experiment with in this photo mode. Basically, what you see in the game is what you get, so you’ll need to pause the game at the right time to capture that perfect shot. There’s also an option that lets you display the game difficulty in the top right corner.
Once you’ve framed your shot in photo mode, you’ll need to use the screenshot system on whatever system you’re playing on to actually capture the frame. On Steam, you’ll hit F12. On PS4, you’ll use the Share button. And on Xbox One, you’ll use the screenshot function from the menu.
That’s all you need to know about how to use photo mode in Devil May Cry 5. Be sure to search for Twinfinite or check our Devil May Cry 5 guide wiki for more tips and information on the game.







Updated: Mar 6, 2019 11:20 am