
As you join Jot and gang on their adventures to thwart the evil plans of Humgrump the sorcerer, it is also wise to take a look at your surroundings to marvel at the magnificent work that went into creating the world of The Plucky Squire. Not only can you see the intricate design, but oftentimes, it leads you to a secret you didn’t know was there. For those hoping to find all Glitchbirds in The Plucky Squire for the Saviour of the Glitchbirds achievement and trophy, we are here to help.
Finding All Glitchbirds in The Plucky Squire
In total, there are ten different Glitchbirds that can be found throughout the world of The Plucky Squire, and they are often hidden in plain sight. Instead of going in blind, here are all the important locations to search if you are hoping to unearth them all:
Glitchbird #1 – Chapter 1
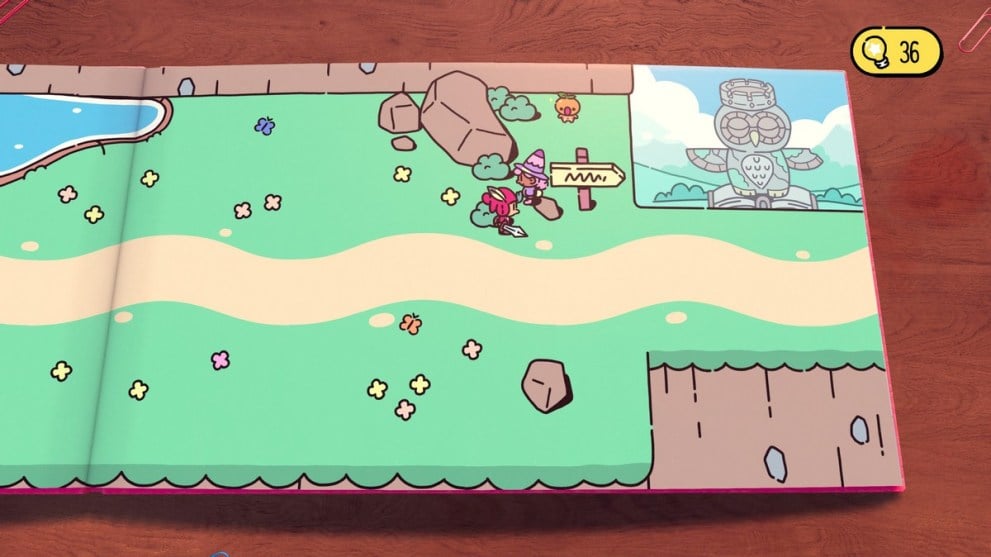
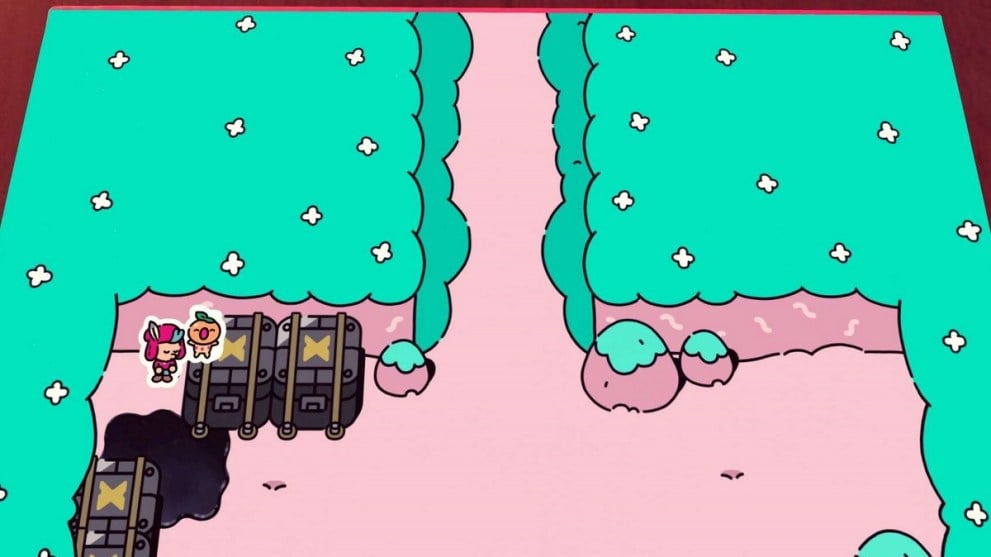
In the area where the road to the Tome Tower collapses and players are introduced to Thrash, the Glitchbird can be found at the top behind some bushes.
Glitchbird #2 – Chapter 2
Once Humgrump has unleashed his magic, Jot will arrive at an area where green lightning bolts will continuously hit the ground. The Glitchbird can be found behind a wall in the middle of the area.
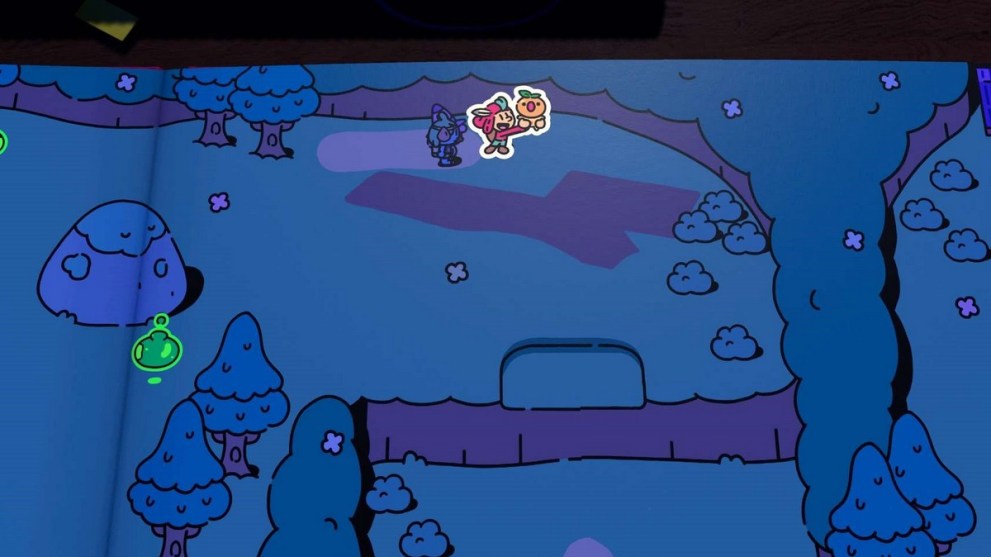
Glitchbird #3 – Chapter 3
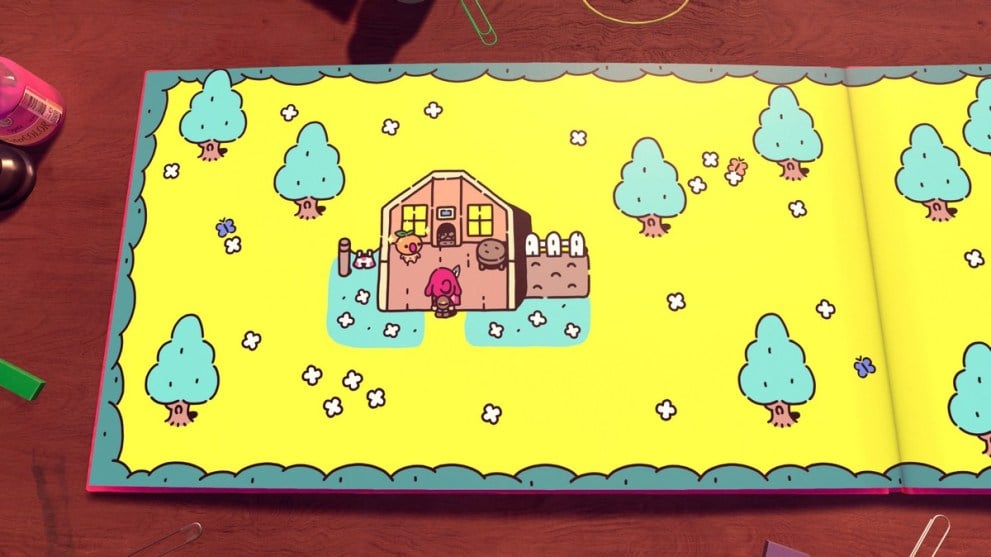
With the power to flip pages now, the game will require you to flip all the way back to the starting area with Jot and Moonbeard’s houses. Enter Jot’s residence to find the Glitchbird.
Glitchbird #4 – Chapter 4
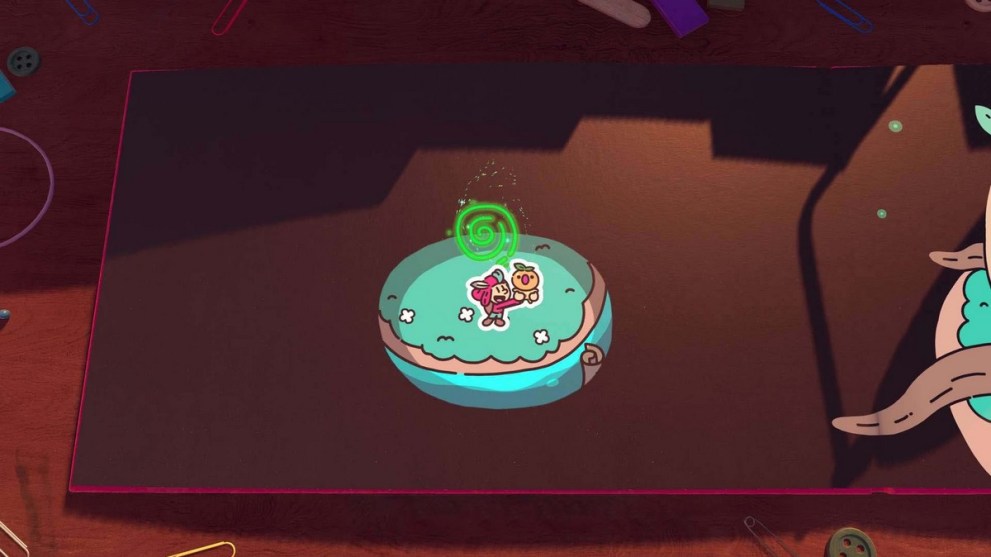
Eventually, you will make your way to the town of the snails. Look for the nearby portal and switch realms. Now flip back two pages and look for a portal on the left page. Enter and rescue the Glitchbird here.
Glitchbird #5 – Chapter 5

In the castle, before going to see the princess, head to the left to find this Glitchbird. However, the guard will not let you pass, so head behind the ropes to find a secret entrance that leads to your target.
Glitchbird #6 – Chapter 6

Upon gaining access to the Weedkiller Bombs, carry one of them and turn back the pages until you reach an earlier area where the enemy was transporting a giant screw. Destroy the weeds here to get this Glitchbird.
Glitchbird #7 – Chapter 7
To the left of the hot air balloon is an area that can be cleared using the Bomb Stamp. Return here once Jot has obtained the tool to gain access to the area.
Glitchbird #8 – Chapter 8
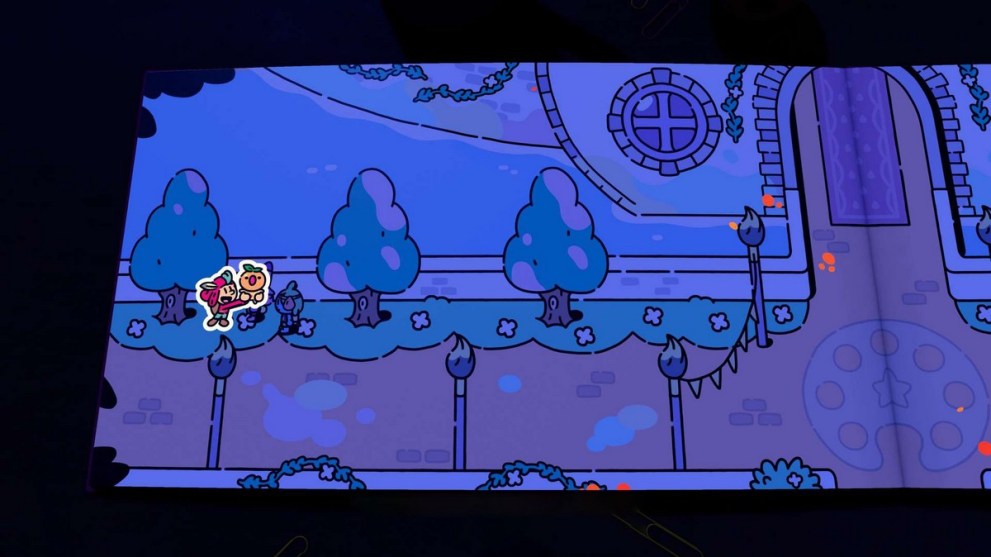
After beating the Mage, the caped individual will make an appearance once more. On this page, head to the left to find the Glitchbird next to a tree.
Glitchbird #9 – Chapter 9
Right after Pip helps you out by opening up the bridge, enter the room that your ally came from, and keep going left to find this Glitchbird.
Glitchbird #10 – Chapter 10

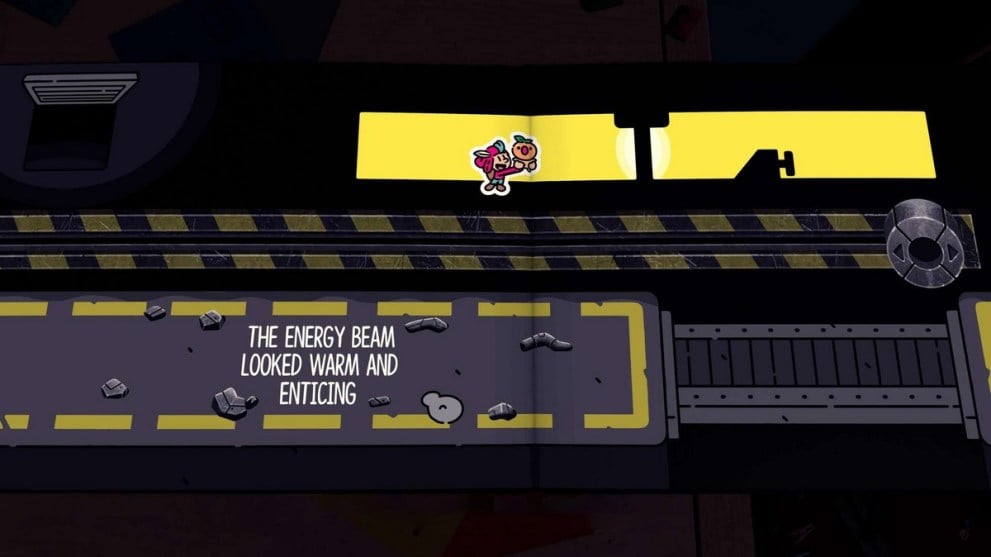
In the tower, you will reach a room with pipes as well as someone mopping the floor. Make your way to the right and just behind one of the circular objects will be the final Glitchbird.
That’s all you need to know about finding all Glitchbirds in The Plucky Squire for the Saviour of the Glitchbirds achievement and trophy. Be sure to check out Twinfinite for other gaming help, and read our reviews on other games.


Updated: Sep 18, 2024 05:05 am