How to Install Gear Upgrades in Metro Exodus
In Metro Exodus, players once again assume the role of 23-year-old Artyom, helping him fight his way through the hazards that make up the post-apocalyptic wasteland of the former Russian Federation. In order to survive, the young Russian needs to stock up on vital weapons, items, and modifications, so here’s how to install gear upgrades in Metro Exodus.
Gear upgrades are one of the most important things for Artyom to procure, as they give him specific boosts that improve damage, health, and other stats. In order to use them, you’ll have to craft and install each item.
Crafting Tables
The first thing you’ll need to do to install gear upgrades is head to one of the many bases located throughout Metro Exodus’ open world. At each base, you will find crafting tables for Artyom to use.
It should be noted that visiting crafting tables are going to be the only way you can create these items, as it can’t be done from the portable backpack crafting menu.
Once you’ve located a table, you need to press R1 and cycle over to the jacket icon. A menu will be brought up that shows you all the available parts.
To choose between each item, scroll down using the d-pad. Once you’ve selected your item, press X to install it.
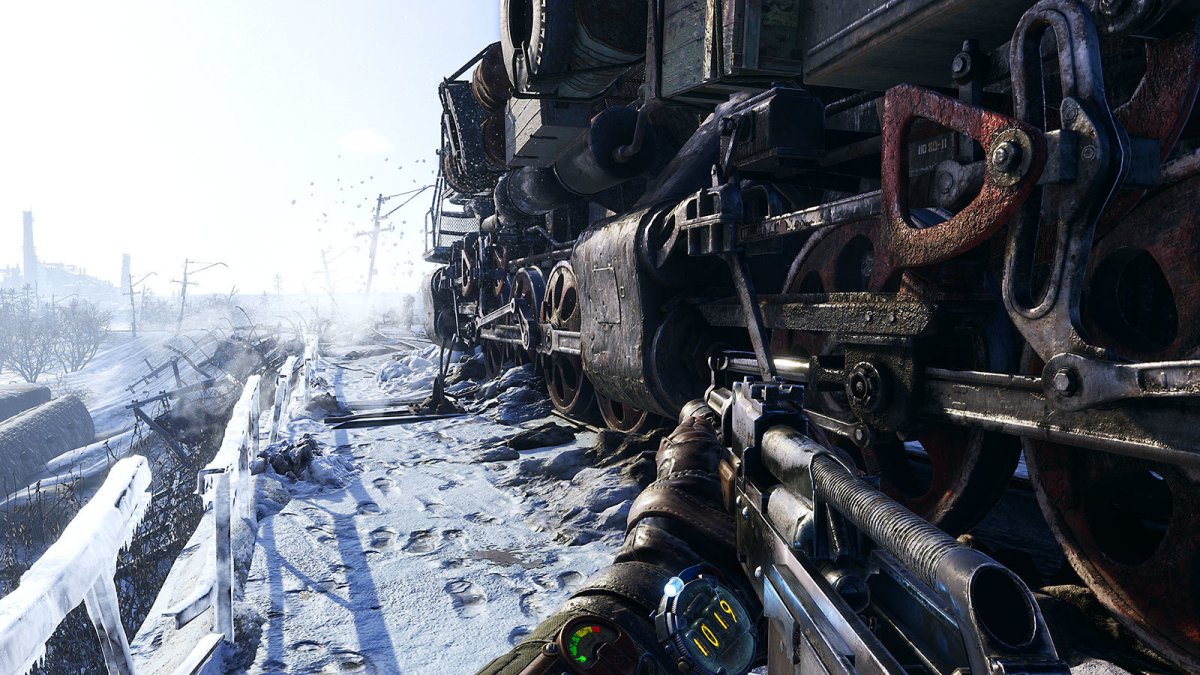
Gear parts are scattered throughout the world and can majorly be found by looting and breaking down enemy items. One useful part we came across was a compass that shows radiation levels, a timer, and you can add the compass that points in the direction of your objective.
Knowing the proper steps to survival is just the first part of things though, so make sure you aim straight and stock up on plenty of air filters. That is everything you need to know about how to install gear upgrades in Metro Exodus.
Be sure to search Twinfinite and check out our extensive Metro Exodus wiki as well for any other questions you may have.


Updated: Feb 13, 2019 10:48 am