
LUTO is a unique psychological horror survival simulator developed by Broken Bird Games that puts players in the shoes of a man named Sam, unable to leave his home. Each attempted escape leads deeper into the unknown, and it’s up to you to figure out what’s real, what isn’t, and how to overcome obstacles to find the true escape.
LUTO Walkthrough
Disclaimer: In line with its narrative elements, LUTO’s story involves several notably heavy themes such as grief, loss, depression, anxiety, and suicidal ideation. Please proceed with caution if you find yourself particularly sensitive to any of these themes.
All LUTO Trophies and Achievements
LUTO features a total of 28 achievements on Steam and Xbox platforms, and 28 trophies on PlayStation (including Platinum trophy). Below is a full, comprehensive list of all trophies and achievements in LUTO and how to unlock each of them to help you achieve 100% completion.
| Trophy/Achievement Name | Description | How to Unlock |
|---|---|---|
| PROJECT ‘MELANCHOLIA’ | Get all the trophies or achievements. | Self-explanatory; will unlock once you get your last trophy/achievement. |
| THE FIRST SHADOW | Release the first light. | Automatically unlocks near the end of Chapter 3 after encountering the shadow figure in the doorway to the basement. |
| THE SECOND SHADOW | Release the second light. | Automatically unlocks near the end of Chapter 4 after finishing the House of Lost Dreams puzzle and interacting with the shadow figure. |
| THE THIRD SHADOW | Release the third light. | Automatically unlocks after you interact with the shadow figure in the sand room at the start of Chapter 22. |
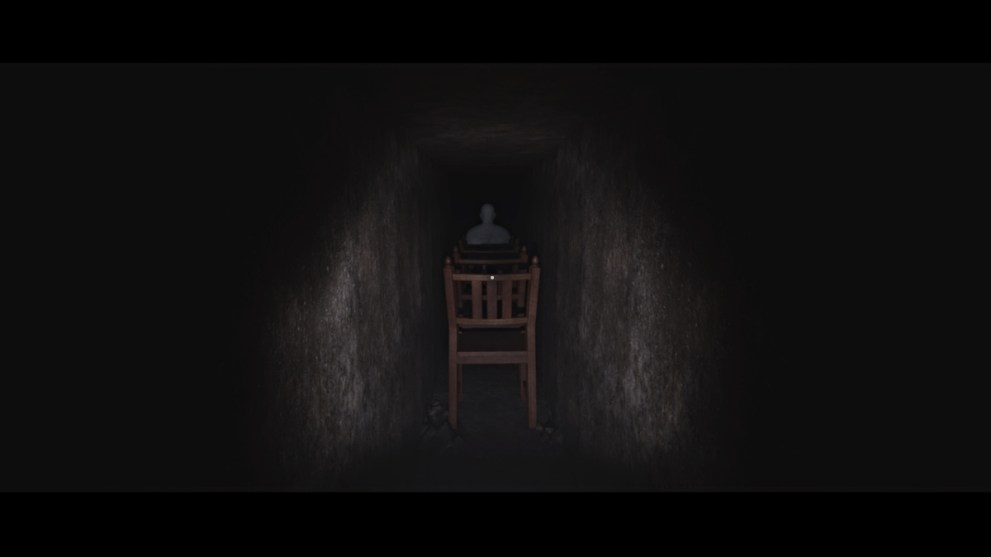
| THE FOURTH SHADOW | Release the fourth light. | Automatically unlocks after dropping down into the room and interacting with the sitting white figure. |
| NO HURRY | Walk at your own pace. | On Tuesday in Chapter 1, don’t run when the game prompts you to. Walk the whole way to the front door. |
| THEY’RE COMING TO GET YOU | Enjoy the movie. | Watch the movie clip on the TV in the bedroom during Chapter 3 until the trophy/achievement pops. |
| THE REAL HORROR | Find what everyone fears. | In the entry hallway during Chapter 4, click repeatedly on the white door to the right until it opens. Go inside, and at the end of the stairs, you’ll find a giant air freshener with a funny note from the developers. |
| DEJA VU | Find the present out of place. | Find the blue present on the floor in the maze area beyond the door with the three red screens. Pick it up for your inventory to unlock the trophy/achievement. |
| CORAZON = HEART | Find the bloody card. | This card is lying in the bottom of the bloody bathtub in the bathroom during Chapter 4. The tub must be drained for you to get it. |
| NIGHT THOUGHTS | Vanish all floating thoughts. | During the sequence in Chapter 4 where you need to walk through the flooded version of the house and find the exit, find all the floating dialogue in each corridor and make them disappear by walking through them. |
| FLICKERING LIGHT | Play with the light. | After finding the Videotape in the Staff Room during Chapter 4, walk back and forth through the Trigger Flicking box prompt several times until the lights break. |
| BROKEN HEART | Achieve victory during the mini-game ‘30/03’. | Acquire all hearts in the 30/03 mini-game during Chapter 22. |
| THE CHOICE | Find the memory out of place. | Go through the ‘Teleport’ door in the backstage area of Chapter 22. You’ll find it in the lineup of doors with different animations. |
| PLAY IT AGAIN, SAM | Tune in the radio for the second time. | Find the radio in the backstage area near the end of Chapter 22 and play it until the trophy/achievement pops. |
| LUTO | Finish the game. | Automatically unlocks at the start of the end credits. |
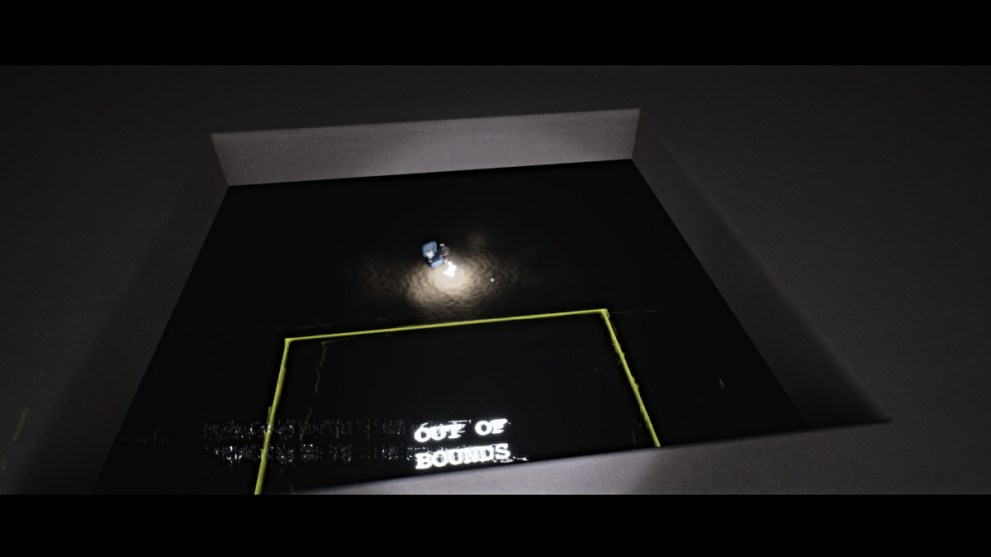
| OUT OF BOUNDS | Try to go beyond the permitted limit. | Step into the Out of Bounds prompt box in the ambulance toy puzzle room and get teleported back to the room’s entrance. |
| INSERT COIN | Find a coin. | The first coin you can get is during Chapter 4, in the dark hallway via the sand area after you obtain the Valve. |
| FROM THE ISLANDS | Call a special place. | Dial 555-3005 on any accessible phone in the game. |
| COLLECTOR OF COINS | Find all coins. | Find all 5 coins in the game. Three are unmissable as part of the story, while two are missable. * Missable 1 – Go back up the stairs in the house during Chapter 3’s time loop, and the coin will spawn on the stairs. * Missable 2 – Go to the other side of the caved-in sandy hallway during Chapter 4, and the coin will be there. |
| COLLECTOR OF ITEMS | Find all the objects. | Find all 24 objects in the game. Make sure to pick up each one and put it in your inventory. |
| COLLECTOR OF NOTES | Find all the notes. | Find all 13 notes in the game. Make sure to pick up each one and put it in your inventory. |
| COLLECTOR OF CARDS | Find all the cards. | Find all 14 cards in the game. Make sure to pick up each one and put it in your inventory. |
| COLLECTOR OF DRAWINGS | Find all the drawings. | Find all 15 drawings in the game. Make sure to pick up each one and put it in your inventory. |
| COLLECTOR OF COLLECTIONS | Find everything. | Complete all four item collections (must be done in one playthrough) and this will automatically unlock. |
| ELECTROSHOCK | Electrocute three spiders at the same time. | Use the blue lightning bolt items in the 30/03 mini-game to zap three red spiders at the same time. |
| OVERDOSIS | Accumulate 3003 points during the mini-game ‘30/03’. | Collect as many of the white orbs as possible around the game’s map, as each gives you points. Once you reach 3,003, the trophy/achievement will unlock. |
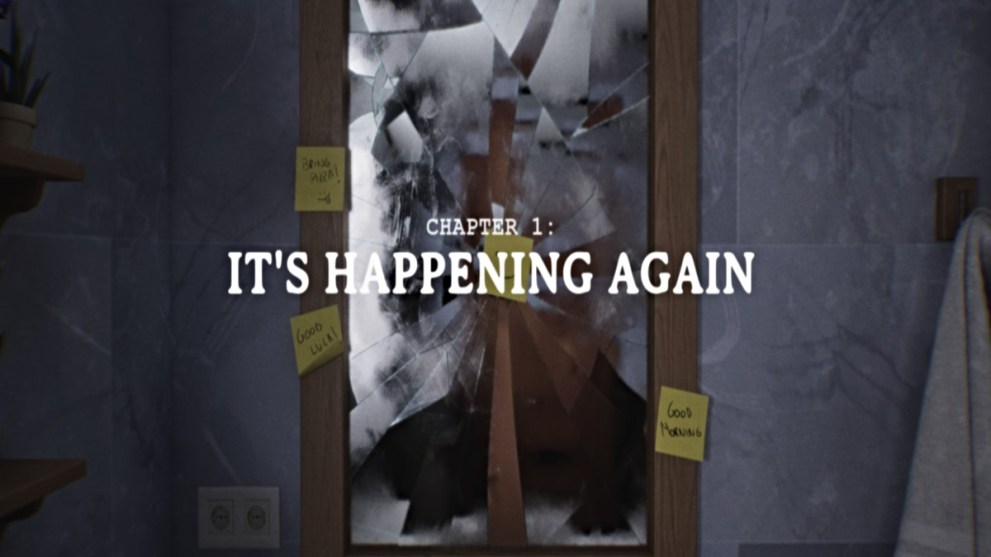
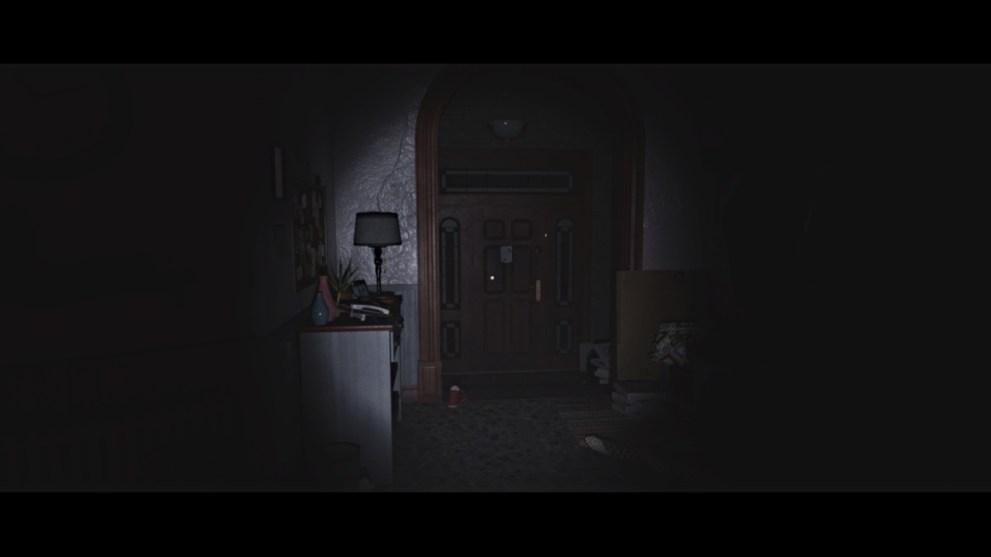
Chapter 1: It’s Happening Again
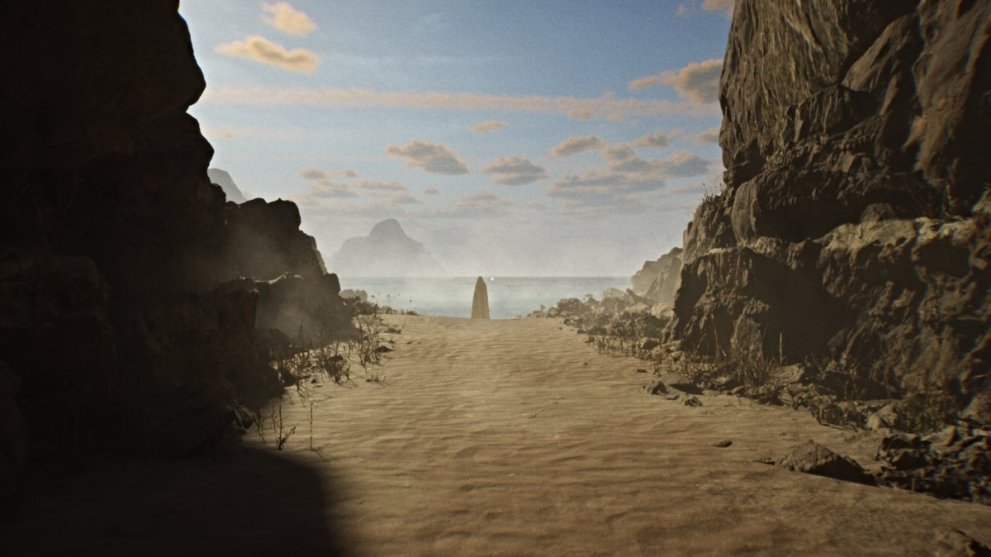
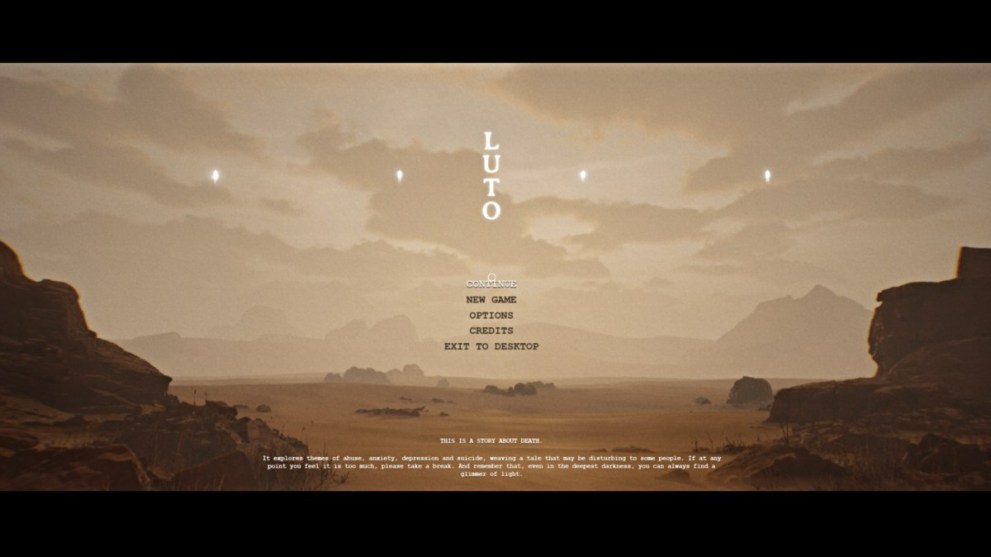
The game immediately begins from the Start screen, placing you in the shoes of a man named Sam who is having a nightmare about being stuck in the middle of a desert as a sandstorm rises.
The game will then prompt you to ‘Resist’ the storm with the appropriate button, but as the narrator continues, the screen will close like an eye and reopen in a bathroom with a shattered mirror. The chapter officially begins here.
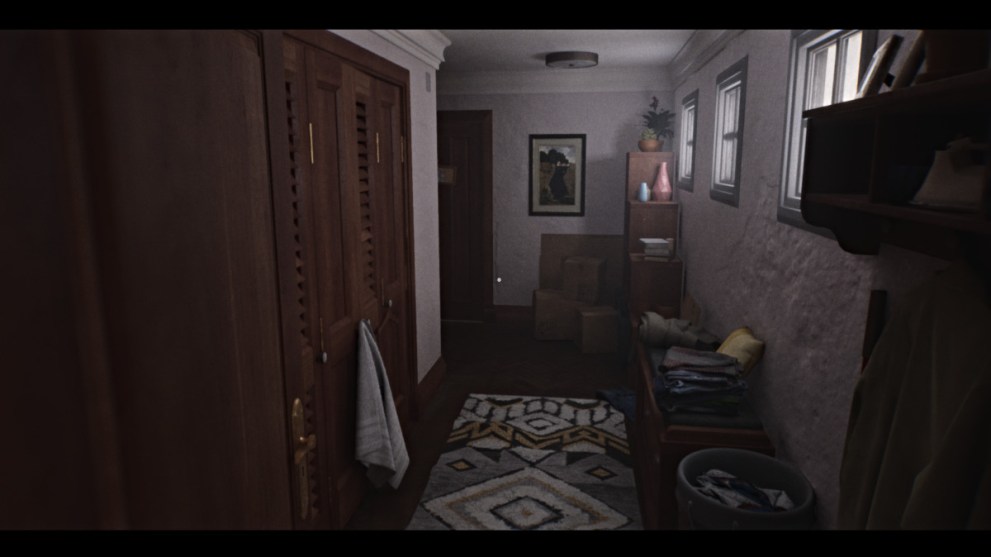
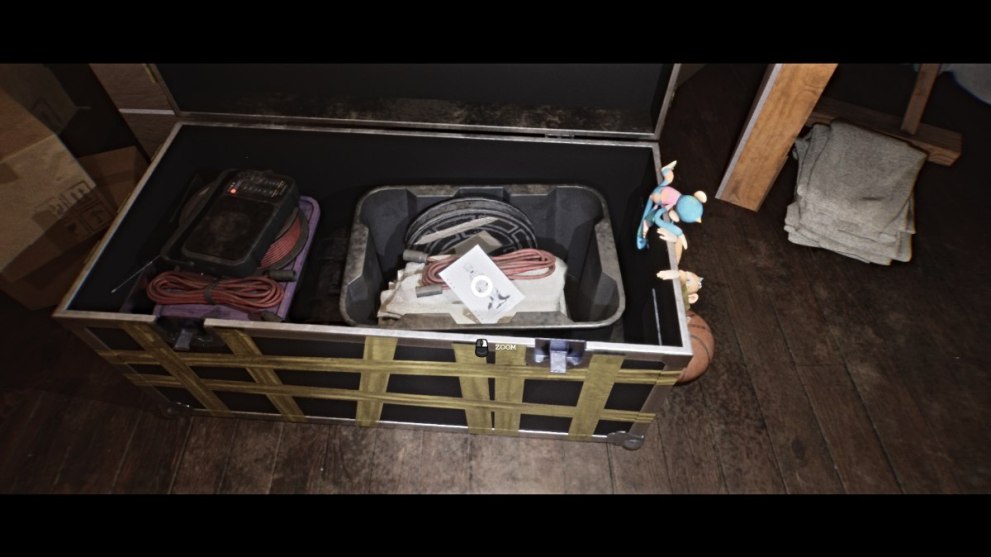
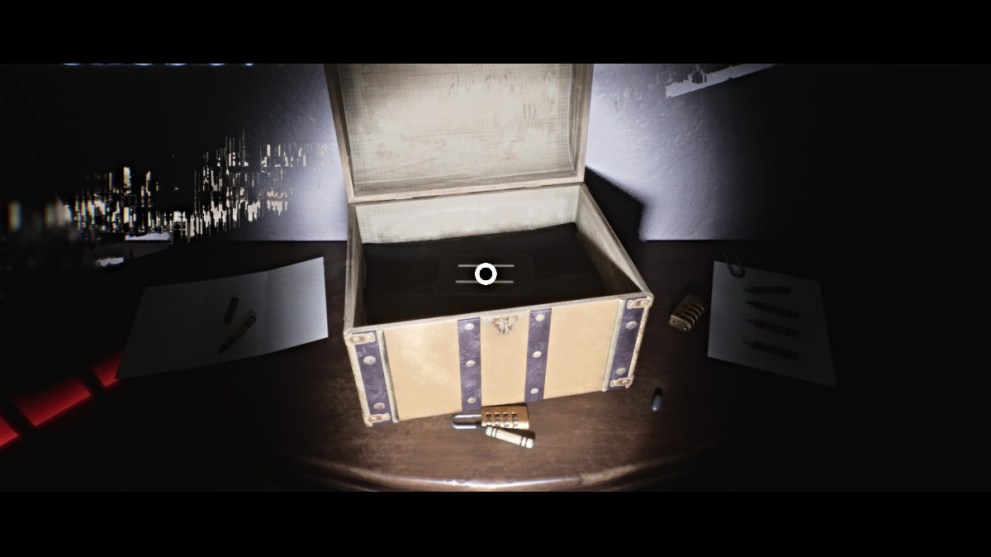
Leave the bathroom and walk down the hall until you reach the stairs to the first floor. Go down them and you’ll see a small chest on the dresser to your right.
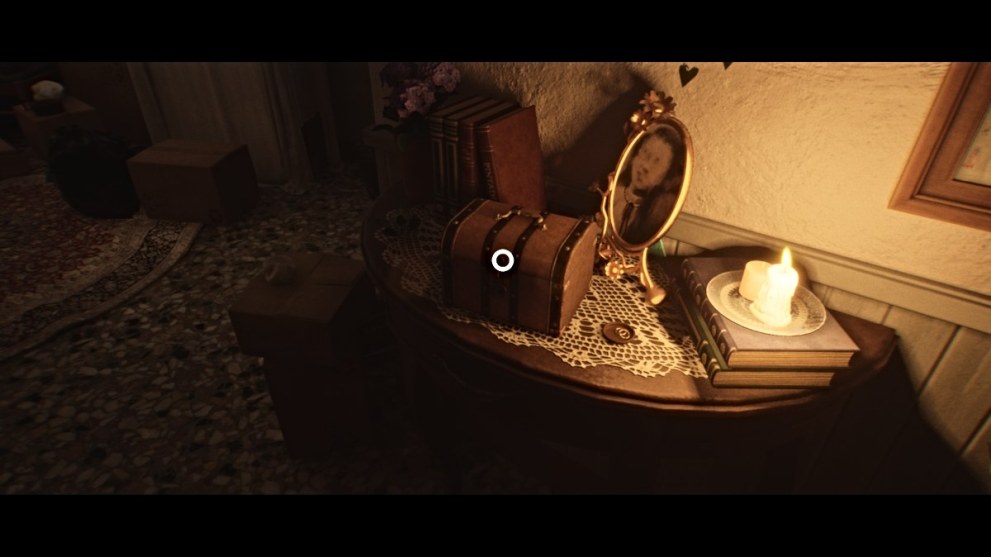
The narrator reveals it belongs to Sam’s grandmother but needs a key to be opened. For now, go toward the front door and pick up the keys on the dresser to the left. Go through the front door, and ‘TUESDAY’ will pop up on the screen before sending you back to the bathroom.
Leave the bathroom again and start running when prompted. After the narrator finishes, ‘WEDNESDAY’ will pop up on the screen and, again, send you back to the bathroom. Pick up Sam’s Home Keys from the bathroom counter, leave again, and the narrator will inform you that “something has fallen”.
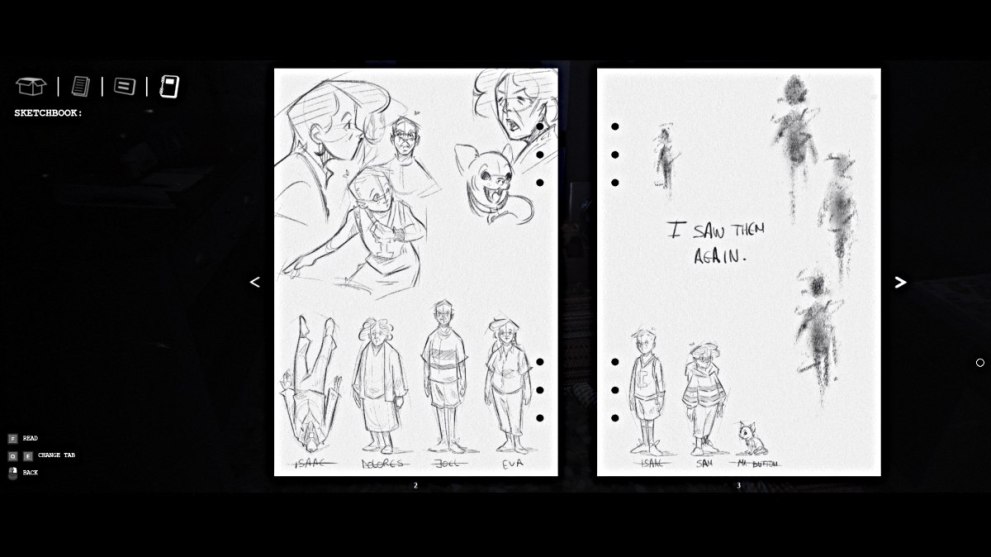
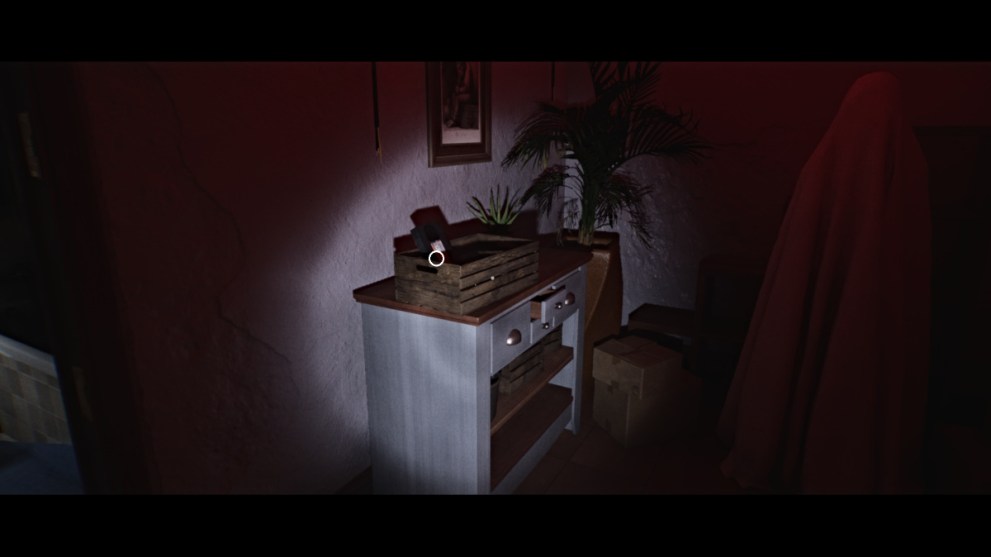
Go down the stairs to the foyer, where an ambulance toy is making a siren noise. As it stops, pick up the Sketchbook next to it. Flip through the pages until you reach the end, and the narrator indicates that pages are missing.
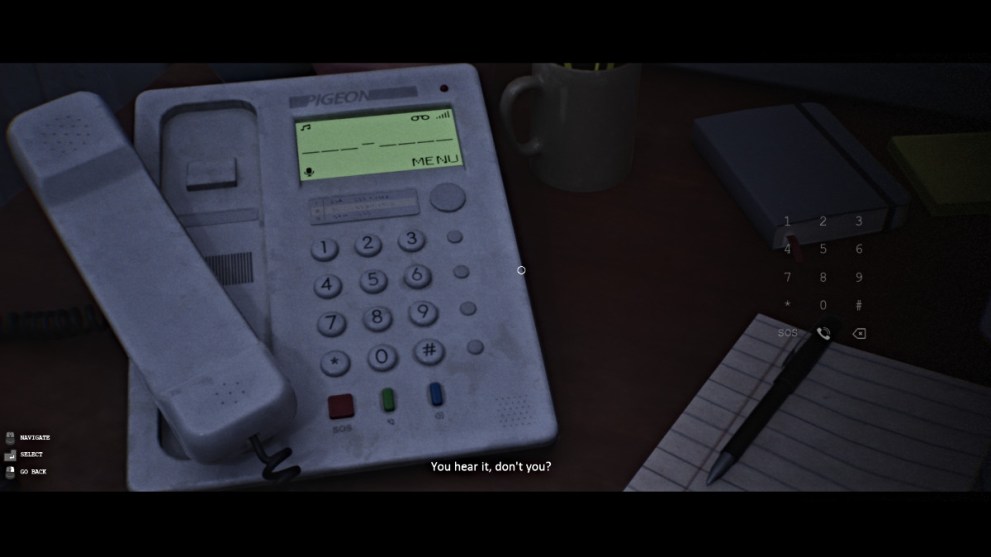
Try to go out the front door once again, and ‘THURSDAY’ will pop up on the screen, bringing you back to the bathroom yet again. This time, a phone can be heard ringing. Leave the bathroom, go down to the foyer and answer the phone.
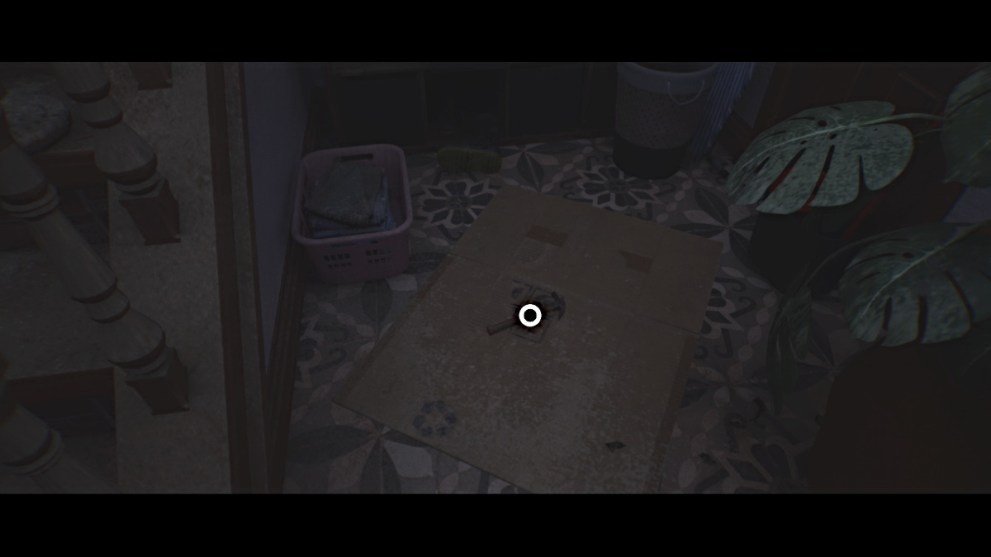
An ominous voice on the other end says not to “let it get you again” before hanging up. Follow the banging noise into the basement and remove the cardboard hiding a trapdoor in the floor.
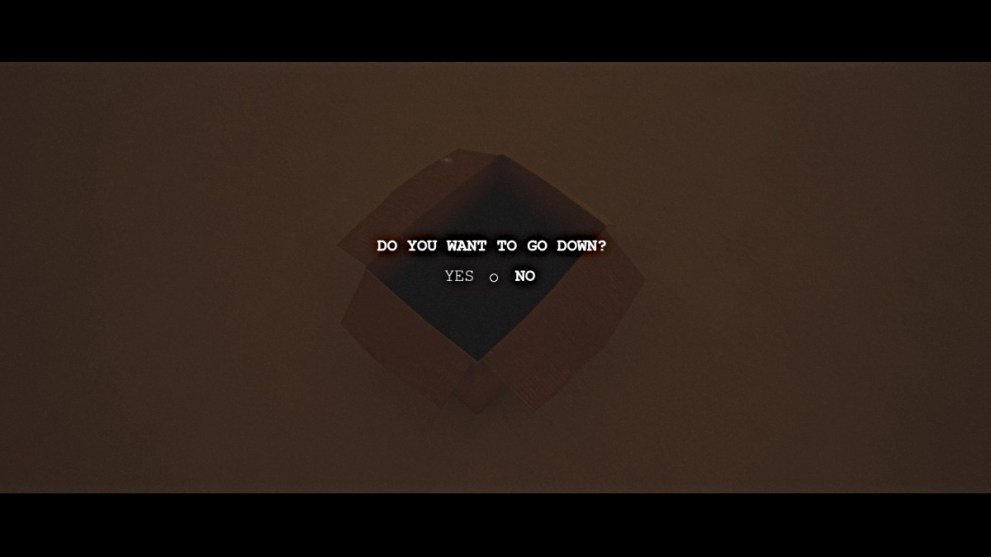
Open it and you’ll receive a prompt asking “Do You Want To Go Down?”. Answer “Yes” and the first chapter will end.
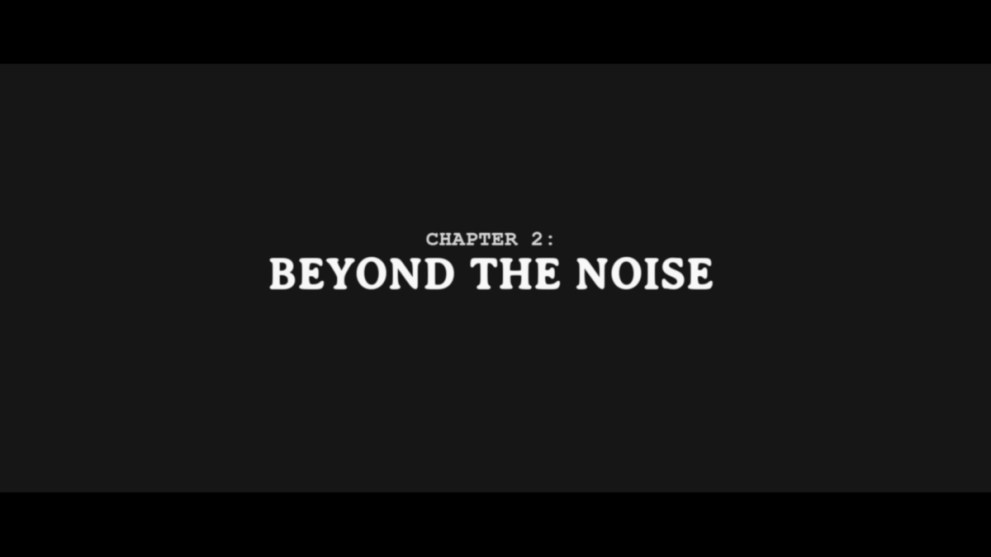
Chapter 2 – Beyond the Noise
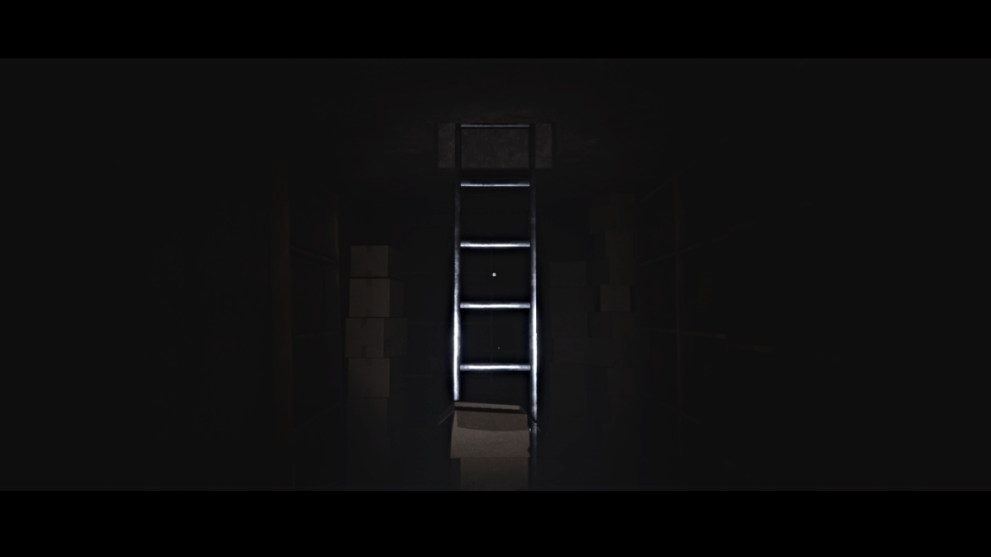
The second chapter begins with you climbing down the ladder into the lower basement level. Go through the door straight ahead and head down the hallway through the next door, which brings you to what looks like the interior of the house.
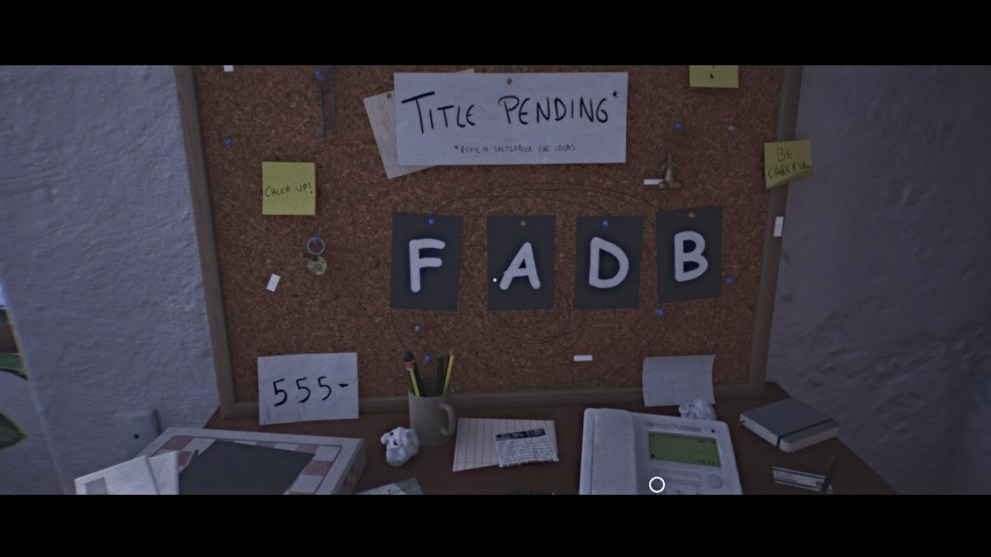
There are multiple small routes to explore here, but the only accessible one for now is to the immediate right. At the small table where you find Drawing 1 (Potential Titles) nearby, turn right again to go down the hallway with a raven portrait at the far end.

Before going too far, however, look in the mirror to your left and make note of the red TV screen depicting the number ‘1’.
Go down the stairs, and the narrator will note that something has been trying to break to through the stone wall. The hallway ahead leads to a fork leading left and right.
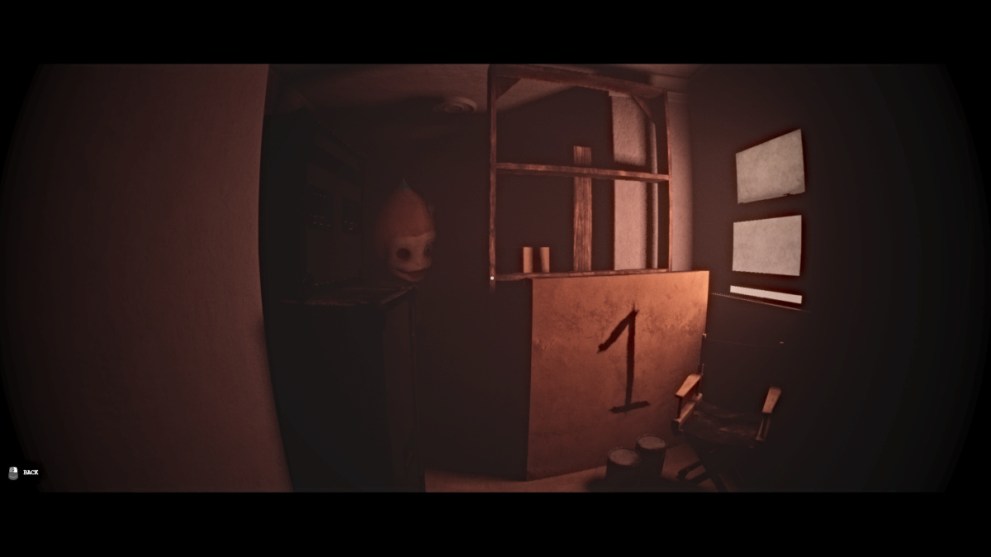
Start by going left and look through the peephole of the door with a strange clock insignia drawn around its frame. Through the peephole you’ll see a room with the number ‘1’ drawn on the side of a furnishing.
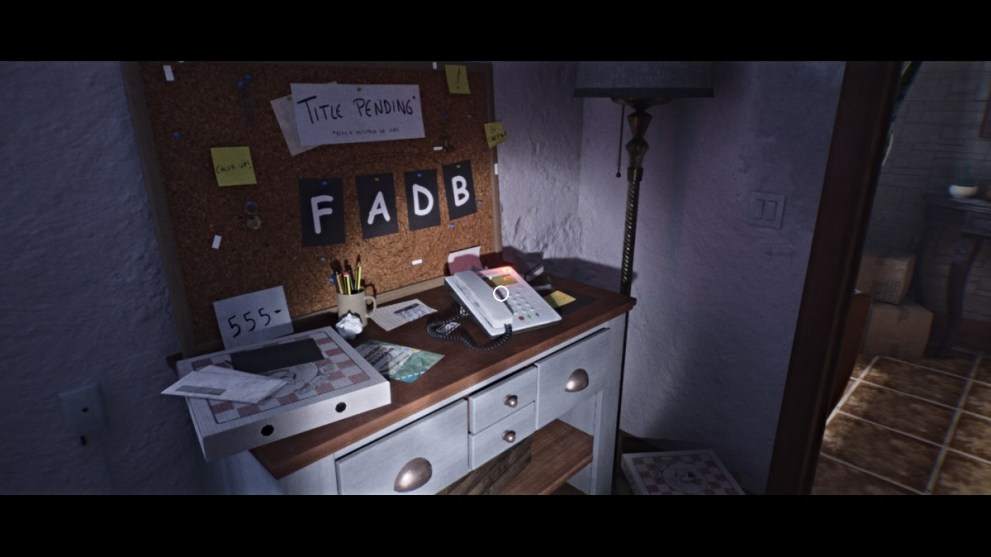
Back out and head down the right side of the hallway now. Look to the white table on the left, where you’ll find Drawing 2. Make note of the ‘D’ box, which has cloaked figures with the numbers 1-3-2-4.
Now, interact with the phone on the table and punch in the following number: 555-1125. This will cause an item to spawn at the bottom of the stairs near the busted wall.
Now, keep following the path down the next set of stairs and go through the door ahead. This brings you back to the same room you arrived at earlier.
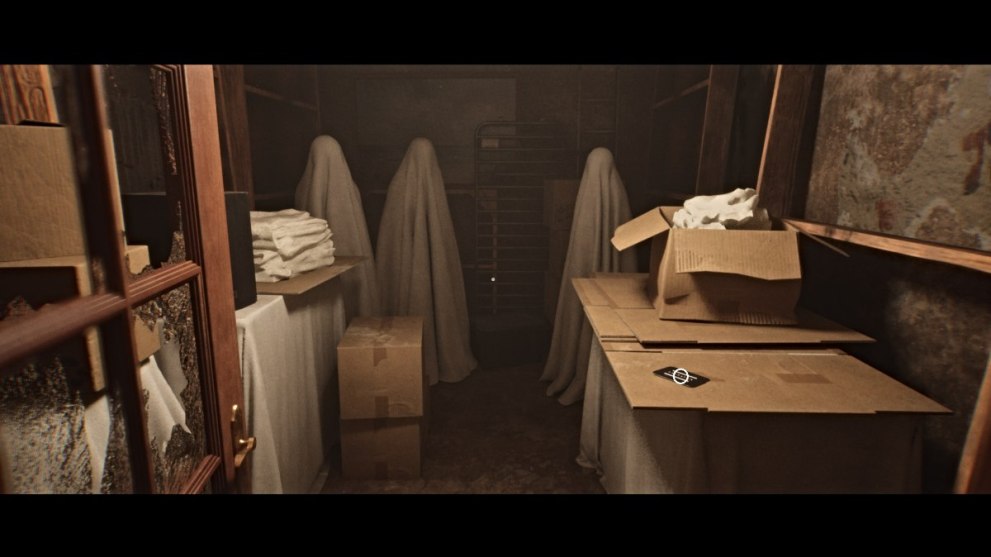
This time, go through the hallway straight ahead, pass the chair, where you’ll see a previously locked room open on the left. Inside, you’ll see three cloaked figures standing in the back, with a space noting one missing. Pick up the FANTASMA Card lying on the cardboard while you’re there.
Now, double back through the same hallway you went down earlier (with the raven portrait at the far end), and at the bottom of the stairs near the busted wall is an Old Hammer on the floor (the item that spawned from the phone call). Pick it up and head back up the stairs to the entry room.
Use the Old Hammer on the door blocked off by planks and collect the Monkey Bros Drawing and CAJA card inside the room.
How to Solve Clock Door Puzzle (Chapter 2)
Now your objective is to find and stop all 7 spinning clocks in the area. You’ve likely noticed them while running around, and you need to interact with them to get their hands to stop spinning.
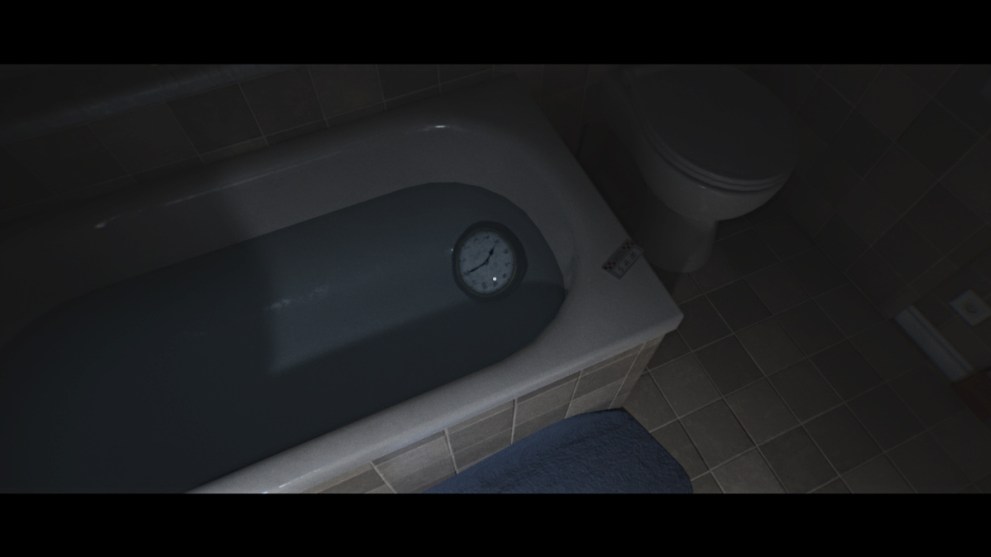
Clock submerged in the bathtub in the bathroom – Screenshot via Twinfinite 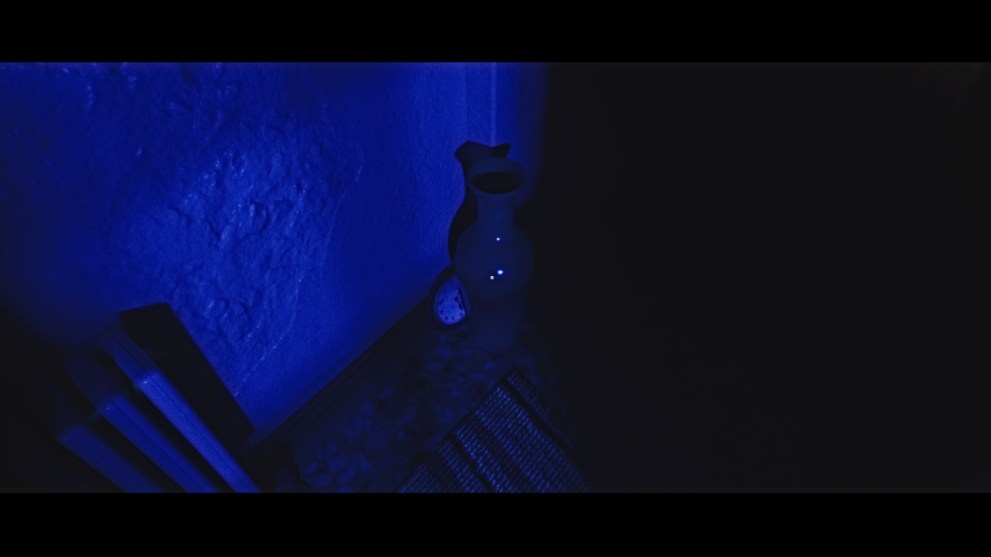
Clock wedged behind a vase on the floor across from blue light door – Screenshot by Twinfinite 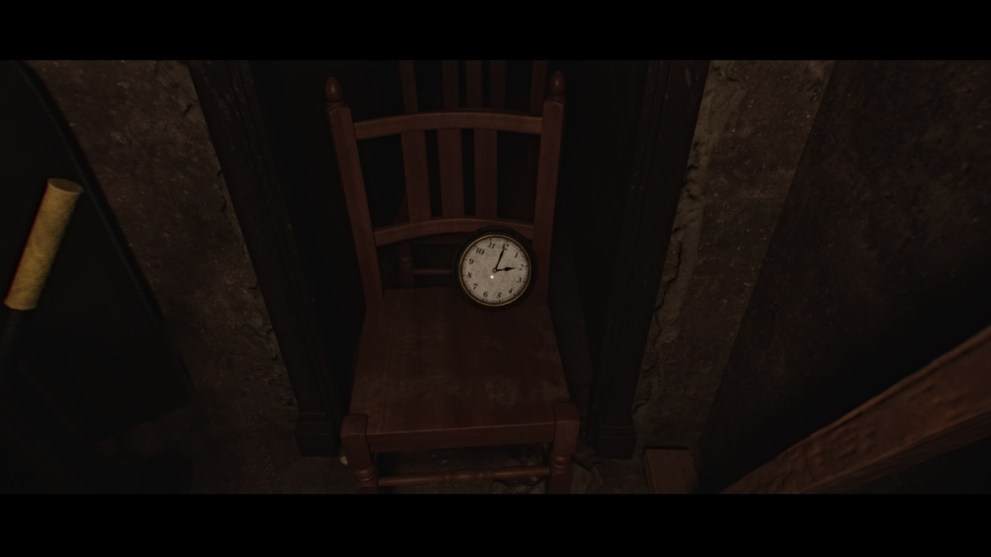
Clock on chair past the blue light door and clock door – Screenshot via Twinfinite 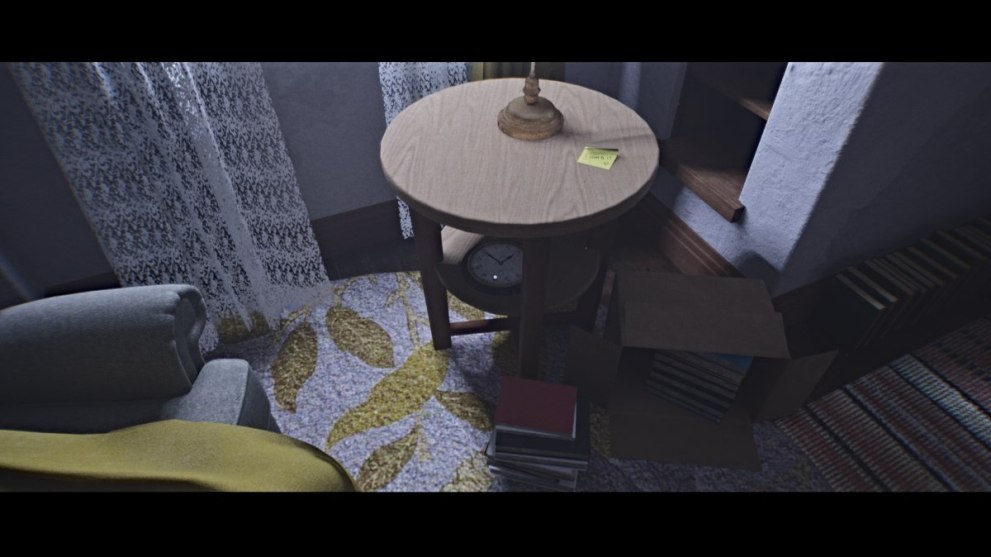
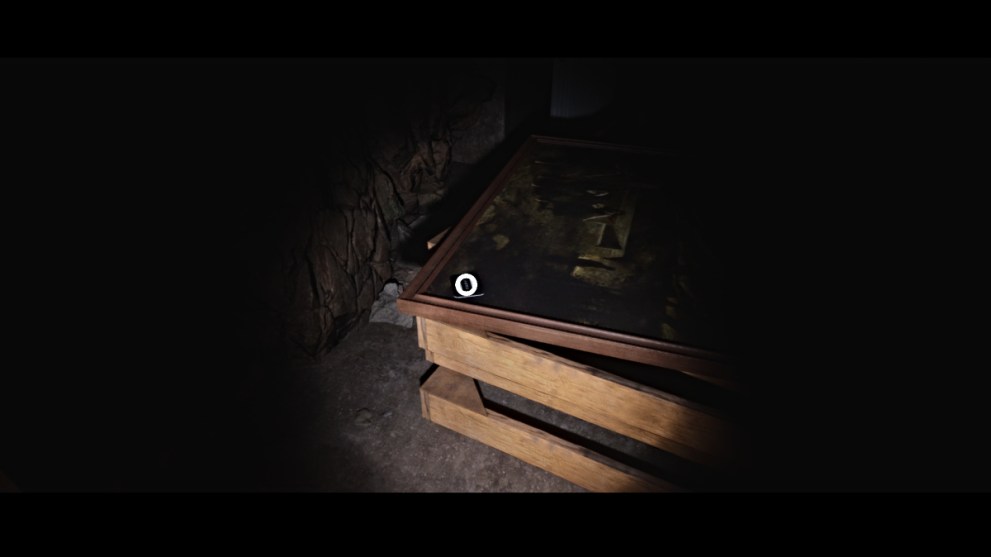
Clock on lower level of round table – Screenshot via Twinfinite 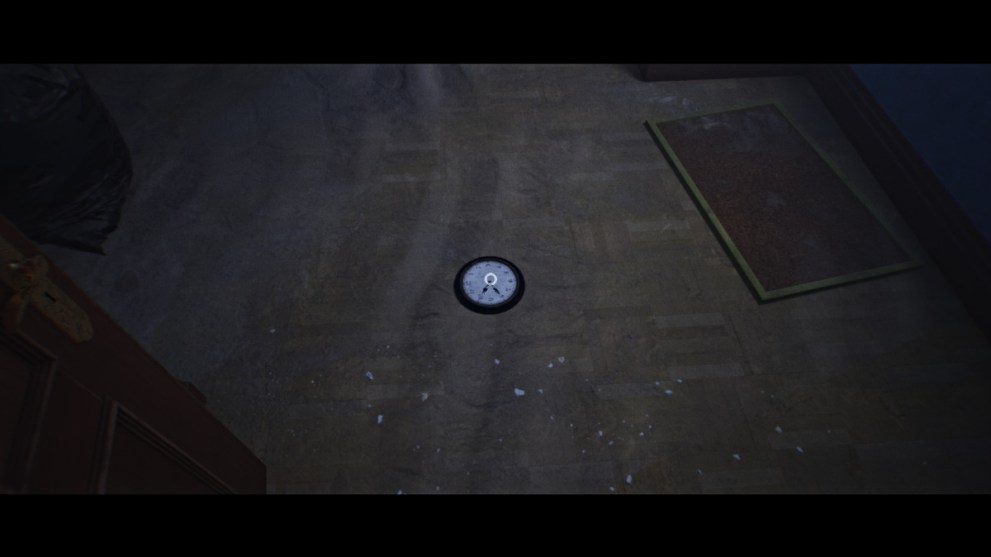
Clock inside the boarded up room on the floor – Screenshot via Twinfinite 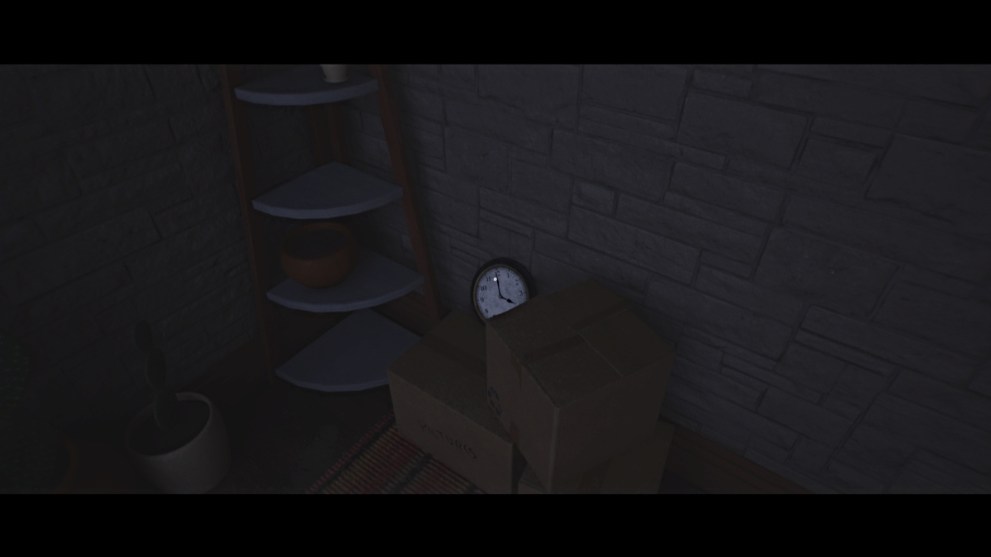
Clock behind boxes on the stairs with busted wall – Screenshot via Twinfinite 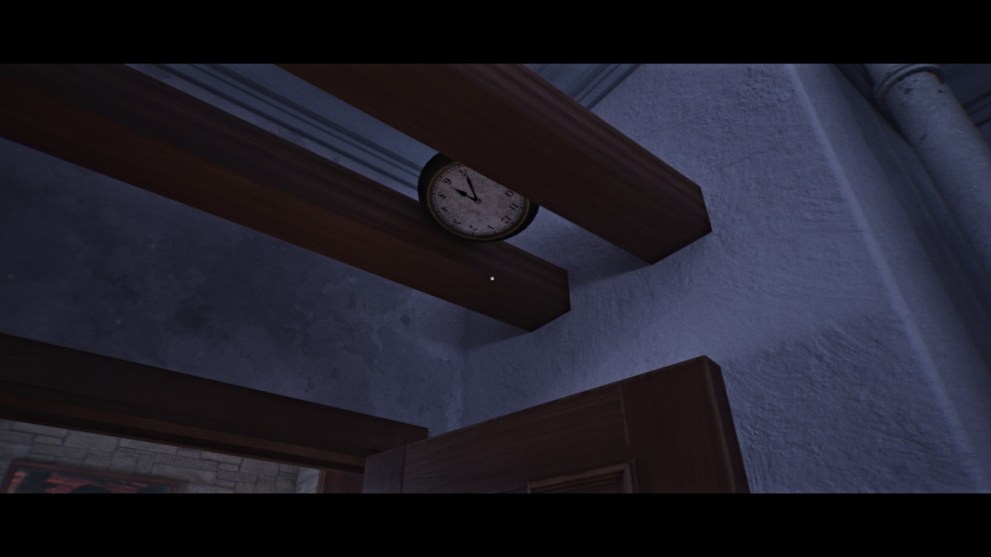
Clock lying on rafters above the dresser with phone and drawing – Screenshot via Twinfinite
Once you’ve found all the clocks and stopped them, head back to the door with the clock insignia, where you looked through the peephole. You’ll notice all the clock symbols around the door are now X’d out.
Go through the now unlocked door into a room that’s different from what you saw before. Drawn on the walls is the phrase ‘A Lie Multiplies 7 Times’.
Your next objective is to get the door with blue light coming through it open. To do this, return to the same phone, and this time punch in the following number: 555-1725 (referencing the 7 multiplier from earlier).
The same ominous voice from the first phone call will pick up and then the blue light door will open down the hall. Go through it and follow the ambulance toys along the path ahead.

Follow the last ambulance door to an open door that it bumps into, and go through the door. You’ll see one of the cloaked figures pass by on the other side of the glass door ahead. Pick up the drawing on the table to your left and then go through the door.
As the narrator speaks, go down the stairs ahead to the right, then down the hall and pick up the Note in the bathroom ahead. Turn back, and a white cloak will fall to the floor, revealing what the narrator calls “a coin”. Before you can reach it, however, the cloaked figure from earlier ambushes you, and the scene fades to black.

A sequence of dialogue options will appear, and you can choose any you wish. After a brief cutscene, you’ll emerge inside a sand-filled cave area.
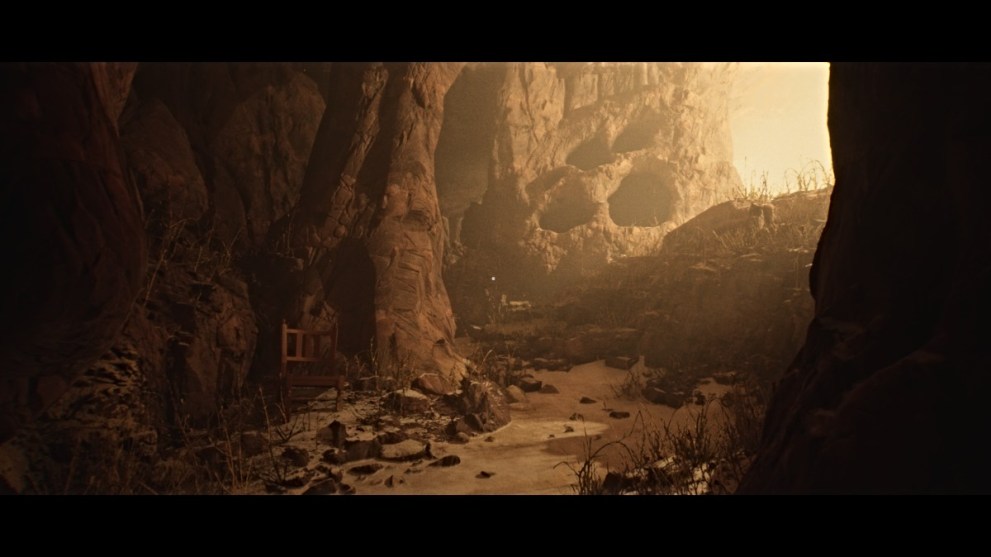
Make your way through the cave tunnel until it brings you out into the open desert, similar to the start of the game. Use the button indicated on the screen to ‘Resist’ again, but eventually the screen will “close” and you’ll awaken once more in the bathroom.
Leave it, and the chapter will end.
Chapter 3 – One More Time
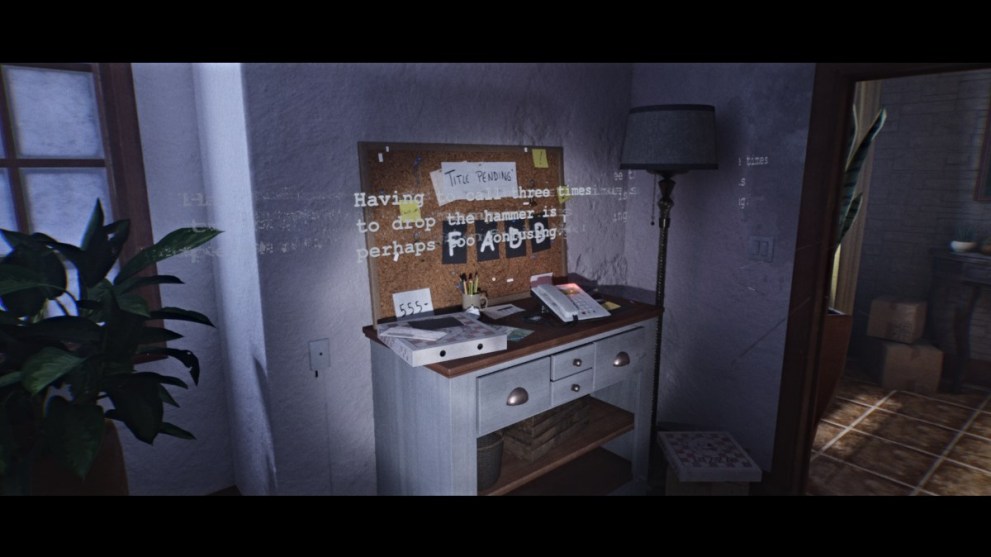
Walk down the hallway and pick up the Script Page note on the dresser to your right. Take a moment to read its contents (particularly the word “Friday”), as it gives a hint about something you’ll need to figure out soon.
Take the Home Keys from the bowl on the table in the entryway and then try to leave the house. The word ‘Tuesday’ will pop up, similar to what happened earlier in the game. This brings you back to the bathroom. Leave it again, and you’ll even get the same Chapter 3 title card.

Don’t let this confuse you, and proceed back downstairs. If you pick up the Script Page note again, you’ll notice it looks visibly warped. Take the Home Keys and try to leave the house again. ‘Wednesday’ will appear on the screen, sending you back to the bathroom for another loop.
In other words, you’re currently stuck in a time loop of sorts, and you need to figure out how to break free of it. Repeat the same process until ‘Friday’ appears on the screen.
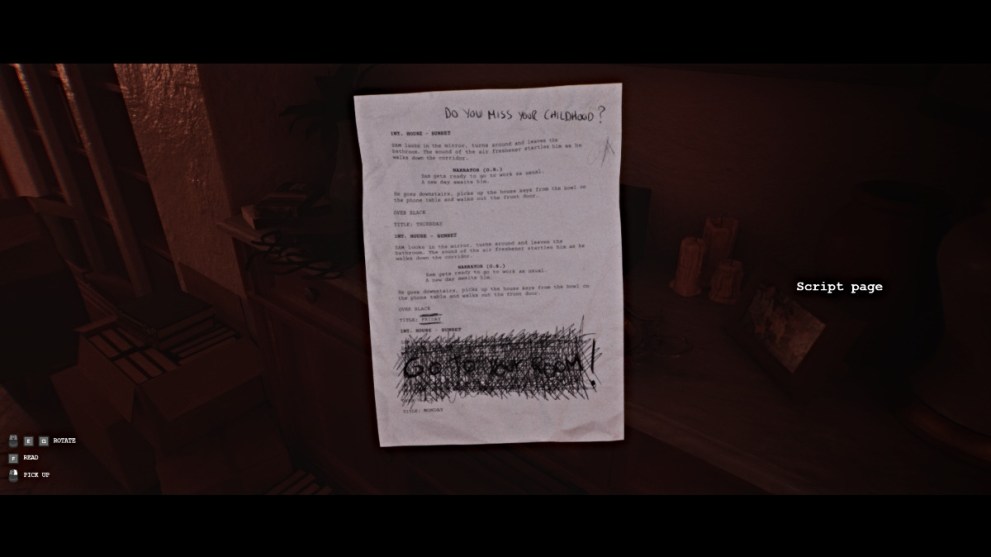
Once you’re back in the bathroom, take another glimpse at the Script Page. At the bottom, by the word “Friday”, are the words “GO TO YOUR ROOM” in large scribble. This is your hint of where to go to break the loop – your bedroom.
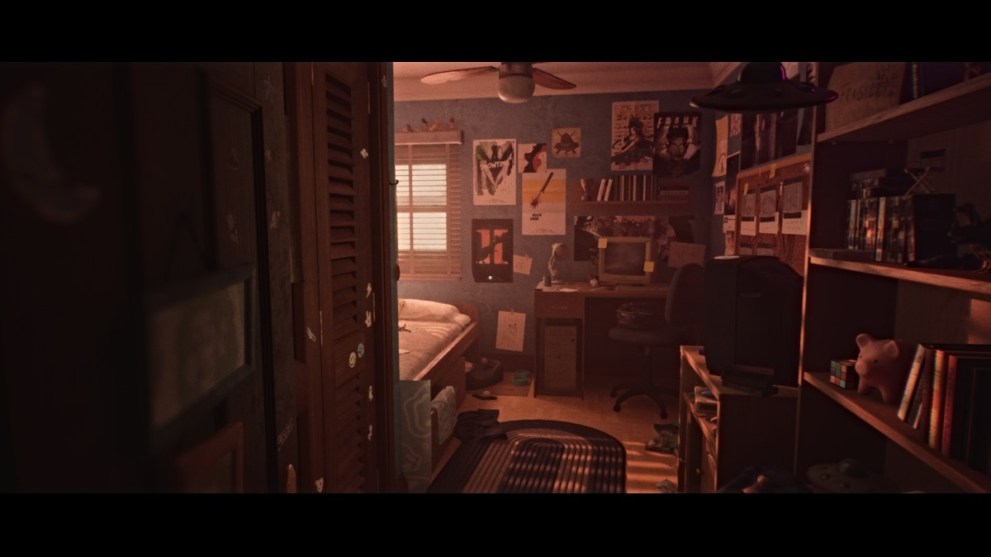
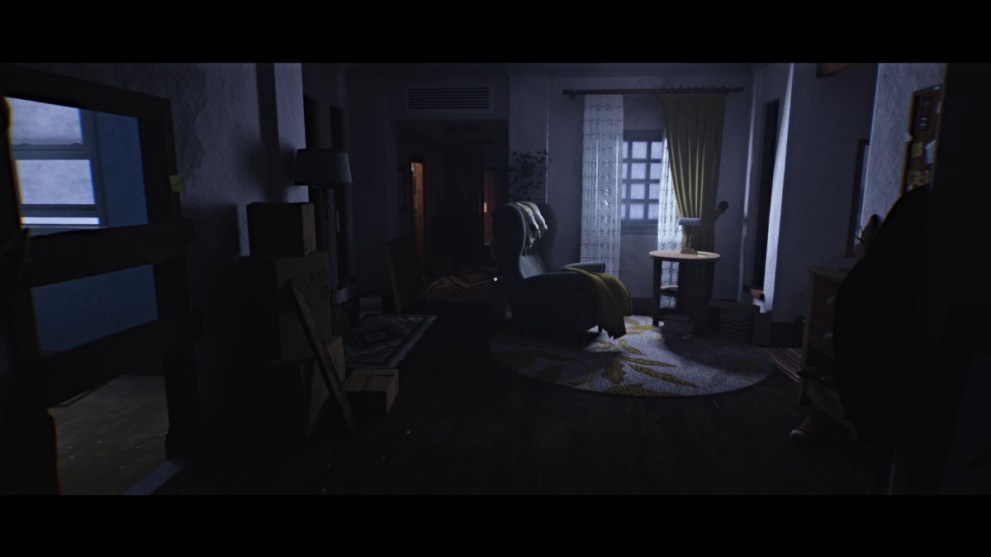
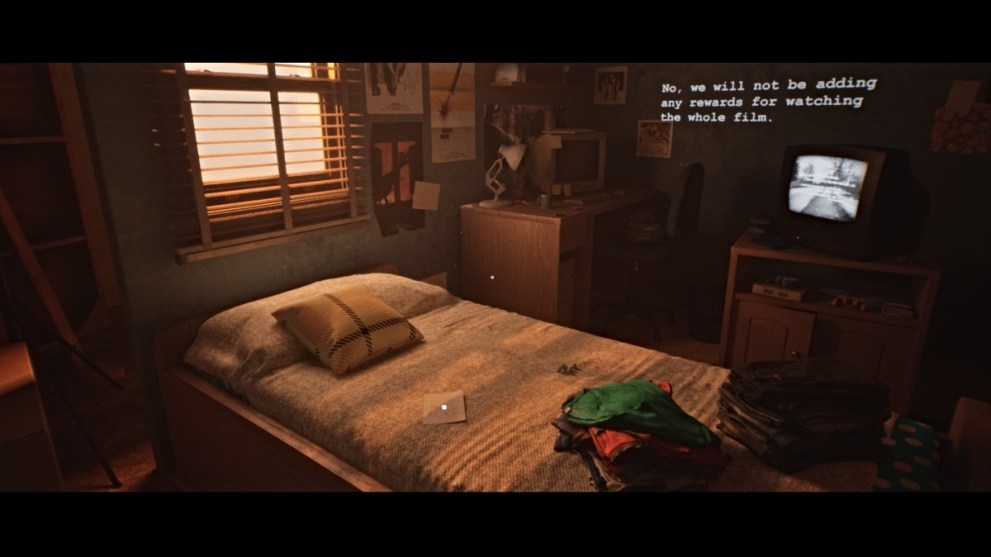
Your bedroom is the first door on the left after turning the corner in the hallway, and it’s now finally accessible (with music coming from it). Go inside, and you’ll come face-to-face with what looks like Sam’s childhood bedroom, though the narrator insists that it’s not.
Soon, a movie clip will start playing on the television in the room. Watch it for long enough, and you’ll unlock the THEY’RE COMING TO GET YOU trophy/achievement.
Go over to the bed and interact with it, which then brings up your Inventory menu. Select Isaac’s Monkey and it will be placed on the bed beside Sam’s.
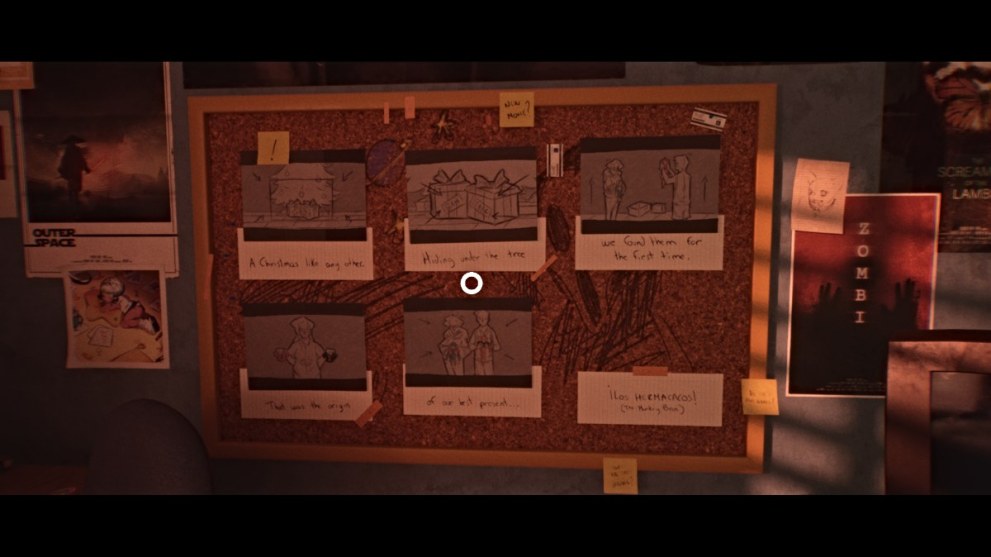
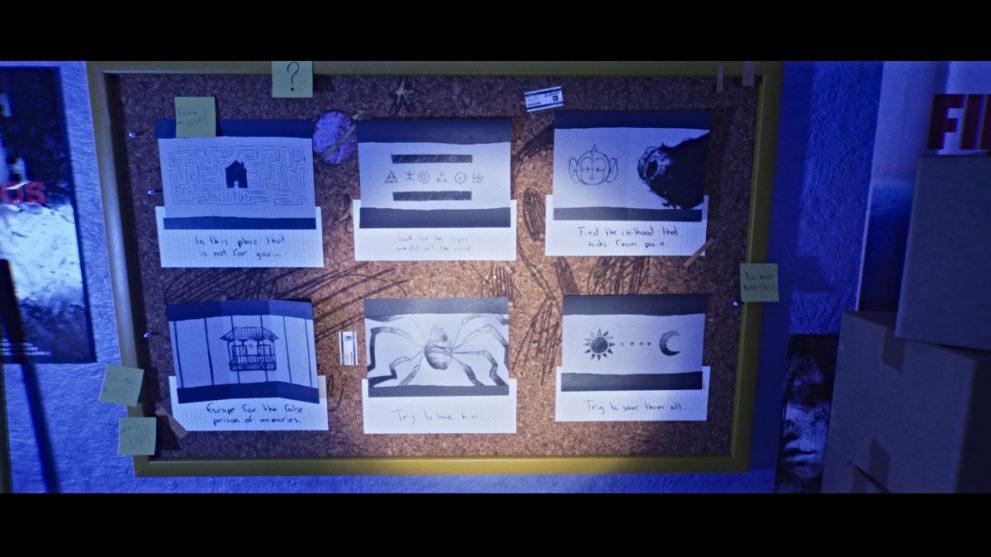
Next, turn to the bulletin board on the opposite wall, where you’ll notice a page is missing in the bottom right corner. Select it, and once again, your Inventory menu will appear. Select the colored drawing you collected back in Chapter 2 and place it in the space.
The bedroom will suddenly shake, and the board will fall off the wall, revealing some posters behind it. The narrator will then divulge that Isaac is Sam’s brother, and that they used to play with their monkey toys before he fell ill.
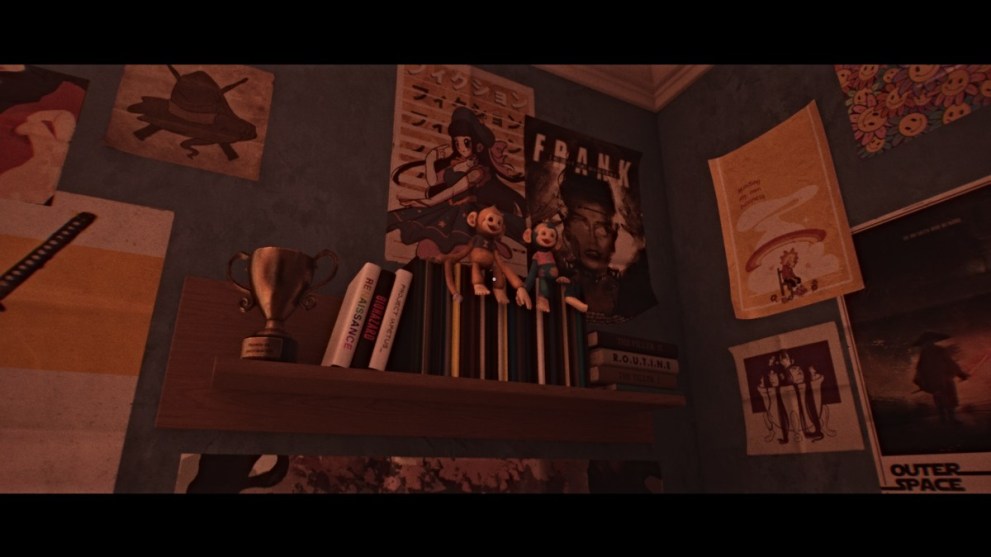
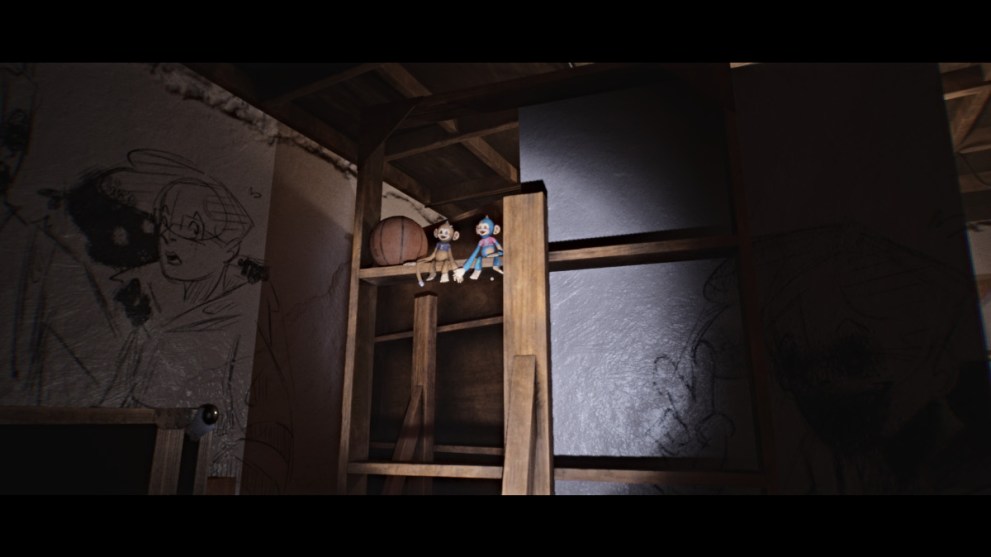
On that note, the monkey toys on the bed have gone missing, and you need to find where they’re hiding. To start off, you’ll first find them together on a bookshelf above the computer. Zoom in on them, and the screen will glitch, sending them to their next hiding place.
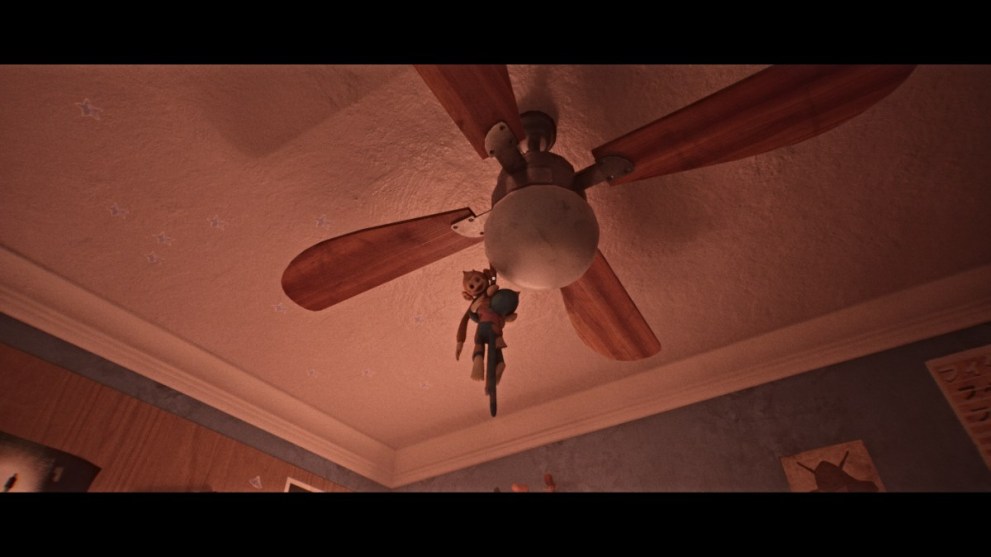
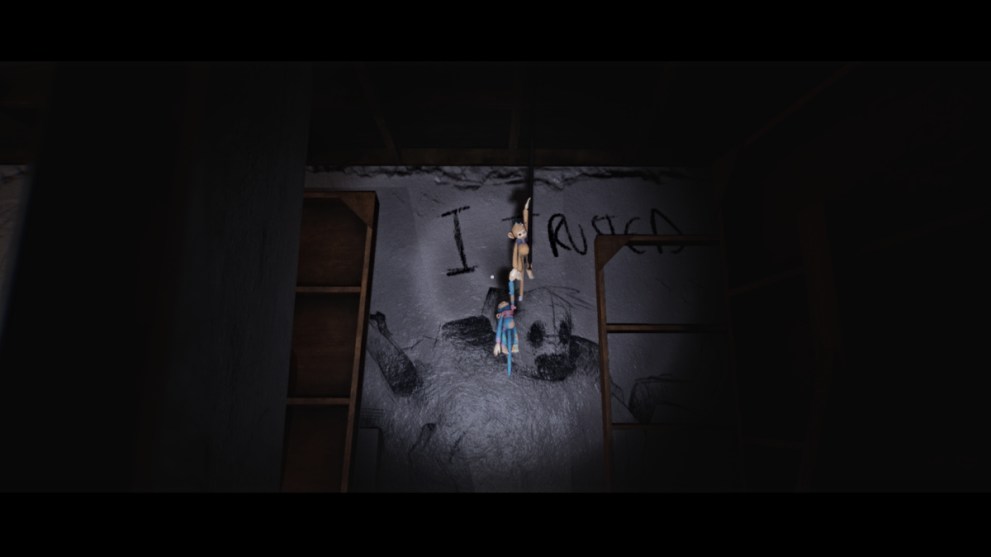
You can now find them hanging from the ceiling fan above the bed. Zoom in again and wait for them to disappear.
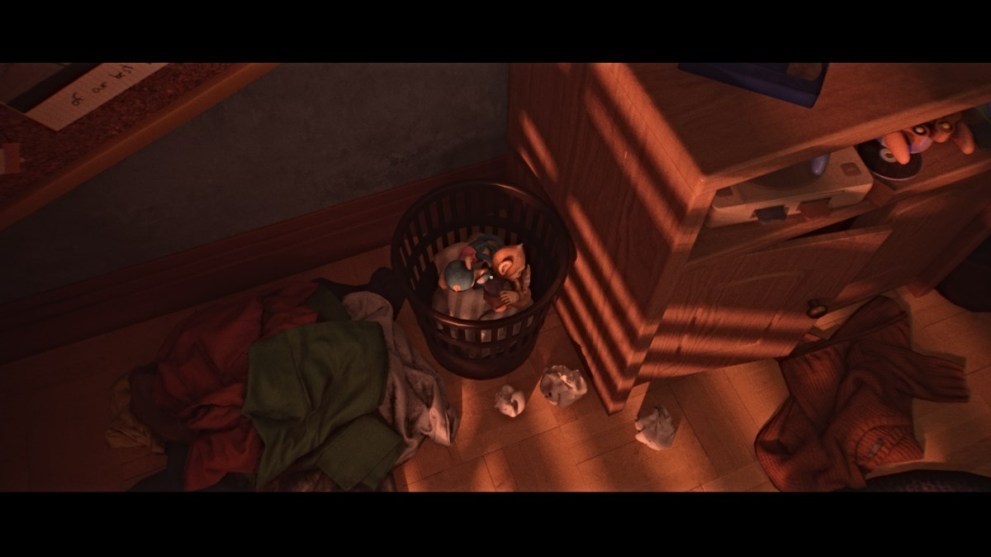
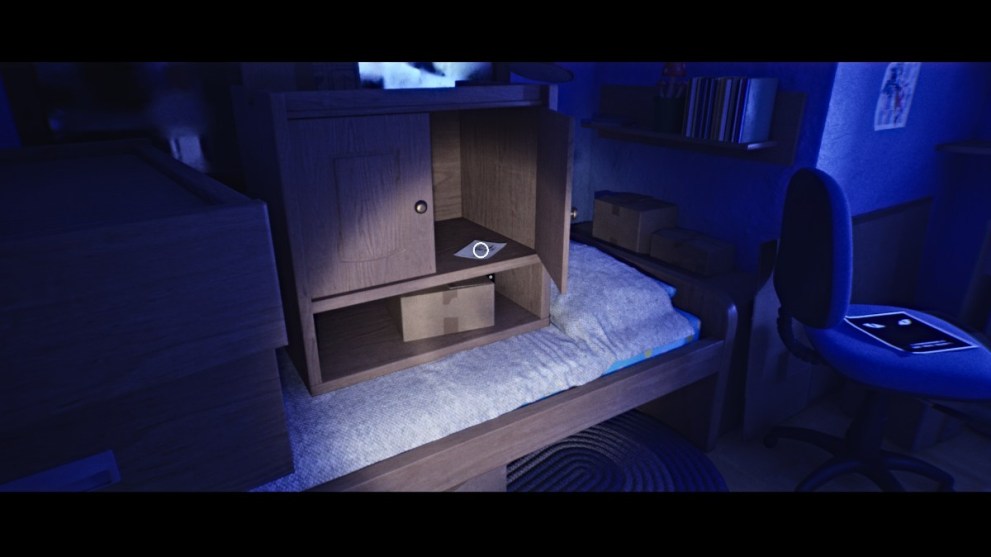
Next, you’ll find them in the trash can next to the desk with the TV. Again, zoom in on them and then look away to make them glitch to their next and final hiding spot. You can find them on the tall bookshelf to the right of the TV, next to a pig figurine. Interact with them, and an eyeball will appear in front of you before the room begins to glitch more severely.
Leave the room now that it’s unlocked and go downstairs. Grab the Home Keys from the same spot as before and attempt to leave the house.

This time, a strange chapter title card will appear in place of a weekday, but you’ll still be sent back to the bathroom. Leave it, and as you go down the hallway, the space will suddenly fade to black as day changes to night. Continue through the hallway and down the stairs.
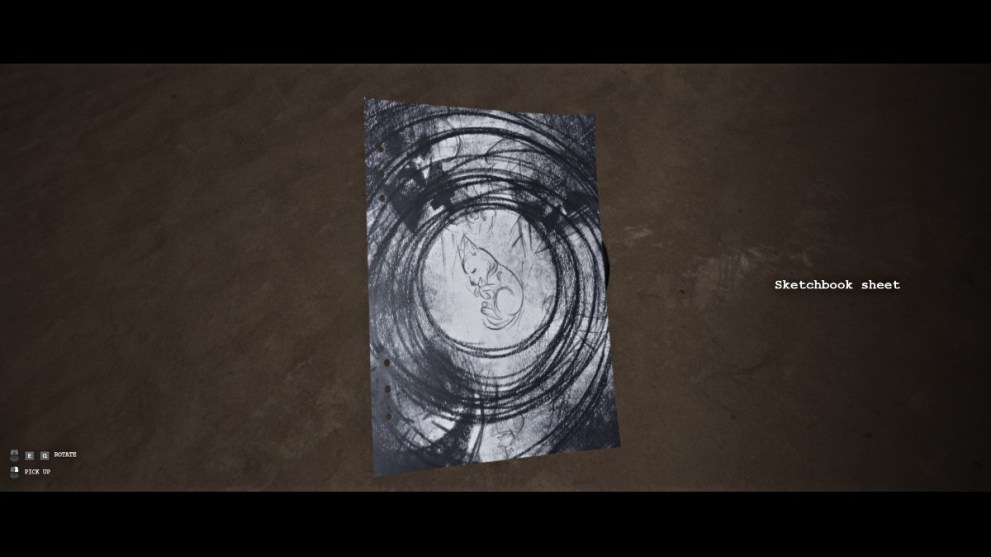
The lights in the house will suddenly go out, but there’s a flashlight on top of a nearby box you can grab. Do so, and then approach the front door. Grab the sketchbook sheet hanging on the door and then try to open it, to no avail.
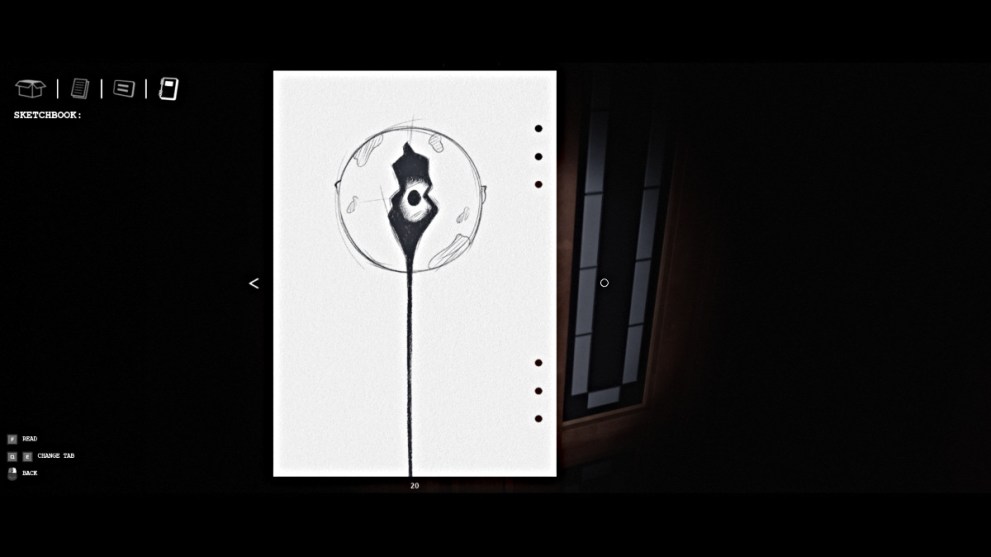
Pull up the Sketchbook drawing you just picked up for your clue of what to do next. Flip it over and you’ll see an eye inside a cracked moon. Now head back upstairs.

Follow the hallway until you see a sequence of four paintings on the left wall, resembling a descending staircase. Go over to the last painting on the right and interact with it. This will cause it to fall to the floor, revealing a crack in the wall that contains the Key With An Engraving of the Moon.

Look through the crack in the wall, and the narrator will note that Sam sees something that “sends a shiver down his spine”. Now go back down the stairs, and it turns out this is the key to finally open the locked chest on the table.
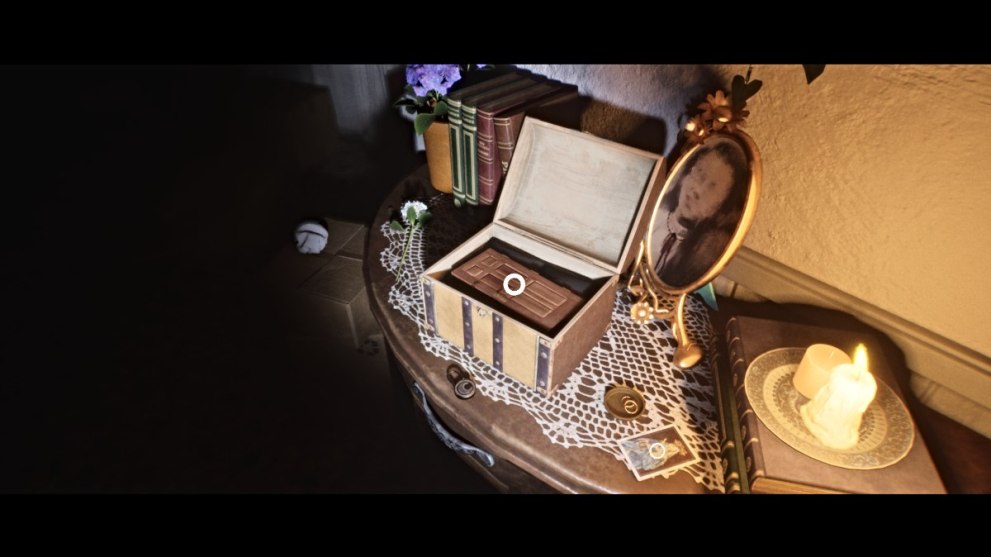
Do so, and inside you’ll find a miniature door. Pick it up, and the knocking nearby will abruptly stop. The front door is now gone (because you have it), so go through the doorway and into the dark tunnel.
Follow it until you see a light turn on ahead. Continue along the path as the house and the caves from Chapter 2 start to converge. Don’t miss the Card on the metal cart to your left as you go.
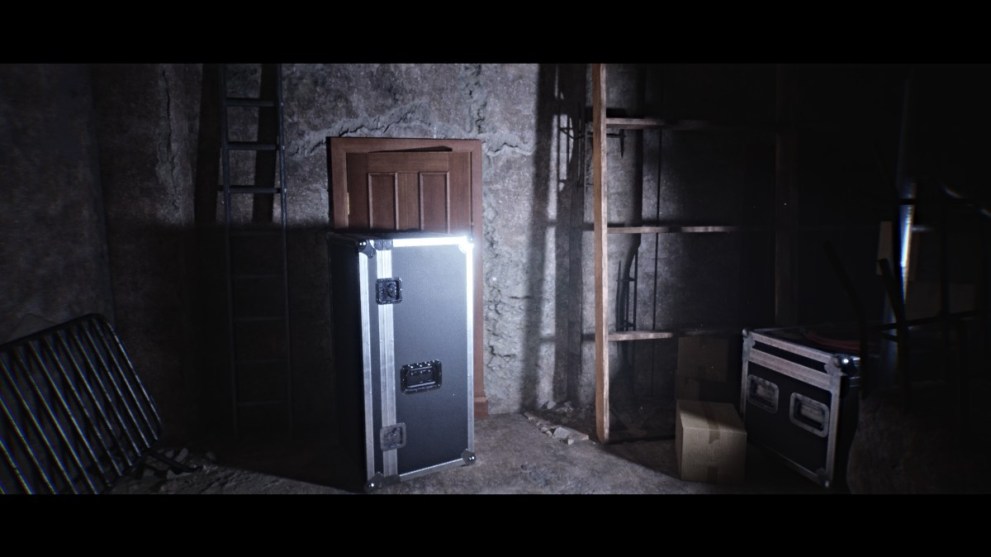
Keep going through the tunnel until you reach a door blocked by a large metal chest. Interact with the chest to move it out of the way, then go through the door.
You’ll find yourself back in the house section from Chapter 2, and the door you came through was the one blocked from the other side. Proceed through the hallway, and soon you’ll hear a phone ringing in the distance, the same one from the phone number puzzle in the previous chapter.
Answer the call, and it’ll be the same ominous voice from the previous calls. Near the end, the voice will mentioned that you “need to go back in order to escape”. As the call ends, you’ll notice the screen starting to shrink, similar to the game’s prologue, where you had to ‘Resist’ to keep going.
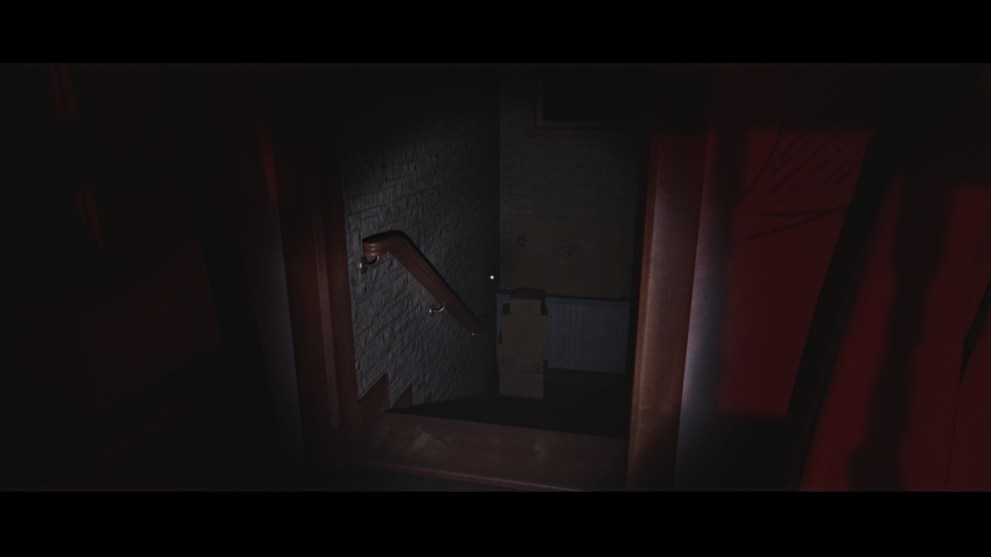
You need to do the same here while finding the right way out. Start by heading to the staircase room with the hanging chandelier (where you first found the Old Hammer) and go up the stairs. Upon reaching the end of the hallway at the top, immediately turn left and go through the door that’s ajar.
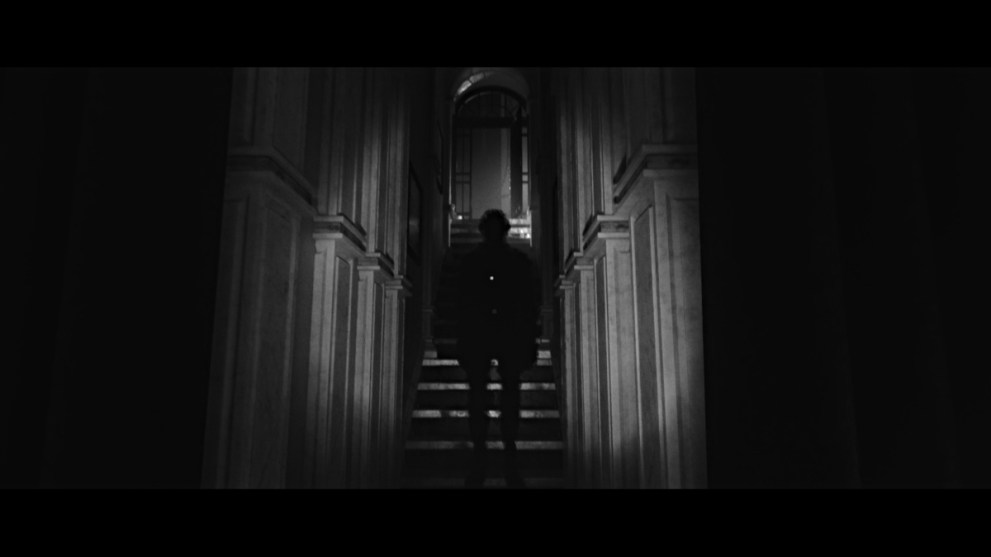
Go through the rocky tunnel ahead, open the next door, and a shadow figure will appear beyond it and knock you back. A unique cutscene then plays, revealing some information about Isaac’s illness and how it affected Sam.
After the cutscene ends, THE FIRST SHADOW trophy/achievement will unlock. Head through the door and toward the ladder to leave the basement.
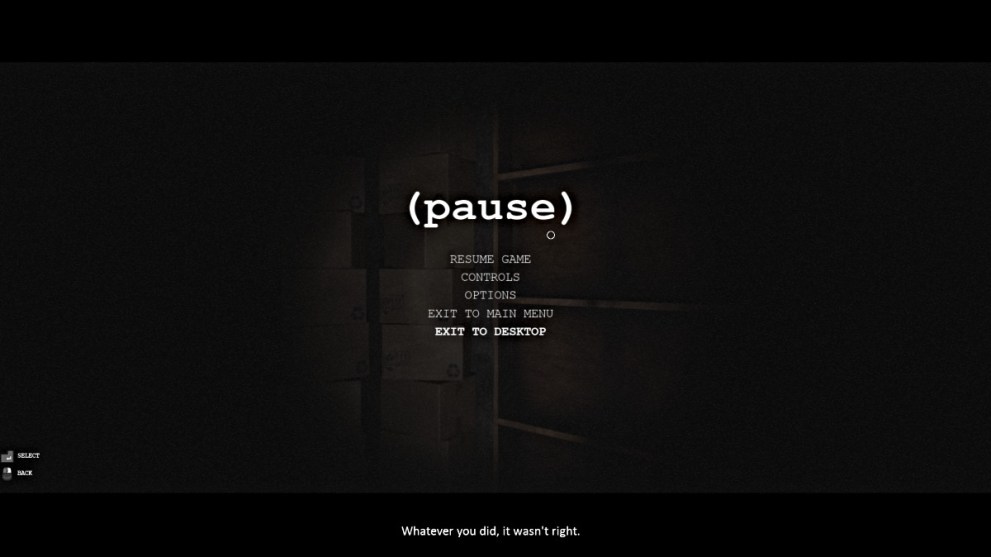
However, before you can, the narrator will literally stop you, force open the Pause Menu, and declare that “what you did wasn’t right”. With that, the narrator literally forces the game to close out, and you’ll need to boot it back up to continue. To clarify, this isn’t a mistake; it’s part of the story.
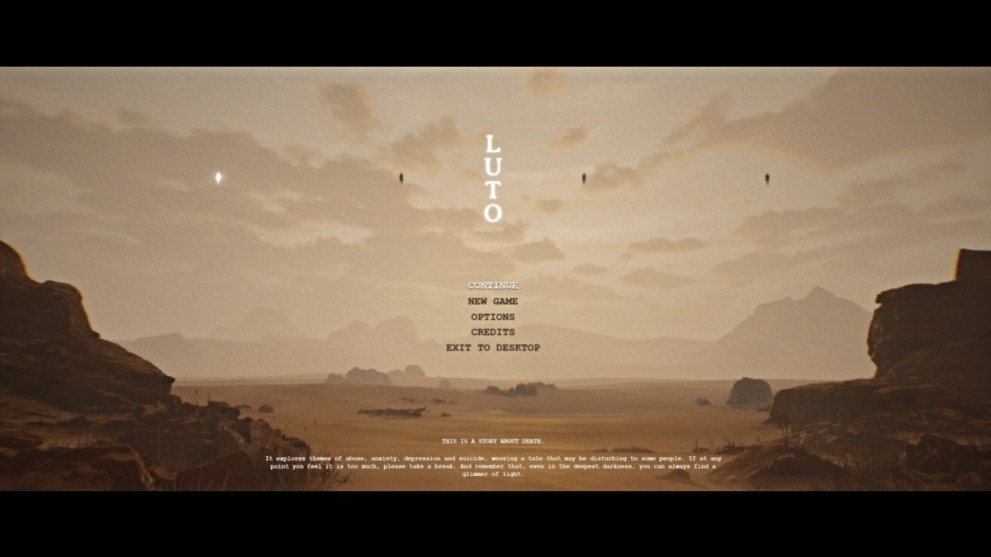
Once you arrive back at the start menu, notice that the floating figure on the far left side is now glowing white. Select ‘Continue’ and you’ll start once more in the desert sandstorm. This time, however, the white figure will appear in the distance.

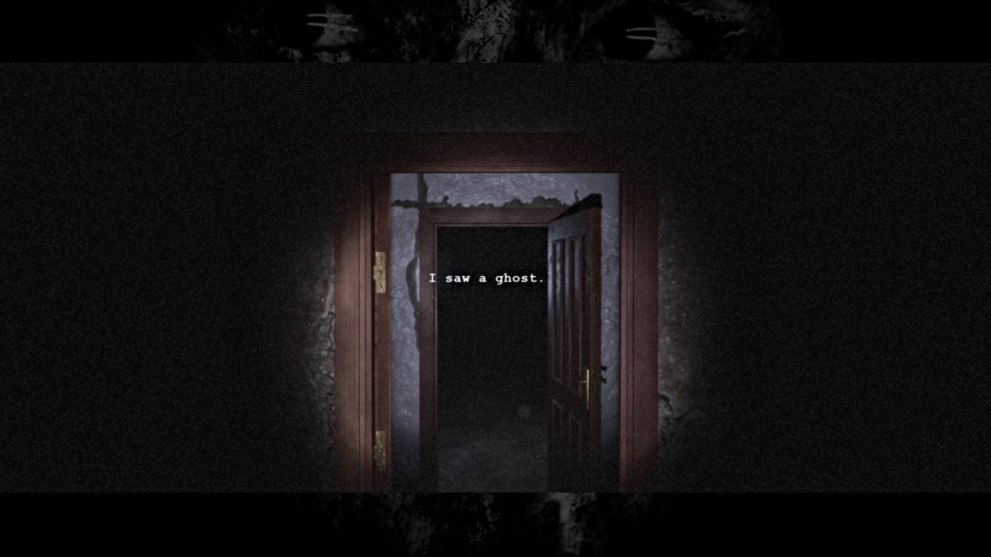
‘Resist’ the storm and run toward it until the screen turns white, followed by the familiar ‘I saw a ghost’ phrase in the center. Afterward, let the screen shutter, and soon you’ll appear once more in the bathroom.
Leave it, ignore the Chapter 1 title meant to mislead you, and head for the stairs. As you go down, the screen will glitch, and suddenly the stairs become seemingly infinite. Keep going and turn on your flashlight once it starts getting dark. Keep going as the cave begins to overtake the stairwell.

Eventually, you’ll reach a hole at the bottom that you’ll need to jump into. When prompted, do so, and as you plummet into the darkness, the chapter will end.
Chapter 4 – Thanks For Pushing Me
You start the next chapter in what looks like the same basement, but it’s actually an entirely different house than before. This area of the game can feel a little confusing, so make sure to stay focused on the objectives at hand.
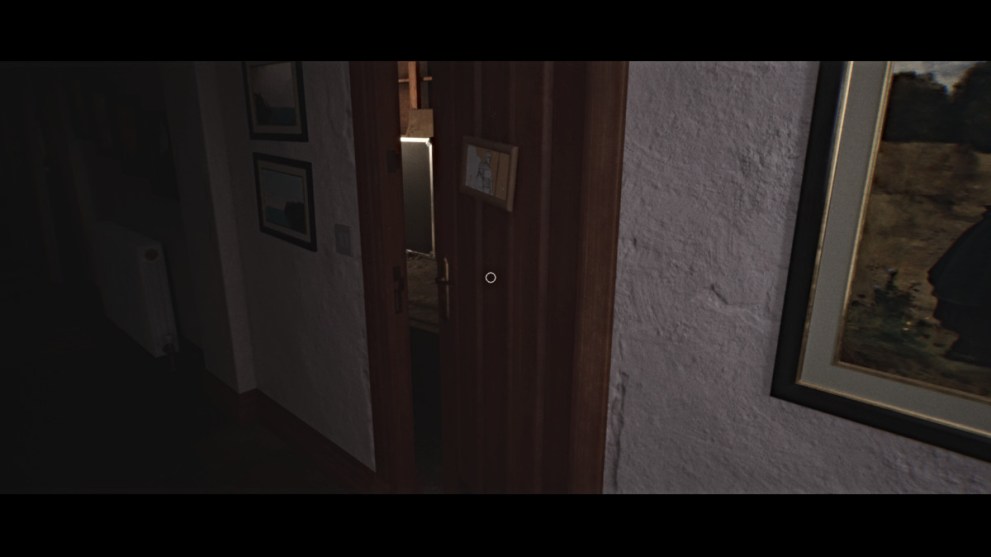
Go through the door ahead and you’ll arrive at a long hallway with multiple doors. Go through the second one on the left, and you’ll find a bedroom bathed in blue light.
Pick up the sketch drawing from the open cupboard on the bed to the left. Now look to the bulletin board on the wall to the right, and notice that three pictures are missing. Leave the room for now to continue exploring.
Head to the open area ahead and pick up the Note on the dresser to the right. Now, veer to the left and go through the fully open door straight ahead.

Straight ahead, you see the familiar bathroom from previous instances in the game, but instead, turn left until you see what looks like two hallways parallel to each other (see below).
Go into the left hallway first, and up the flight of stairs. On the banister to the left, you’ll find a drawing with strange symbols.
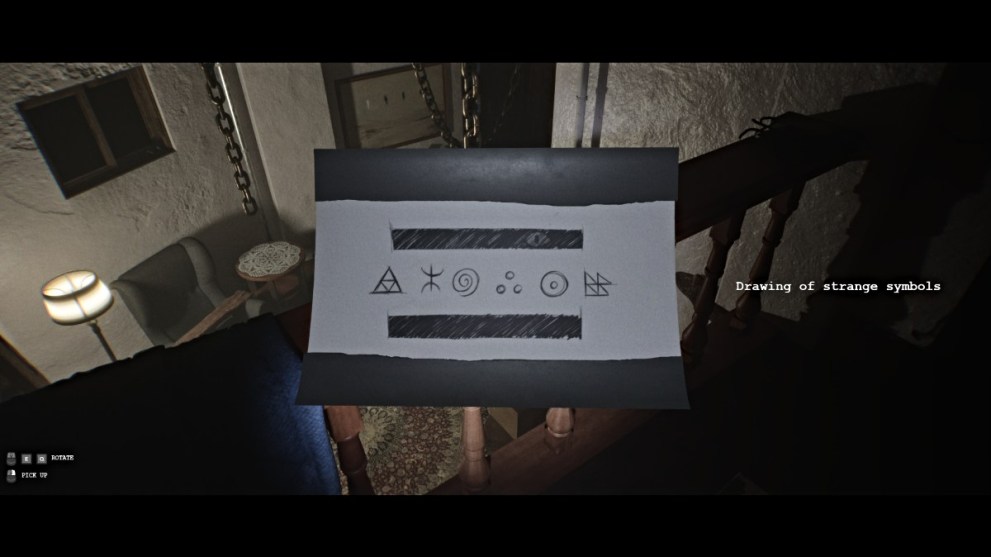
This is the first missing drawing for the bulletin board back in the blue room. The door ahead is locked, so head back down and now go through the hallway on the right.
Go down the stairs ahead and pick up the drawing on the ground. This is the second drawing for the board in the blue room. Continue through the room until you find a strange gate door with a symbol in the center.

Interact with the symbol to pick up the Golden Piece key mechanism. Backtrack out of the room and up the stairs. You’ll hear a creak ahead that turns out to be the door at the top of the stairs opening. Go through it as the narrator chastises humans like Sam for “wanting to explore” when all one finds is “your own despair”.
Look for a door to the left in the dark hallway that’s slightly ajar with light inside, and go through it. Head through the rooms ahead until you come to one where you can see through a window into the blue room. Grab the Movie Card on the desk to the right before continuing forward.

Go through the door ahead, and this brings you back to the entry hallway via the first door on the left. Ignore the blue room for now, go back to the foyer area, and this time turn right.
Make note of the “TV room” immediately to the right and continue ahead to the end of the hall, where you’ll find a gate door similar to the one you pulled the circular key from earlier. Place the key inside the insert, and the door will open, allowing you to proceed.
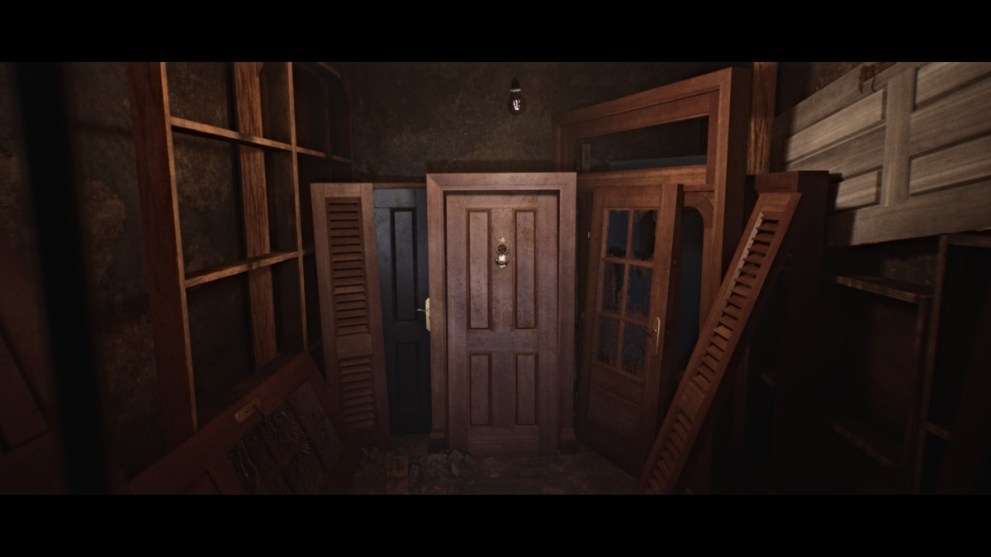
At the bottom of the stairs, you’ll find a room full of doors. Approach the one straight ahead and interact with it to get the Moon and Sun Knocker item. The door will then fall, revealing yet another dark stairwell for you to go down.

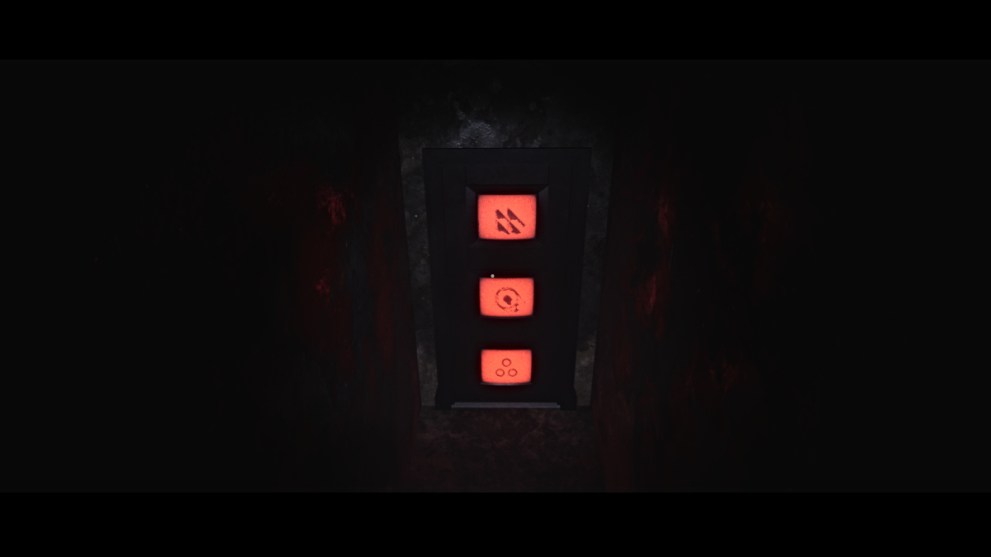
At the bottom of these stairs is a placard with three TV screens. They’ll come to life with red glowing symbols on each one. You can interact with these screens, but otherwise, backtrack to the area above for now.
Return to the hallway where you entered through the key gate and look left to see the cloaked figure walking down the entry hallway. Follow it and you’ll see it go into the room you came out of earlier and shut the door behind it.
Next, backtrack to the parallel hallways on the other side, near the bathroom. Go down the right hallway again and back into the long dark hallway where the narrator last spoke to you.

Walk slowly down the left side of the hallway until you hear a phone ring from one of them. Use the Moon and Sun Knocker on the door to open it and go inside.
Answer the phone on the table to the right, and the ominous voice returns for another call. After it ends, the narrator warns you against trusting the “stranger”, as it didn’t work well the last time.
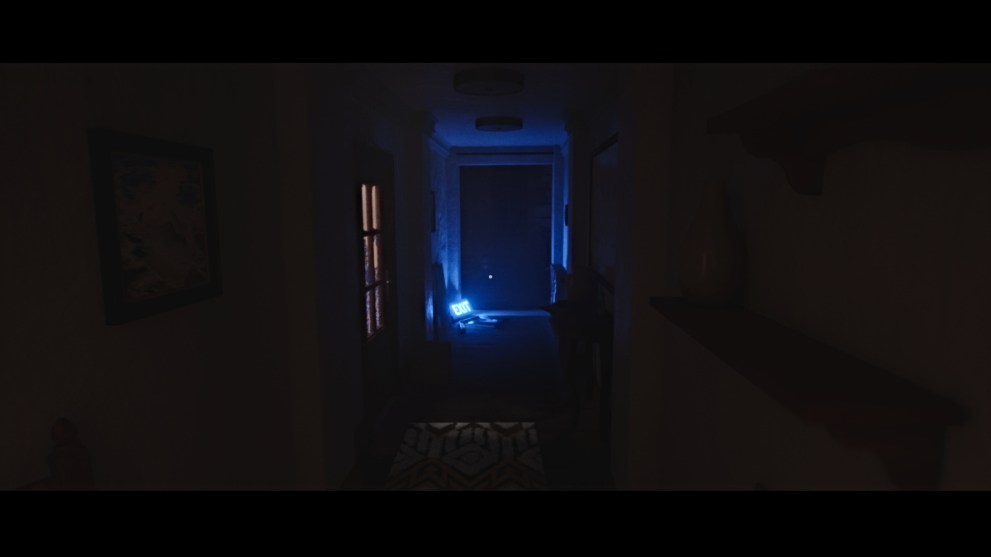
Continue forward, turn left into the next hallway, where you’ll see an ‘Exit’ sign flickering on the floor. Proceed through it and pick up the Drawing on the table to your right, across from the locked glass door.
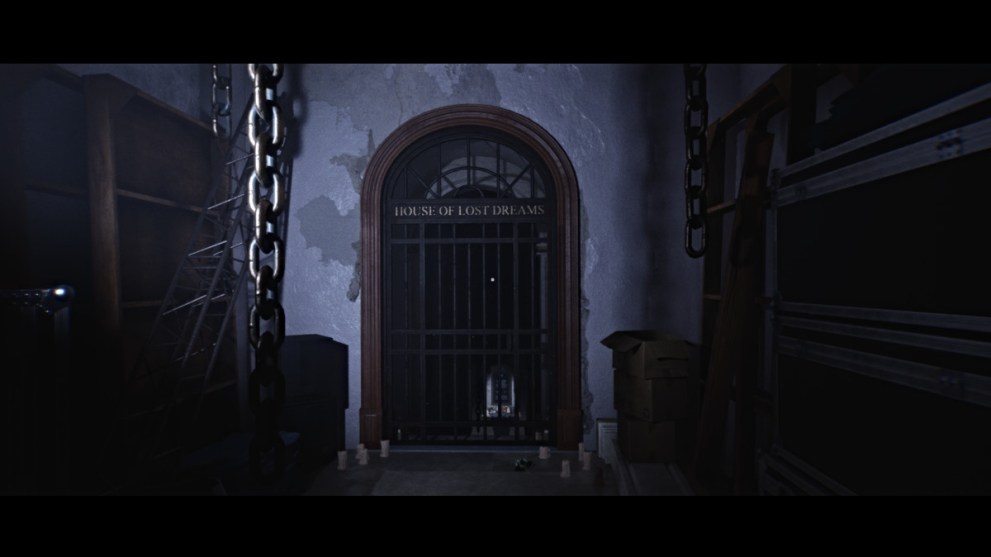
Head toward the Exit sign and past it, then look to the right. A gate named the House of Lost Dreams will light up. Approach it, open the gate, then go down the stairs. Ahead is what looks like an altar with four pictures of different people. These are Sam’s family.
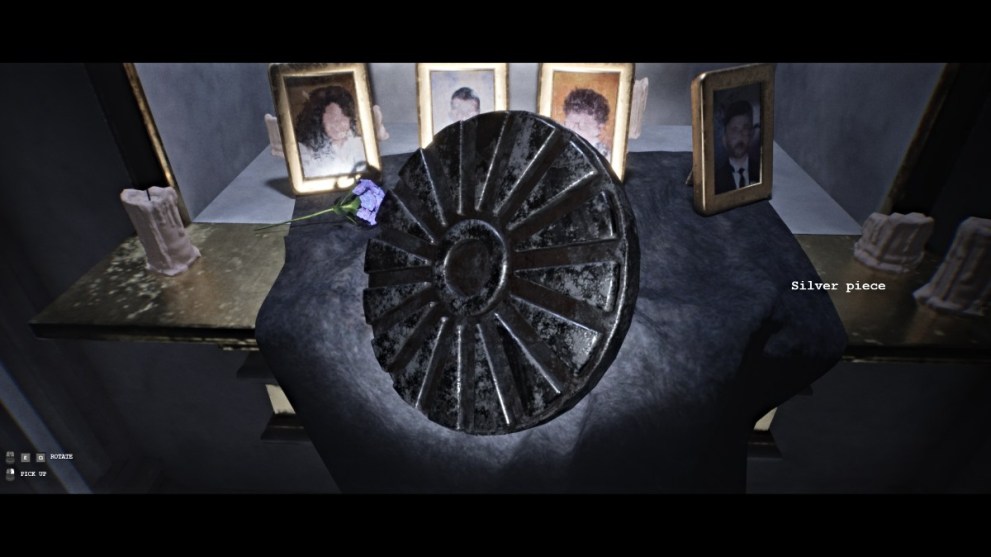
Approach it and pick up the Silver Piece key. The large portraits around the room will be important later. For now, backtrack up the stairs, and now go through the left side hallway where you’ll find a room full of boxes and equipment.
Go forward and you’ll see a hallway to the right leading down to what looks like a waterfall of blood in a room full of pipes. Continue past it for now and go into the narrow dark hallway adjacent to it.
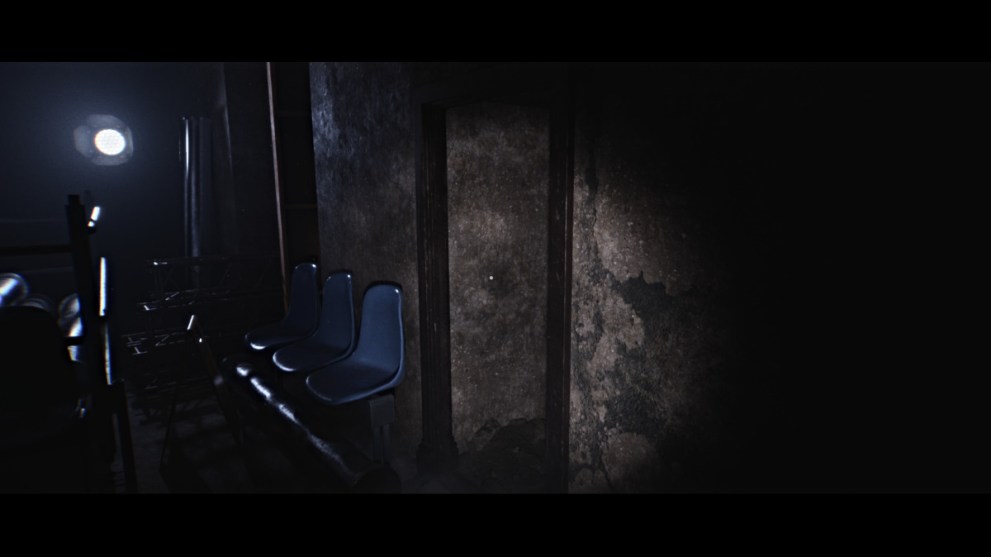
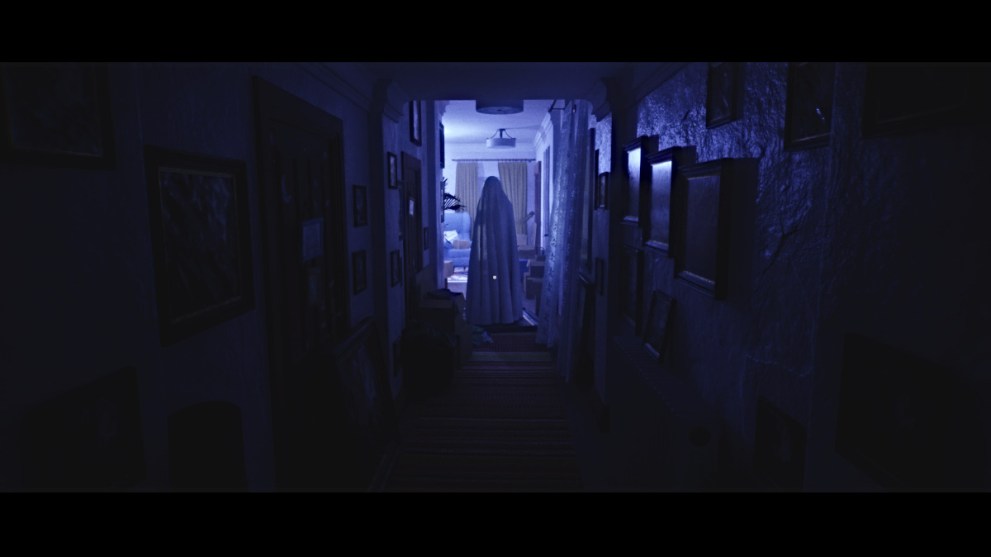
Soon you’ll come to a row of wooden chairs blocking the tunnel, and what looks like a ghost sitting in one further ahead. Head back and the ghost will vanish. Backtrack all the way to the door where you used the Moon and Sun Knocker, and you’ll see a cloaked figure dash to the left.
Head into the hallway and look for another open door. Head toward it and the same cloaked figure will come rushing at you, triggering a cutscene.
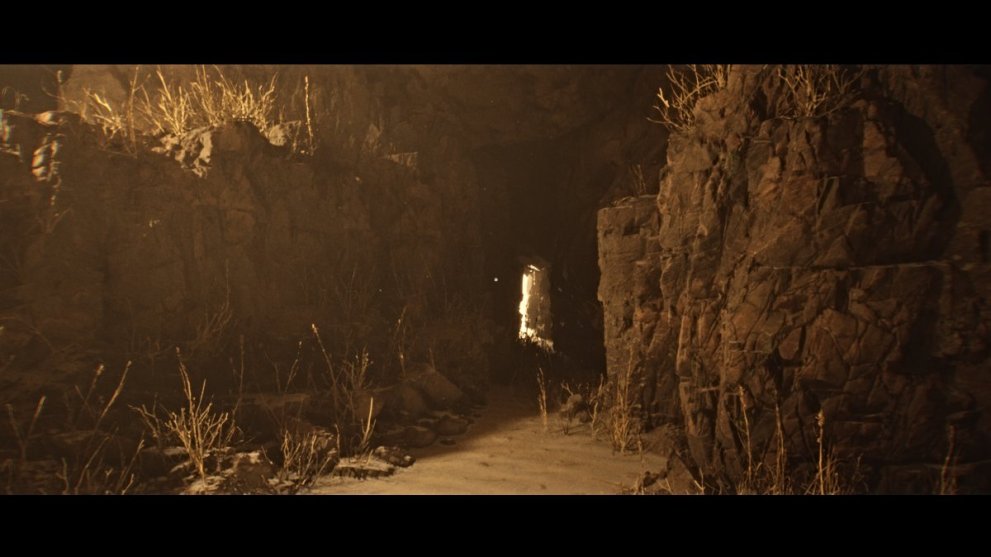
Afterward, you’ll emerge back in the sand-filled cave. Head for the light at the end of the tunnel ahead, and soon you’re back out in the same desert. The glowing figure will reappear, so make your way toward it while resisting the storm.
Once done, allow the screen to shutter, and you’ll re-emerge in the bathroom you passed earlier, with a bathtub full of blood. Leave the room and head for the blue room with the bulletin board, now that you have all three drawings to solve it.
Place the drawing with strange symbols in the center top space, then the drawing of two monkeys in the top right space. Finally, place the Canarian House drawing in the bottom left space.
Leave the room, and the bulletin board will topple to the floor, revealing a series of tally marks on the wall. Head back up the stairs through the left-side hallway opposite the bathroom, where you found the first drawing on the banister.
The door here is now open, so go inside. You’ll see a videotape wedged on the open window ahead. Interact with it to push it off the window ledge and down to the floor, so you can go pick it up. However, as you turn to leave the room, the cloaked figure appears again, coming to a standstill facing you.
Approach and sidestep them to go back down the stairs. You’ll see the videotape in a basket on a table ahead. Collect it and return to the TV room you passed by earlier. Use the tape on the TV with ‘No Signal’ on the screen, and suddenly you’ll take control of the person “inside” the screen.
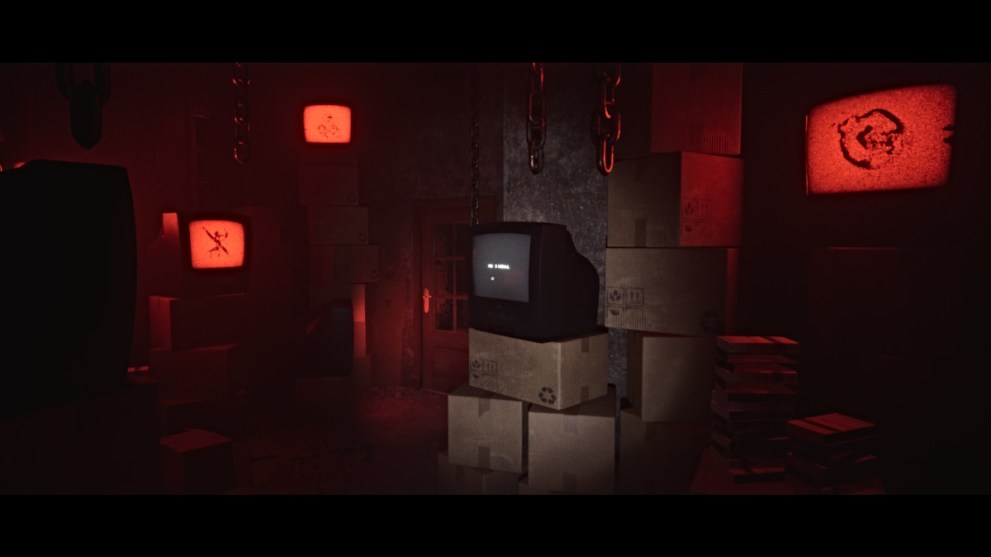
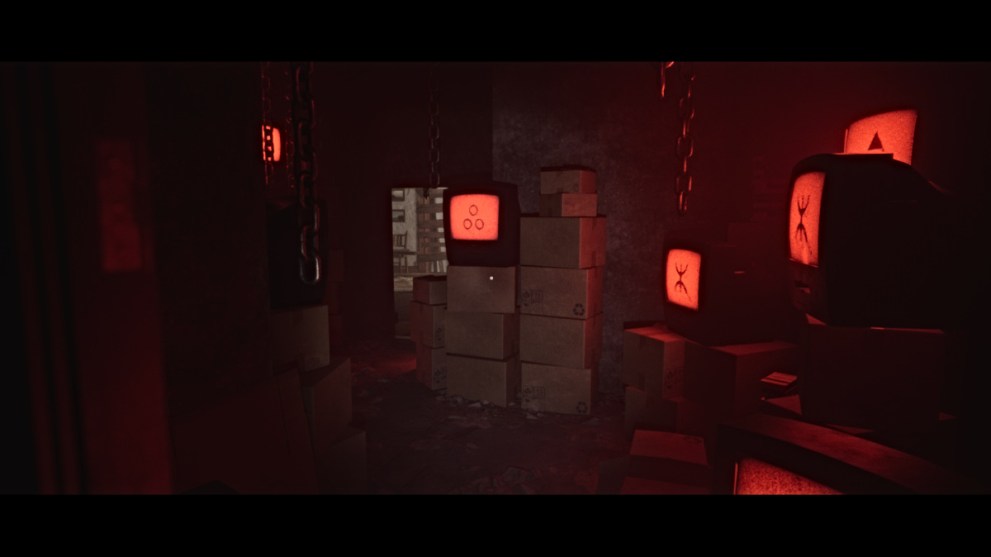
Navigate your way through the pathways on the screen. At one point, you’ll come across the door with three red TV screens from earlier. Make note of the symbols on the screens (Top – Spiral, Middle – Line with two curves on either end, Bottom – Three Triangles) before the screen glitches to the next path.
Once the subliminal walk ends, the door nearby will swing open. Before you go through it, however, leave the room and go right to backtrack to the first gate where you used the Gold Piece. Go down to the TV door and input the symbols in the order mentioned above.
Go through the door and maneuver through the maze ahead until you find a doorway with a figure wearing glasses in front of a large red screen. Approach it, pick them up, and they’re revealed to be Sam’s Broken Glasses.
Try to leave the room, and the floor will crumble beneath you, sending you falling. In the next area, leave the room and turn right to find a Sketch drawing on the banister ahead.
Turn back and follow the path straight ahead until it eventually brings you back to the room full of TVs. Leave it and return to the basement area where you first found the Golden Piece key (the right side hallway opposite the bathroom).
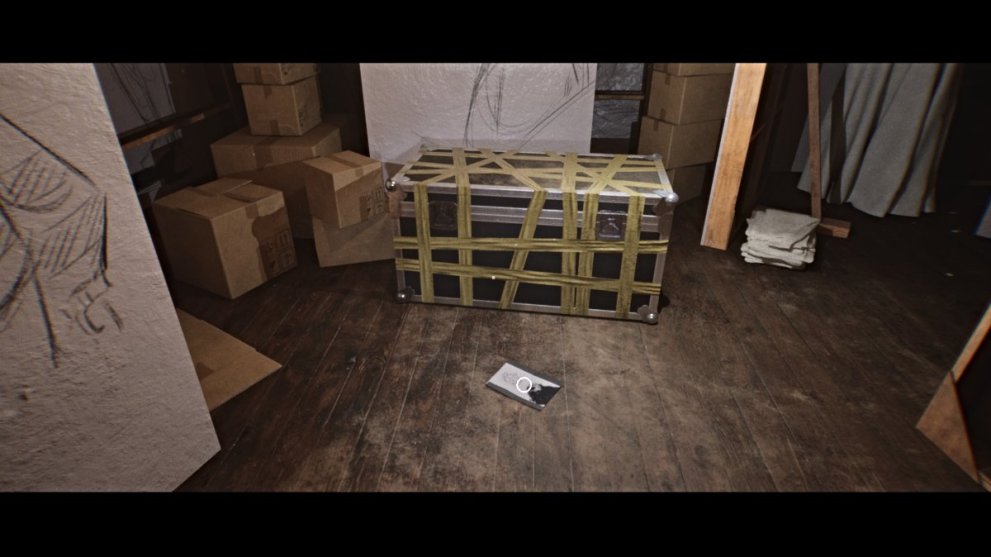
The taped-up metal chest is now open with a Drawing for you to take. The monkey toys from the previous chapter are hanging off the side as well. Zoom in on them and they’ll glitch and disappear, like before, starting another hide-and-seek-puzzle.
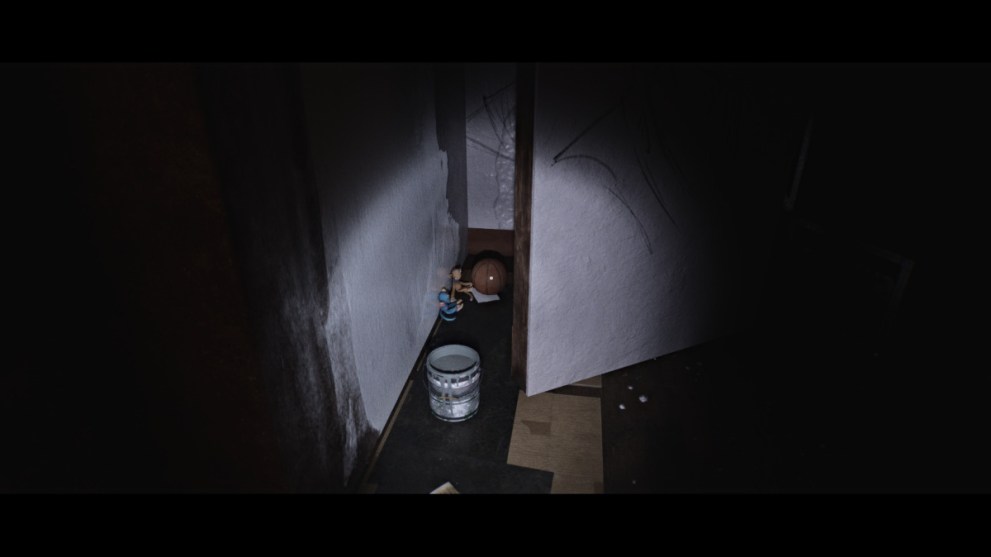
Find the monkeys in their next spot on the backside of the easel rack to your right, sitting next to a basketball. Zoom in on them to send them to their next hiding spot.
Next, they’ll be hanging off a wire from the ceiling to the left. After that, they’ll be hiding behind a panel to the right of the gate door where you got the Gold Piece.
Finally, their last spot will be on top of a metal chest to the left, in front of a large drawing on the wall.
Approach them and pick up Isaac’s Deflated Ball next to them. Now go over to the nearby gate and use the Silver Piece key on it. As the gate opens, head through and down the stairs. In the sandy hallway ahead, turn left and follow it all the way down until you can turn left again through a much narrower passage.
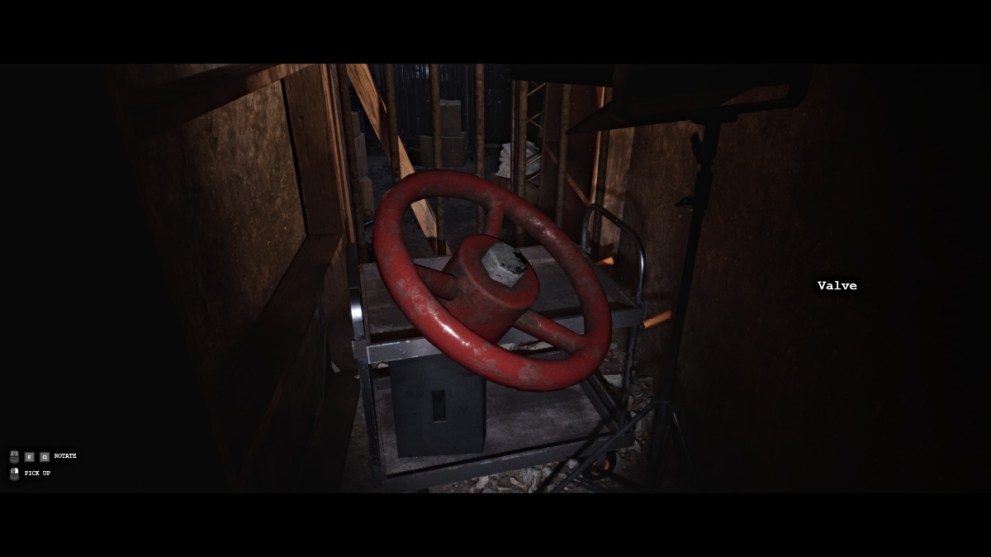
Make your way to the other end and pick up the Valve sitting on the cart. Now, backtrack out of the passage, and you’ll discover that the way you came is now caved in.
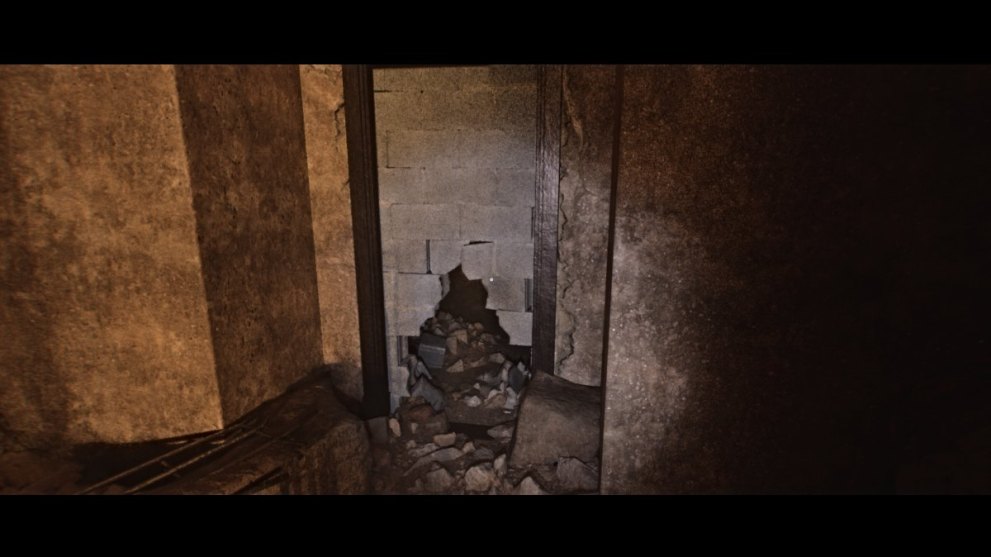
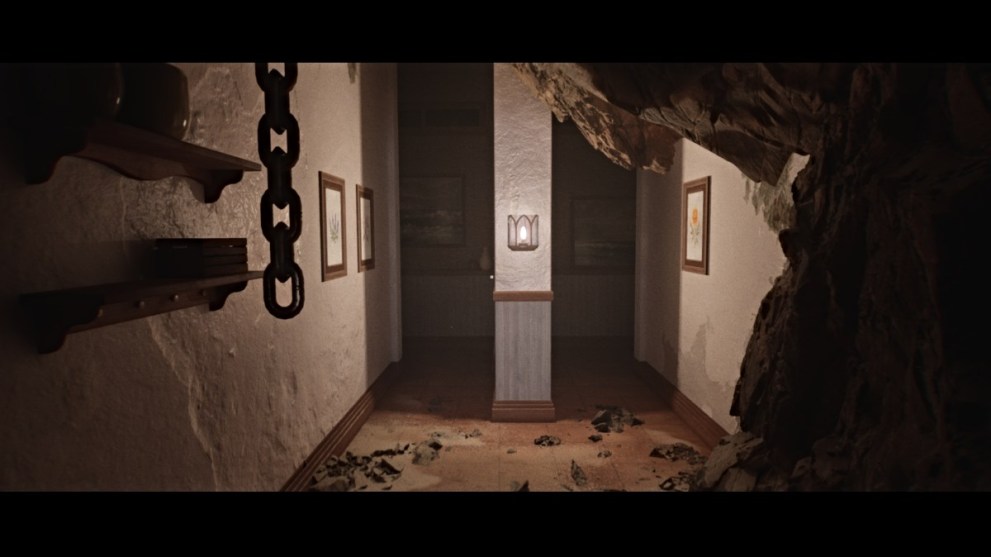
However, the nearby doorway that was formerly sealed with bricks now has a hole in it for you to get through. Do so, and go down the dark hallway until you see the gold coin you missed out on earlier in the game. This time, you’ll be able to collect it, which also unlocks the INSERT COIN trophy/achievement.
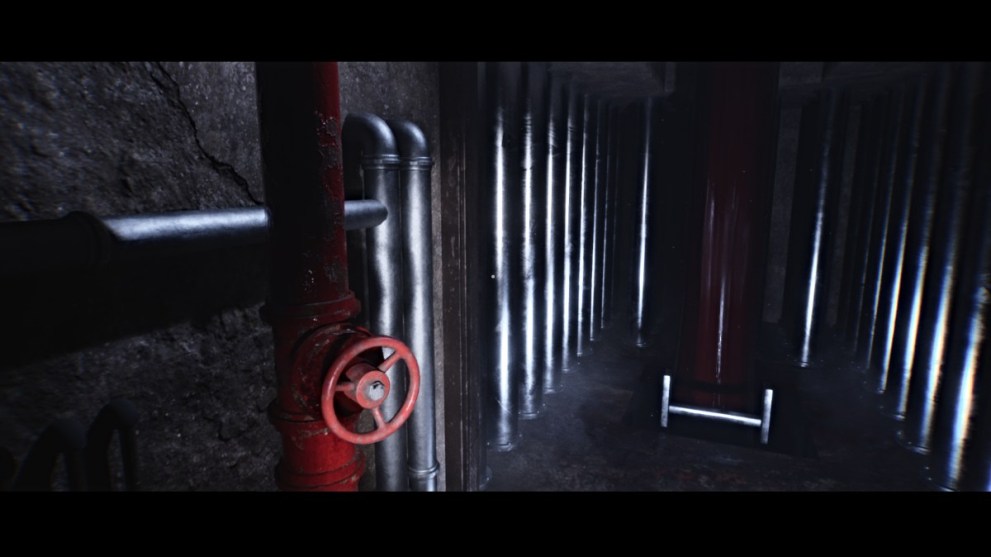
Continue forward until you come out back at the hallway opposite the House of Lost Dreams. Go down the stairs to the pipe room with the blood waterfall and use the Valve on the red pipe. Turn it to shut off the waterfall and go down the ladder that’s now visible.
Climb down and you’ll find yourself in a bloody, pulsating room. On the other side, you’ll find a small floating heart. Go and pick it up to collect Joel’s Dull Heart (needed for the House of Lost Dreams puzzle).
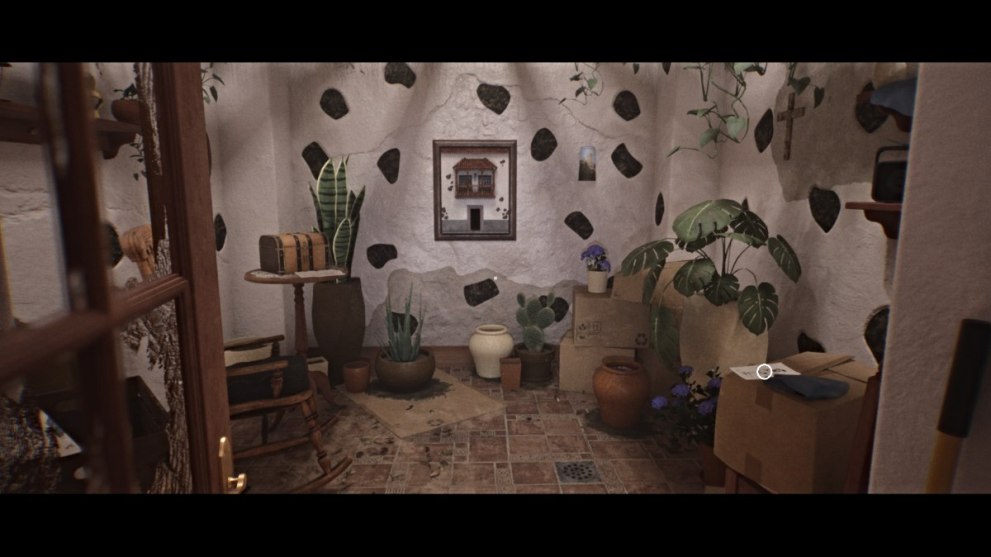
Climb back out and backtrack to the blue Exit hallway, where you find the Carian House drawing. The door across from that spot is now open, so head inside. Pick up the Drawing on the box to the right.
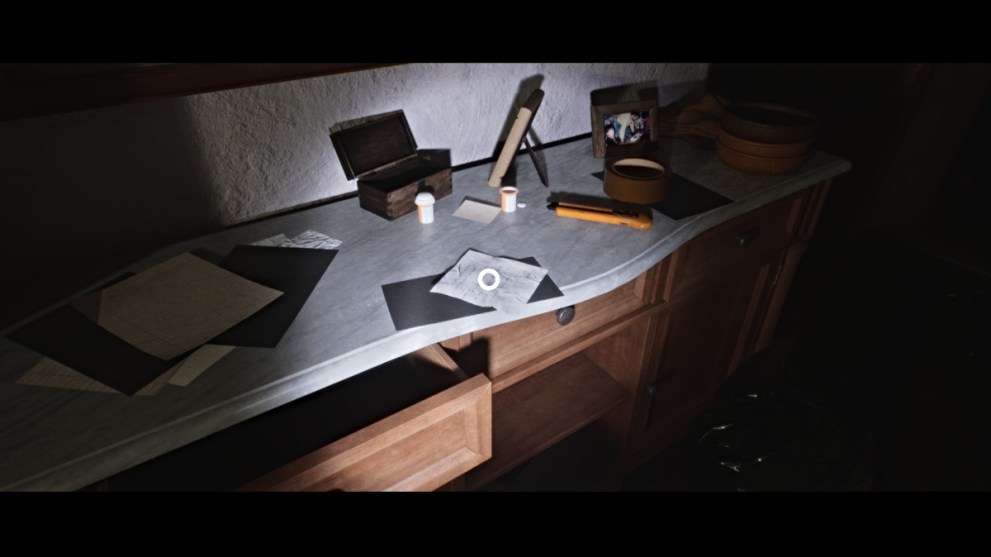
How to Solve House Items Puzzle (Chapter 4)
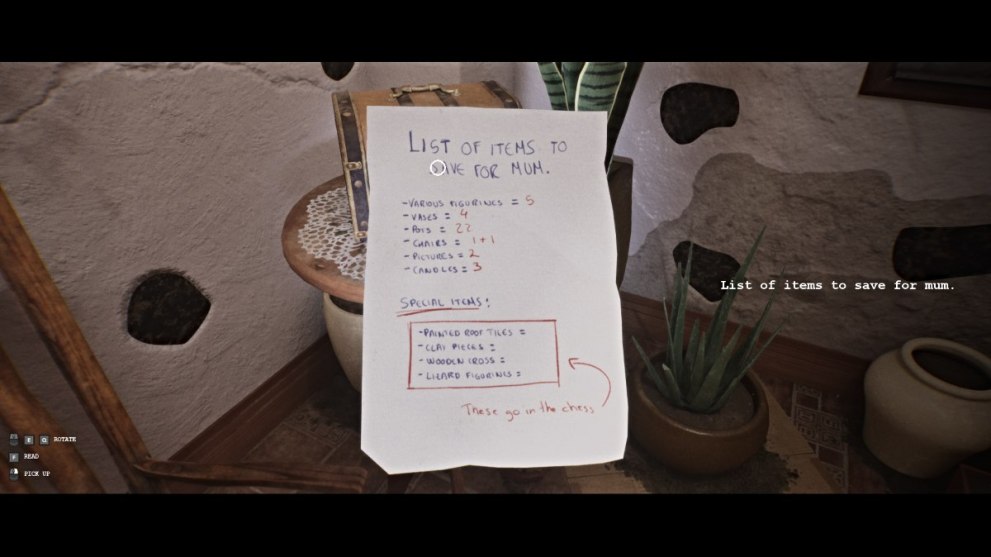
Next, pick up the Note on the table to the left, by the locked chest. This is the key to unlocking it. The Special Items box at the bottom with numbers missing is what you need to figure out, in that order. Look around the room for the items in question, and count how many there are.
The solution for the lock is:
- Painted Roof Tiles: 3
- Clay Pieces: 7
- Wooden Cross: 1
- Lizard Figurines: 5

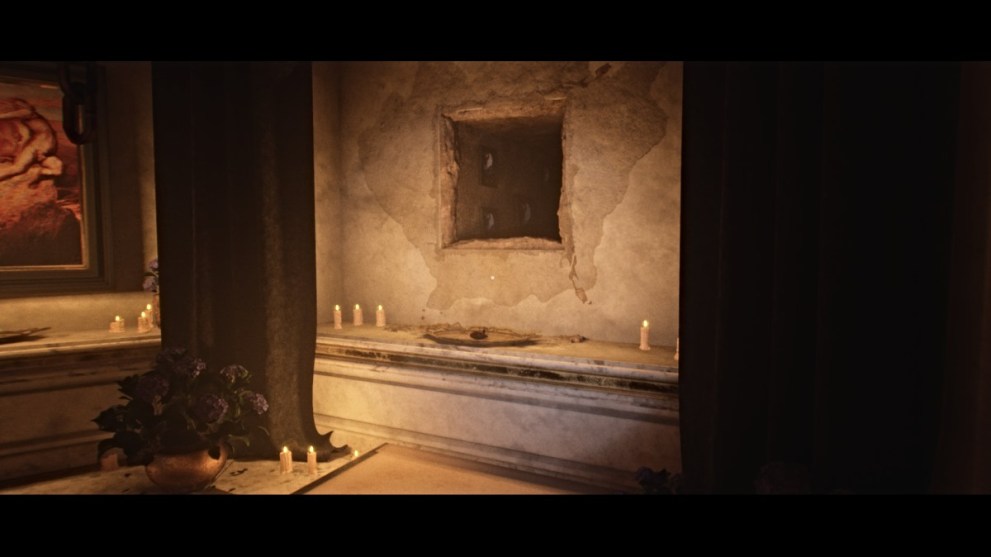
Now go over to the house painting on the wall, and use the miniature door you obtained earlier in the game to fill the hole. Turn away and you’ll hear a knocking noise. Turn back and open the small door and pick up what’s inside – Eva’s Shattered Photograph.
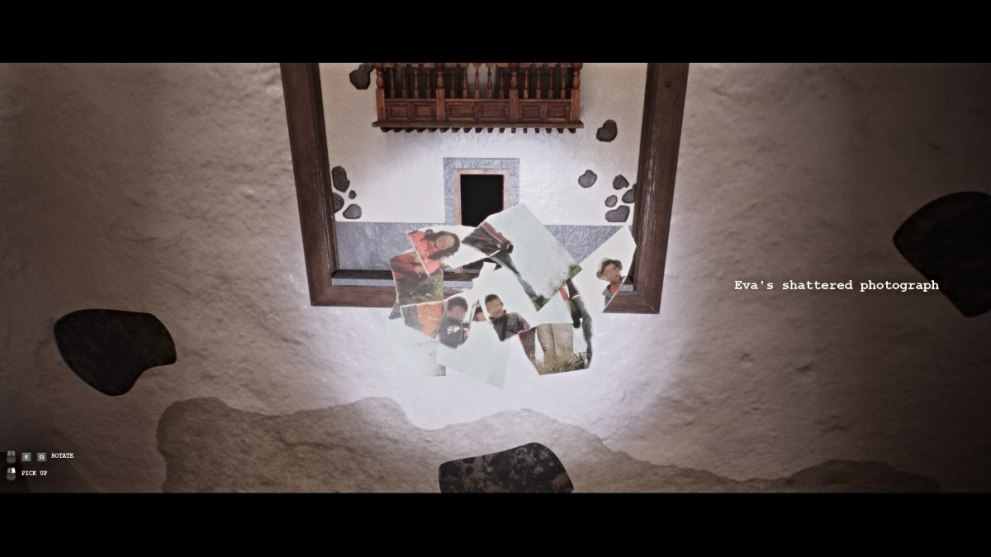
Turn around again, and the figure watching you through the glass door will be gone. You now have all the items you need for the House of Lost Dreams puzzle, so head back down there.
How to Solve House of Dreams Puzzle (Chapter 4)
You now need to place all your acquired items under the paintings they correspond with. The solution is as follows, from left to right around the room:
- The Dawn – Eva’s Shattered Photograph
- The Middle Day – Isaac’s Deflated Ball
- The Afternoon – Sam’s Broken Glasses
- The Night – Joel’s Dull Heart
Once done, turn back to the stairwell, and the white figure from the desert will be standing there. Approach it while ‘resisting’ the screen shuttering and interact with it to trigger another script-style cutscene.
Once it’s over, start up the stairs, and the painting on the far right will tumble to the floor, revealing a tunnel behind it. Approach it and answer ‘Yes’ to the prompt. When you’re able, crawl through the tunnel until you start to fall.
Soon enough, you’re back in the original bathroom. Leave it, and you’ll notice the painting on the wall that you removed earlier shaking. This starts a sequence where you’ll need to make the right choices to progress.
The figure ahead will sink into the painting on the floor. Turn back and head to the bathroom, except it’s now a stairwell leading to a flooded ‘Exit’. Go through the door and walk through the floating dialogue until you reach a fork with two paths.

Take the left path and go through the door on the left labeled ‘Exit?’. In the next hallway, follow the path to the last door on the right (with the House For Sale sign next to it) and go through it. Follow the next hallway toward the dialogue that says ‘One more time’,

Finally, take the next Exit door on the left (with a rolled up rug near it), which will bring you to a black void with the dialogue ‘Do you believe in ghosts?’. Walk forward and soon you’ll see a figure standing in front of a bright moon over water.
Soon the figure will vanish underwater and grab you, dragging you to the depths. Afterward, you’ll wind up back in the painting tunnel from earlier. Crawl through it and you’ll end up climbing out of the shattered mirror in the bathroom.

Take the Note off the door, leave the bathroom, and you’ll come face-to-face with the figure once more before the screen goes black. Go through the next sequence of dialogue options and cutscene, before you’re brought back to the sandy caves once again.
Follow the path through the tunnel and back out into the desert. Run toward the white figure in the distance again as the narrator talks, then let the screen shutter.
Once again, you’re then back in the bathroom. However, upon turning around, you’ll see a different hallway with a coin ripe for the taking. Grab it and then backtrack slightly to go through the open door to your left.
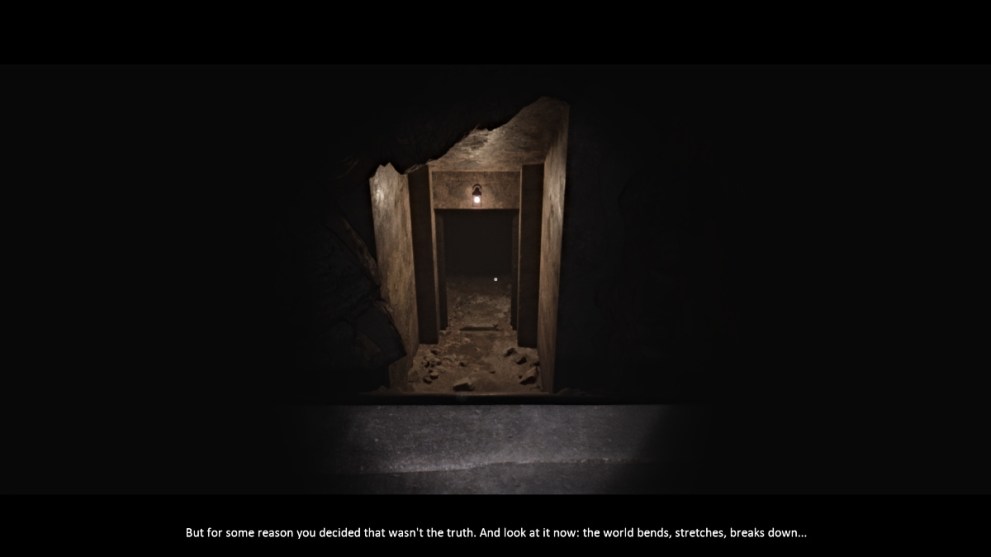
Make your way through the dark tunnel (use your flashlight) until the narrator suddenly apologizes, saying, “you shouldn’t have seen that”. The chapter then ends.
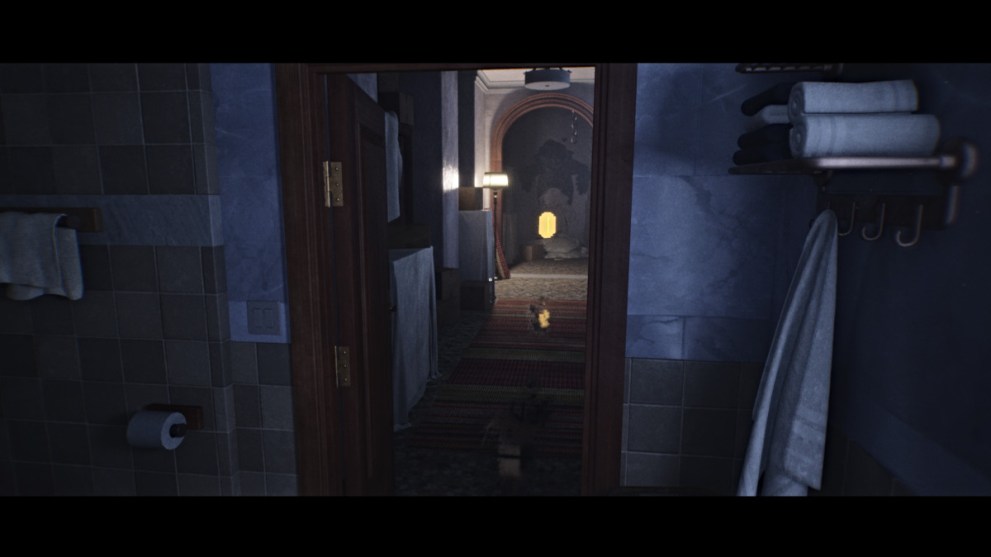
Chapter 5 – Playing With the Truth
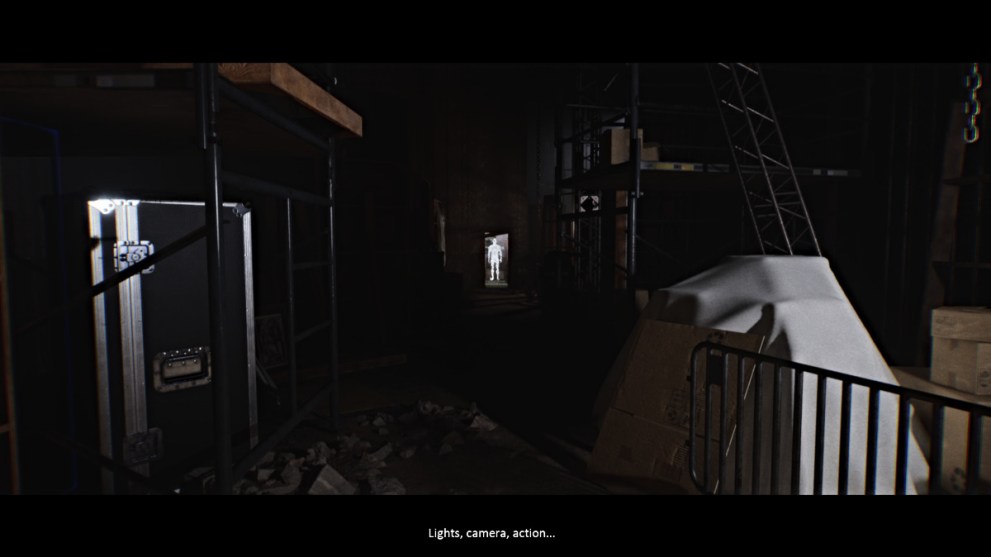
Continue through the same tunnel until you emerge in a strange underground area full of cloaked figures and film equipment. Navigate through the area and then take the next set of stairs down as the narrator continues on.
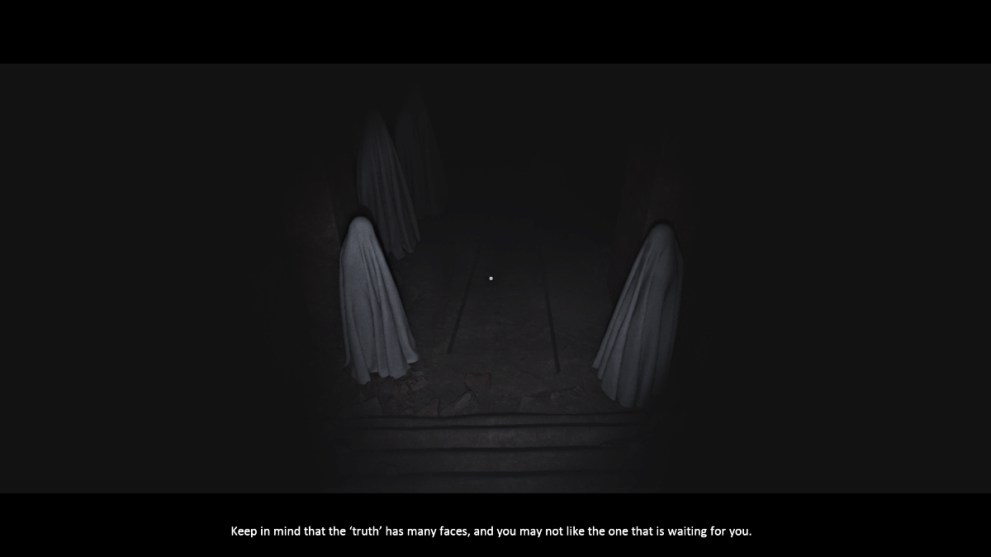
Ahead, you’ll see two paths, one leading up a flight of stairs straight ahead and another to your right, leading down that’s blocked by another cloaked figure. Take the path up the flight of stairs and you’ll come to a room with a drawing on the back wall.
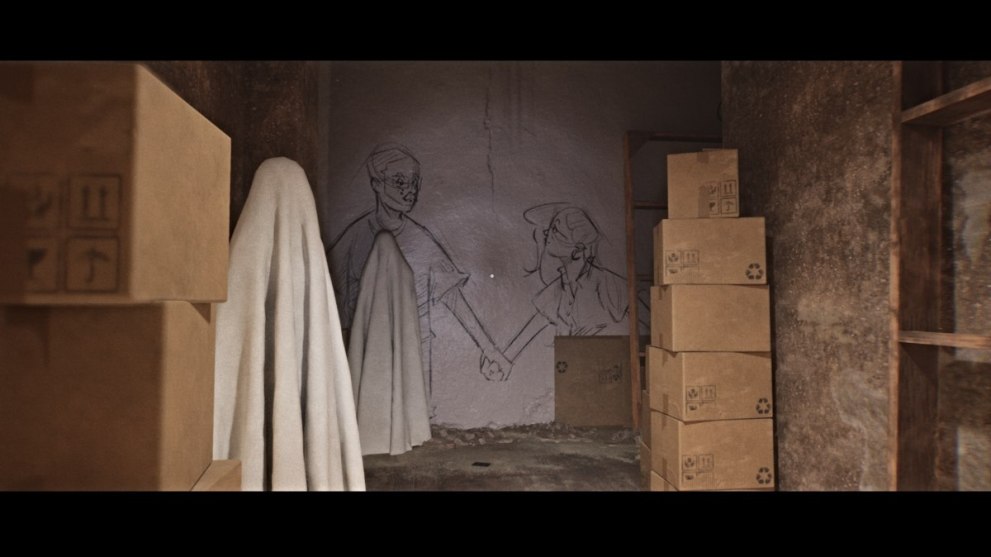
Go forward and pick up the Card on the floor, then you’ll see two paths leading left and right. The right side has a Staff Room door that’s currently locked, so go left for now.
Go past the door with sticky notes on your left until you reach the end of the hall, and a flight of stairs leading down is to the right. Go down them and follow the path straight ahead while picking up the Drawing on the small table to the right near the red light.

The narrator will continue its dialogue about knowing what’s real and what’s fake, ending it with ‘It Is Night’ and shutting off all the lights in the area. Make sure your flashlight is on and look ahead to the two different-colored paths. The right one is blue, while the left path is yellow. If the lights are already off, the right path is straight ahead of you.
Quickly duck into the right path for another Card lying on top of a stack of paintings (seen above), and then backtrack to take the yellow path to the left. Don’t let the running footsteps around you confuse your sense of direction.
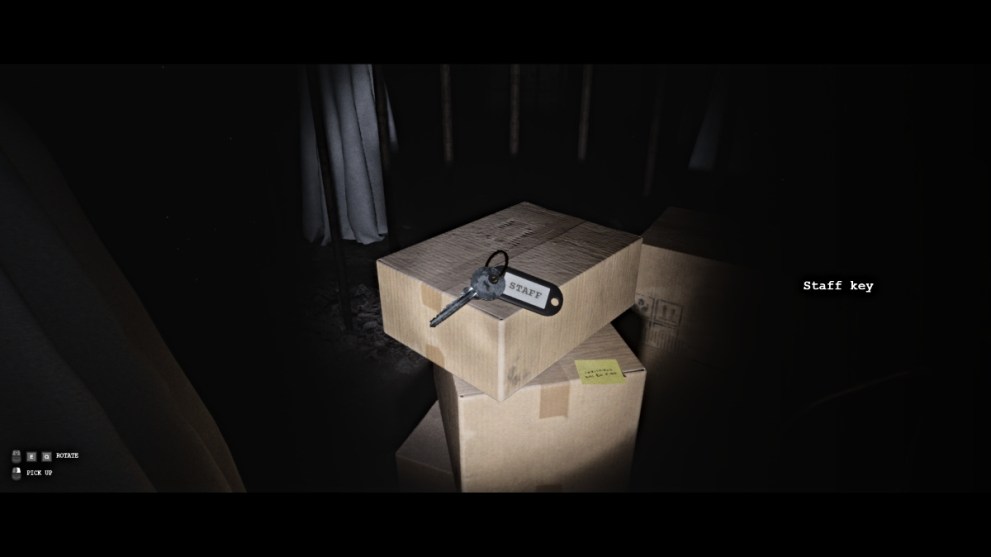
Follow the path until you see something on top of a stack of boxes. Pick it up, and it’s the Staff Key for the door you saw earlier. With that in hand, backtrack all the way up the stairs to the Staff Room door and use the key to go inside.
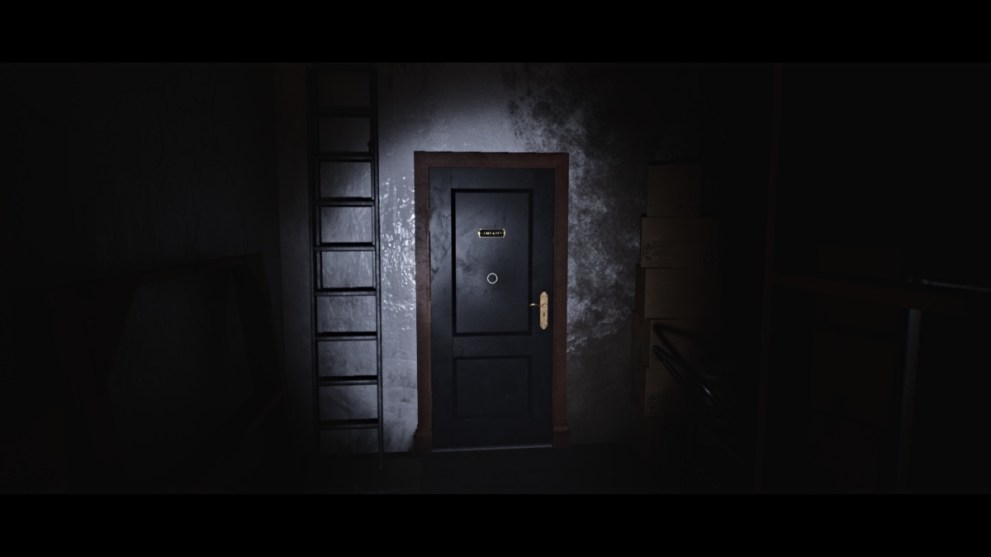
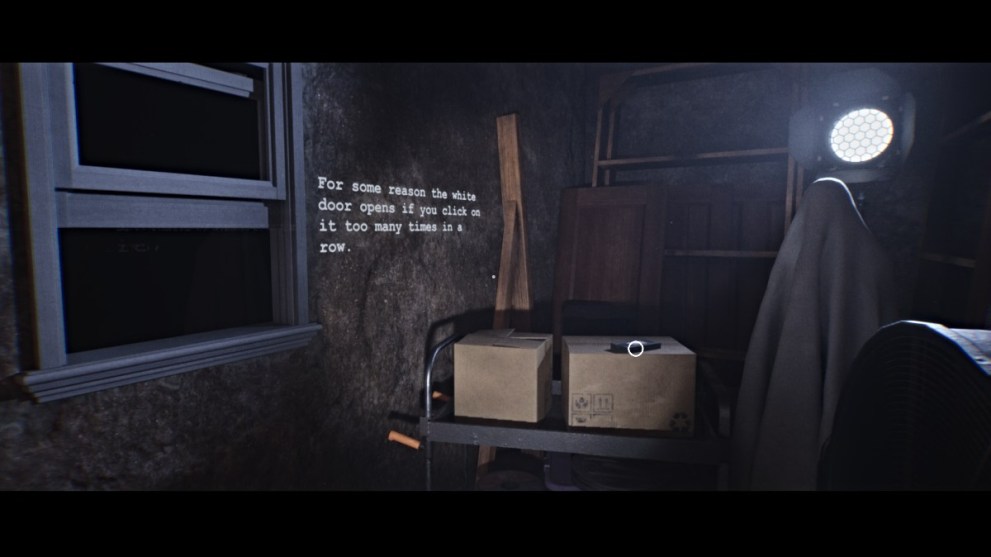
Follow the path through the room beyond and around the corner you’ll find another Videotape sitting on some boxes. Text on the wall nearby reads, “For some reason the white door opens if you click on it too many times in a row.”
Backtrack through the room and through the ‘Flickering’ prompt box. Leave the room and head for the white door with sticky notes on the frame.

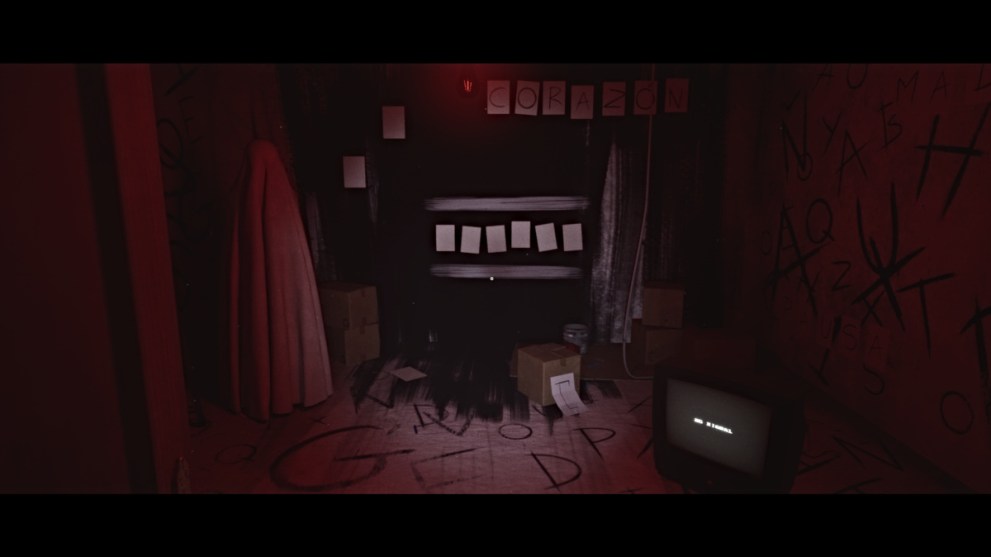
Interact with the door until it lets you into the room beyond. Inside, you’ll see the floor and walls covered in large letters, and a TV on the floor with ‘No Signal’ displayed.
How to Solve Hangman Room Puzzle (Chapter 5)
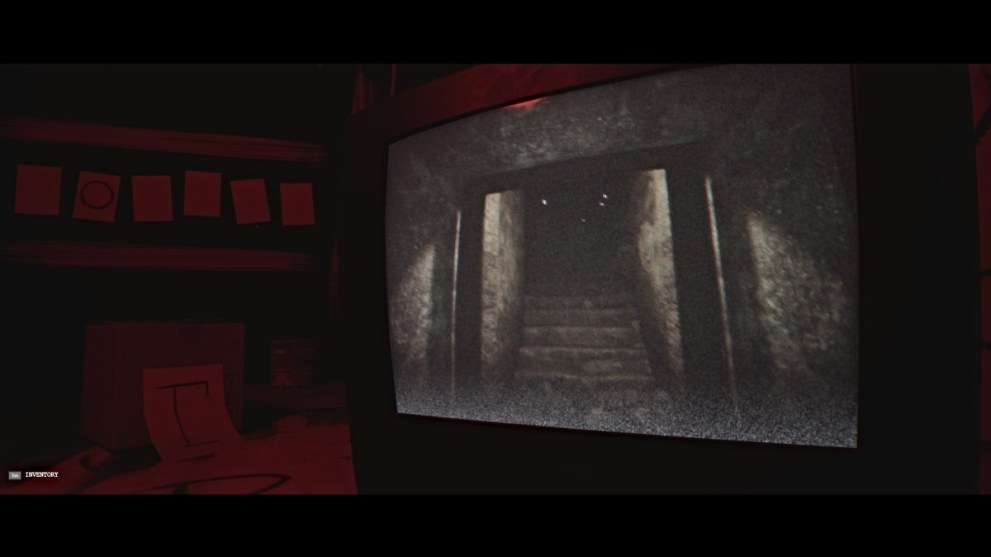
Go to the TV and interact with it. This will start another sequence similar to the one in Chapter 4, where you take control of the person inside the TV.
Turn around in the hallway on the screen to where you see a cloaked figure ahead of you with an ‘O’ symbol above it. Walk toward it, press your interact button, and the figure will vanish. As it does, the same letter will appear on the second sheet from the left on the wall nearby in the room you’re actually in (henceforth called the ‘Hangman Room’).
Going forward on the screen, you’ll soon come across several more figures with letters above their heads. Your goal here is to figure out the correct letters to spell the word on the wall in the Hangman Room.

Your hint here is the sketch drawing you picked up earlier (seen above), with the incomplete Hangman puzzle on the back. You’ll notice that the word on the page has the same number of letters as the one in the Hangman Room. You’re also given the letter ‘R’ for both the first and last spaces in the word, so that gives you a head start.
You will need to navigate through the various hallways on the screen to find the correct letters, so make sure not to get turned around while checking each one.

The final solution for the puzzle is: ROMPER.
Once done, the TV will display a smile emoticon and now you can leave the room. Now you need to backtrack all the way out of this area and back to the right-side stairwell, where a figure was blocking the doorway.
It’ll be gone now, so head down the stairs and through it. Walk through the tunnel to the door ahead and go through that one. This brings you back to the long, dark hallway full of doors from earlier in the game.
Go into it, turn right, and start walking down the hallway while ignoring the footsteps behind you. After a time, a yellow box with the words ‘Start Chase’ will pop up ahead of you.
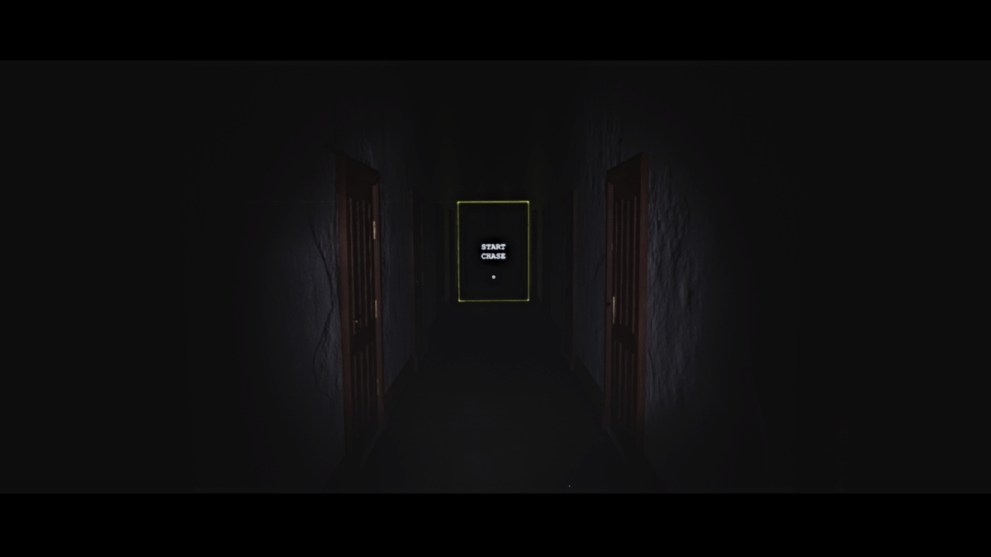
Continue forward and start sprinting. Soon enough, another prompt box will pop up with the words ‘Load Level’, and a cloaked figure will appear behind it and start coming toward you. Don’t turn around, keep going forward until the screen goes back, and a ‘Loading’ prompt appears with the words “A mouthful of sand can’t scream.”
Screams echo in the darkness, and this ends the chapter.
Chapter 22 – A Mouthful of Sand Can’t Scream
The chapter number may seem weird for now, but it will have significance later. You’ll wind up in a dark room with a sand-covered floor. Get your bearings and look around until you see something glinting in the distance. Make your way toward it, and you’ll see that it’s another Coin. Grab it, and the room will go completely dark.
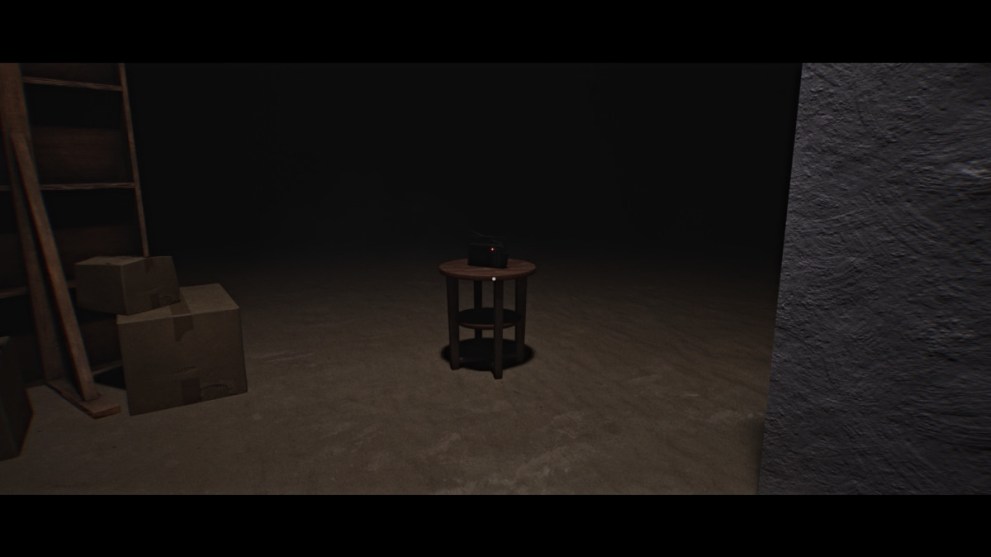
You’ll start back in the same spot, and now you need to find your way toward the source of the static noise. Follow the trail of household objects until you reach a small area with a radio on a table. Interact with it, and it’ll vanish.

As the narrator talks, follow the static to the next radio. Along the way, make sure to grab the Sketch drawing on the small side table. Once you reach the next radio, interact with it, and the room will go dark again.
Soon, a light will flash and shine down on a single object on the ground ahead of you. Run to it, and it turns out to be a dog bed with a sketch lying in it. Pick it up and the room darkens again, the narrator saying, “you owe too much to your pets”.

Follow the static to the next radio, and you’ll notice the screen trying to shutter, similar to previous instances. Resist it and approach the next radio, which will then vanish on its own. Suddenly, another shadow figure appears in front of you. Approach it while continuing to ‘resist’, and interact with the figure as soon as you get close enough.
As you do, THE THIRD SHADOW trophy/achievement will unlock.

After the cutscene, make your way to the next radio in the room. It’ll be sitting on a small table by itself. Interact with it and it’ll prompt you to adjust the frequency.

Scroll through the lower numbers on the AM side, and you’ll start hearing what sounds like a classical song. As you do, a cloaked figure will approach you, and the screen will go black. Then the ‘Load Level’ prompt will appear in front of you. Go toward it, and suddenly you’ll be back in the long hallway of doors from earlier.

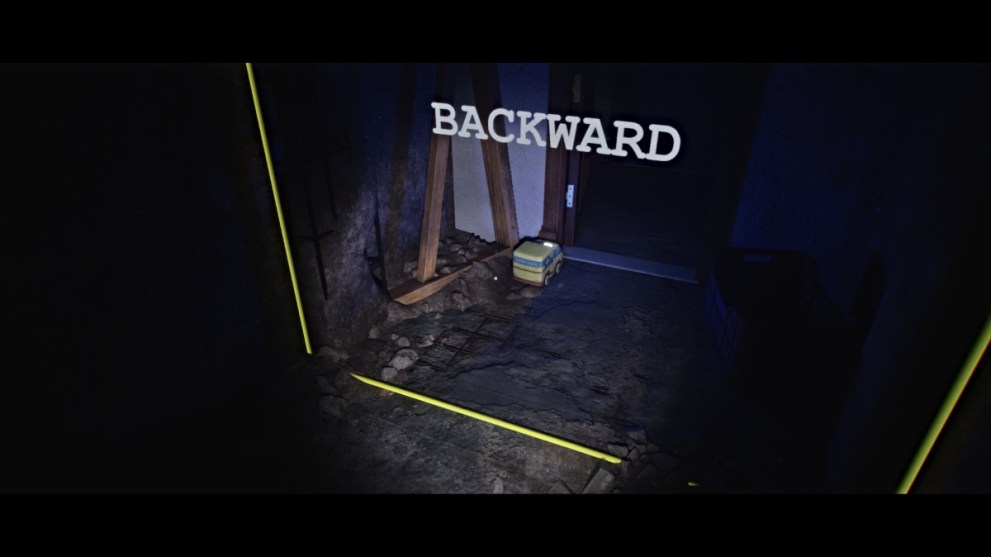
Go down the hallway until you see an open door with an ambulance toy sitting by it. Go inside, and you’ll immediately see another yellow prompt box with the word ‘Backward’ in it. Go through it, and ahead of that will be a prompt that says ‘Forward’. Behind it is an Exit door that you need to reach. Try and go to it, and you’ll get teleported back to the entrance of the room.
You’ll also get the OUT OF BOUNDS trophy/achievement for doing so.
How to Solve Ambulance Puzzle (Chapter 22)
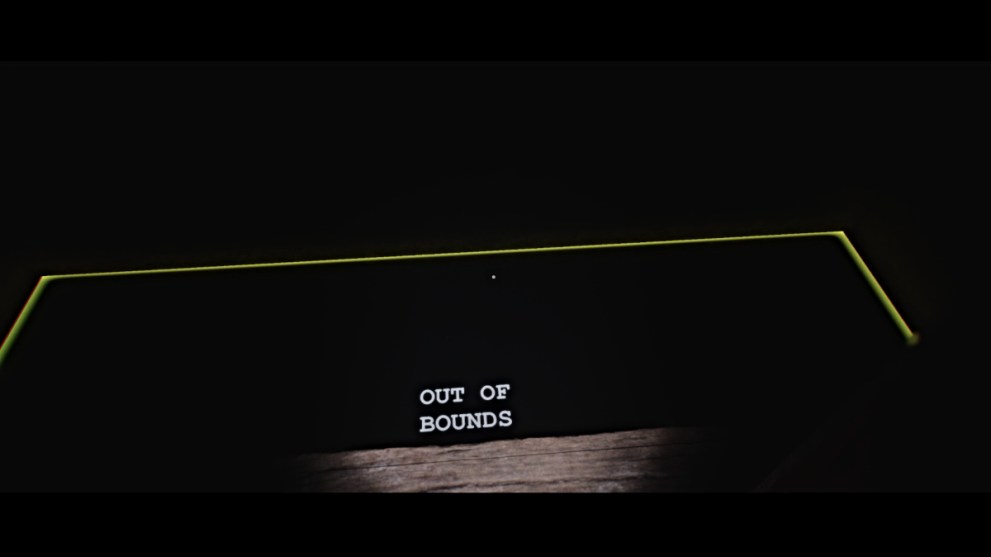
It turns out that this is a puzzle, and you need to bypass the ‘Out of Bounds’ trap prompt on the floor to reach the door and the ringing phone beyond it. The key to this is the ambulance toy that you see zooming around the room.
Start by going through the ‘Backward’ box, same as before. This will cause the ambulance toy near it to start moving backwards. Follow it (don’t get it mixed up with the other toys in the room) and then quickly move behind the ‘Forward’ prompt box before it gets there.

The ambulance will move through the box, and if you stay in its path, it will “carry” you safely across the Out of Bounds gap in the floor to the other side.
Once you’re there, head through the door ahead and to the left. Make your way to the ringing phone straight ahead and answer it. The ominous voice will congratulate you on passing its “test”, but then the call drops.
The path ahead and down the stairs leads to a red box with a ‘Teleport’ prompt in it. Instead, backtrack and go up the stairs to your left (this is the house from Chapter 2, so you should be familiar with its layout by now). At the top, the narrator will start talking again as the room begins to severely glitch and “fall apart”.

Turn left again to go through the passage you used to arrive here initially from the basement. Go through the ‘Play Music’ prompt box and then head up the ladder.
Bang on the closed trap door a few times, and the narrator will chastise you for it, saying no one is there to open it. Suddenly, you’ll get thrown off the ladder as the screen glitches out, and you’ll then be sent back to the title screen again.

Hit ‘Continue’ a few times, and the screen will start to glitch out. Keep going until a cutscene happens and then a mini-game called 30/03 will begin.
How to Complete 30/03 Mini-Game (Chapter 22)

In this mini-game, you’ll be sent to a maze where you need to collect as many coins as possible while avoiding getting caught by the spiders hunting for you. You can also gather hearts in the maze and deposit them into the meter in the big center room.
Use the blue lightning bolts to stun the spiders when they’re chasing you.
If you get caught by the spiders and die, you’ll have the option to retry up to three times, per the number of coins you’ve picked up in the game. If you win, which you do by gathering and submitting all the hearts, you’ll unlock the BROKEN HEART trophy/achievement.
You can retry the game later after finishing the story via the Main Menu.
When you’re ready to move on, hit ‘No’ when at the Retry menu.
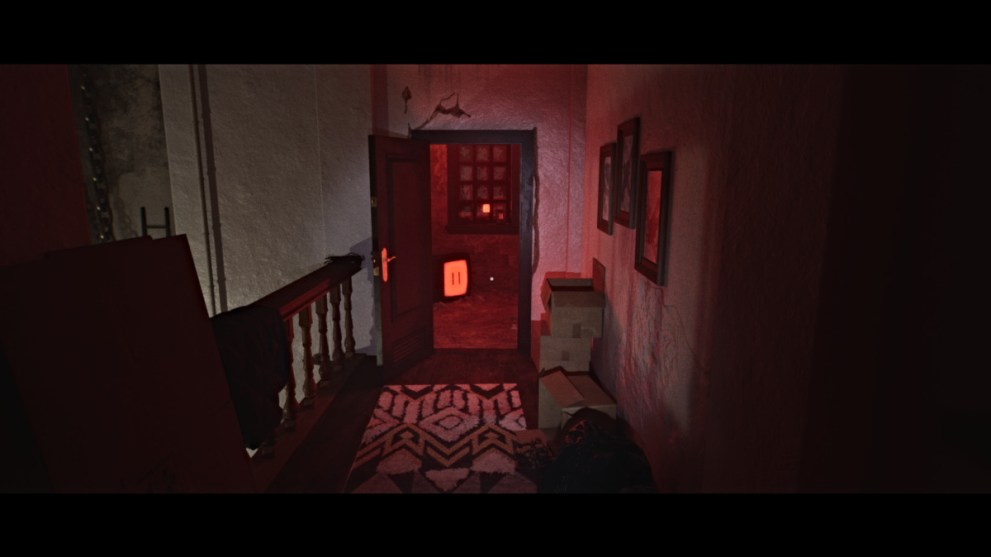
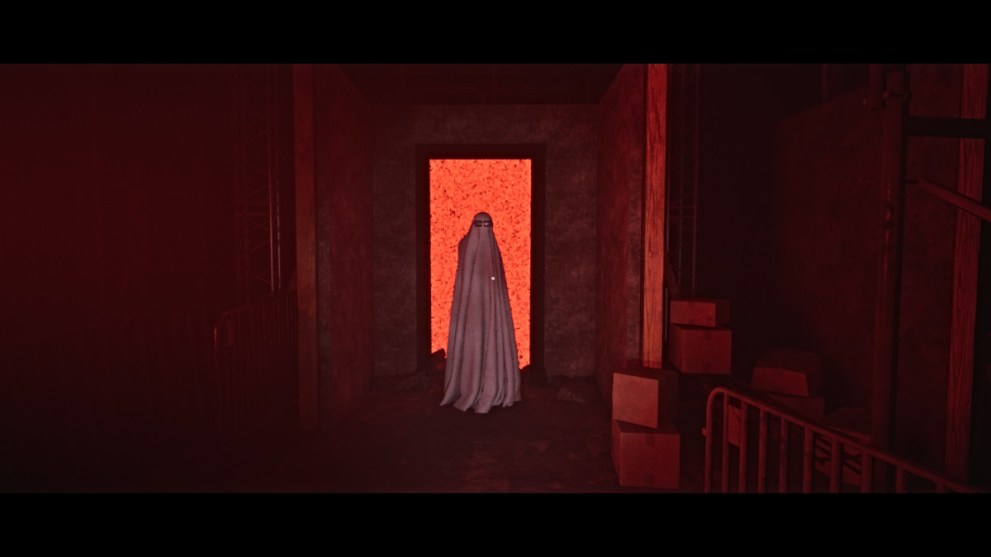
You’ll end up back in the bathroom. Leave it, and the glowing figure will be standing in a doorway ahead of you. Approach it as the narrator speaks, and it’ll vanish, leaving a ‘Trigger Title’ prompt in its place. Before you go through it, veer to the left where a purple lava lamp is glowing and music is playing.
This leads to the bedroom from Chapter 3. Pick up the Sketch drawing from the bed and you can also see a charming little note from the developers near the TV. Leave the “room” and go through the ‘Trigger Title’ prompt box. Don’t be misled by the Chapter 3 title and go through the open door on the right.
Go inside and pick up the Home Keys sitting on a cart in the back. Leave the room and go downstairs. Try to leave the house, and the day will change to Monday. This time, you’ll be sent back into the hallway from earlier.

Go forward and make your way back down to the front door of the house again, which is now replaced by a ‘Change Day’ prompt box. Go through it, and this time you’ll find yourself in a new room with a green screen depicting the word ‘Monday’. Go right and then take the path to the left, through the ‘Increase Speed’ prompt box.

As the narrator talks, you’ll see another room filled with doors with description captions above them.
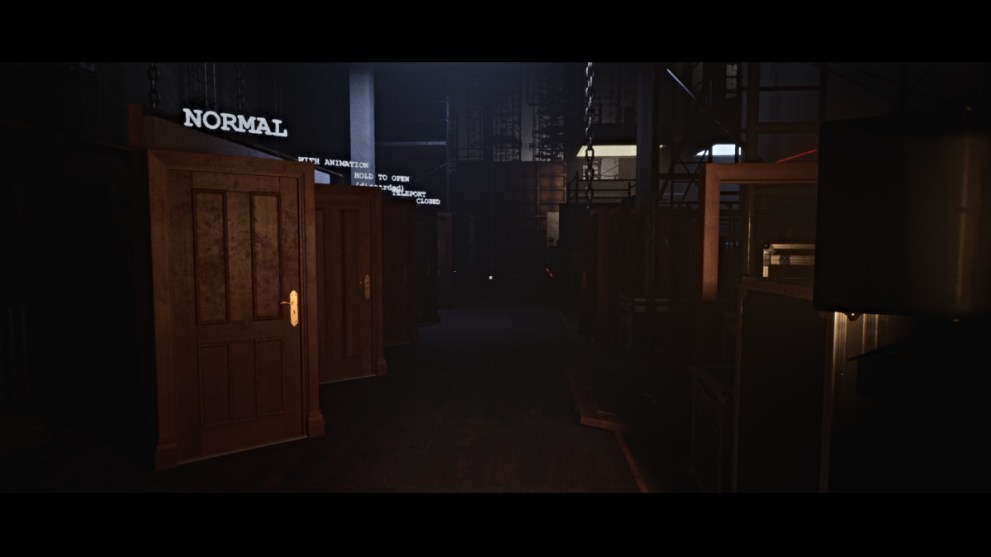
Go through the one with the ‘Teleport’ caption, and you’ll end up in a dark hallway with prompt boxes ahead of you. This also unlocks THE CHOICE trophy/achievement.
Follow the hallway until it brings you to a double-hallway with two choices. The figures standing in the way will glitch, occasionally blocking one or the other. Take the right path and continue on until the narrator starts speaking again. Grab the Card on the metal cart nearby, then turn right toward the House of Lost Dreams gate.
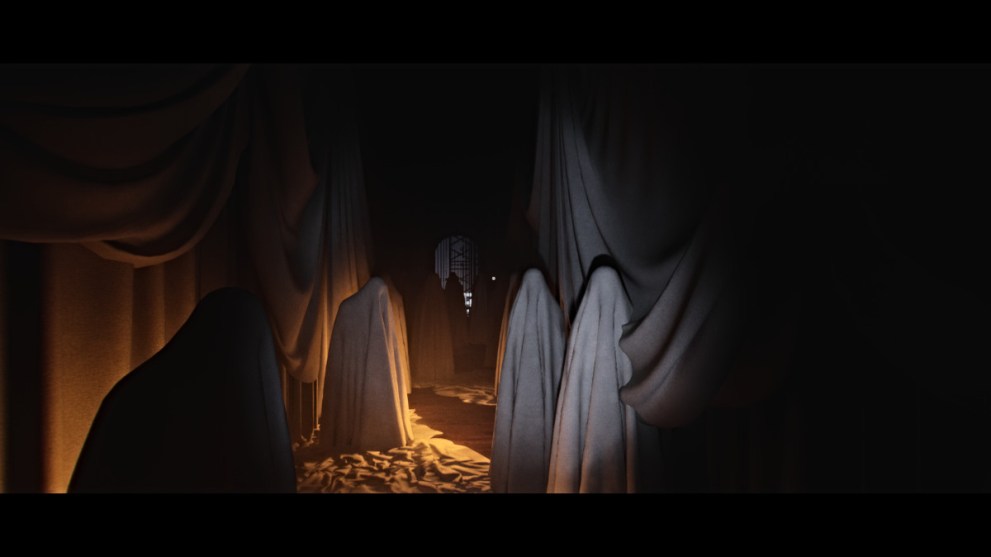
Go through it and pass through the hallway full of cloaked figures. At the end, you’ll come to a drop-off that leads back into the backstage area. You’ll see the red ‘Trigger Death’ box below you, but it’s safe to jump down.
In the area, go over to the familiar-looking chest on the right side.
Before you interact with it, go to the table directly across from it that’s labeled ‘LOCK (1234)’. It says there’s nothing in the chest, but there actually is (grab the Card inside).
Now go back and grab the radio from the table nearby (it’ll have the ‘RADIO’ caption overhead), and pick it up to get Joel’s Radio. You’ll get a prompt to adjust its frequency. After a few moments, the PLAY IT AGAIN, SAM trophy/achievement will unlock.
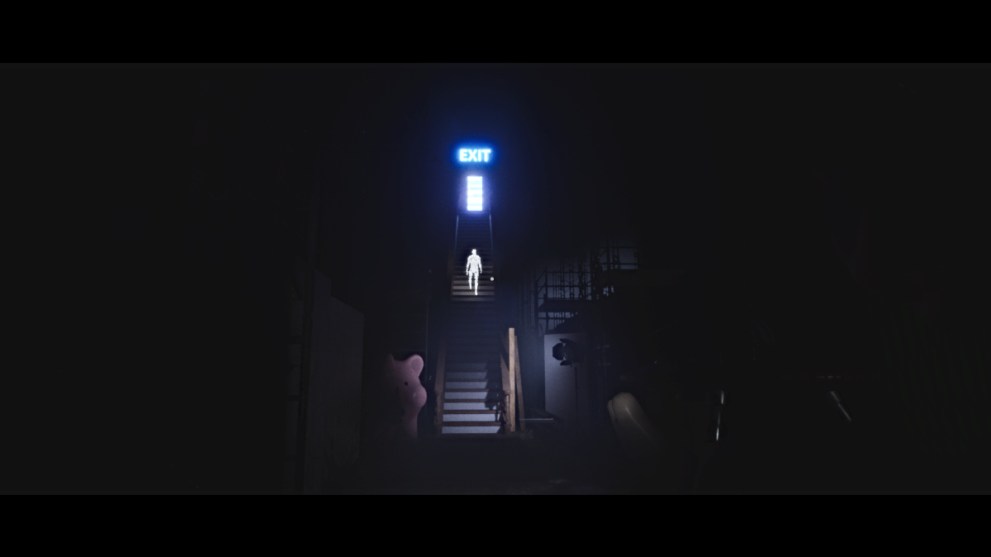
Continue on ahead and to the right to see another glowing white figure paused on the stairwell ahead that leads to an ‘Exit’. Approach the figure, it’ll vanish once again, and you’ll phase through the stairs instead of going up them.
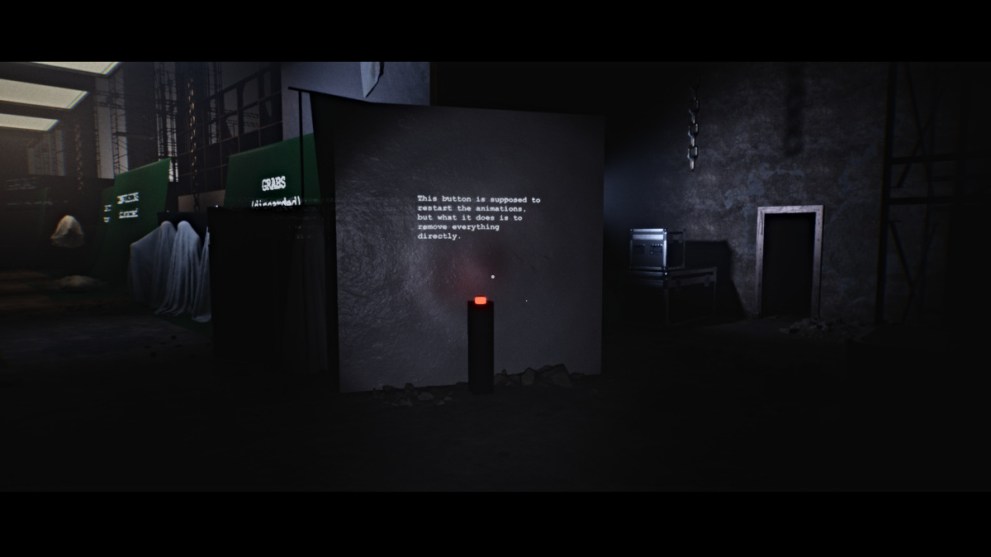
In the next room, you’ll see multiple green screens on the left with cloaked figures doing various animations. Feel free to use the red button to make them vanish, but it’s not actually necessary.
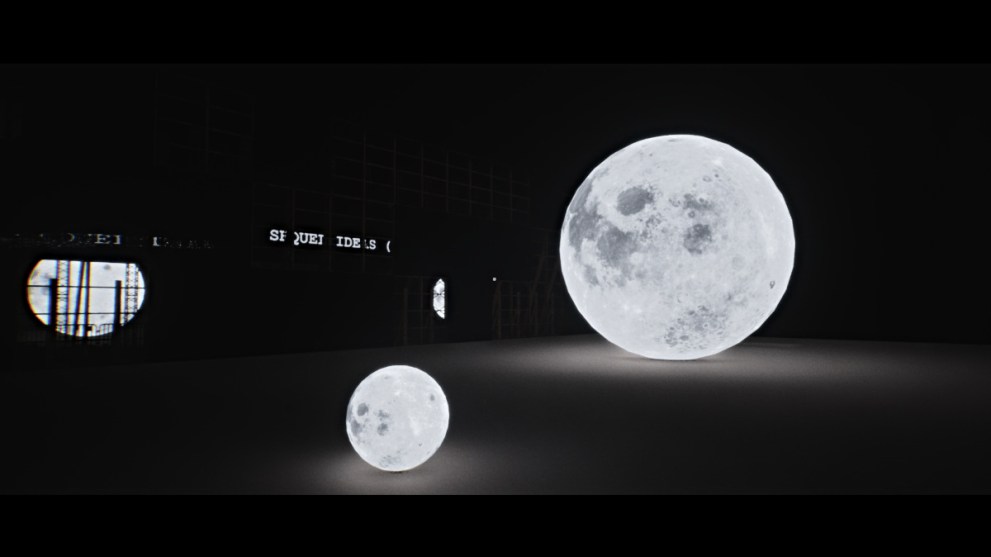
Go through the doorway to the right and go through the passage until you end up in a huge room with two moon models in the center. Go behind the larger moon, and you’ll see a hole leading to another room below with an ‘Out of Bounds’ prompt box impeding the way.
Go back to the smaller moon and roll it over into the hole. This creates a safe way for you to drop down into the room, but do it while the prompt box is RED. If it turns back to yellow, you’ll need to start over.
Once you’re down in the room, head toward the white figure sitting in front of the armchair. Interact with it when you’re able to, and another script cutscene will play. Once it’s over, THE FOURTH SHADOW trophy/achievement will unlock.

Pick up the drawing on the armchair (this is the final sketch drawing in the game), and then start walking in any direction until the narrator says “there’s no way out because of you”. To progress, you need to exit out to the main menu (note the four floating white figures now) and then hit ‘Continue’.
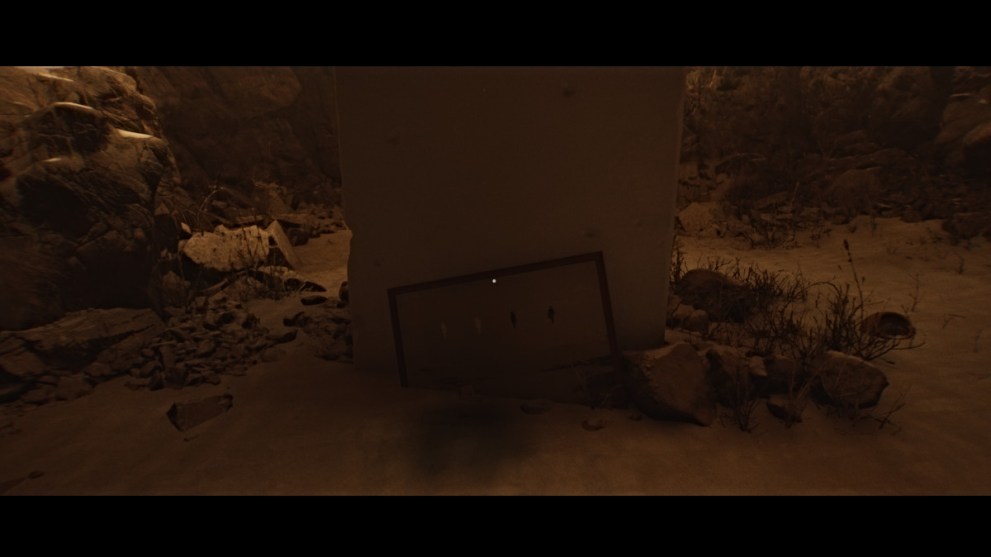
You’ll have one last sequence in the desert, and this time you need to catch all four white figures while resisting the storm. The last one will be sitting next to an open box on the ground. After the figure vanishes, interact with the box, and it will ask if you want to go down. Select ‘yes’ and you’ll jump inside.
This brings you back to the space with the prevalent double-white line symbol. Approach it and then turn around to see a person ambush you, the same one from the script cutscenes. They’ll take you through a sequence of numerous dialogue choices, and the ones you choose are entirely up to you.
Once it’s over, walk toward the double-line symbol again, and it will engulf you in light. Your final stop is a cliff overlooking what looks like an ocean. A lone cloaked figure is standing at the edge. Approach them and they’ll thank you before providing an ominous “until next time”. Sam will reach out and take the sticky note off the figure’s face, then the screen fades to black
One final time, you emerge back in the bathroom at home, your closure reached. Head through the house, noting how everything is now packed up and clean. Go downstairs, grab the Home Keys, and head out the door.
The game ends here.
All Note Locations
Notes are a collectible in LUTO that automatically go into your inventory after being picked up. Collecting them all will unlock the COLLECTOR OF NOTES trophy/achievement.
Note 1 – Moving Progress (Chapter 1)
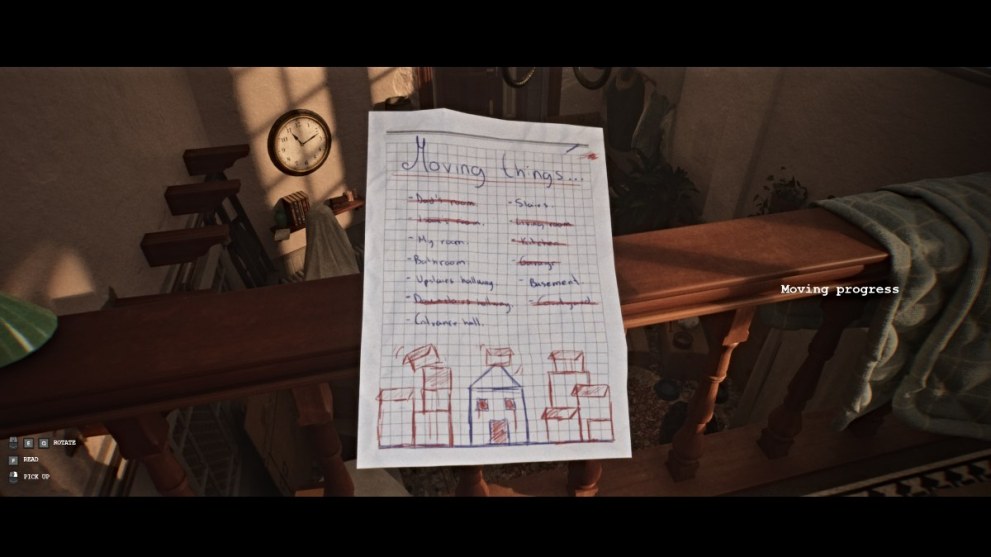
You’ll find this note at the beginning of Chapter 1, lying on the banister to your left as you walk down the hallway from the bathroom.
Note 2 – In Loving Memory… (Chapter 1)
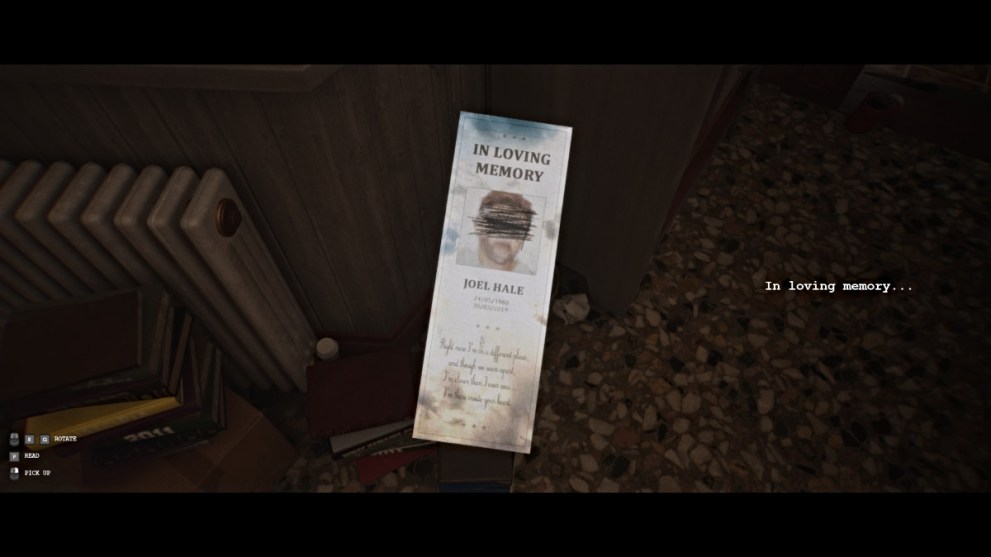
This note is found in a trash can next to a shelf near the front door of Sam’s house in Chapter 1.
Note 3 – That Symbol Again… (Chapter 1)
You can find this note down in the basement of Sam’s house. After going down the stairs to the entry foyer, the door on the right will lead you into the basement. The note itself is on the table at the back of room.
Note 4 – Ask For Help First (Chapter 2)
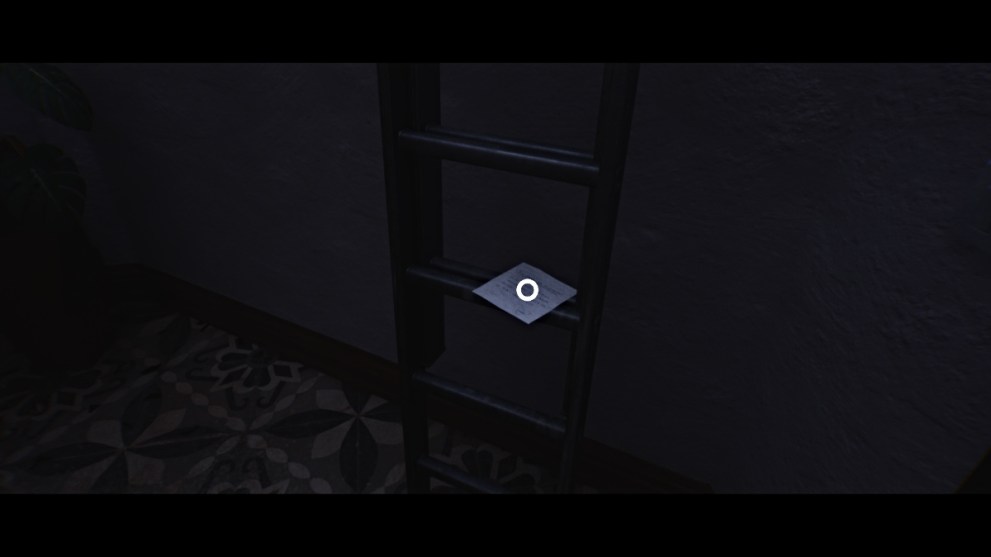
This note is sitting on the rung of a ladder at the bottom of the stairs to the left during Chapter 2, not far from the ROMPER card’s location.
Note 5 – Are We Not Playing Today Either? (Chapter 2)
This note is on a chair inside the “clock room” that you must unlock by stopping all 7 clocks in the area during Chapter 2.
Note 6 – Dad’s Sticky Notes (Chapter 2)
This note is on top of the bathroom counter in the bathroom down the hall from where you saw the cloaked figure, near the end of Chapter 2.
Note 7 – Script Page (Chapter 3)
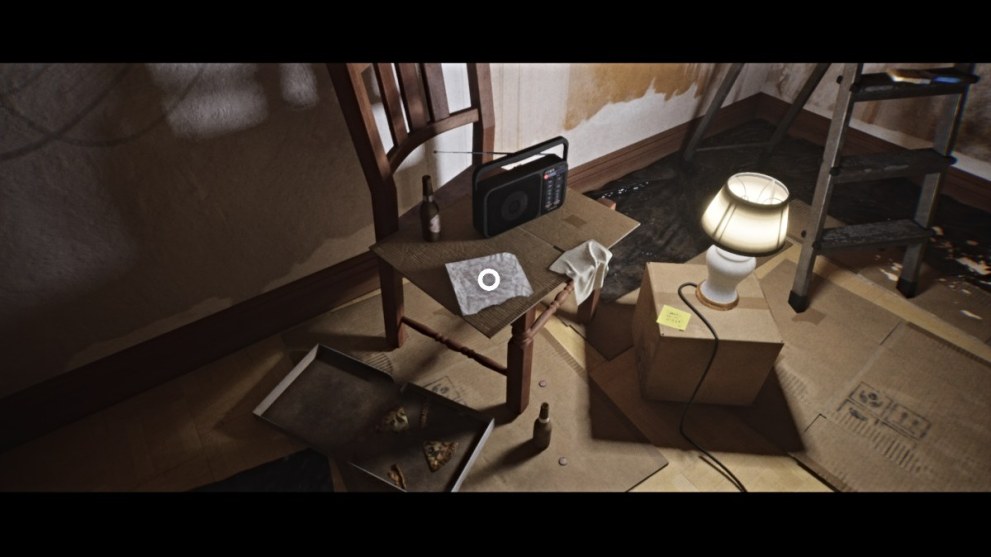
You’ll find the Script Page note lying on a platter atop a dresser to your right after leaving the bathroom at the start of Chapter 3.
Note 8 – I Know It Means A Lot to You (Chapter 4)

This note is on top of a dresser to the right after the entry hallway at the start of Chapter 4.
Note 9 – List of Items to Save For Mum (Chapter 4)

This note is lying next to the locked chest in the House room in Chapter 4.
Note 10 – Your Old Scripts (Chapter 4)
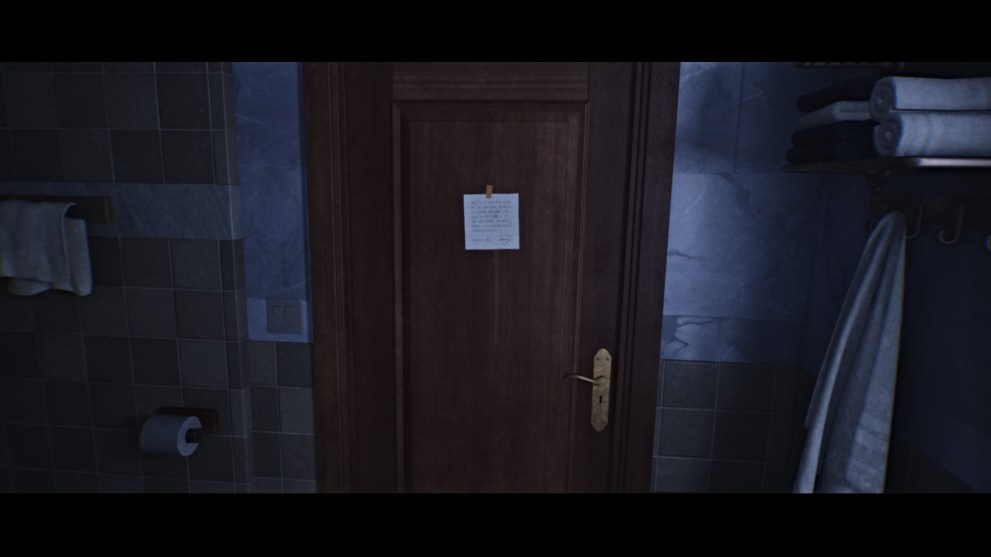
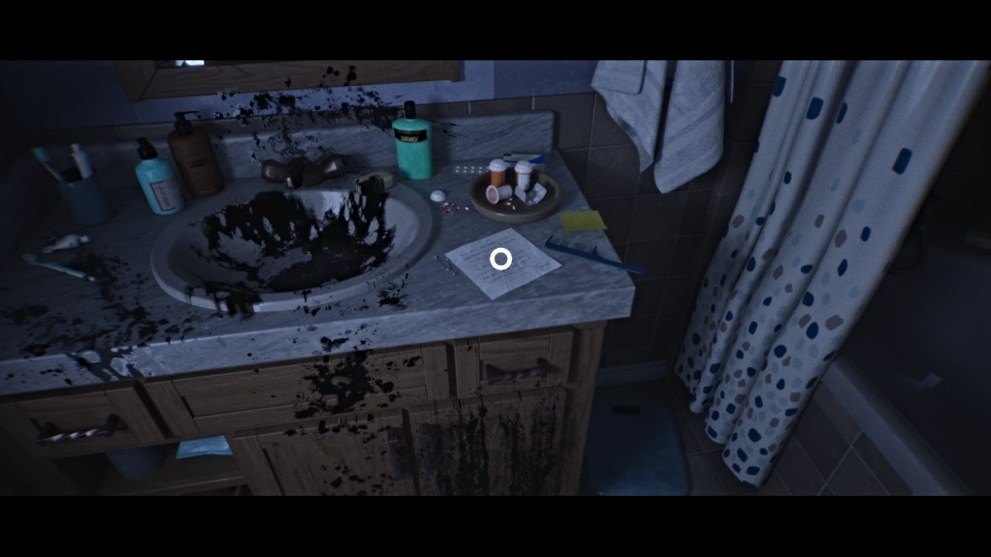
You’ll find this note taped to the door in the bathroom at the end of Chapter 4, after you crawl into via the tunnel from the painting room.
All Card Locations
Cards are a collectible in LUTO that automatically go into your inventory after being picked up. Collecting them all will unlock the COLLECTOR OF CARDS trophy/achievement.
Card 1 – CASA = HOUSE (Chapter 1)
The first card you can find is down in the basement of Sam’s house. It’ll be on the same table as Note 3, to the left of it.
Card 2 – ROMPER = BREAK (Chapter 2)
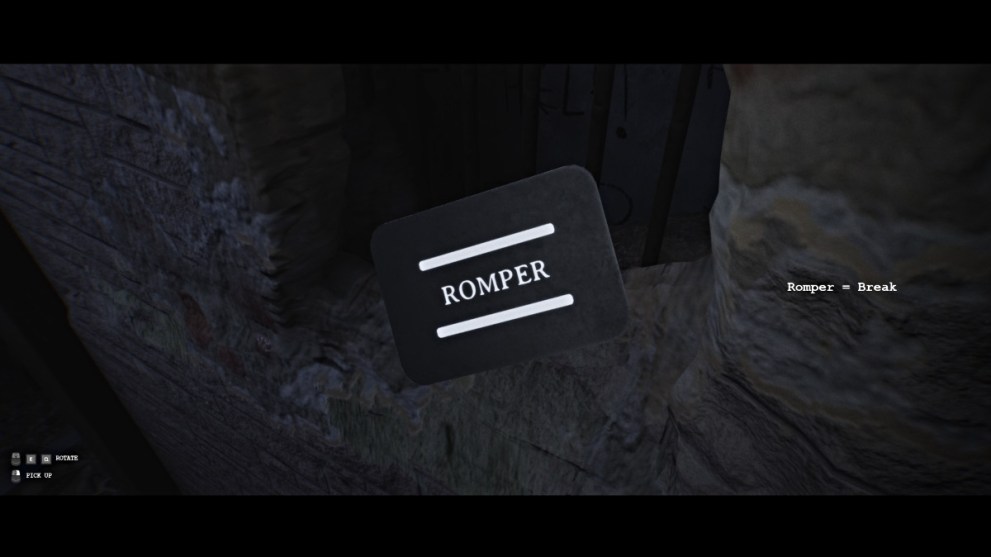
You’ll find this card sitting inside the hole in the wall on the right on the way down the stairs at the beginning of Chapter 2, where the narrator makes note of the hole itself. The wall behind the hole has ‘HELP’ written multiple times, for reference.
Card 3 – FANTASMA = GHOST (Chapter 2)

This card is lying on top of folded cardboard in the room where you see the cloaked figures in the basement of Chapter 2.
Card 4 – CAJA = BOX (Chapter 2)
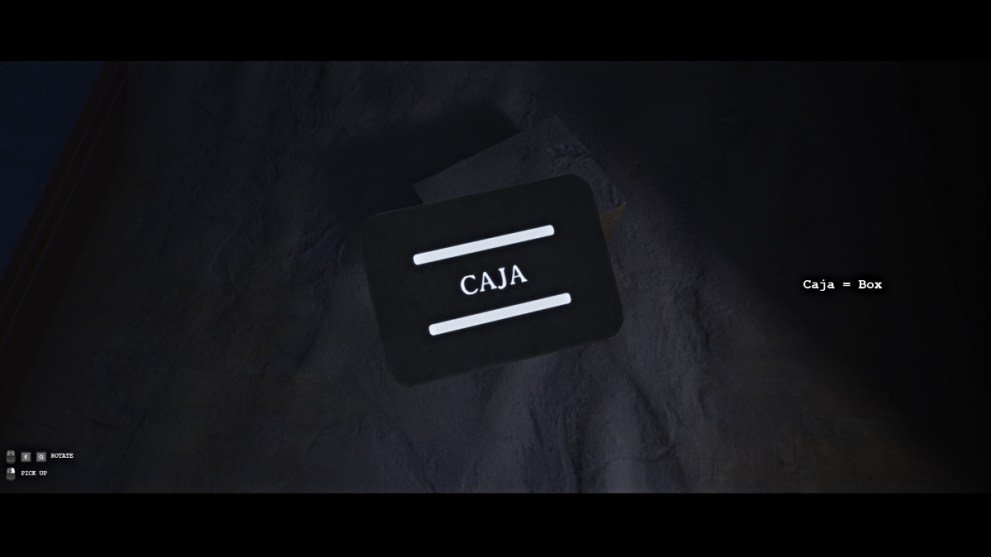
This card is lying on top of a cardboard box in the room boarded off with planks. You need the Old Hammer to get into the room.
Card 5 – ARENA = SAND (Chapter 3)
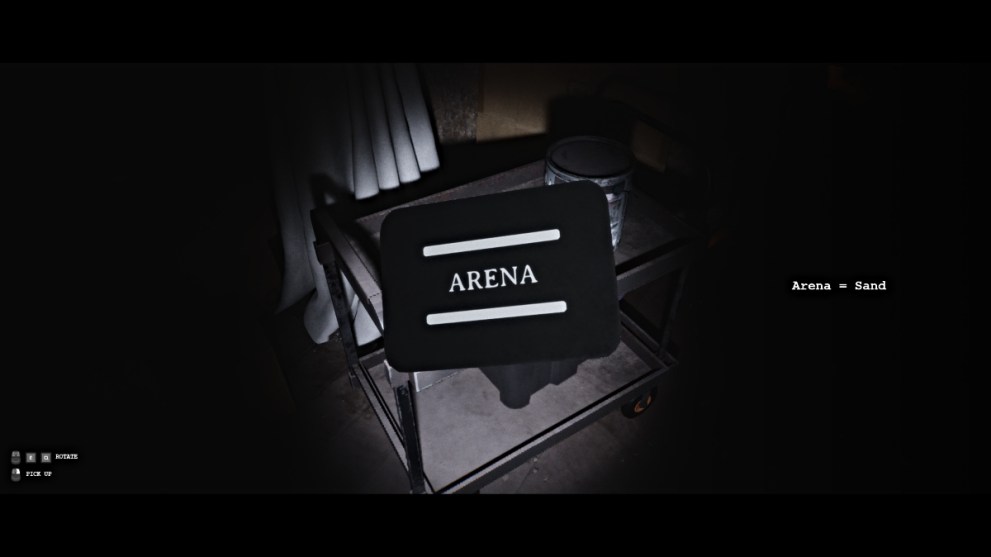
This card is lying on a metal cart on the left side of the path as you cross through the strange tunnel from the front door in Chapter 3.
Card 6 – MONEDA = COIN (Chapter 3)
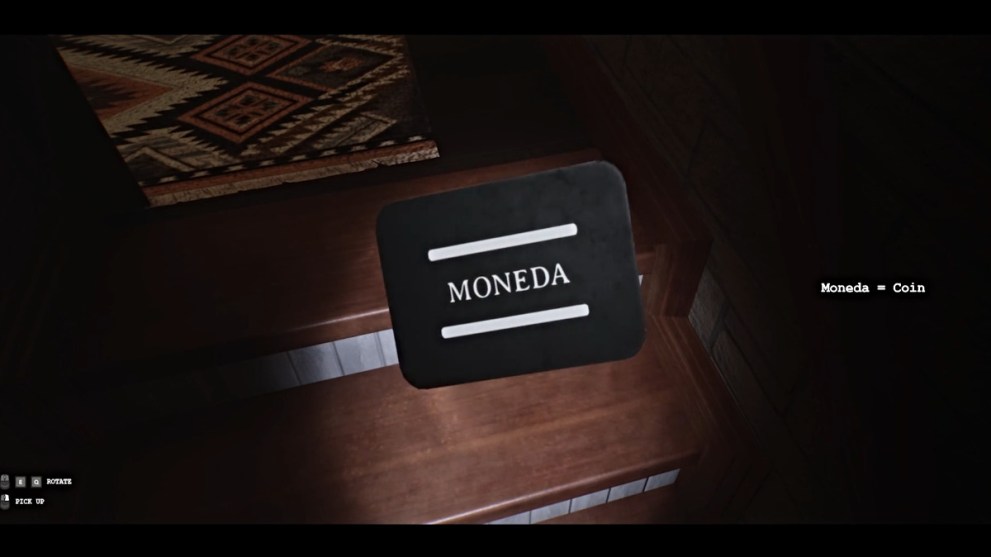
While leaving the bathroom in Chapter 3, and the loop starts glitching, backtrack up the stairs and this card will be on the topmost stair step.
Card 7 – PELICULA = MOVIE (Chapter 4)
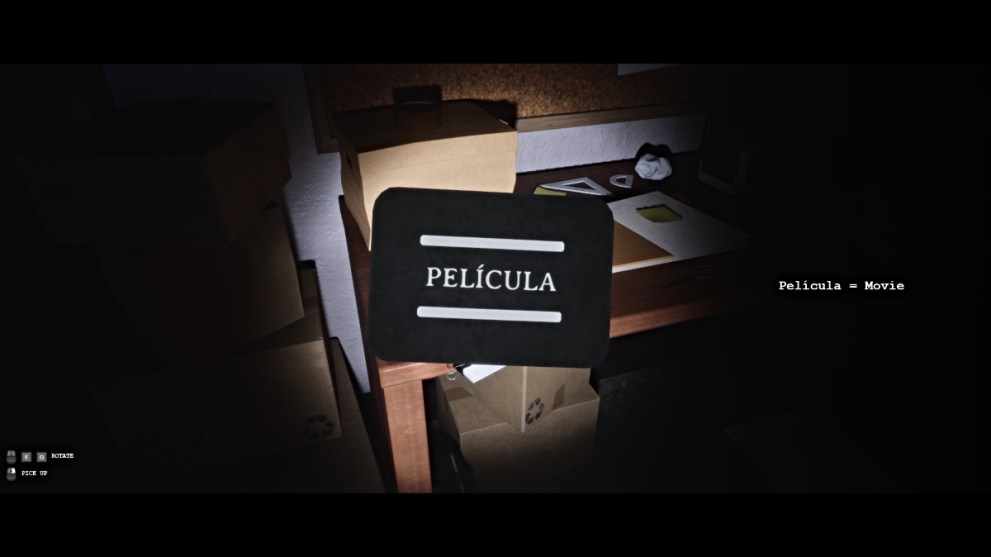
This card is lying on the corner of the desk in the room where you can see through a window into the blue room with the bulletin board in Chapter 4.
Card 8 – CORAZON = HEART (Chapter 4)
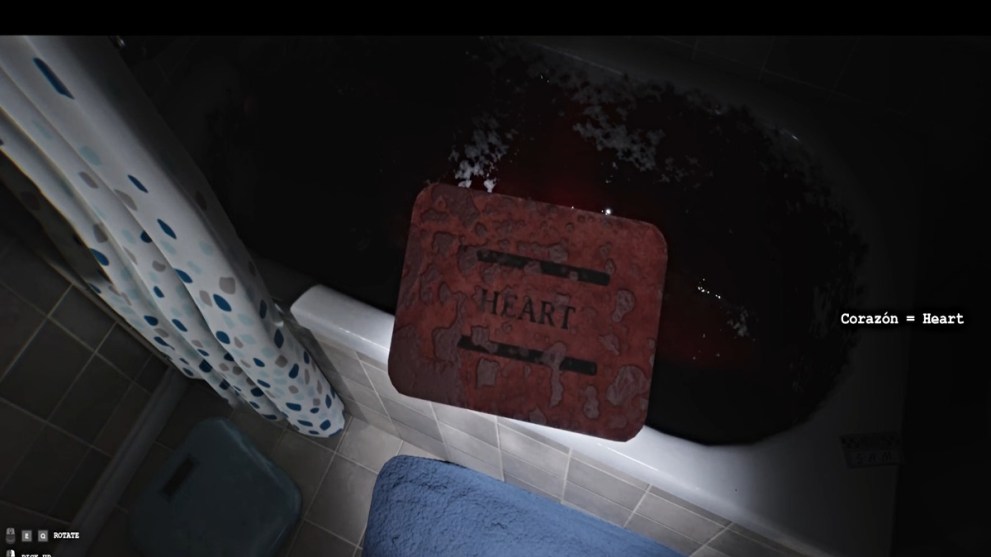
This card is easy to miss during all the events of Chapter 4. You’ll find it in the bottom of the bloody bathtub (it must be drained) in the bathroom. This will also unlock the CORAZON trophy/achievement.
Card 9 – AMOR = LOVE (Chapter 5)
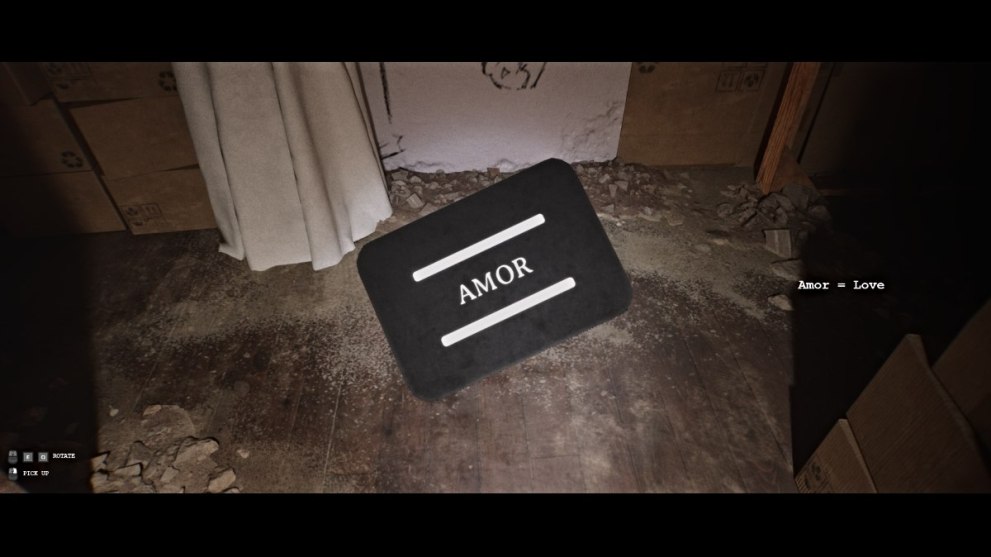
This card is lying on the floor in front of the drawing on the wall at the of Chapter 5.
Card 10 – PERDER = LOSE (Chapter 5)

You’ll find this card lying on top of a stack of paintings, after the narrator kills the lights in the backstage area in Chapter 5.
Card 11 – GANAR = WIN (Chapter 5)
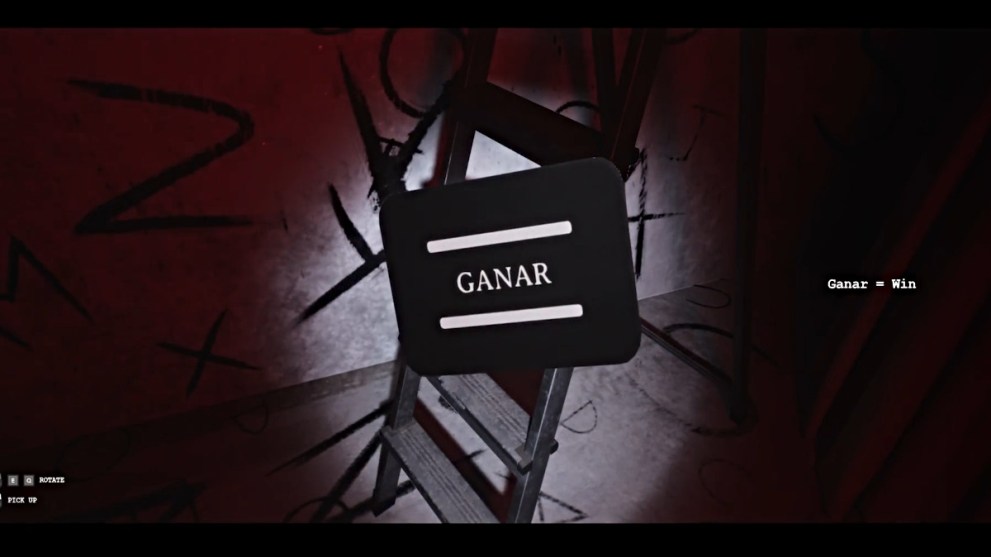
This card is sitting on the rung of the ladder inside the Hangman Room in Chapter 5. Make sure to grab it before leaving.
Card 12 – “=” (Chapter 22)
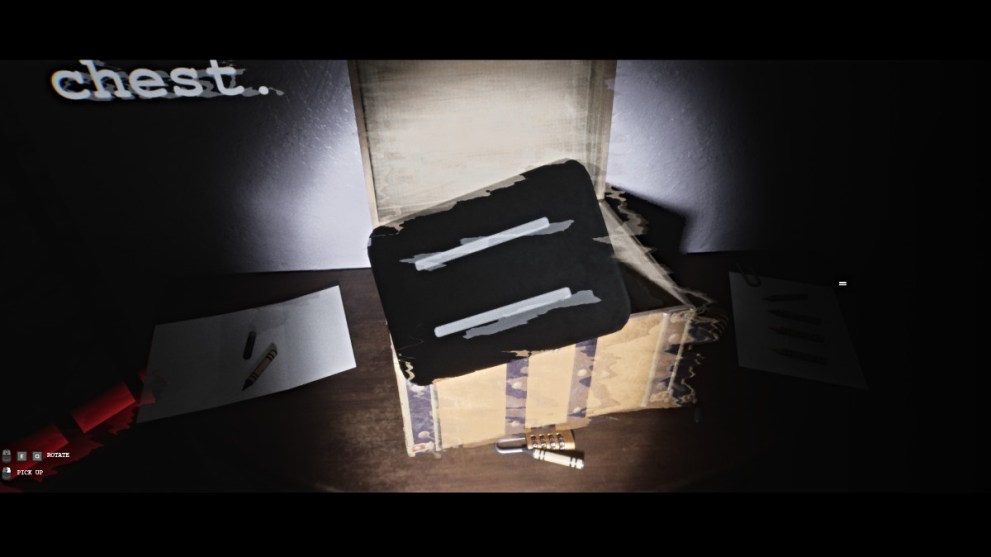
This card is inside the locked chest near the end of Chapter 22. The chest is on a table underneath a caption that reads ‘LOCK (1234).
Card 13 – LABERINTO = LABYRINTH (Chapter 22)
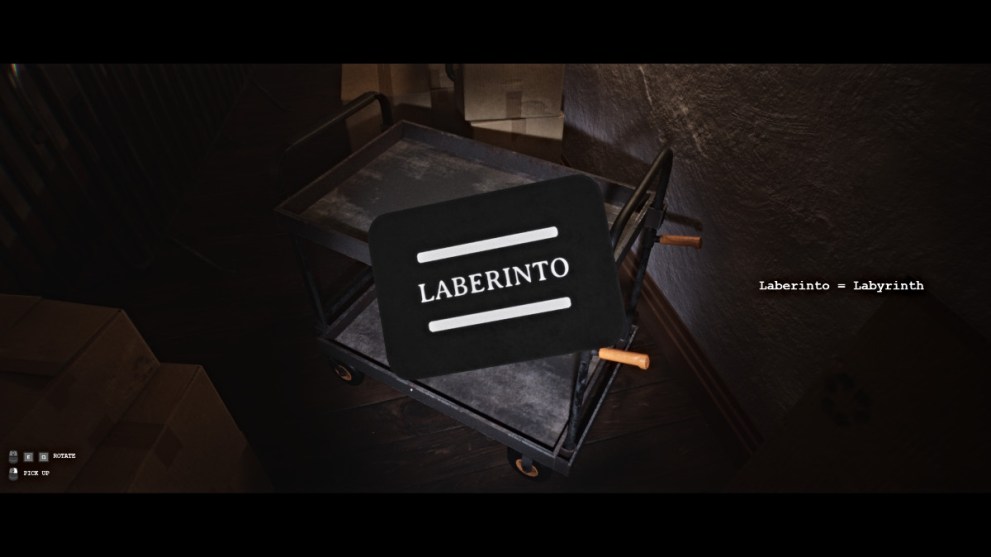
After going through the ‘Teleport’ test door and taking the right hallway, you’ll find this card on a metal cart straight ahead at the top of the stairs.
Card 14 – DIBUJO = DRAW (Chapter 22)
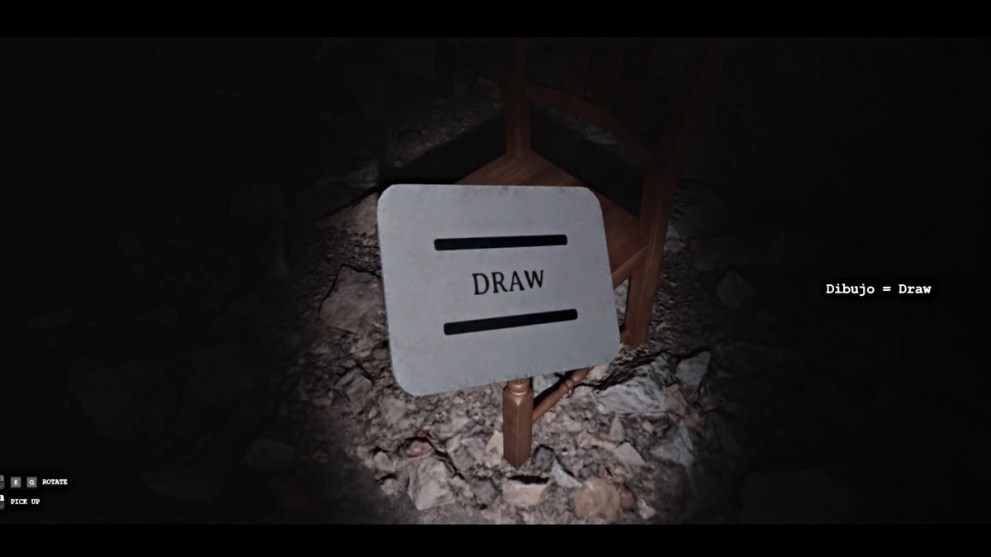
This card is inside the light blue drawing room in the backstage area in Chapter 22. You can access it by turning off the light switch on one of the walls opposite the lineup of door animations.
All Drawing Locations
Drawings are a collectible in LUTO that automatically go into your inventory after being picked up, specifically to fill the missing pages in Sam’s Sketchbook. Collecting them all will unlock the COLLECTOR OF DRAWINGS trophy/achievement.
Drawing 1 – Potential Titles (Chapter 2)

The first drawing page is on a small round table to the right after you enter the first room inside the basement. It’ll be next to a yellow post-it note with the words ‘I loved it’.
Drawing 2 – Cloaked Figures (Chapter 2)

This sketchbook sheet is found on the white dresser, where you turn right at the fork in the hallway in the basement. In the top box is a series of four cloaked figures with the number sequence 1-3-2-4.
Drawing 3 – The Monkey Bros (Chapter 2)

This colorful drawing is lying on the ground in the basement room boarded off with planks. You need the Old Hammer to get inside.
Drawing 4 – Even the Drawings Escape
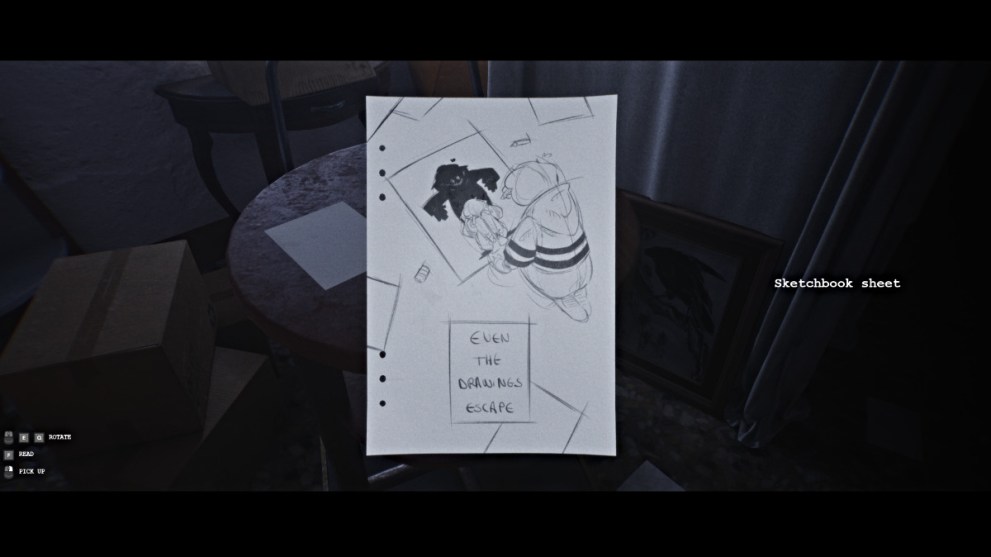
This drawing is on a small table in the room you come to after following the blue light of the ambulance toys.
Drawing 5 – Los Hermacacos (Chapter 3)
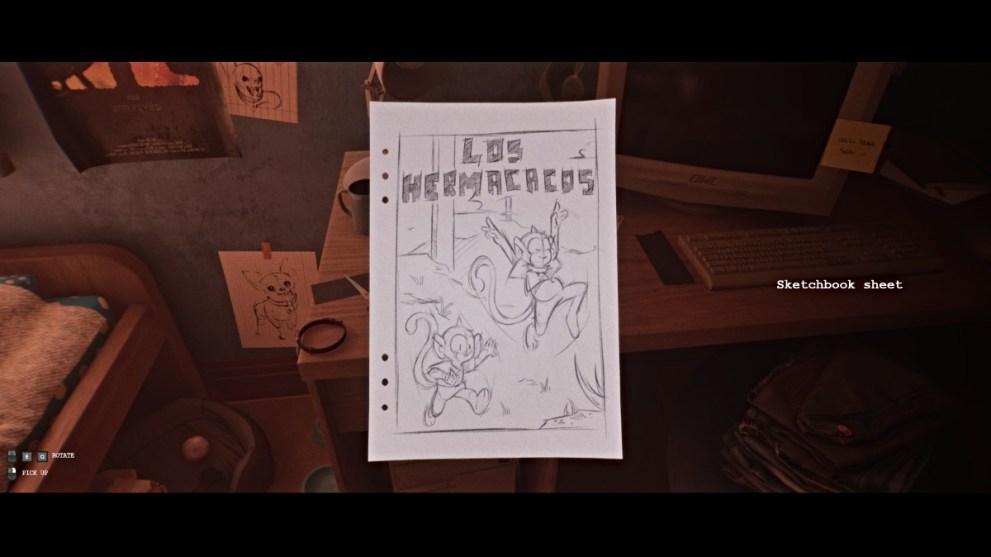
This drawing is on the desk inside the bedroom after you enter it on ‘Friday’ at the start of Chapter 3.
Drawing 6 – Behind the Moon (Chapter 3)
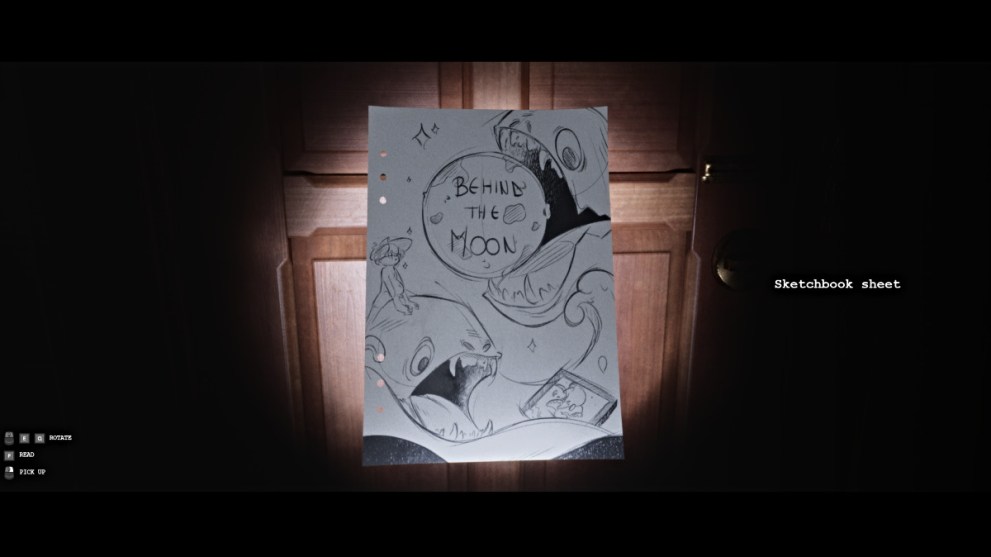
You’ll find this drawing taped to the front door while investigating the knocking in the dark at the start of Chapter 3.
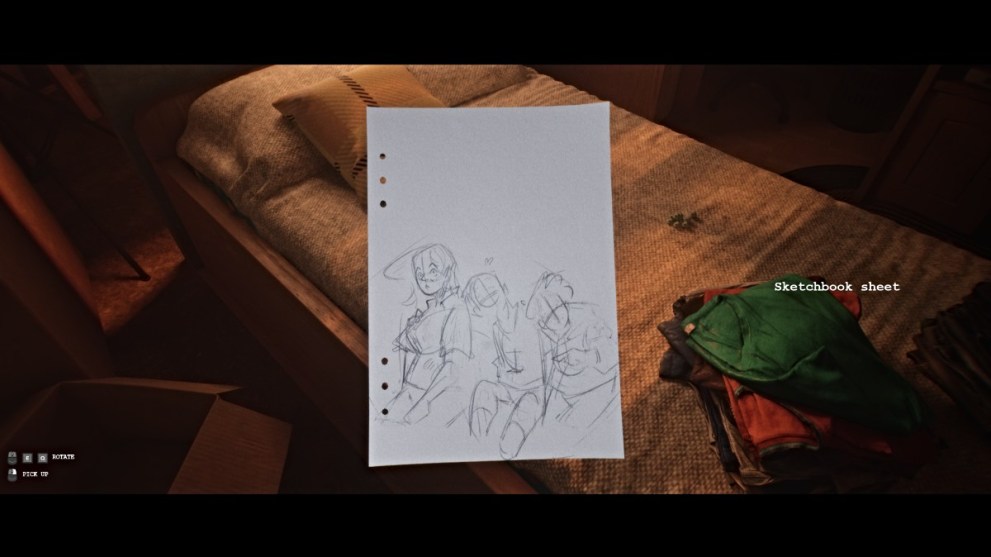
Drawing 7 – Sam Surrounded By Figures (Chapter 4)

This drawing is inside an open cupboard inside the first open bedroom on the left after you start Chapter 4.
Drawing 8 – Sam Wounded (Chapter 4)

This drawing is on a banister to the right after you fall through the floor during the TV sequence in Chapter 4.
Drawing 9 – Isaac With Basketball (Chapter 4)
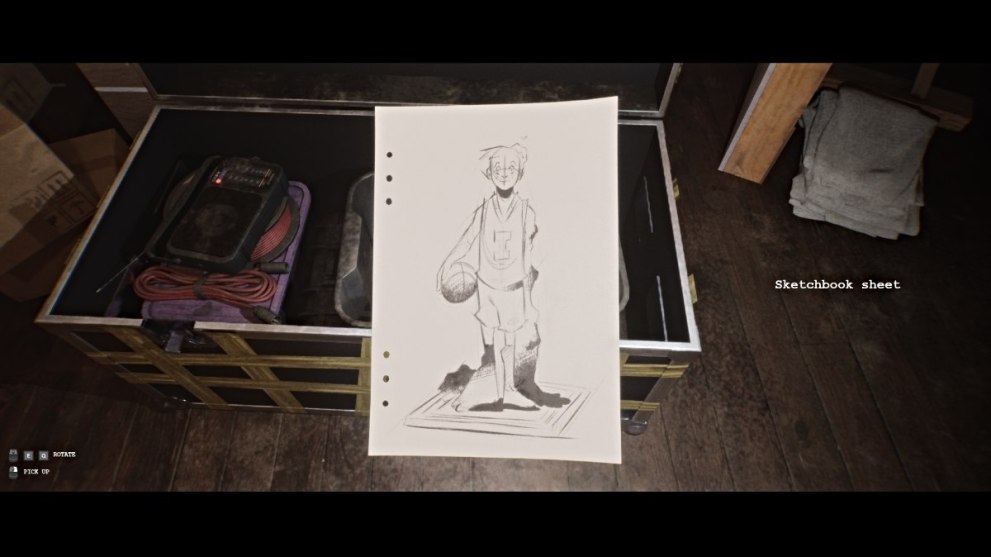
You’ll find this drawing inside the taped-up chest that’s now open in the basement area of Chapter 4.
Drawing 10 – Sam’s Mom (Chapter 4)
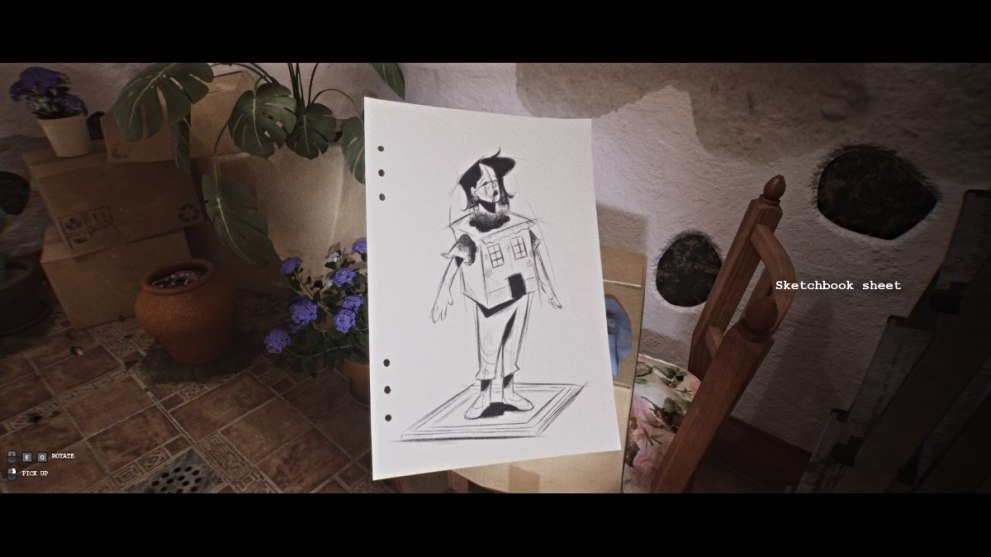
You can find this sketch inside the room opposite where you found the Carian House drawing, once it’s open in Chapter 4.
Drawing 11 – Hangman (Chapter 5)
This drawing will be on a table in the hallway with a big red light near the start of Chapter 5, where the narrator will discuss what’s real and fake before turning off the lights.
Drawing 12 – Isaac and Sam With Radio (Chapter 22)
This drawing is on a small side table in the sand room at the start of Chapter 22, when you find your way to the second radio in the room. Make sure not to miss it.
Drawing 13 – Mr. Button (Chapter 22)
This drawing is lying in a dog bed in the sand room after you find the second radio, at the start of Chapter 22.
Drawing 14 – Unfinished Sketch (Chapter 22)
This sketch drawing is lying on the bed in the bedroom, which you can reach on the left side of the hallway after leaving the bathroom after the 30/03 minigame in Chapter 22.
Drawing 15 – Sketch Inside Drawer (Chapter 22)
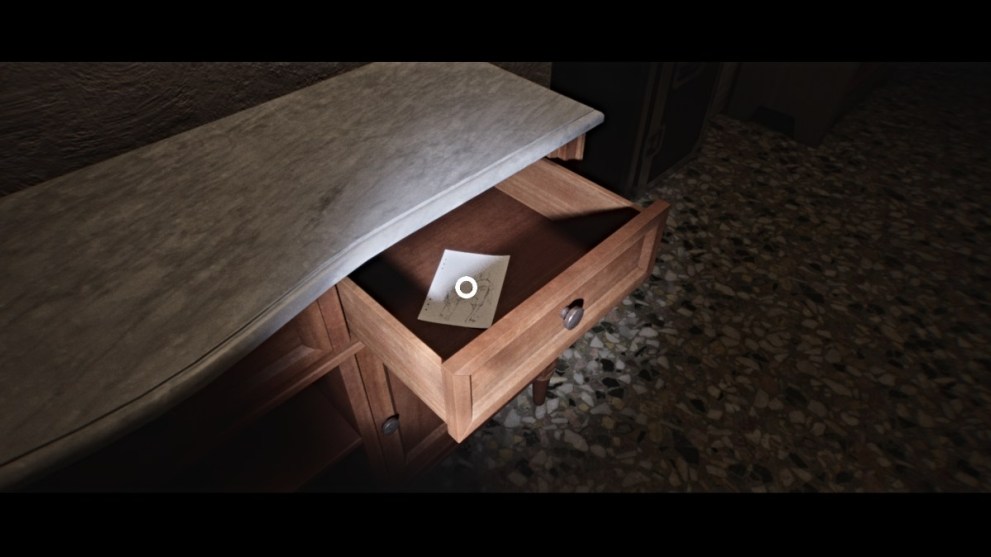
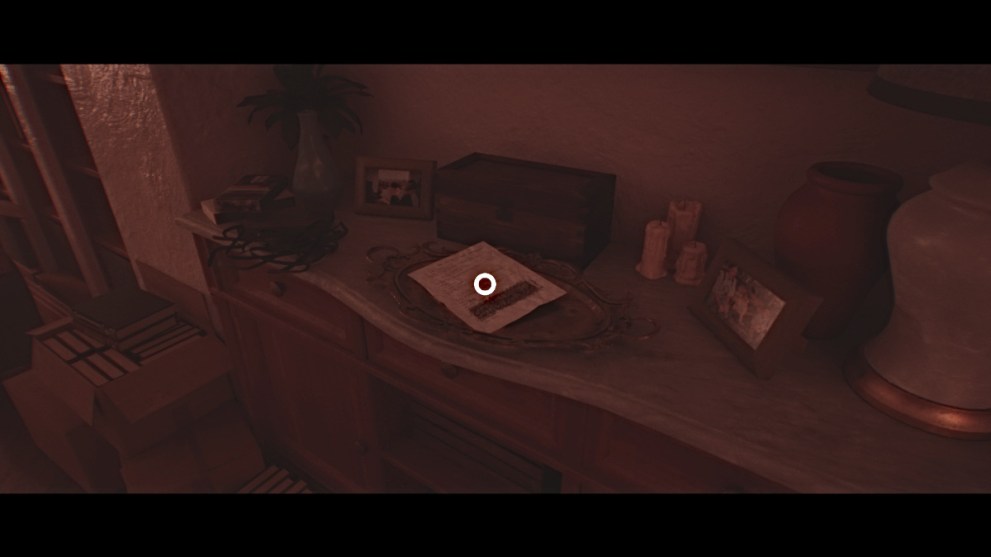
This hidden sketch is found inside the top right drawer of the dresser in the backstage area that’s labeled ‘Discarded Furnishings’ in Chapter 22.
That concludes our walkthrough for LUTO. Make sure to check out our other walkthroughs here at Twinfinite, such as our comprehensive guide for Dawn of Man.


Updated: Jul 25, 2025 01:17 pm