Elden Ring, like other FromSoftware titles in general, is known for its tough but fair encounters. Broadly speaking, each encounter can be overcome, provided you tailor your approach as the situation demands. The Chariots you will encounter guarding the Hero’s Grave locations scattered around the Lands Between, however, are an exception to that rule. Let’s take a look at how to destroy Chariots in Elden Ring.
All Chariot Encounters in Elden Ring
There are three Chariot encounters in Elden Ring, each guarding a Hero’s Grave, which is a particularly tough type of trap-filled dungeon that you will come across during your journey. None of these Chariots can be destroyed by conventional means.
Of those three sets, you can actually only destroy two. We will look at each in turn, and outline the best way to get the better of these many-wheeled nightmares once and for all.
Fringefolk Hero’s Grave
The first Chariot you are likely to encounter guards the Fringefolk Hero’s Grave, located in Limgrave, and can be accessed very early in the game. Defeating this chariot is intrinsically linked to acquiring the Erdtree Greatbow, so for an in-depth and step-by-step explainer of how to do both, check out this guide.
Auriza Hero’s Grave
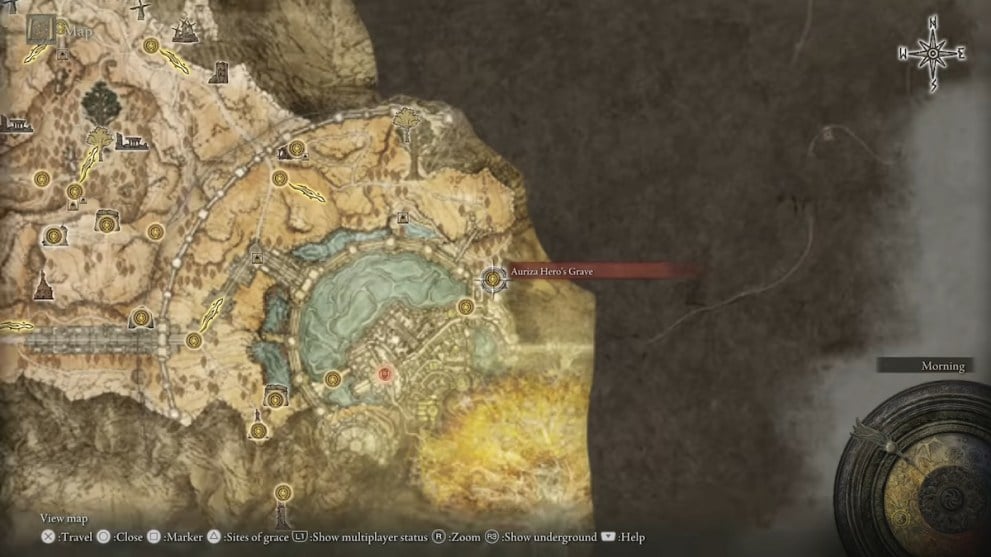
Important to note, the simplest method for overcoming this Grave will require dying, so make sure you aren’t carrying too many runes. Travel to the Auriza Hero’s Grave Site of Grace (located in the eastern-most section of the Capital Outskirts, outside of Lleyndell).
- Head down the ramp, avoid the Chariot, drop off the ledge and .
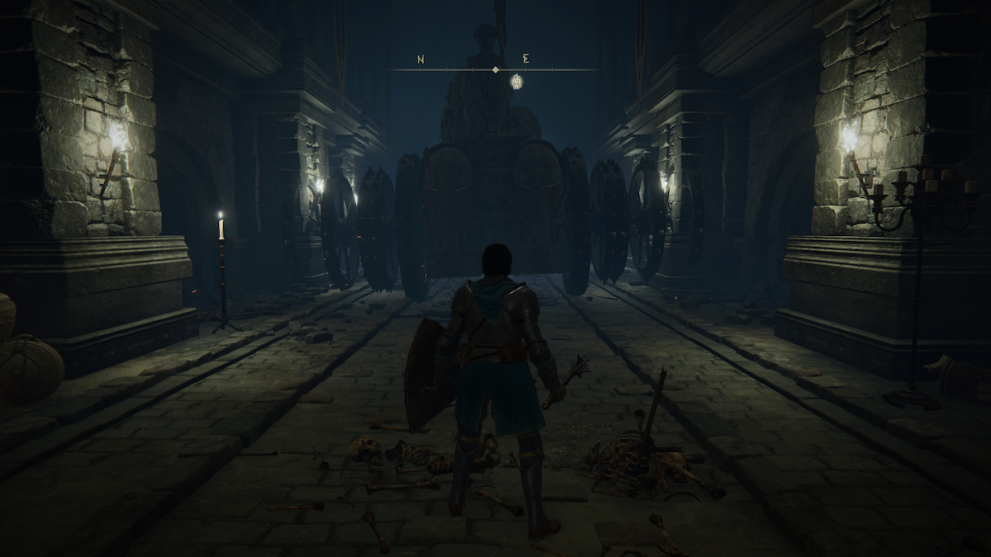
Once you arrive, proceed down the ramp to the right until you encounter the first of the Chariots you are going to need to contend with, which will spawn in front of you. Shelter in a side alcove and let it pass, and drop off the ledge behind where it spawned (where the ramp narrows and levels out).

- Contend with the Basilisks
Sprint forward, avoiding or dispatching the Basilisk as you see fit, and take the first passage on your right. Continue forward, but beware, there will be several more Basilisks blocking your path, and they can easily surprise and overwhelm the unwary.

- Descend the ramp while avoiding more chariots, and drop off the ledge to the lowest level.
You will emerge on one side of another wide-open ramp area. There are two Chariots patrolling this area, one on either side of the ramp, and your goal is to make your way to the bottom. It can be tricky to keep track of both Chariots at once, but once you get the timing down it isn’t too difficult.
At the bottom of the ramp, you will see some pillars, a corpse with an item on it, and another Chariot that will spawn on the opposite ramp. You want to stand on top of the corpse, and drop off the ledge to the wooden beam below, whilst avoiding this new Chariot. Make your way down to the bottom of this area, dropping off three more beams in the process.
- Climb the ladder ahead, run up the ramp, take the passageway to the right, hit the Flamethrower Statue, then let yourself die.
Face south, and continue forward, contending with the skeleton guarding the entrance, before climbing the ladder upwards. You will find yourself beside another ramp. Another Chariot will spawn, but if you are quick, you can run up the ramp and take the passage to the right leading to a Flamethrower Statue before it appears.
Hit the Flamethrower Statue to cause the pillar to rise into the ceiling. Now allow yourself to die by standing in its flames.
- Repeat step one, and once you reach the ramp that had two Chariots patrolling it, a third will spawn, destroying all three.
You will respawn at the beginning of Auriza Hero’s Grave. Like before, turn right and go back down the first ramp, avoiding the Chariot when it spawns in. Make your way past the Basilisks like before, and reach the second ramp, the one that had two Chariots guarding it.
This time, a third Chariot will spawn in, and all three will be destroyed, leaving you free to explore the rest of the Grave. You will also receive the Tree Sentinel armor set for your troubles.
Gelmir Hero’s Grave
Finally, we have the Chariots in Gelmir Hero’s Grave which cannot be destroyed. That is because you are instead intended to ride them. You will be able to board them with a well-timed jump once you are close enough.
That’s it, everything you need to about how to destroy the Chariots in Elden Ring. For more helpful guides, take a look at our expansive guide wiki or check out the recommended articles below.
Full credit to FightinCowboy for the screenshots used from this walkthrough video.


Updated: Apr 29, 2022 06:19 am