The Separate Ways expansion to Resident Evil 4 Remake is every bit as iconic as ever. It brings back all the action, tension, and horror of the main campaign along with plenty of fresh new challenges for Ada Wong to embark on. One of them is the return of the Merchant Requests, which you can fulfill throughout her campaign for a hefty amount of Spinels. One of the peskiest requests on the list is probably the Bug Buster, and there are actually two of them to complete in two different areas. Don’t worry though, we’ve got a guide that’ll show you how to complete both Bug Buster Merchant Requests in the RE4 Separate Ways DLC.
How to Complete Bug Buster 1 Merchant Request in RE4 Remake Separate Ways DLC
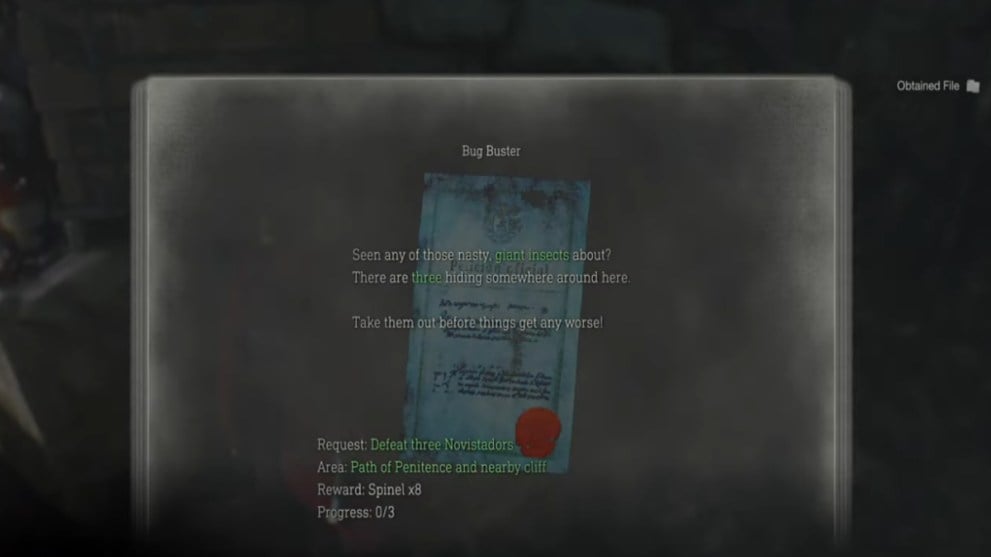
Hands down, probably some of the most creepy and, let’s face it, annoying enemies to deal with in Resident Evil 4 (both the original and remake) are the giant bugs that emerged from the excavation and development of the Las Plagas parasite, and then proceeded to build their enormous hives in the foundation of the Salazar Castle. They like to swarm in large open areas, lurk underwater in the depths of the sewers, and deal damage with their ridiculously powerful kick attacks. They are literally nuisance given form.
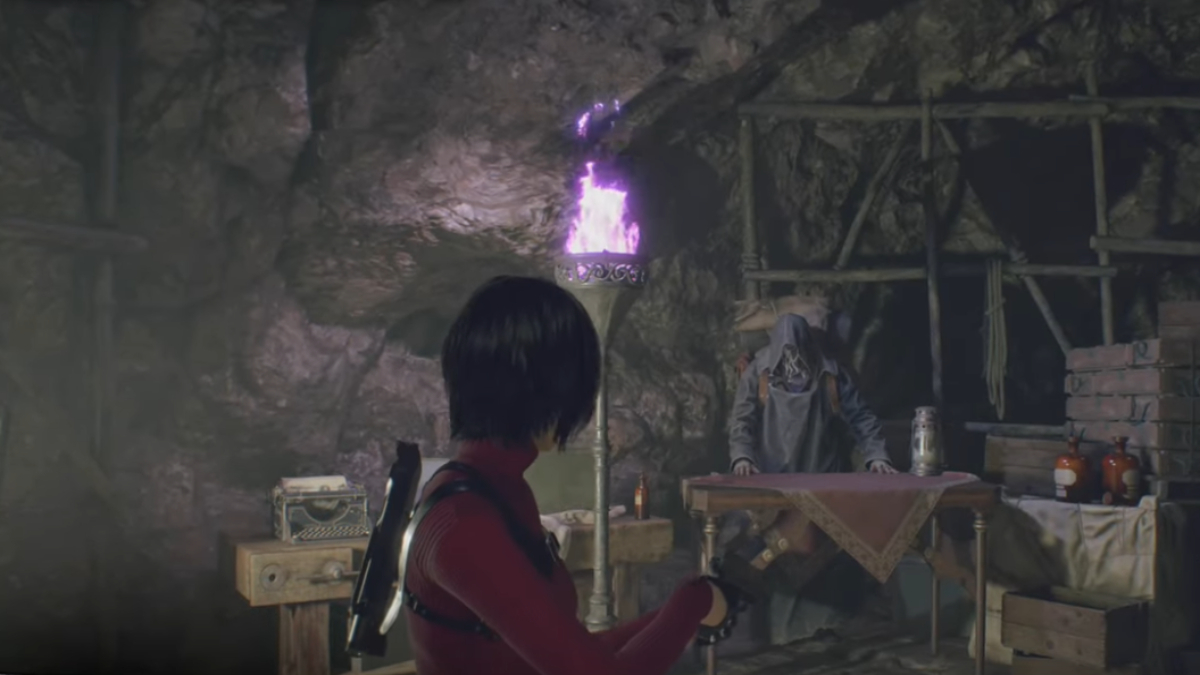
As luck would have it, the Merchant has not one but two requests for Ada that involve hunting down a certain strain of the buggy Novistadors. The first Bug Buster request can be picked up during Chapter 5, and the iconic blue slip will be sitting on a crate just to the right of the Merchant himself in a hidden room just past the Clocktower, during Ada’s pursuit of Krauser. You’ll be tasked with killing 3 Novistador bugs in the Path of Penitence area, and a cliff nearby.
These particular bugs look similar, but are different than the usual creepy critters you run into, in a very good way. These won’t ambush, pursue, or attack you in any way. Rather, they prefer to stay perfectly camouflaged on the rocky walls around you, staying out of sight. So it’s a matter of keeping your eyes peeled for something bug-shaped that looks just enough out of place.
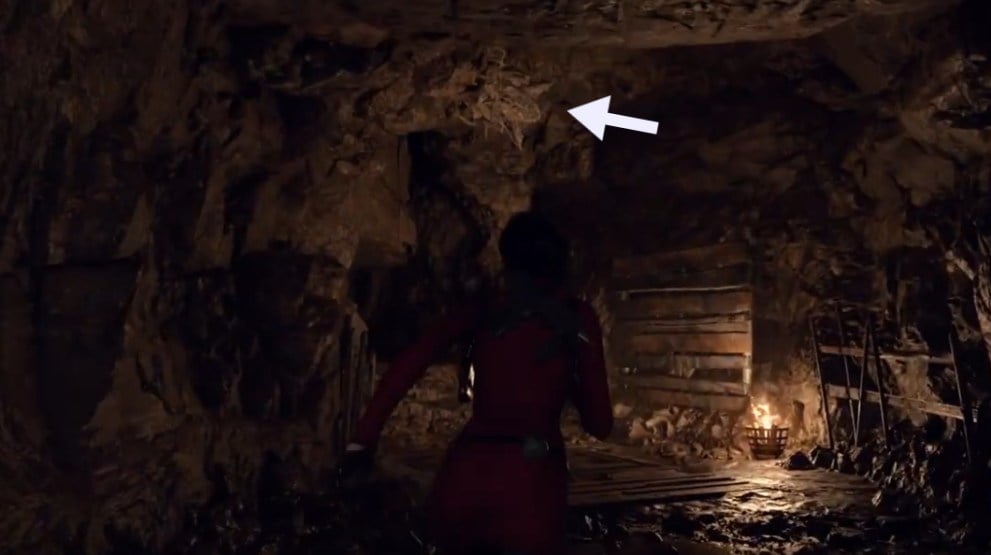
The first bug is hidden just beneath the ceiling of the start of the maze with the crushing pillars. After you pull the yellow-painted lever and the pillars start to move, this guy will be up above just past the first pillar. Shoot him down with your weapon of choice to mark the first one off the list.
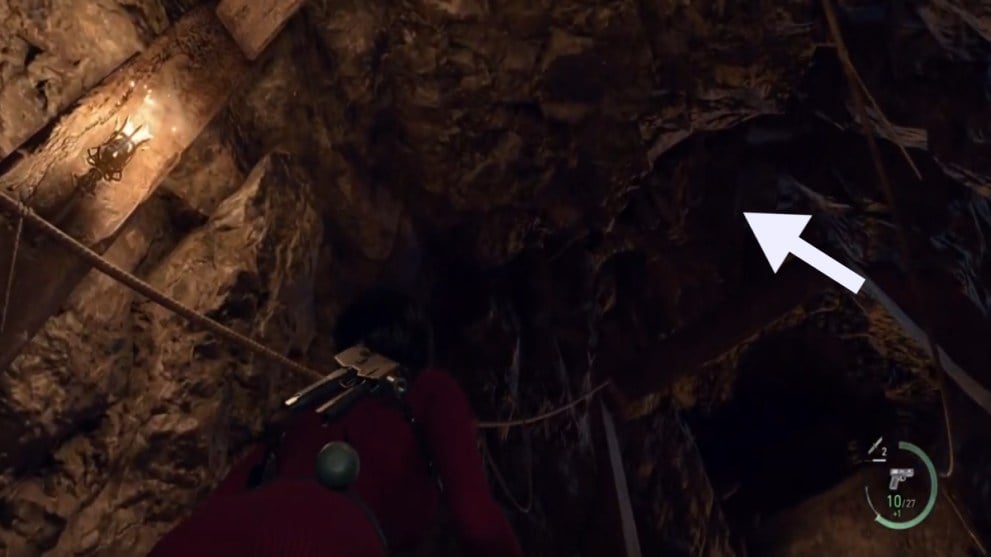
For the second bug, keep going on the same path, running straight through the large area with the sandbags piled up in the middle, past that to the sequence of falling pillars ahead. Fend off the crossbow Ganados hiding behind the pillars and make your way up to the stairwell. The bug will be hiding on the ceiling, about halfway up the stairs, behind the wooden rafter and clinging to an overhang. It’s a bit hard to spot but with a pistol shot or two, the jig is up.
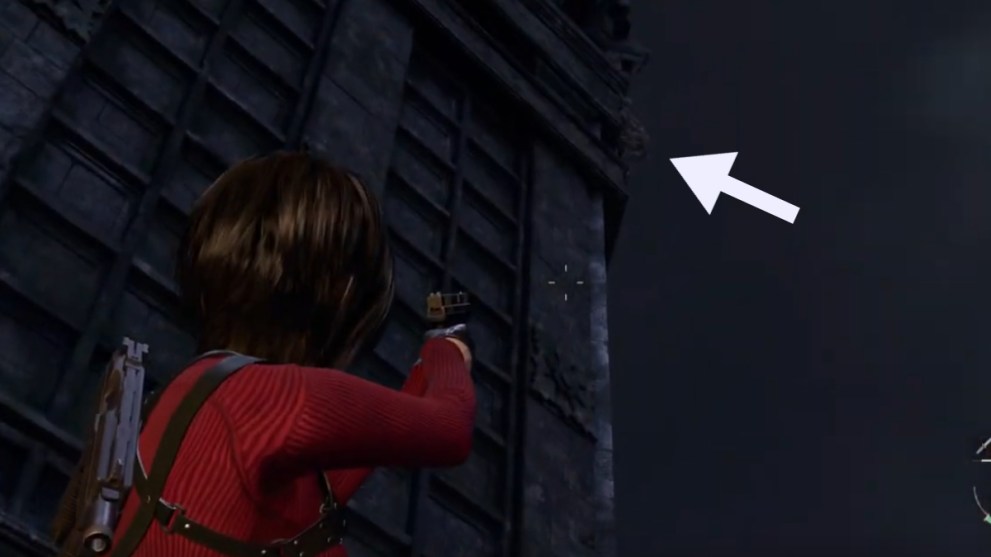
Keep on the very same path until you emerge into an open area with several more ganados, and a tall stone building to your left. Look all the way up the building’s facade and you’ll spot the third and final bug clinging to the side of it. That will finish up the first Bug Buster Merchant Request, and you can go turn it in to the Merchant at any of his nearby locations. He’ll reward with you another 8 x Spinels.
How to Complete Bug Buster 2 Merchant Request in RE4 Remake Separate Ways DLC
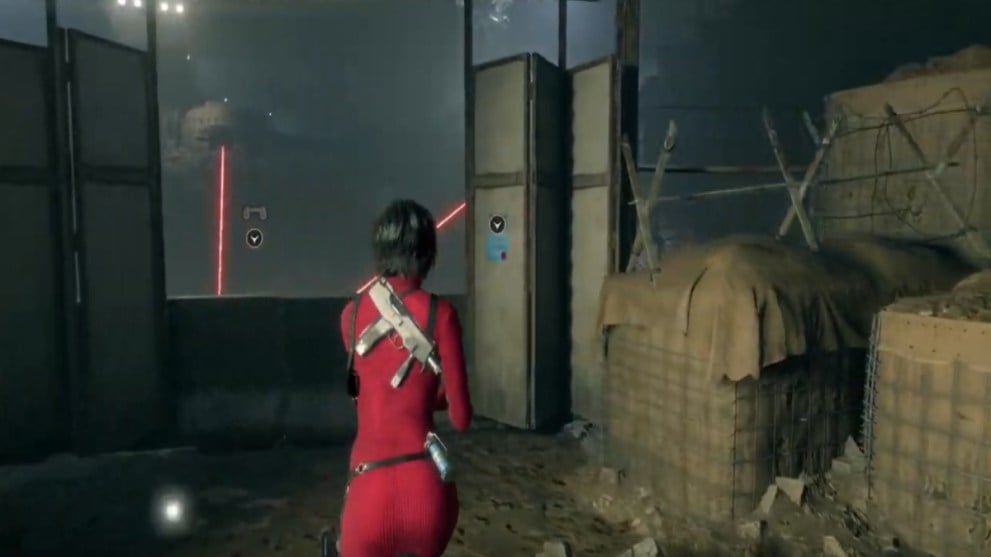
The Bug Buster 2 request is picked up on the Island during Chapter 6, hanging on an overlook post just before you enter the Defensive Line area. Once again, you’re tasked with eliminating 3 more Novistador bugs in that same area. So the game of hide and seek begins once more, all while evading a lot more artillery.
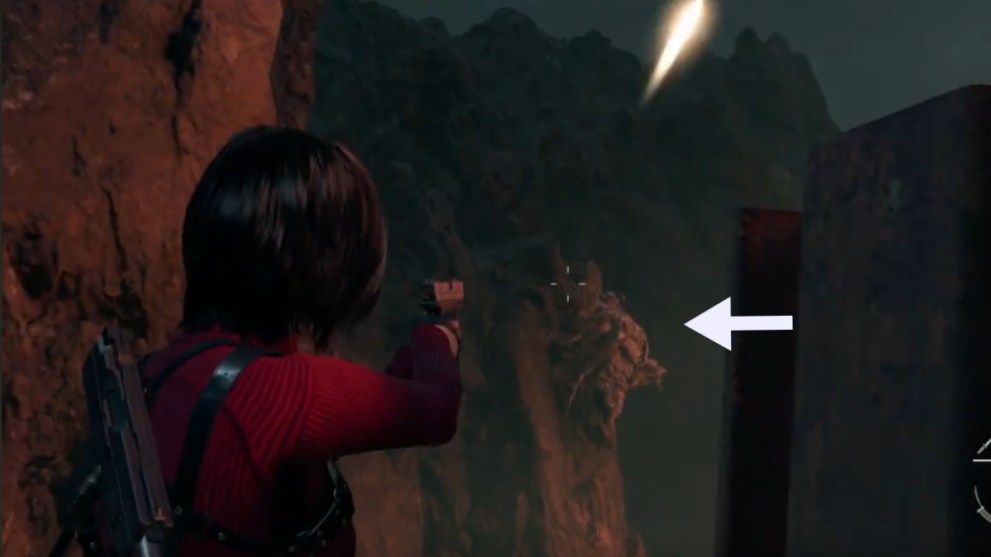
The first bug is not far off at all, but you still have to be incredibly careful while approaching. From where you picked up the request, jump down into the Defensive Line area and do your best to evade detection from the military bunker in front of you. If they spot you, they’ll start unleashing a barrage of gunfire, and you’ll have to stay kneeled behind the steel barriers scattered around the area to avoid some potentially serious damage.
As for the bug, as soon as you jump down into the pit, look immediately to your left and it’ll be clinging to a cliffside nearby. Shoot it down so you can move on to the next one as quickly as possible.
To track down the second bug, you’ll need to find your way out of the deadly pit by heading over to the right side of the area. Your I.R.I.S. scanner will reveal an outcrop you can grapple hook to, and that will carry you out into the next area.
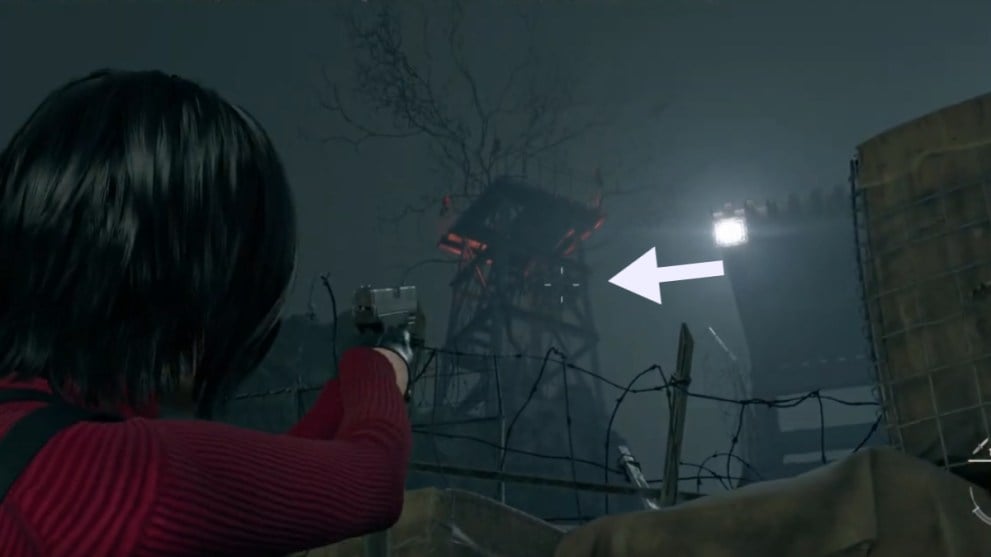
Push your way through the next wave of armed Ganado enemies, and you’ll likely want to take care of them (if you have the means) first before trying to pinpoint this bug. Next, head down the left side path, run past a red fire barrel and then immediately turn to your right to aim at the nearby watchtower. It’ll be a bit hard to see from the glare of the nearby spotlight, but the Novistador bug is hanging off the side of the tower. Shoot it down, and then you’ll have just one left.
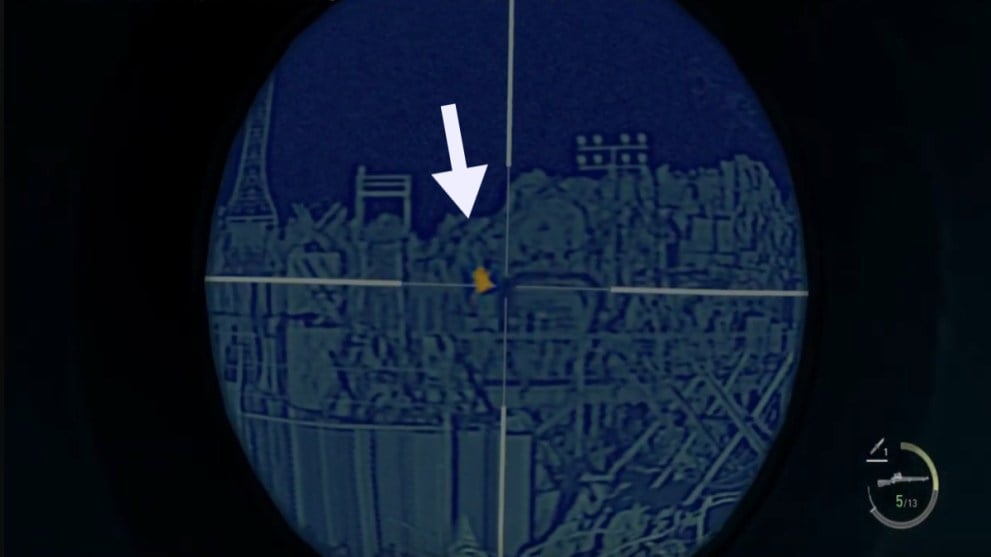
NOTE: The third and last bug of the request is absolutely the hardest to get, and you WILL need a sniper rifle for this one, ideally with the Biosensor Scope equipped.
After eliminating the second bug, turn around and run up the stairwell behind you to the next area, keeping straight while passing the laser wall turret to your right. When you hit the fence, make a left and run up another staircase, taking care of as many ganados as you can along the way. Make another left at the top of the stairs, and approach a barricaded overlook in front of you. Pull out your sniper rifle and make sure you have your Biosensor Scope equipped to it, as it’ll be nearly impossible to see this bug in the dark so far away otherwise.
Aim straight ahead and you should spot the bug hanging on the side of a cliff on the opposite side of the complex. Time your shot and you should tap it safely. That completes the Bug Buster 2 request, and you can turn it in at the next Merchant location you come across. He’ll reward you this time with 9 x Spinels, and it’s also the last request of the game, so give yourself a pat on the back.
That concludes our guide for how to complete both Bug Buster Merchant Requests in RE4 Remake Separate Ways DLC. We hope you find this helpful for your pest control endeavors, and let us know how you’ve enjoyed the new DLC so far.
Be sure to check out all of our other guides for RE4 Remake’s Separate Ways DLC, such as all unlockable rewards.













Updated: Sep 22, 2023 05:09 pm