Enotria: The Last Song is the latest Soulslike on the market and as is the case with most of these, the bosses are going to be the highlights. While there are some middling bosses in the game there are also some memorable heavy hitters you’ll have a lot of fun or frustration with. So let’s go over our checklist of all bosses and order in Enotria: The Last Song.
All Bosses & Order in Enotria: The Last Song
All Quinta Bosses
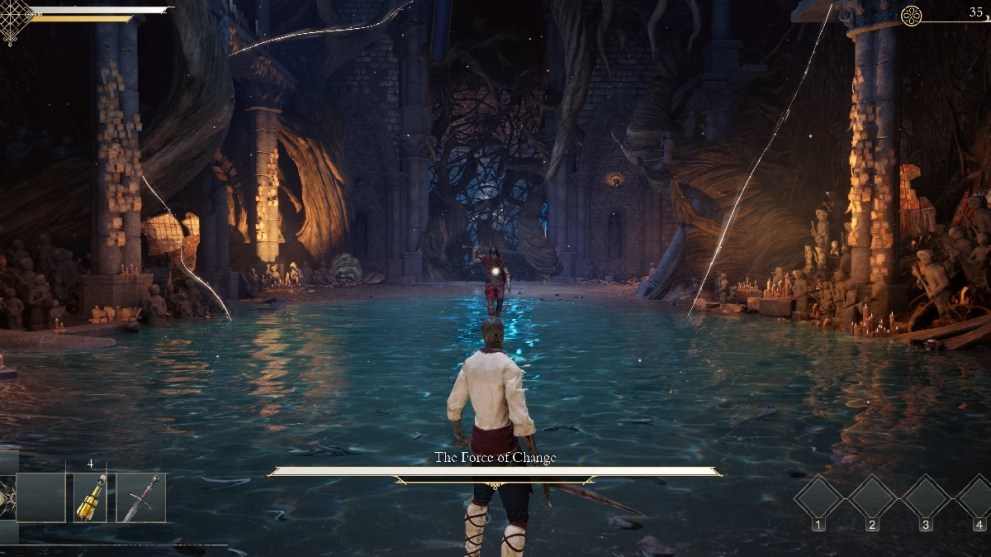
The Force of Change
This is the first tutorial boss you will face in Enotria: The Last Song. It’s a simple swordfight against this melee warrior. This fight can be challenging if you’ve never played a soulslike before and you’ll learn the basics of parrying and attacking. Beating the Force of Change allows you to don its Mask.
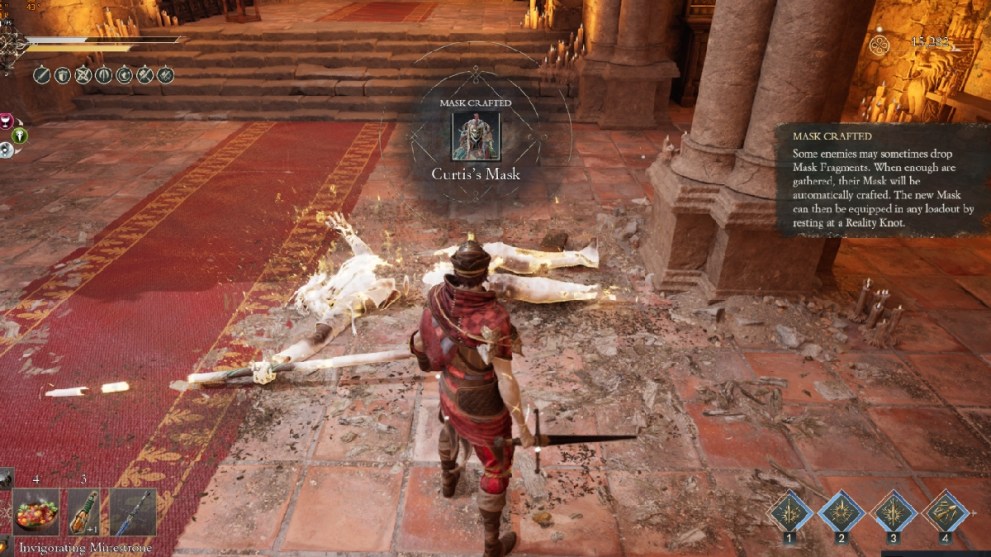
Curtis Prince of Laughter
The first real boss you fight can be found inside the city of Quinta within the Church of Maja. This boss is aligned with the Vis element, so we suggest bringing a Fatuo-infused weapon and Mask Lines to make the fight a bit easier. You will have to learn the art of parrying to survive this fight while also backing off when Curtis performs his AoEs.
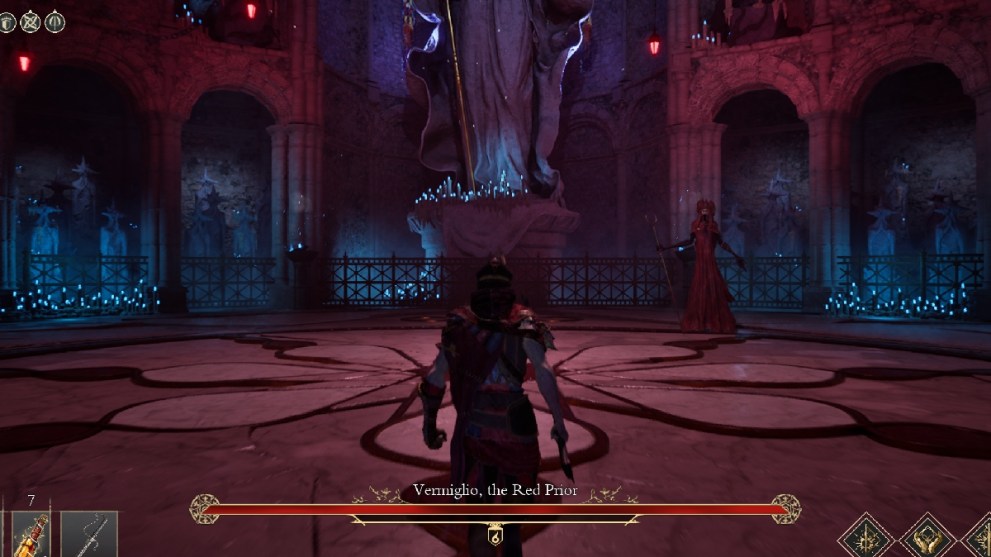
Vermiglio the Red Prior(Optional)
One of the hardest bosses in the early game due to his incredibly punishing laser attacks. Bring a Malanno weapon to this fight and make sure you’ve leveled up your HP. This fight is tough due to all the projectiles and beam attacks that will almost always track you perfectly. Stay close and force him to use his less-threatening melee attacks while parrying them. You can find him in the heart of the Monastery of Maja.
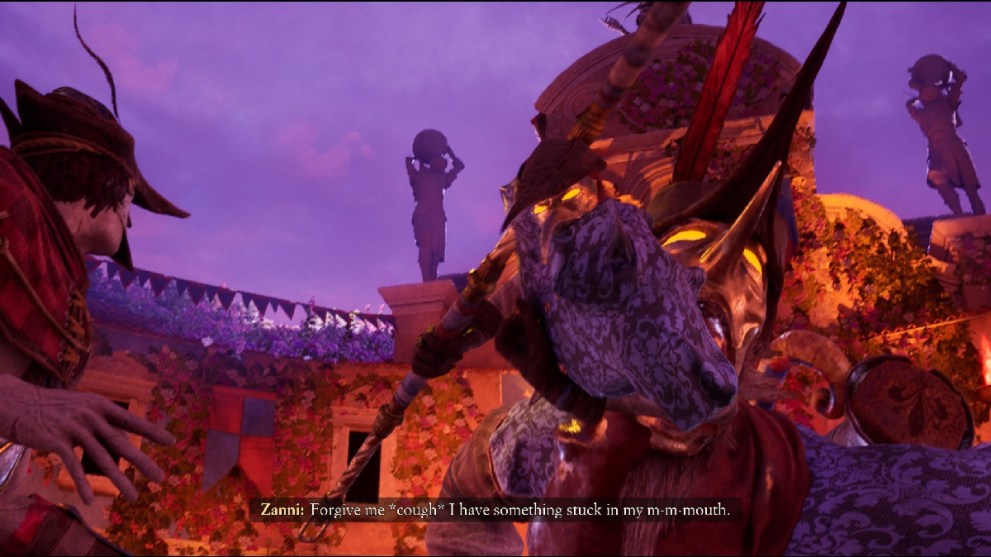
Zanni the First Mask
Zanni the First Mask is the final boss of the Quinta area, located in the School of Zanni, and defeating him unlocks the hub underneath. He’s aligned with the Vis element, so you’re going to need a powerful Fatuo weapon. You can unlock one of the best Fatuo weapons by defeating the enemy next to the Old Ruler’s Crypt under the Church of Maja. It makes this fight a lot more manageable as the AoE attacks and camera angles make this battle of attrition harder.
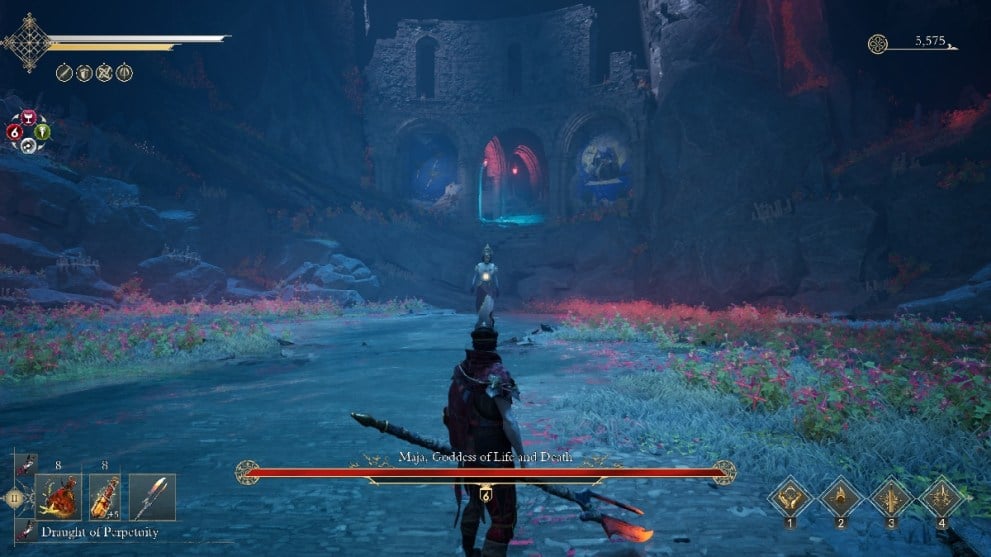
Maja, Goddess of Life and Death (Optional)
You can find Maja after defeating Zanni and interacting with the Statue in the Crimson Cloiser. This will take you to the Old Sanctuary where you can face Maja. Defeat her with a Gratia weapon – the Penance Bearer is perfect. You will unlock her questline once you meet her in the Theater of Masks after beating Zanni.
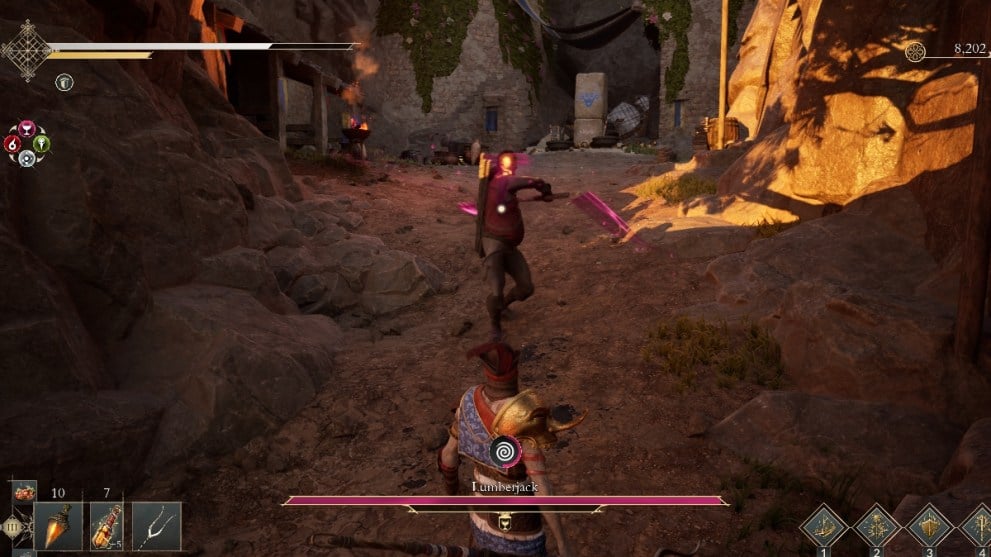
Lumberjack
A fairly easy boss that blocks your path to Falesia Magna. He’s aligned with Vis and if you’ve defeated Zanni, this boss is easy work. Unlocked only after beating Zanni.
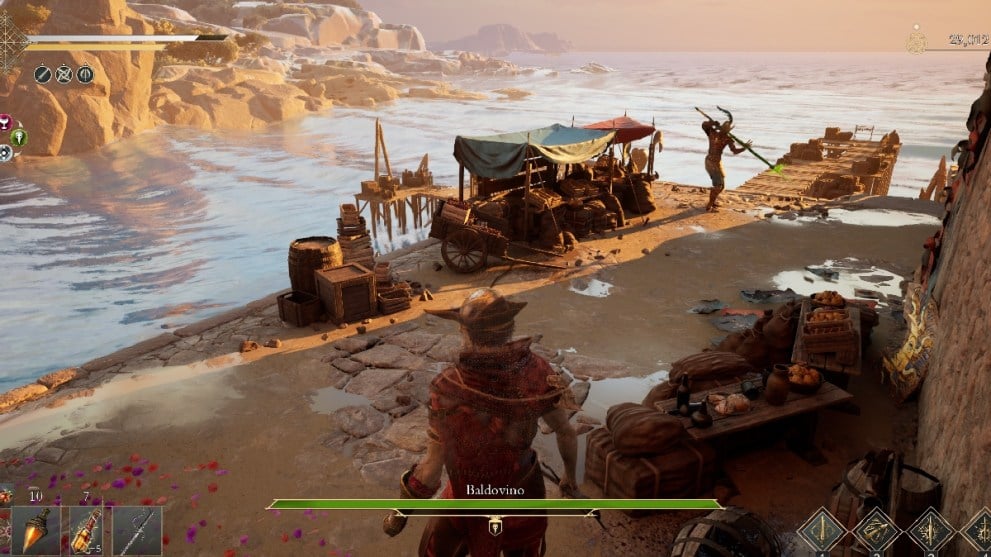
Baldovino
This Malanno-aligned boss blocks the path to Litumnia and facing him immediately after defeating Zanni won’t be easy. The puppet has an irregular attack pattern and applies Malanno to you on all of its hits. There’s an annoying dog enemy in the arena too, so stick to the area near the stairs if you want to avoid a 1v2. However, defeating him early means access to Litumnia, where you can find high-tier rewards.
All Falesia Magna Bosses
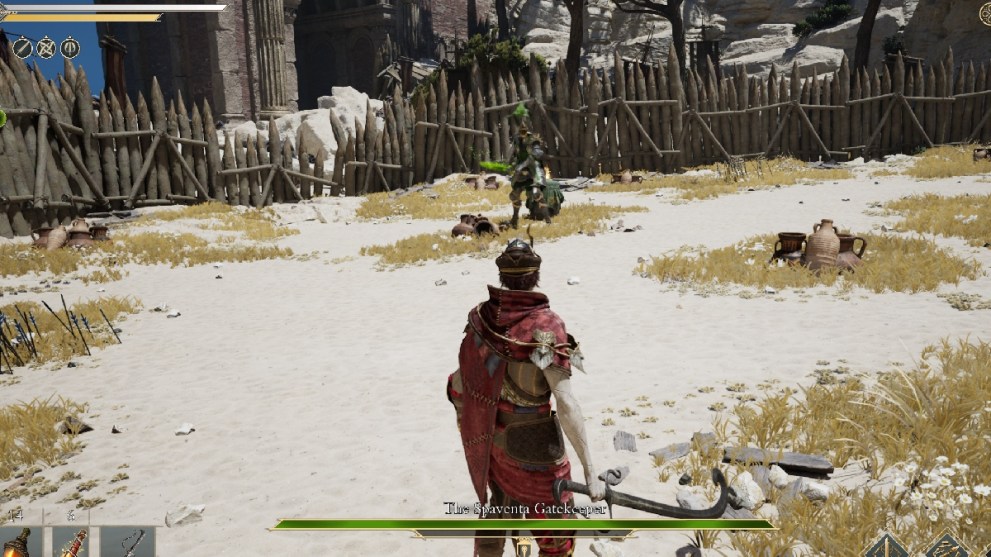
The Spaventa Gatekeeper (Malanno)
The first and second-most annoying Spaventa Gatekeeper boss is located in Falesia Magna. You can find him on an optional path to the right once you enter Falesia Magna. He’s aligned with Malanno, so you’ll need a Vis weapon. When you halve his HP he enters an empowered state with powerful ranged attacks. Parry this phase and wait for it to pass.
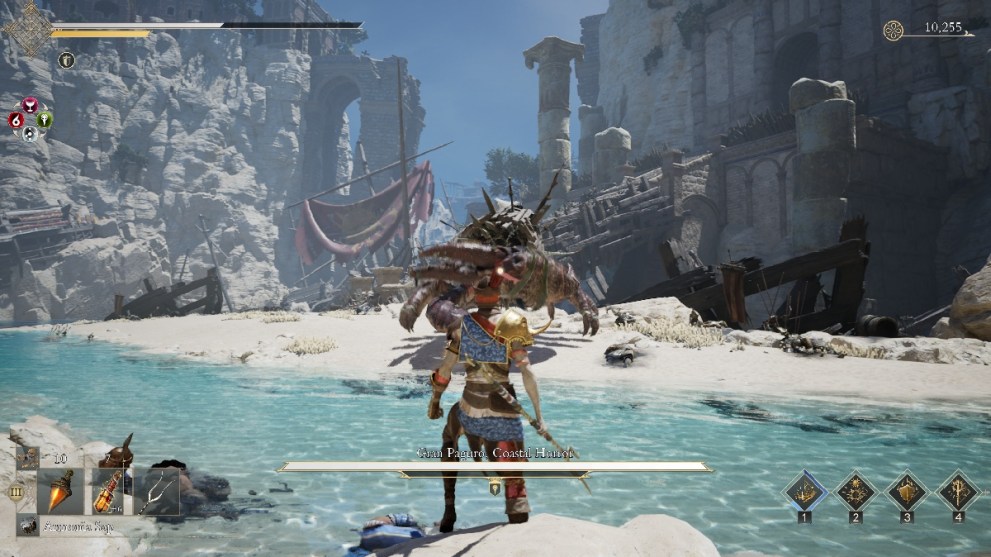
Gran Paguro Coastal Horror
Our first encounter with Gran Paguro the Coastal Horror. This giant crab will block your path forward and it’s a moderately challenging boss. You need to parry some attacks while building up the Unravel meter and getting some damage in. This boss isn’t too threatening and you should be able to deal with it as long as you made it here with enough healing charges.
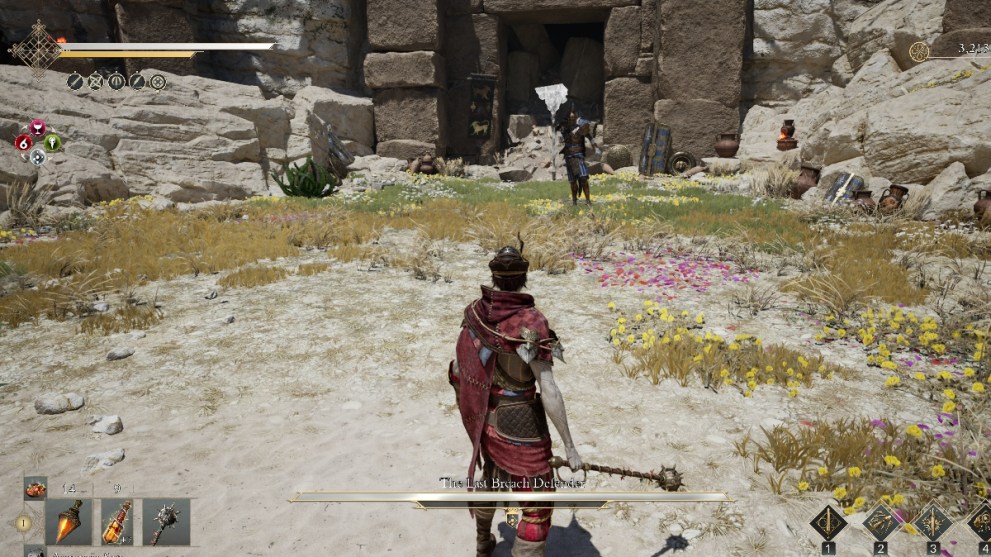
The Last Breach Defender (Optional)
If you decide to take the left path after defeating Gran Paguro, you’ll go through a lengthy optional area that takes you through Necropolis and you’ll find the Last Breach Defender waiting near the end. This Gratia-aligned enemy has telegraphed moves that give you enough time to parry and launch counterattacks relatively comfortably. He hits hard but isn’t ridiculously difficult to manage, making for a fun optional boss fight.
Simulacra of Veltha
Be sure to unlock the shortcut ladder in the Hall of Veltha before getting into this boss fight. It’s located in a room right next to the giant crab with a cannon on top. The fight itself is fairly standard as long as you can parry and dodge effectively. Focus on evasion and exploit the fairly generous counter-attack openings left to you.
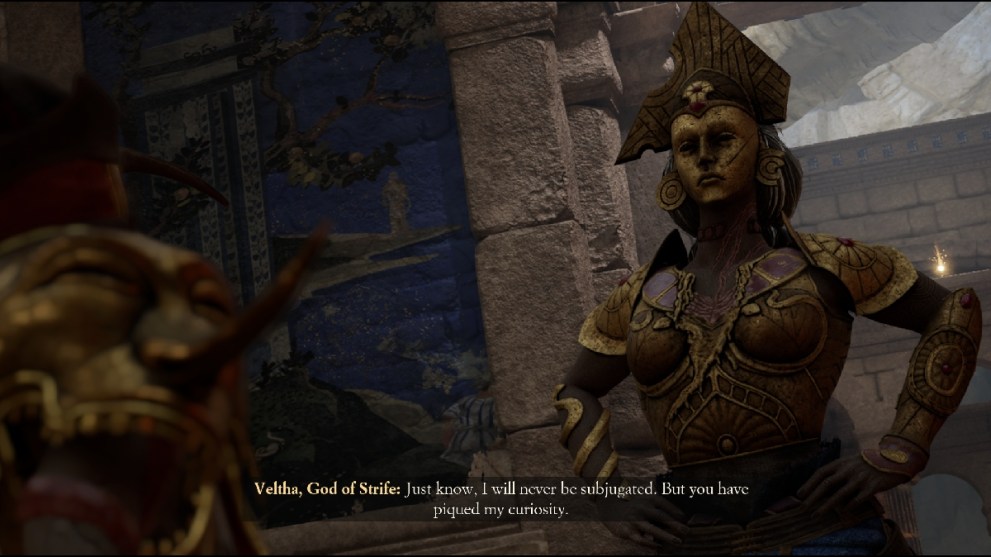
Veltha, God of Strife (Optional)
Luckily for all of us, this boss is optional at this point. After facing the imitation, we get to fight the real Goddess of War, and she is an absolute menace. She utilizes dash attacks as well as ranged attacks in what almost seems like an unstoppable flurry of attacks. For most players, we would suggest passing on this fight for now and returning a bit later. However, there are exploits where the AI seems to break after she dashes into a wall. Defeating her unlocks her as the stat reset NPC back in the Theater of Masks.
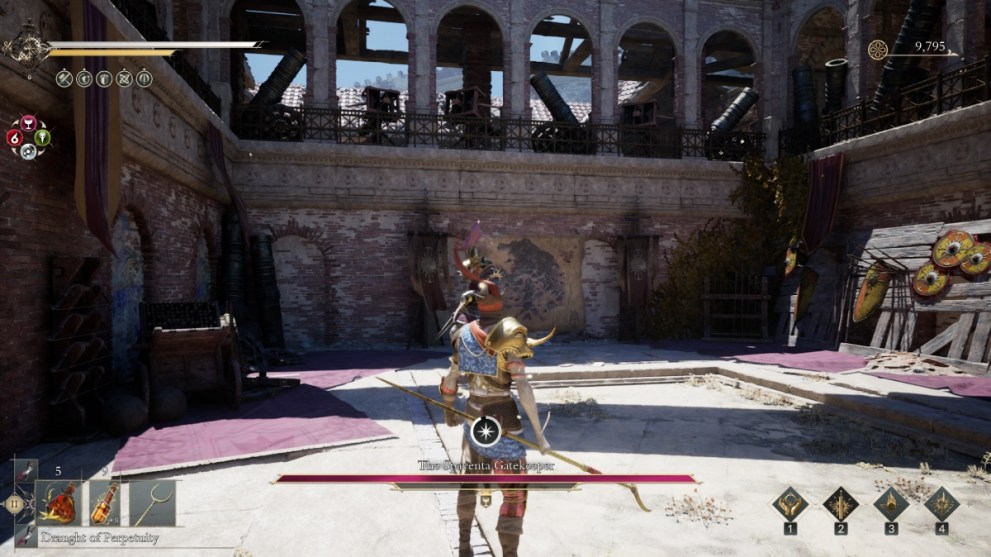
The Spaventa Gatekeeper (Vis)
The second and worst Spaventa Gatekeeper is here. You have the same mechanics as the first one, but the arena is smaller and there’s an annoying archer up top shooting at you. Either figure out a way to take out the archer or hug the wall on the right side to avoid his attacks. This makes your effective arena size smaller, so you’d better bring your best parry game and your best Fatuo weapon.
Sanctum Zealot (Optional)
One of the hardest bosses in the game is found on the optional path to the Colosseum. This Gratia boss has a ridiculously high attack stat and while the first phase is manageable, the second one is incredibly difficult to conquer without investing in more levels. The second phase has this boss use a punishing dash attack, a non-telegraphed spinning lunge attack that will one-shot low-level builds, and infused gratia sword slashes with a wide range. This challenge is for seasoned players with absolute confidence in their stats or parries.
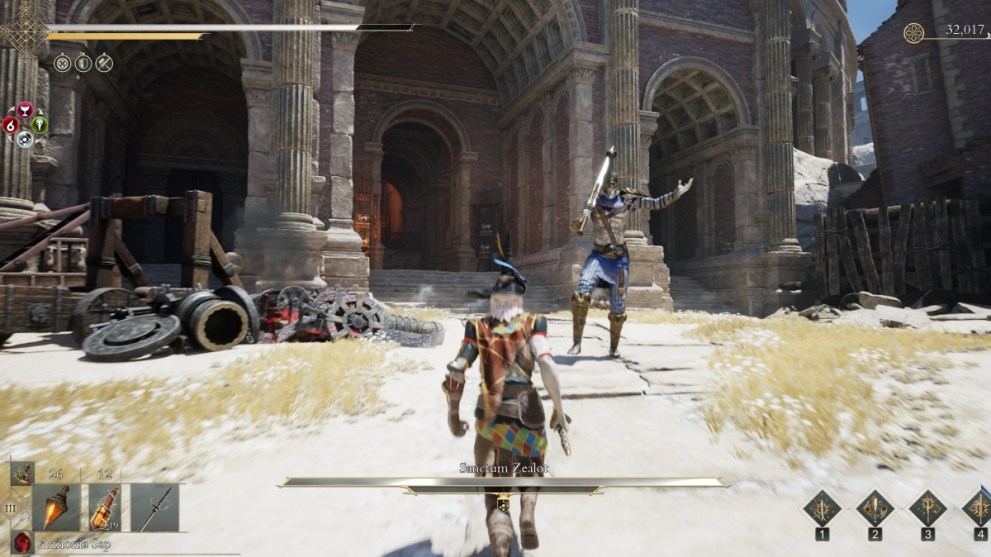
Giangurgolo Champion of Veltha (Optional)
Inside the Colosseum, we can find the chimera boss, Giangurgolo Champion of Veltha. This lion-like boss has one of the largest HP pools in the game and his attacks are no joke. However, it’s possible to defeat him even at this point in the game as long as you learn his patterns. During his first phase, he will rely on a tail attack when approaching you that will instantly apply Malanno. Always anticipate this attack and dodge towards the right or keep your distance. As long as you can avoid getting poisoned and are able to parry the regular claw attacks, you can build up the parry meter a couple of times and overcome this fight.
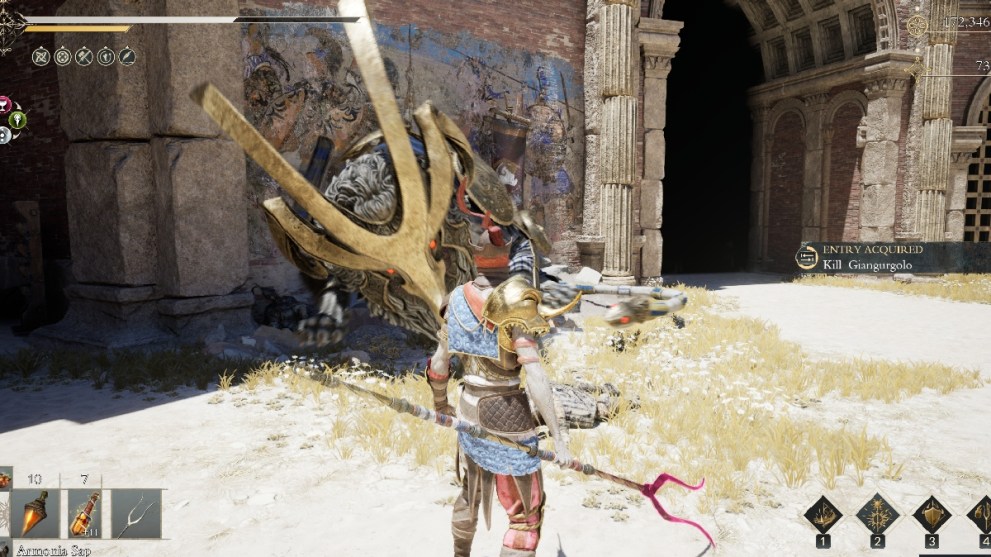
The Spaventa Gatekeeper (Gratia)
The next Spaventa Gatekeeper should be a pushover compared to the last two. He has the same attack patterns, just a different element. Parry his regular attacks and wait out his empowered phase.
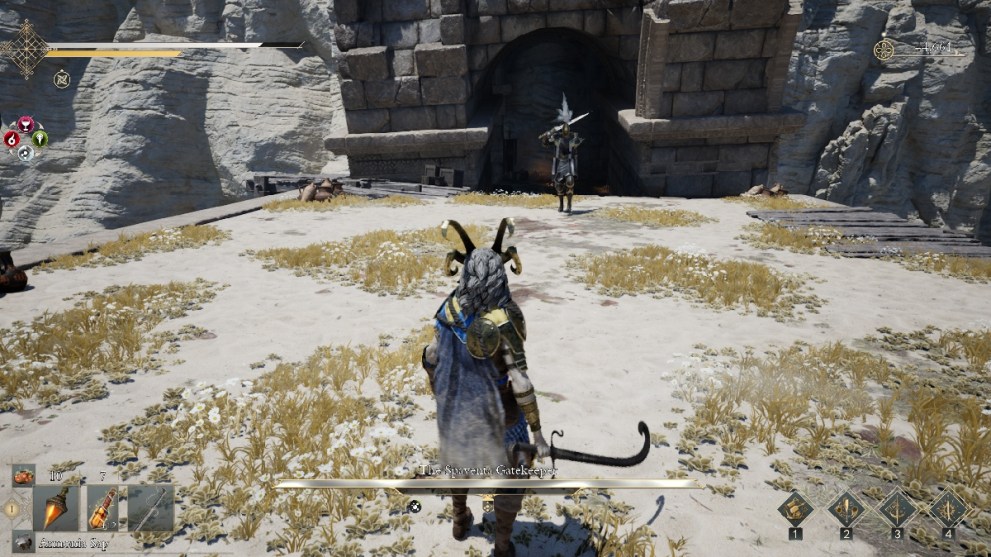
Huntress of Veltha (Optional)
Another optional boss found inside a red rune, that should be too much of a challenge. She’s aligned with Malanno and uses several ranged attacks, but you can easily stunlock her with your regular heavy attack strings.
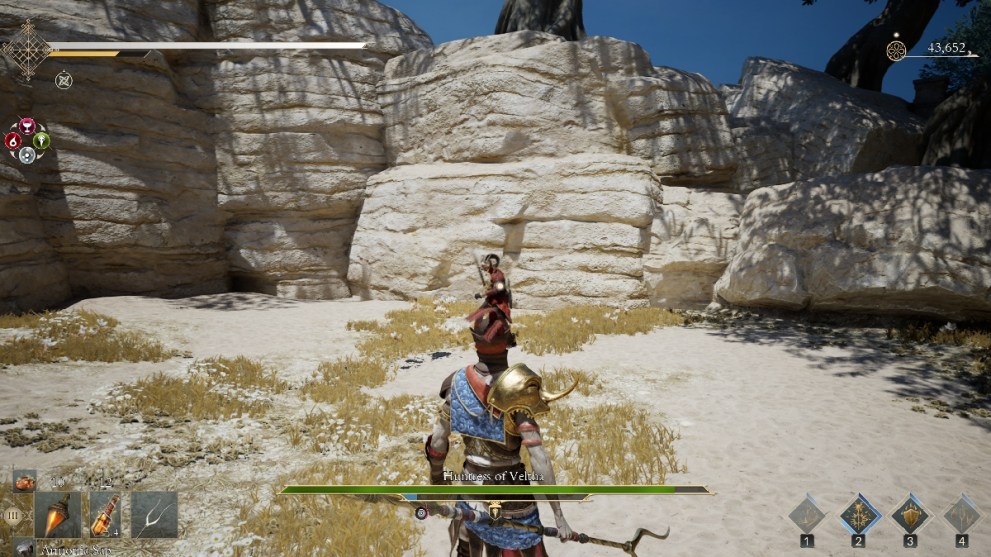
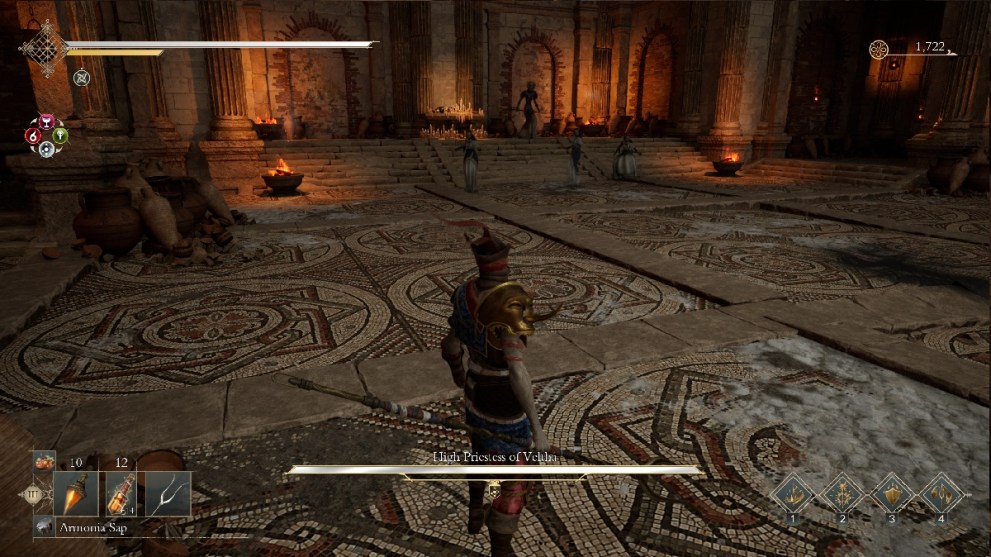
High Priestess of Veltha
This will be an incredibly frustrating boss where success sometimes comes down to RNG. First off, you need to defeat the three priestesses alongside her immediately as you enter the arena. Then you need to stay close to her to prevent her ranged attacks. The melee ones are much more manageable. Don’t let down the aggression till she’s at half HP. If you move away she’ll bombard you with pillars of Gratia that track you. The real challenge is the second phase where she starts spamming this one AoE beam where you have no choice but to hide behind a pillar and then jump over the AoE ring. Whenever you see this attack, run. For some reason, the AI loves spamming the move and we’ve seen it used eight times in a row.
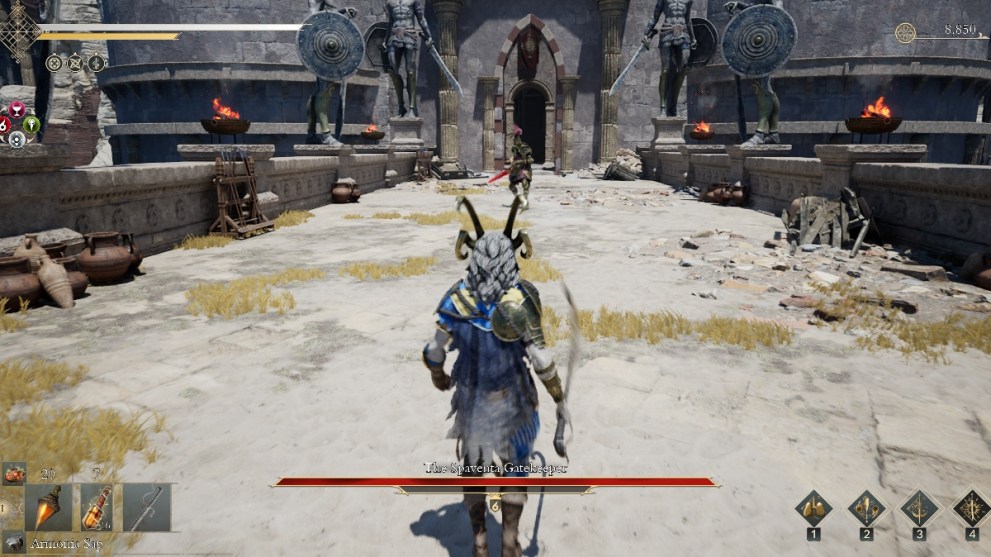
The Spaventa Gatekeeper (Fatuo)
The final Spaventa Gatekeeper. You know the drill here. Defeating this final one will reward you with the Spaventa Gatekeeper’s Mask and Role.
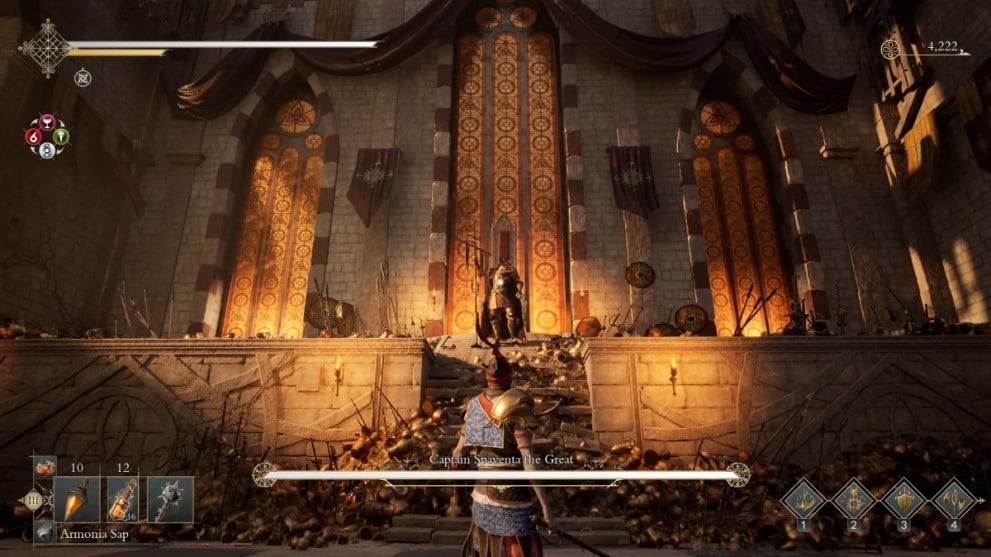
Captain Spaventa the Great
The final boss of Falesia Magna, Captain Spaventa the Great is located at the top of the grand tower. This boss fight has two very distinct phases. For the first one, you face Captain Spaventa the Great who will fearlessly try to mow you down with combos and leaping swings. Learn to parry his regular attacks, walk towards him when he attempts his leaping attacks, and most importantly, parry his string of five ranged attacks. Parrying the ranged attacks makes this fight much easier as long as you can keep your tempo. The second phase has Spaventa the Coward run around while summoning a guard. Don’t underestimate this phase, as you’re low on resources and he can be hard to catch.
All Litumnia Bosses
Gran Paguro (Malanno)
The most dangerous version of Gran Pagura, you face this Giant Crab on the path to the right side of the road leading to the city. The arena is small and the boss will regularly use the Malanno breath attack and a powerful Malanno Pillar attack. It’s a war of attrition where you get very little opportunity to go on the offensive.
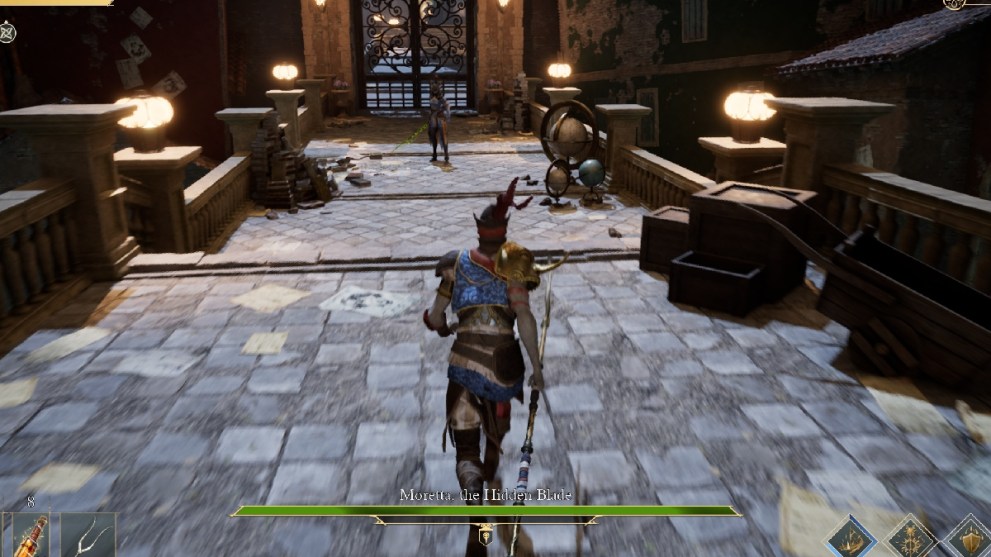
Morreta, the Hidden Blade (First Encounter)
Once you’re making your way through the streets of Litumnia and the City Commons resting spot, the first boss you face will be Morreta, the Hidden Blade. She has some melee attacks that apply Malanno, but her real threat comes from the ranged projectiles. She can either launch a single orb or launch three in quick succession. Parrying these is very important as you’ll face her two more times up ahead.
Ingenium Engineer
The Ingenium Engineer is a slow but hard-hitting automaton guarding the path to the Engineer’s Guild. The best method we found to deal with her was to constantly apply Gratio and trigger its explosion as this always stuns her. Her status resistance is low and a weapon like the Penance Bearer will suffice in stunlocking her.
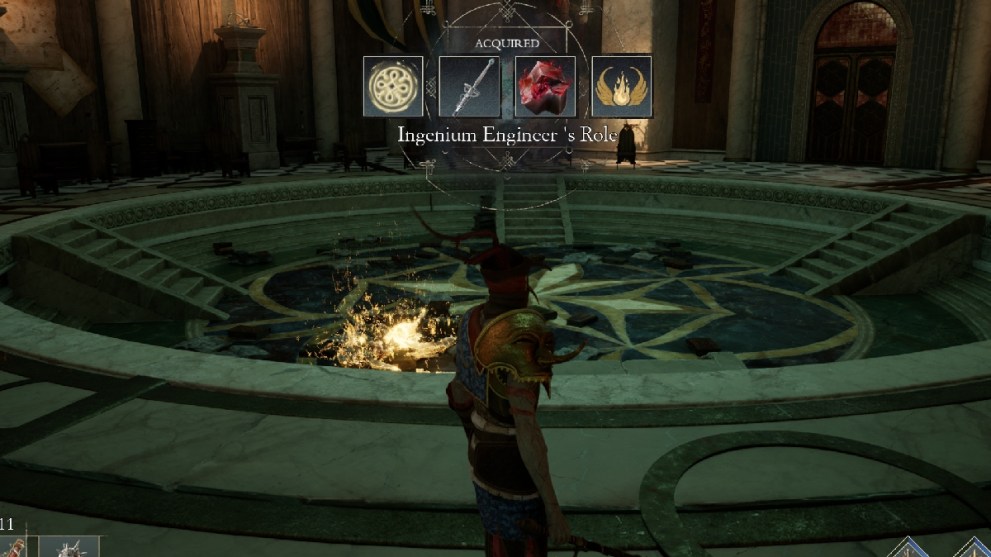
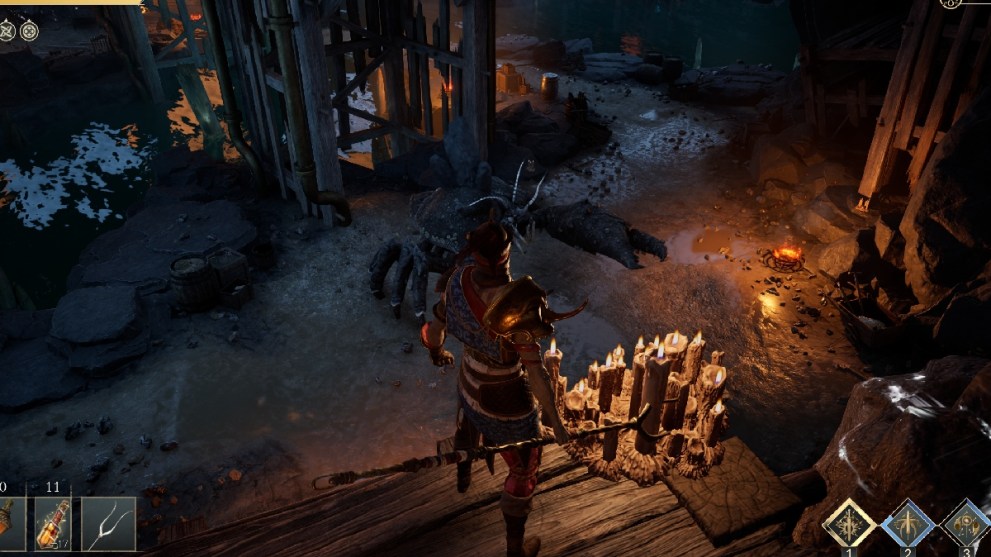
Gran Paguro The Coastal Horror
The third and final crab, this time in an even smaller area. By this point, you must be familiar with the drill and luckily, the resting spot is right next to this boss. Build up the stagger meter as fast as you can and avoid the poisonous breath attacks.
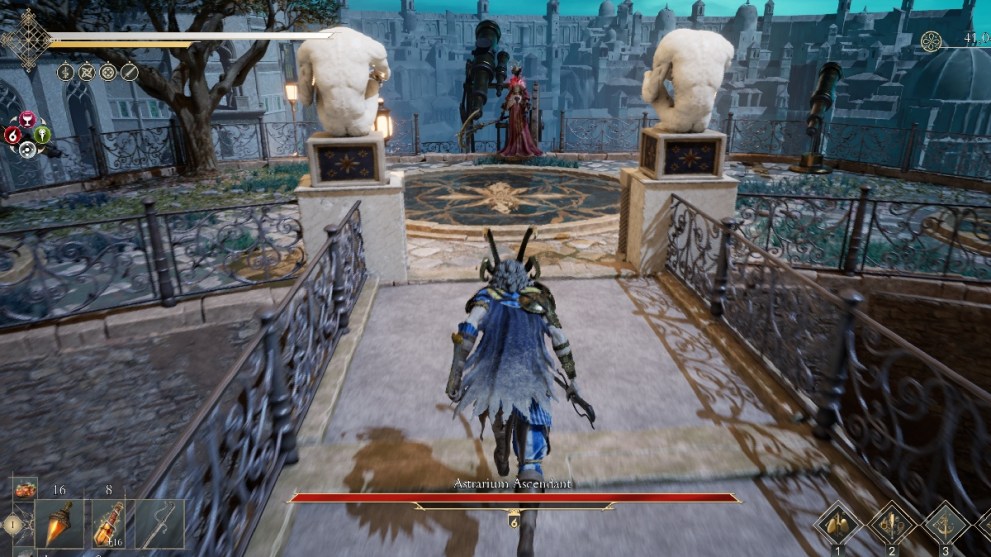
Astrarium Ascendant(Optional)
An optional boss is located to the left side of the Engineer’s Guild building. This automaton uses an interesting anchor-type weapon to perform quick swinging attacks. Luckily, the rhythm is simple and you can parry all of these while also stunning the boss with your regular heavy attacks.
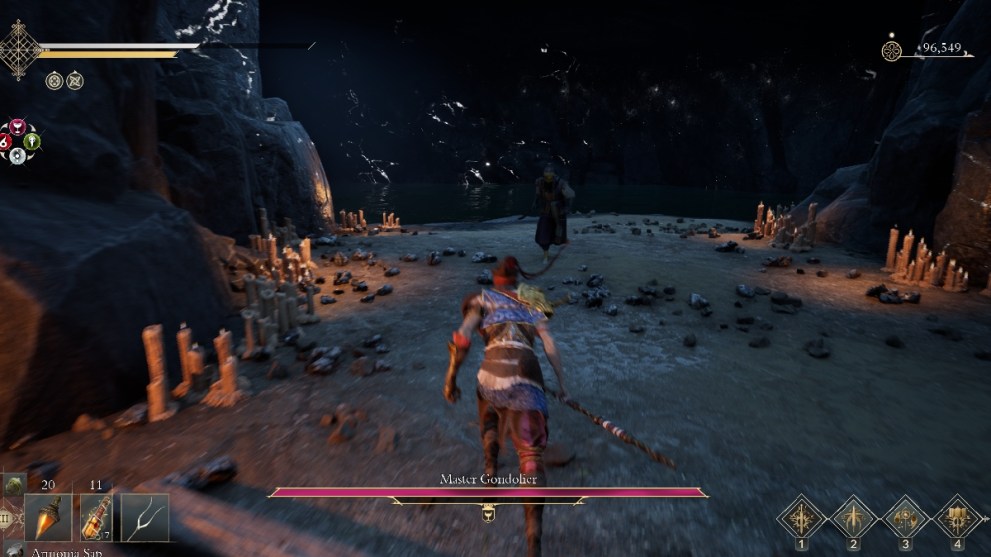
Master Gondolier (Optional)
The Master Gondolier is a Vis-aligned Gondolier enemy with very high stats. His attacks are simple but he has a high health pool, high attack, and doesn’t get stunned easily. Bring your best Fatuo weapon and use your windows of counter-attack after parrying his two- to three-part combos. You can find him to the left of the Gran Pagura in the Mines.
Vetra Glassblower (Optional)
This Gentle Giant is an optional boss located next to the Road of District resting spot. Since the boss has no ranged attacks besides a rock throw that can be parried, we suggest a simple hit-and-run strategy without getting greedy. It’s not the most flashy or entertaining method of fighting this boss, but it will certainly get the job done.
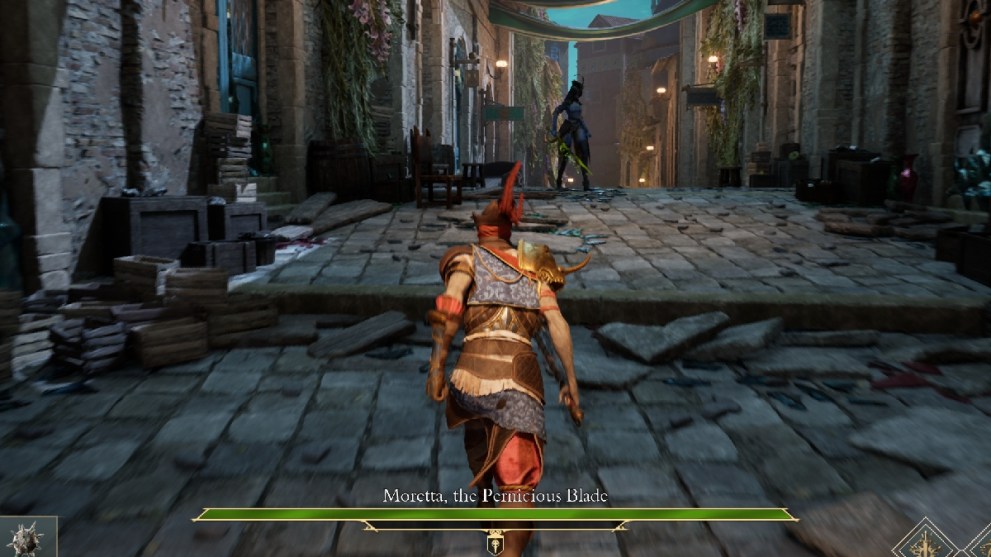
Morreta, the Pernicious Blade (Second Encounter)
The second encounter with Morreta, now in a street instead of a bridge. It’s the same situation as before, but she seems to have slightly higher stats. Rinse and repeat your strategy from earlier and you should be able to beat her once more. Just make sure to parry her Malanno orb attacks.
Astrarium Magister
The Astrarium Magister can be found in the middle of the plaza at the Court Entrance resting spot. This boss makes use of projectiles with a dangerous three-projectile attack that needs to be parried on time. There’s also a tracking stream of orbs similar to Vermiglio. Bring your best Malanno weapon and stay close to this boss to prevent them from using their powerful ranged attacks.
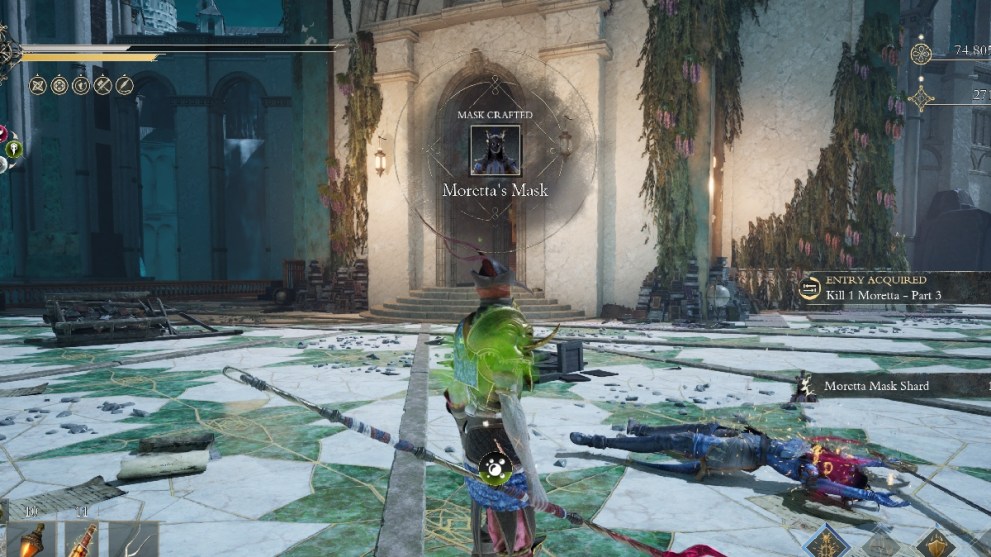
Morreta (Final Encounter)
You get your final encounter with Morreta on your path towards the final bosses. It’s the same story here as before with some slightly tweaked stats and much more aggression than before. Defeating her for the third time allows you to take Morreta’s mask and complete the questline surrounding her.
Pantalone and Balanzone
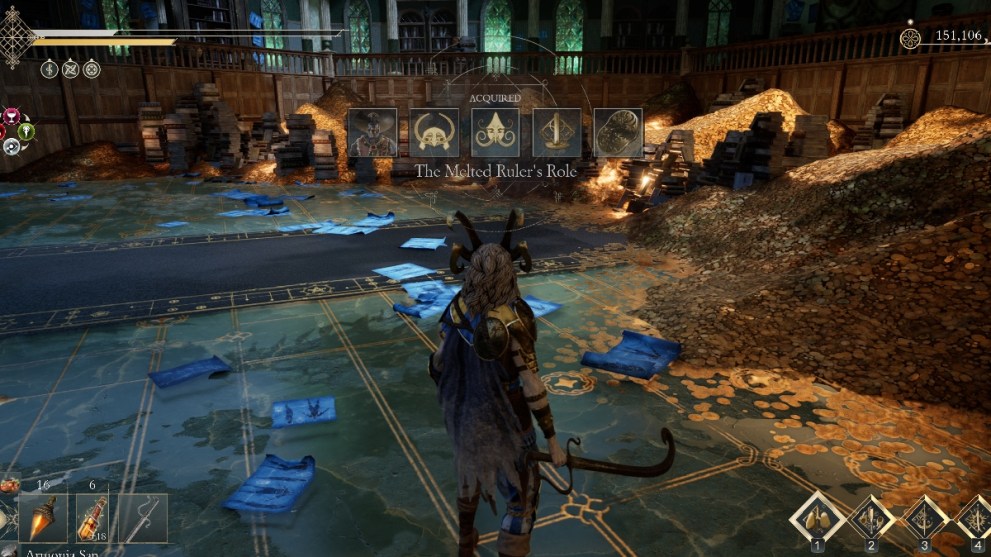
A duo boss fight where you fight the swordsman Pantalone and the mage Balanzone. Pantalone will try to teleport around and overwhelm you with his melee attacks while Balanzone strikes from a distance. Since Balanzone stays in place, it’s better to beat him first and ignore Pantalone altogether. Then you can deal with a much easier Pantalone 1v1. Once you beat them both, they fuse into the Melted Ruler, a giant enemy with wide AoE attacks. You have to attack its feet and it will stomp them in return, but it has two sets of feet so target the ones that aren’t attacking you.
Strale Velata
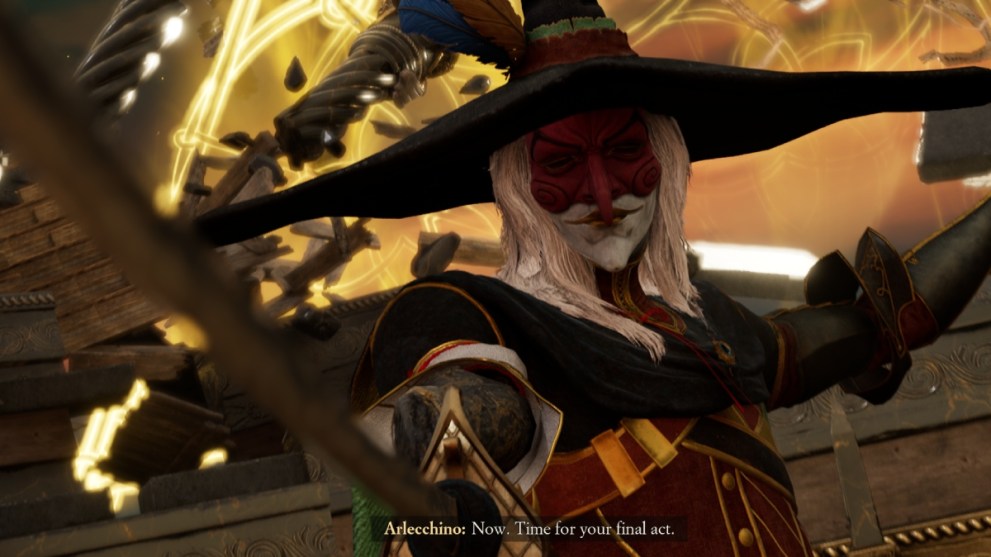
Arlecchino, Master of Canovaccio
The final boss you face is Arlecchino, who stands alone in Strale Velata. This boss strikes a balance between aggression and downtime, giving you plenty of opportunity to get a powerful hit in as he walks towards you. However, you are then required to parry his string of attacks or to take a large step backward.
His most dangerous move is the instant backflip slash, which deals a ton of damage and you need to anticipate it. Once you get him to half HP, he heals to full and becomes a bit more aggressive. The second time you get him to half HP, he enters his third phase where he will now launch powerful projectiles at you and also perform teleporting attacks. This boss fight requires a lot of patience and understanding of the boss’s moveset. Defeating Arlecchino will finish the game.
That covers our list of all bosses in Enotria: The Last Song, their order, where to find them, and how to beat them. For more guides, check out our list of all Armonia Expansion locations and all Armonia Amplifier locations.








Updated: Sep 17, 2024 11:42 am