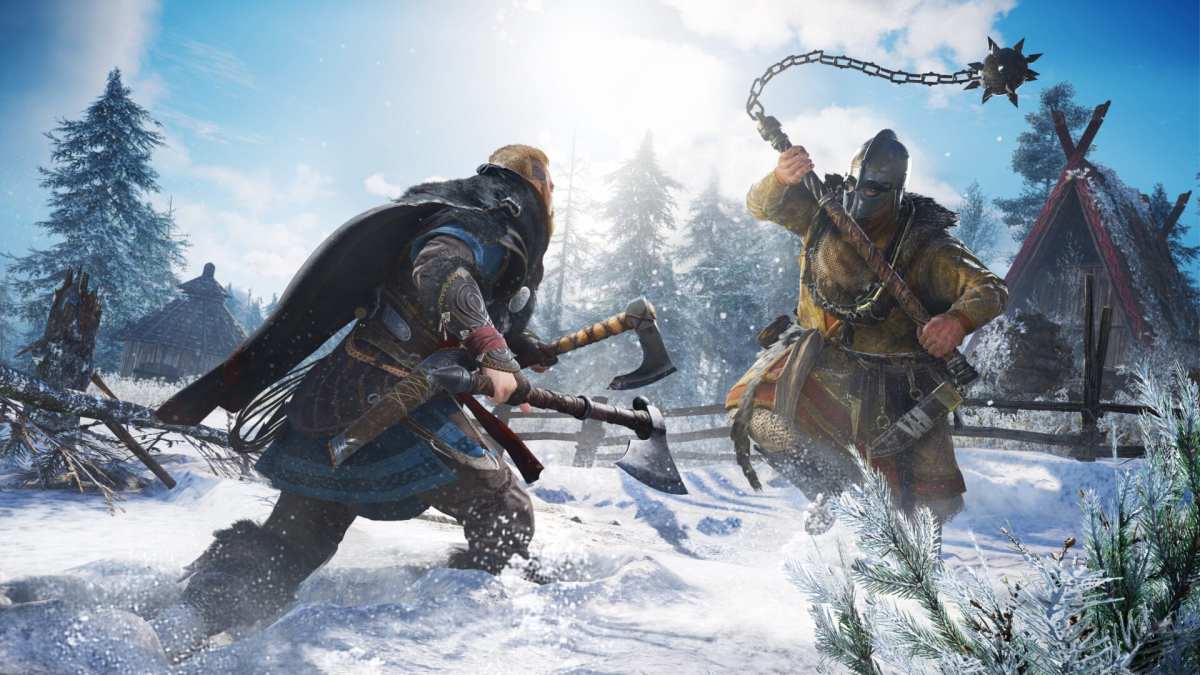
There are several different armor sets to find across England, each offering unique perks to suit a certain playstyle. For those who like sneaking around in the shadows, tracking down all five Hidden Ones’ Armor locations in Assassin’s Creed Valhalla will reward you with gear perfect for stealth.
It should be noted that this armor set is one of the hardest in the game to find since every chest is hidden behind some sort of puzzle. You’ll also want to make sure you’re a fairly high power level since they’re all scattered across the country in Hidden Ones’ bureaus.
All Hidden Ones’ Armor Locations in Assassin’s Creed Valhalla
Hidden Ones’ Gloves – Ratae Bureau, Ledercestre
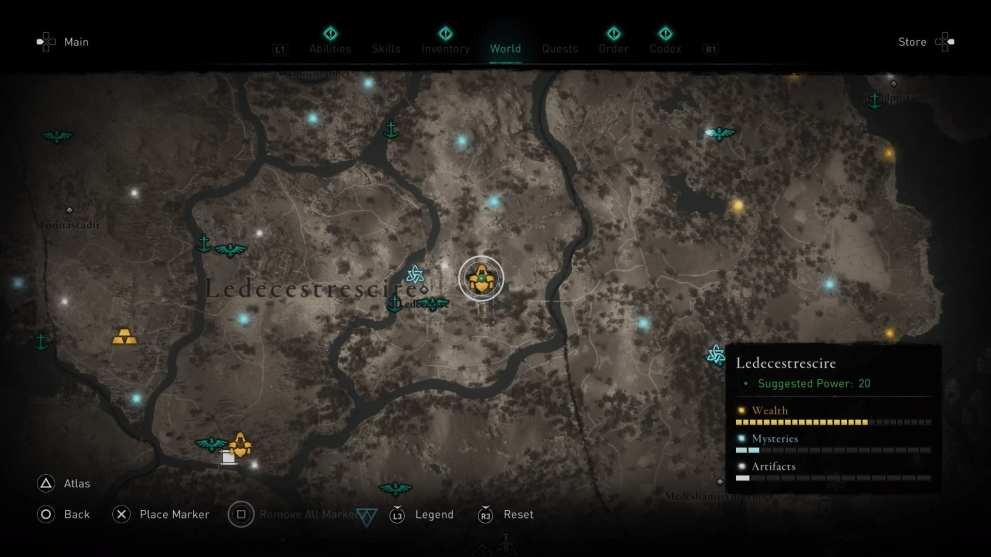
Go to the ruins where the bureau is and look for a hanging net of rubble nearby. Shoot it and descend into the tunnels. Just follow them continually pinging your Odin’s Sight until you find it.

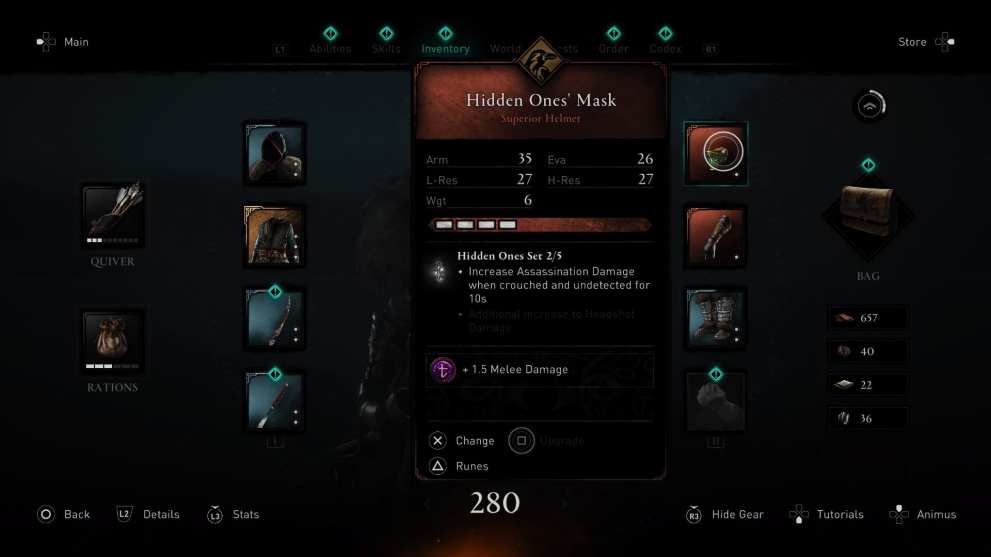
Hidden Ones’ Mask – Lunden, Londinium Bureau
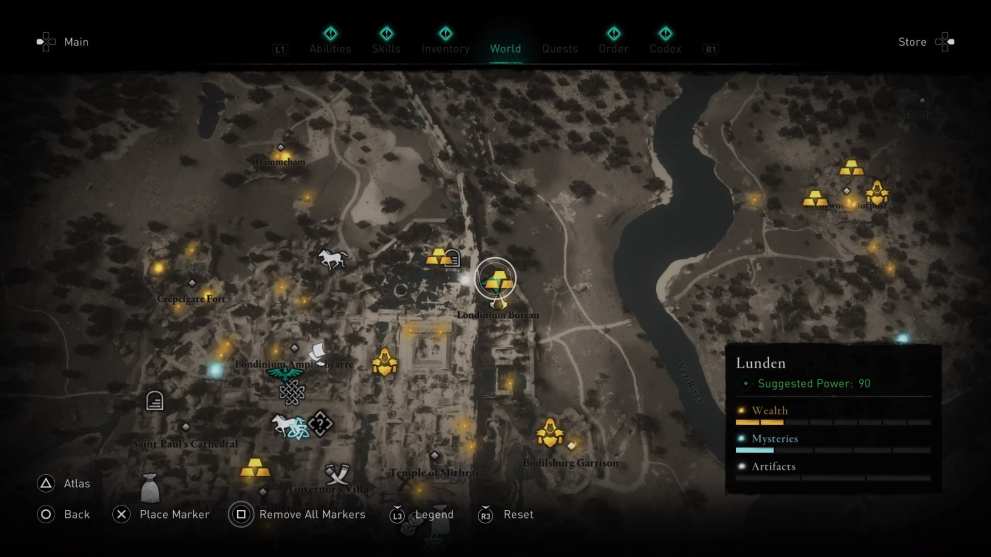
Once you’ve found the circular structure, turn around and look way up. You should see a tree hanging off the side of a ruin. Climb up and dive off into the water. Now swim downward and locate the breakable wooden wall. You’ll then need to hop out of the water and use your bow to shoot it out.
Further down the line you’ll encounter some metal windows that allow you to shoot breakable jars to open the next breakable wall.
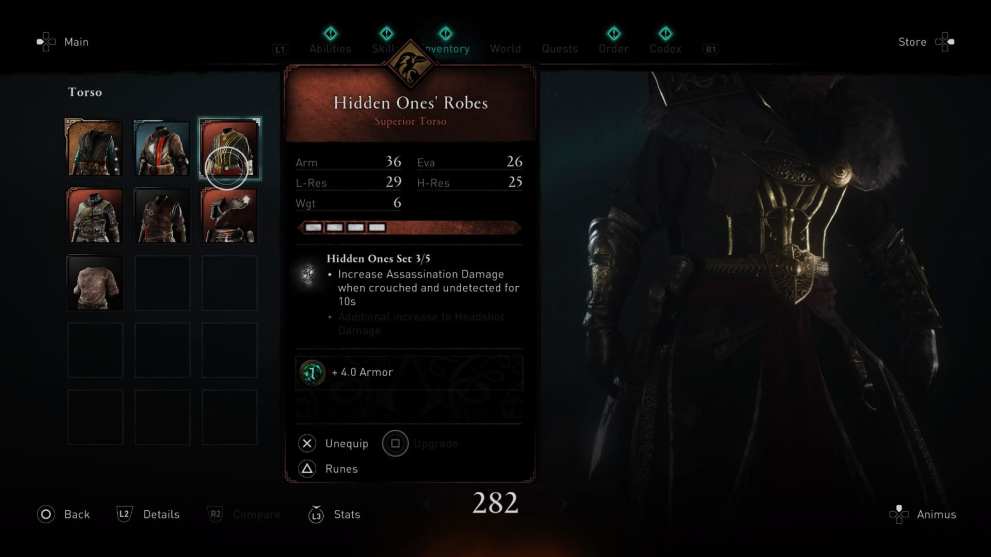
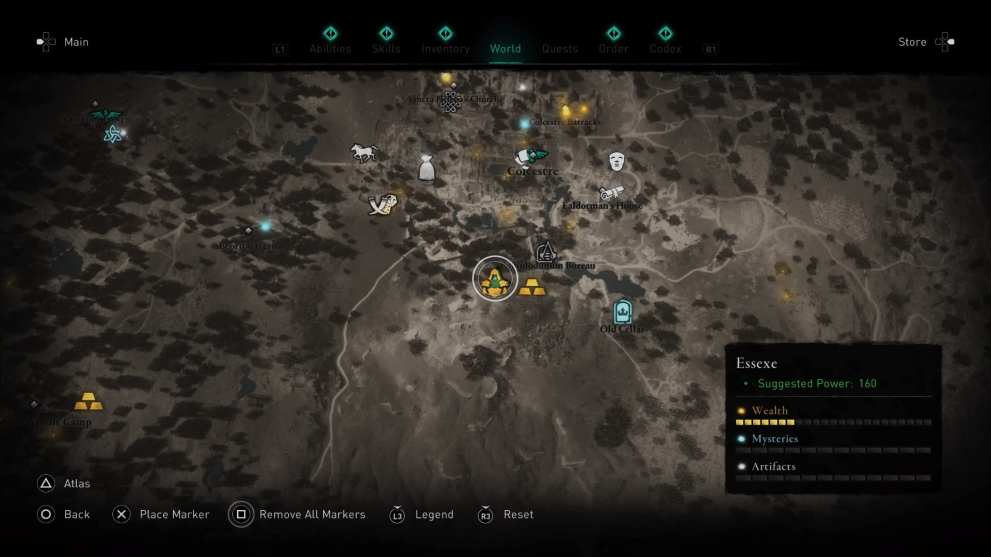
Hidden Ones’ Robes – Jorvik

First, locate the graveyard in Jorvik’s far southeast corner, and then the breakable floor you can descend into. It’s just a case of following the tunnels and sticking to the right until you come to the main room of the bureau. You can then climb a nearby bookshelf to retrieve the key and open the chest.
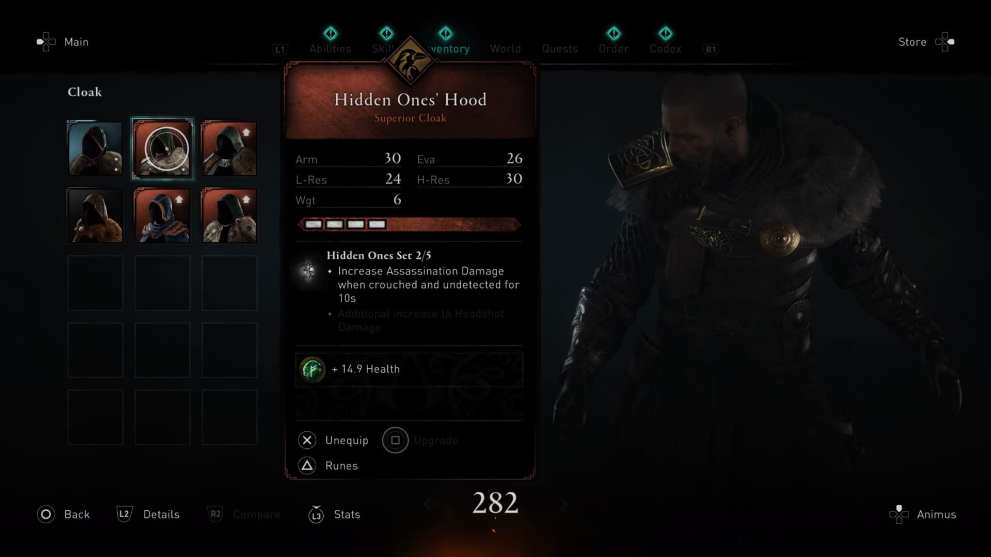
Hidden Ones’ Hood – Colcestre, Camulodunum Bureau
By far and away the trickiest bit of gear to find, this one requires you to first locate the felled free right on the southern outskirts of the city. It’s inside the city walls, but it’s more or less leaning on them from inside. Take an explosive jar from the nearby shop and use it to smash the breakable floor after you’ve climbed the tree and over the wall.
Now drop down and continue through the tunnels. You should spot an opening above you and to the the right. It’s about halfway down the tunnel. Climb up and keep going until you reach the flooded room.
Swim to the end and dive down, following the underwater passage and then the path after that. You’ll eventually appear at the end of the flooded wall but just above the locked door and where you first dived down. Jump across to the other side and down into the next area.
Now dive into the water pool and retrieve the key, then hop out, unlock the door, and then walk into the room to peer through the metal fencing. See the barred door? Shoot it out, then return from the direction you came, back to the other ledge and down the stairs to open the now unbarred door. that will unlock the door nearby. The chest is there.
Hidden Ones’ Leggings – Temple of Ceres Bureau
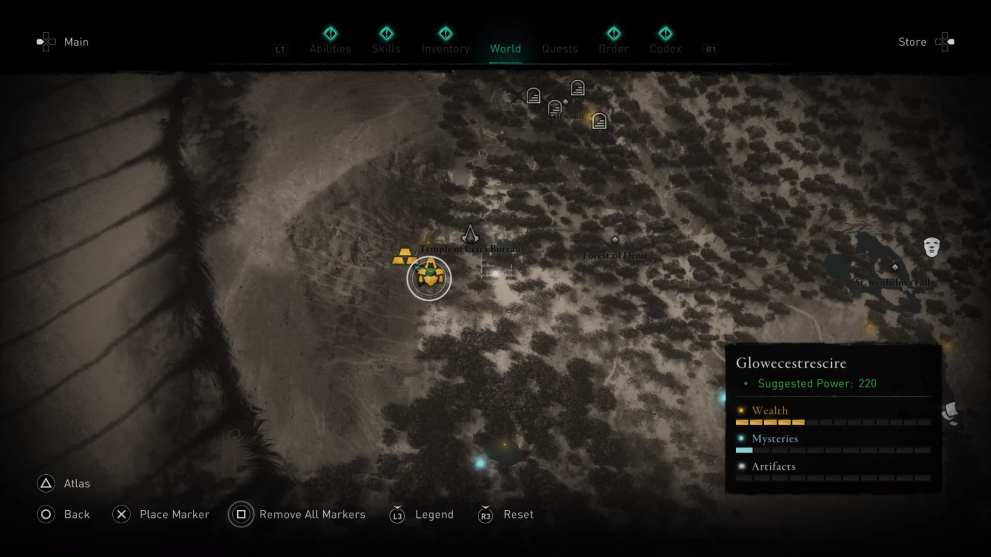
Just head through the main entrance to the temple and follow the tunnels. There are several poison clouds you’ll need to be weary of, but you can always get rid of them by using your torch. You’ll need to use oil jars to break through a wall to get the last piece of armor.

That does it for this list of all Hidden Ones’ Armor locations in Assassin’s Creed Valhalla. For more useful tips and guides on the game, be sure to check out Twinfinite’s extensive wiki.


Updated: Nov 19, 2020 06:24 am