After a long wait and a couple of delays in the process, the excruciating wait is finally over. Animal Crossing New Horizons is finally out and available for purchase on the Nintendo Switch. Customizing your home is the name of the game, even if that lands you in crippling debt to a certain raccoon, but once you see all the decorating options available to you, it’ll be worth it. Here’s how to customize your furniture color and designs in Animal Crossing New Horizons.
Customizing Furniture Color and Designs in Animal Crossing New Horizons
Before you can start to customize your furniture in the game, you’ll need to make a bit of progress on the island itself first. For us, we gained access to customization kits once our first villager moved to the island proper. After the daily morning announcement, Tom Nook will announce that he has a special DIY workshop for anyone interested.
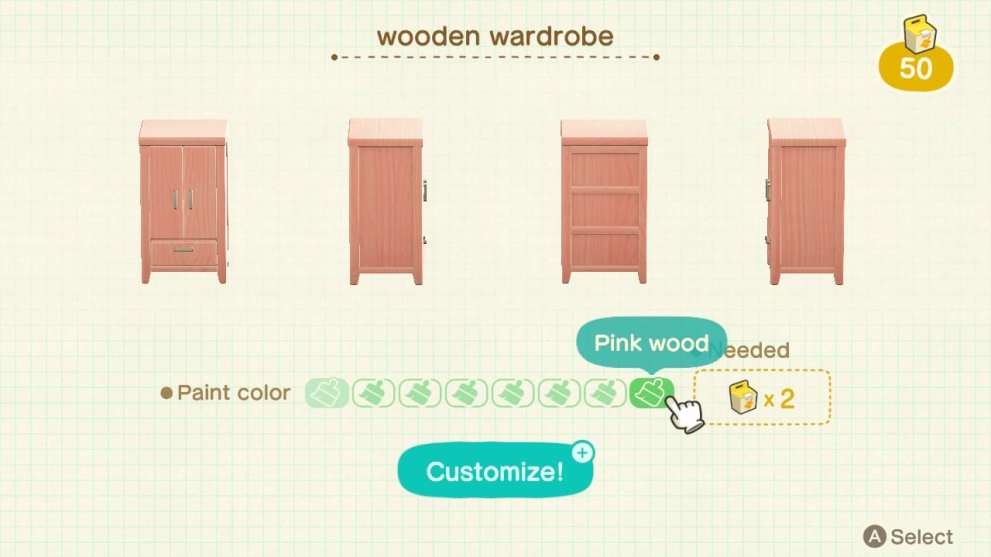
Head over to the Resident Services tent and talk to him, and he’ll ask you to craft a piece of furniture. In our case, it was a wooden wardrobe. After you’ve done so, talk to him again, and he’ll hand over 50 customization kits.
With these kits in hand, head over to any workbench or crafting table and select the Customize option. Then, choose the piece of furniture you want to change up, and you’ll be taken to a new screen where you can change its colors and designs.

The more complex the changes, the more customization kits you’ll need to use.
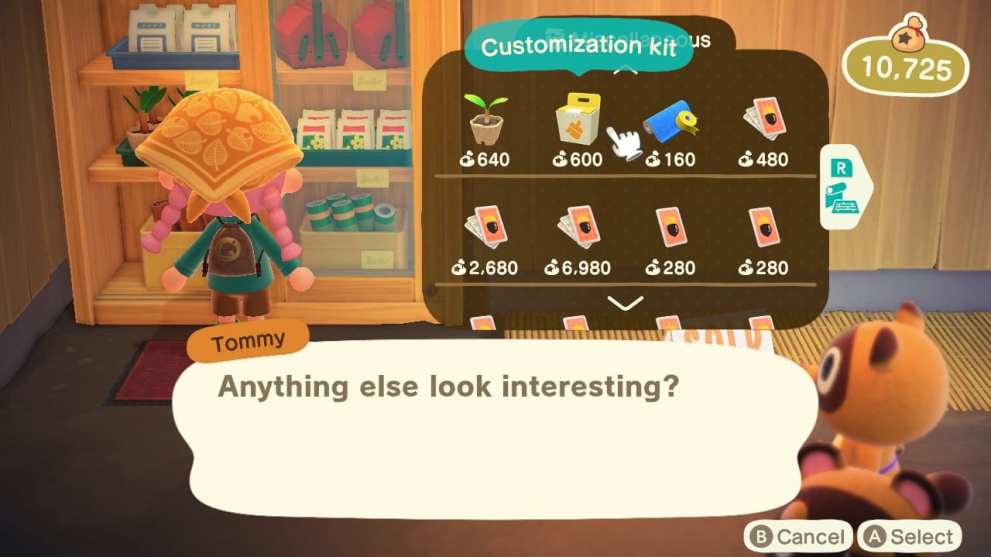
However, the good news is that once you’ve unlocked the kits from Tom Nook, you’ll be able to start purchasing them from Timmy and Tommy at the Nook’s Cranny shop. After that, you’re free to customize your furniture to your heart’s content at any crafting table.
Each kit will set you back 600 Bells, so be sure to set aside some money if you plan on buying them in bulk.

To recap, here’s how to customize your furniture color and design in Animal Crossing New Horizons:
- Make progress on the island until your first villager moves in, and Tom Nook announces a new DIY workshop.
- Talk to Tom in the Resident Services tent and craft the furniture he asks for.
- After he hands over the customization kits, you can change your furniture color and designs at any workbench or crafting table.
That’s all you need to know about how to customize your furniture design and colors in Animal Crossing New Horizons. Be sure to search for Twinfinite or check our guide wiki for more tips and information on the game.


Updated: Mar 25, 2020 05:40 am