Amid the slew of different quests and tasks you can complete in Final Fantasy 7 Rebirth, the hunt for the Cactuar Rock locations in Cosmo Canyon is surprisingly tricky. That’s why we’re here to help you find all of their locations with minimal headaches via this detailed guide.
Where to Find Every Cactuar Rock in Cosmo Canyon in FF7 Rebirth
There are a total of four Cactuar Rocks to track down in Final Fantasy 7 Rebirth. The first two are easy enough to find, but the other two won’t be available for discovery until you reach Chapter 12 and can progress the Corel Region’s Protorelic quest further.
Speaking of which: The Cactuar Rocks are tied to the Corel Protorelic questline, and are activated using the beam from Cactuar Statues found at various Mako Reactors scattered throughout the area. Make sure you only try to find the Cactuar Rocks listed below once you have the requisite statue needed to unlock them.
Cactuar Rock I Location
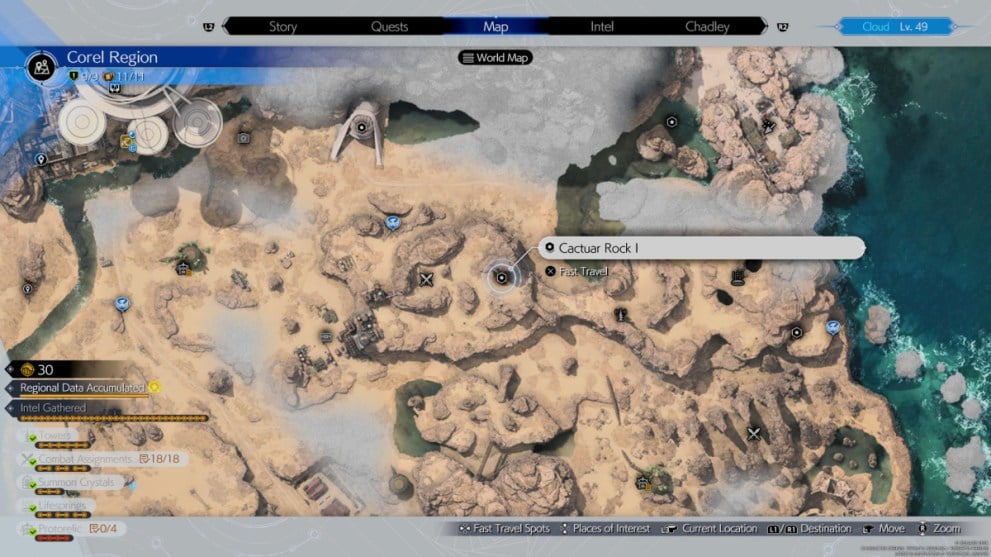
The first Rock is located due east of the Fiend Intel 5: Fish Out of Water map marker.
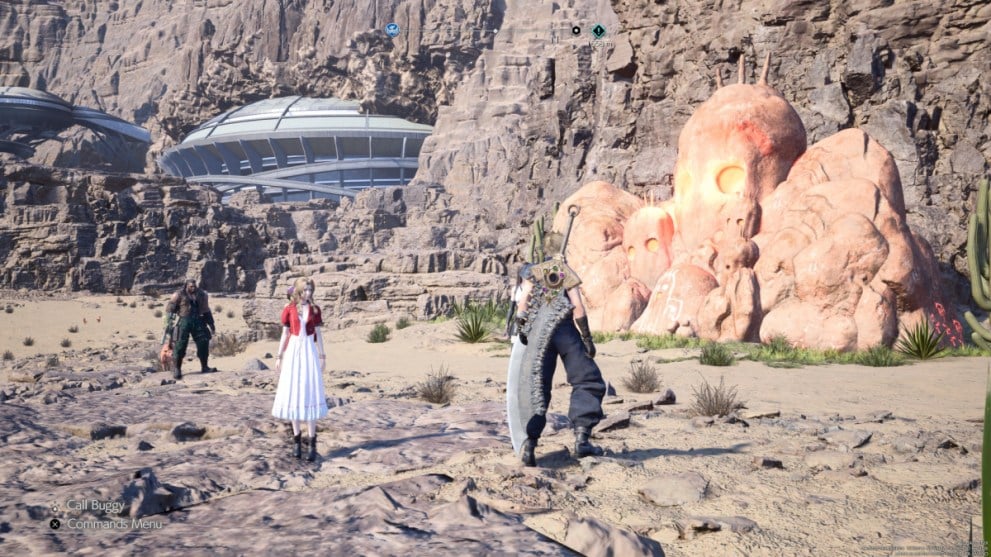
Head toward the rock from the Fiend Intel marker, and then aim the Cactuar Statue’s laser at it by holding up on the D-Pad to unlock the first Protorelic challenge in the region.
Cactuar Rock II Location
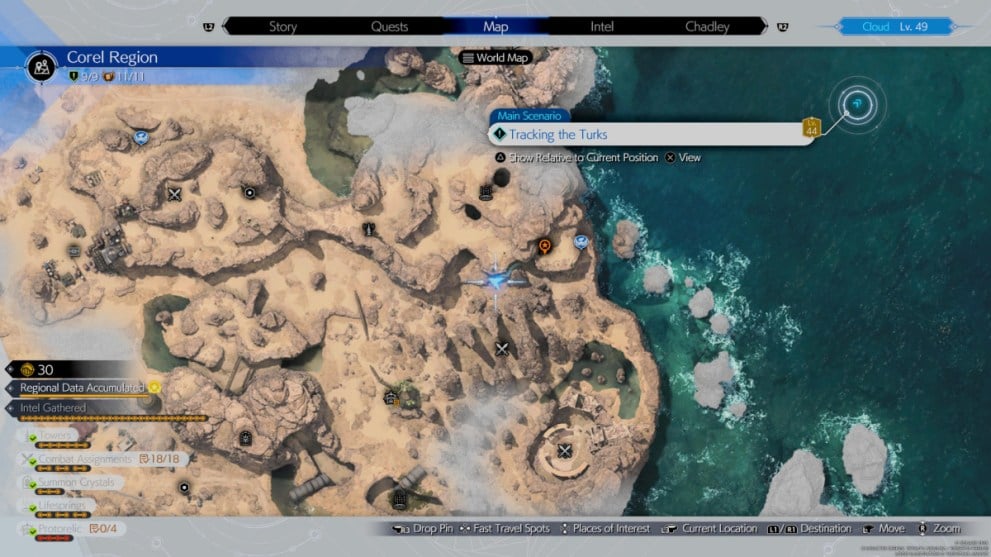
The second Cactuar Rock in Final Fantasy 7 Rebirth is on the far side side of the map, just west of a Chocobo Stop. To reach it, head toward the point shown on the map above to discover some scalable portions of the surrounding rock formations.
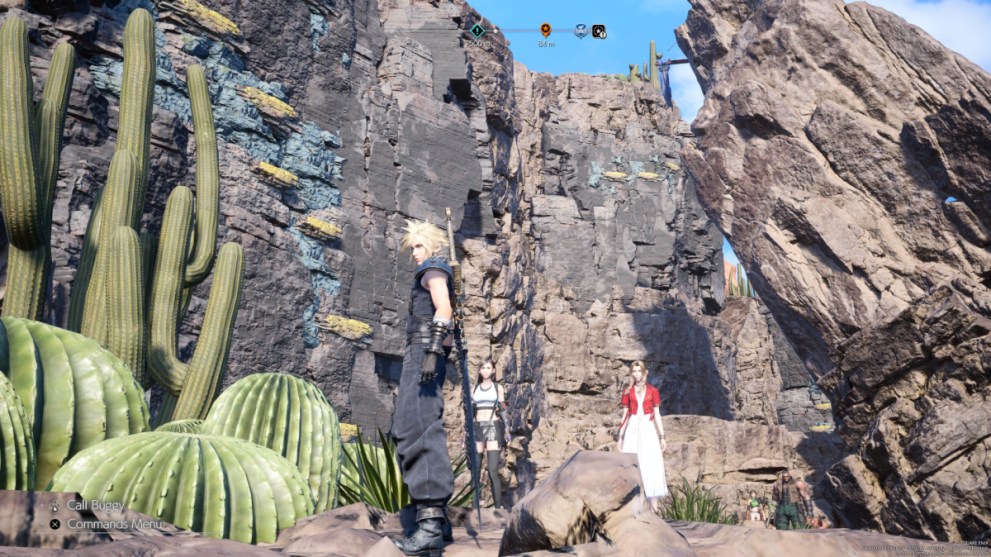
Climb the wall next to some cacti, and then use your grappling rope to swing across the gap toward another section of scalable wall. Follow the wall over to the right, and the Rock will be free to activate with your Cactuar Statue.
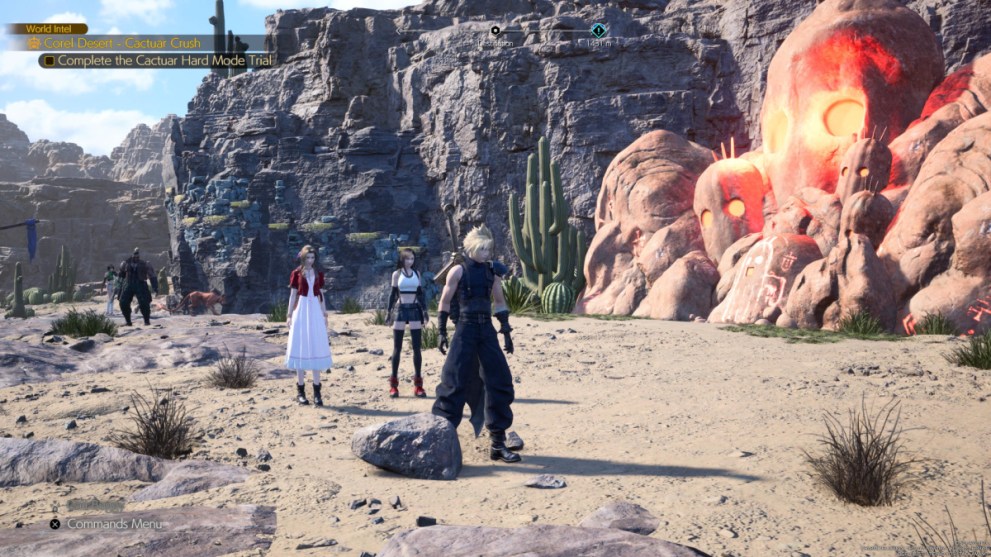
How to Trigger Protorelic 3 and 4 Quests in FF7 Rebirth
As mentioned above, you won’t be able to search for the third and fourth Cactuar Rocks until you progress the game to Chapter 12.
More specifically, you need to reach the point in the game where Cid’s airship the Little Bronco is damaged and then repurposed into a boat. When this occurs, you gain the ability to travel around to every area in the game via waterways and new quests are unlocked in every region.
This includes the Corel Region. If you already completed the first two Protorelic Intel tasks, then the Goblin Kid will contact you and let you know you’re now able to look for the next two Cactuar Rocks unimpeded.
Cactuar Rock III Location
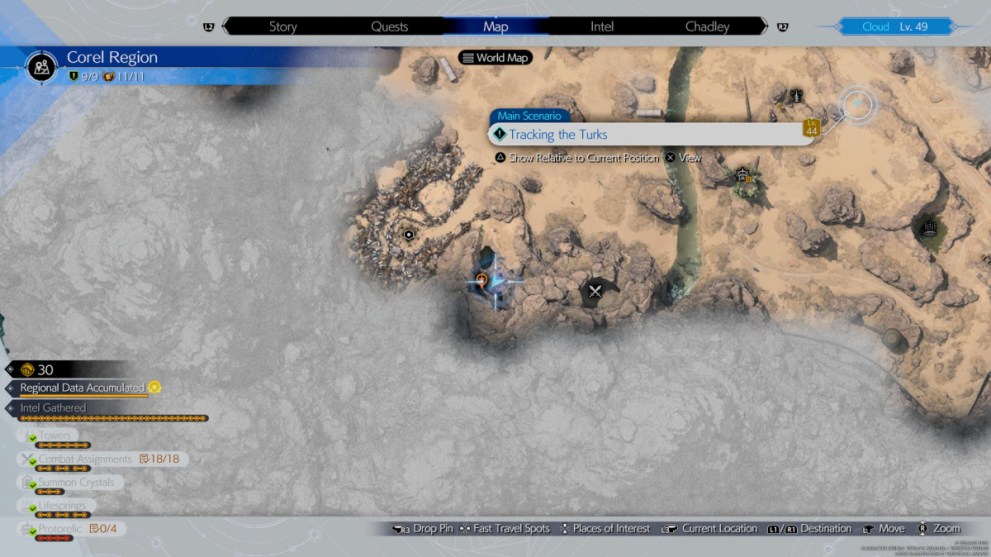
The third Cactuar Rock is to the west of the Fiend Intel 3: Top of the Pecking Order map marker and down in a lower part of the area. You can reach it if you go to the point marked on the map and then look behind the group of cacti for a path that leads down into a crevice.
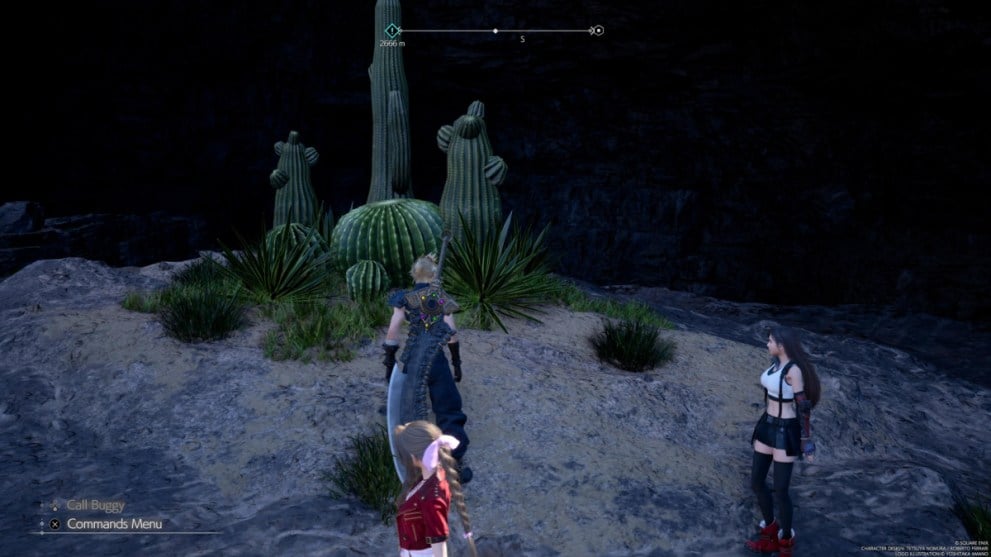
Follow the path into the crevice, and then climb down, up, and down the scalable portions of the nearby rock walls. Continue forward, and the Rock will be to the left of the last scalable rock wall.
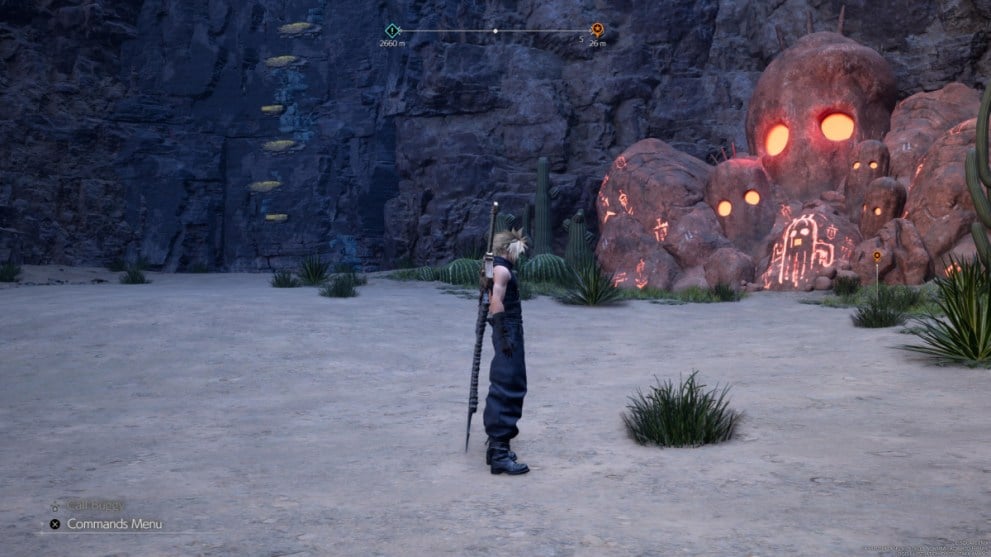
Cactuar Rock IV Location
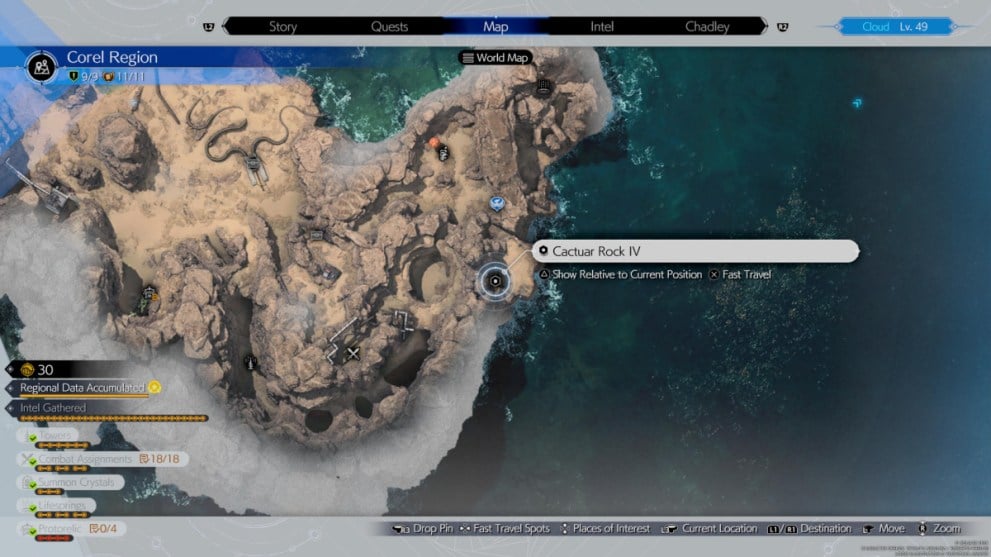
The fourth and final Cactuar Rock is in the bottom right corner of the Corel Region map. It’s also due South of a Chocobo Stop, and you need to travel to said Stop to finds the path which leads to the Rock.
Once you reach the Chocobo Stop, follow the rock wall to the right until you come to a scalable rock wall.
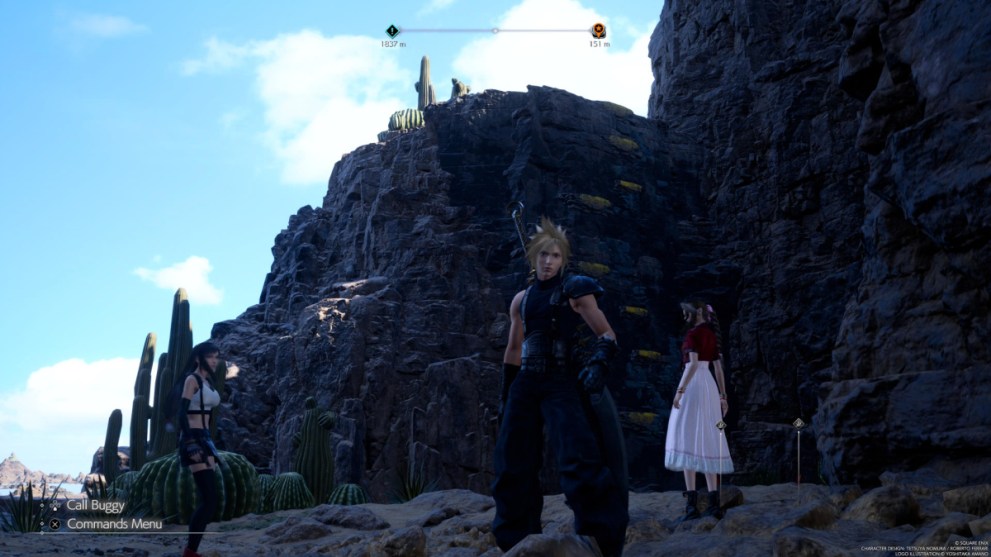
Climb up the wall and then continue forward until you come to a point where you can climb along some rock wall. Scale your way to the left, and then continue along until you reach some points that you can grapple to with your rope.
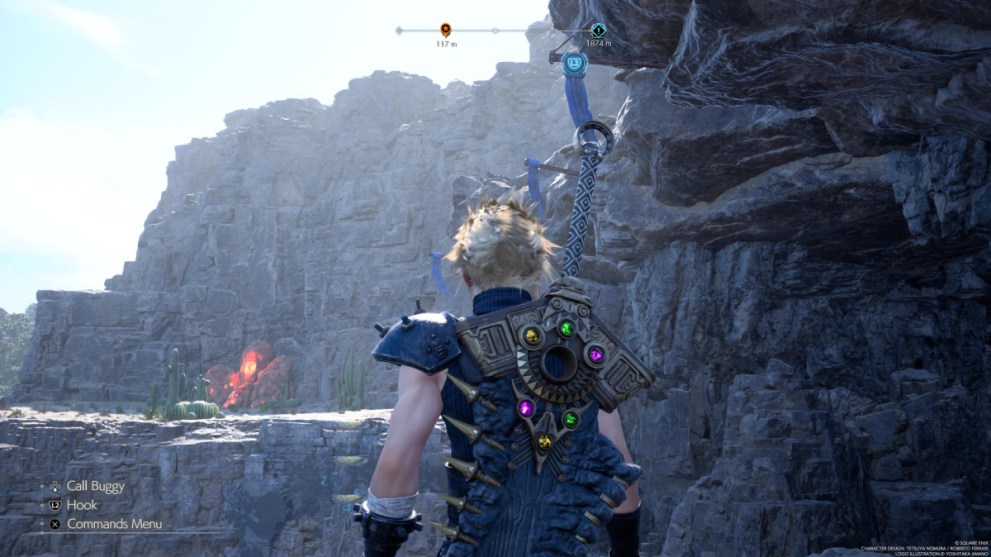
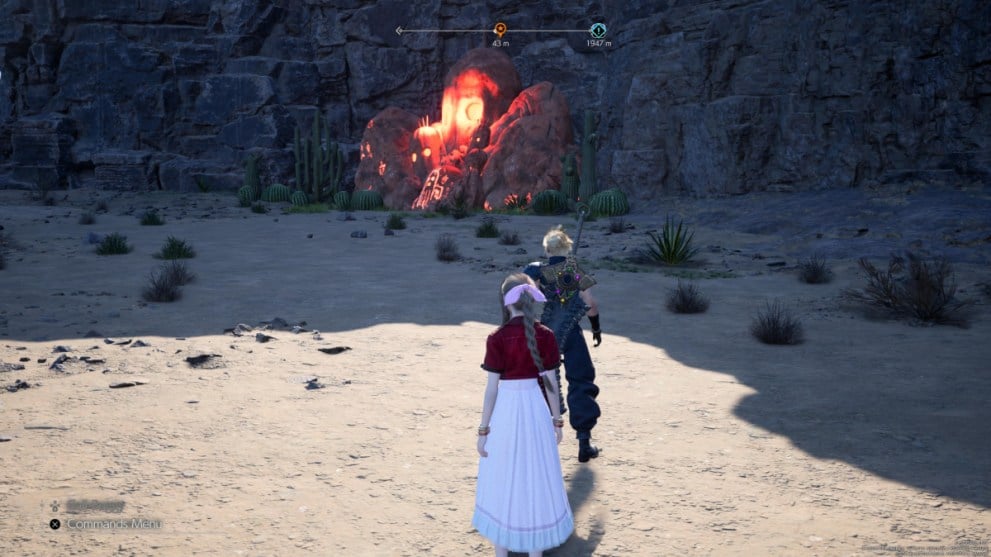
Grapple from point to point until you reach a land-able surface, and then move forward to find the last Rock.
What Does Finding Every Cactuar Rock Do in FF7 Rebirth? Explained
As for what you get out of tracking down every Cactuar Rock in Final Fantasy 7 Rebirth, it’s pretty substantial.
In addition to allowing you to complete the Protorelic Intel side quest in Corel, they also allow you to play a Cactuar-slaying minigame. The completion of the game’s ranks nets you valuable items and gear, and even some rare crafting materials you need to make the title’s end-game accessories.
They also help you get one step closer to obtaining several of the game’s trophies. Some are tied to quest completion like the Cactuar Crusher Trophy, while others are related to the completion of Chadley’s World Intel gathering efforts, like the Materia Completionist Trophy.
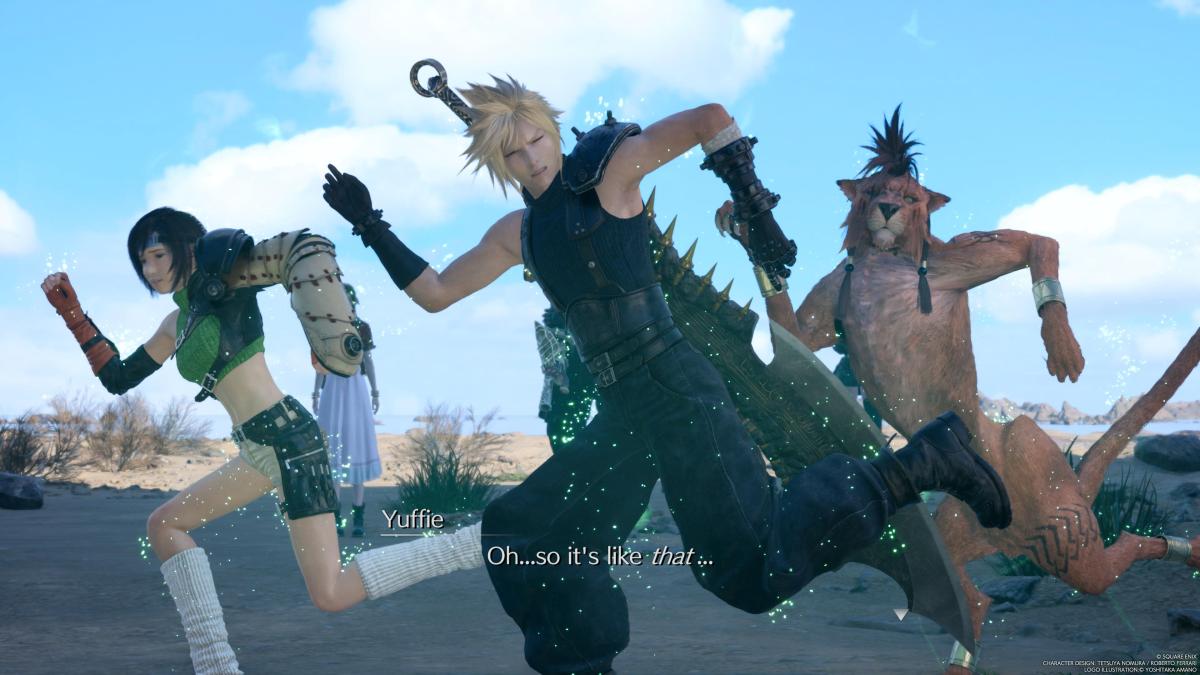
And if all that’s not enough, there’s also the narrative elements to consider. When you take the time to track down every Rock, you’re treated to several funny scenes featuring Cloud, Yuffie, and Red XIII, and said scenes are something you won’t get a chance to see anywhere else in the game.
Keep this in mind, and make sure you don’t miss out on this worthwhile distraction from the more serious tasks scattered throughout the game.
That’s everything you need to know about where to find every Cactuar Rock in Final Fantasy 7 Rebirth. It can be a process to find them all, but it’s worth it to complete the Protorelic side quest and obtain some valuable resources you can put toward strengthening every member of your party.
For more on the game, you can check out our guides on what all the Queen’s Blood Ranks are and where to find all the Refurbished Materials and Ziplines in Costa Del Sol.





Updated: Feb 29, 2024 06:54 am