While some of BioShock Infinite‘s Infusions are a cinch to find, others are hidden within the game’s surprisingly big levels or behind elusive puzzles. That’s why we’re here to walk you through how to find every Infusion’s location in BioShock Infinite.
All Infusion Locations in BioShock Infinite
There are a total of 24 Infusions to track down in BioShock Infinite’s base game, along with five more that can be obtained through DLC or as a bonus in the BioShock: The Collection version of the game.
The majority can be picked up along the way as you play through the main story, but some are found on the outskirts of certain levels or hidden behind the Cipher puzzles you’ll encounter from time to time.
We’ve listed each one with some screenshots of where they’re located below, along with some instructions on how to reach them. This does not include the five bonus Infusions from the Collection version however, as they’re all given to the player at the start of the game.
Also worth noting is that many of these Infusions become inaccessible if you proceed too far into the game, so it’s best to grab them as soon as you have the chance.
Where to Find Infusion #1
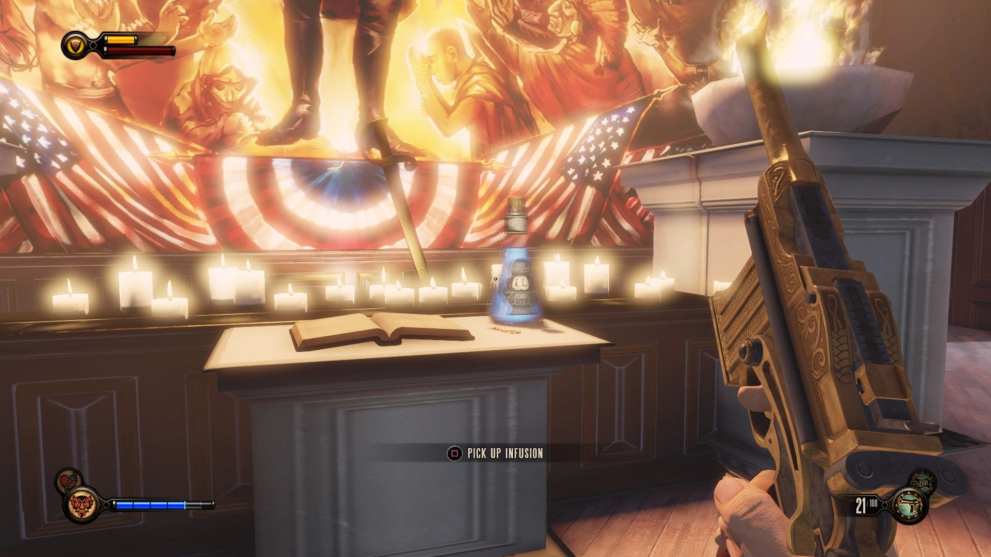
The first Infusion in BioShock Infinite is found at the Fraternal Order of the Ravens, on their main alter. Even better, it aligns with the main story, so it’s hard to miss.
Continue along with the main story mission until you reach the Fraternal Order. Head inside, and after you defeat the Order members within, head toward their main altar on the lower level of the building. The Infusion will be on the right side of the alter next to an open book, on top of a key that you’ll need to get the next Infusion.
Where to Find Infusion #2 in BioShock Infinite
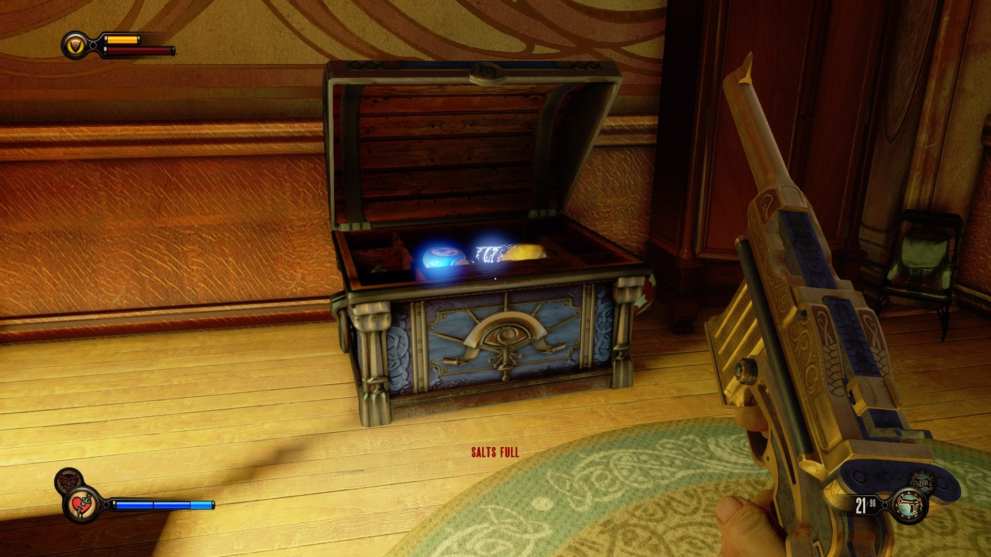
The next Infusion is in a chest hidden in the Landsdowe Residence. This one’s easy to miss; the only way into the Landsdowe Residence is through a balcony accessed via repositioning yourself on a Sky Hook, and you won’t be able to obtain the Infusion without the key found under the first Infusion.
Grab the key found under the first Infusion, and then backtrack out of the Fraternal Order of the Crows building. Head back toward the house you went through where the couple offered you a safe passage. Go back out to their balcony, and then look for the Freight Hook that allowed you to reach it during the main game.
Jump back up onto the Freight Hook, and then look down. There should be another balcony you can jump down onto, hidden from view unless you’re heading backward.
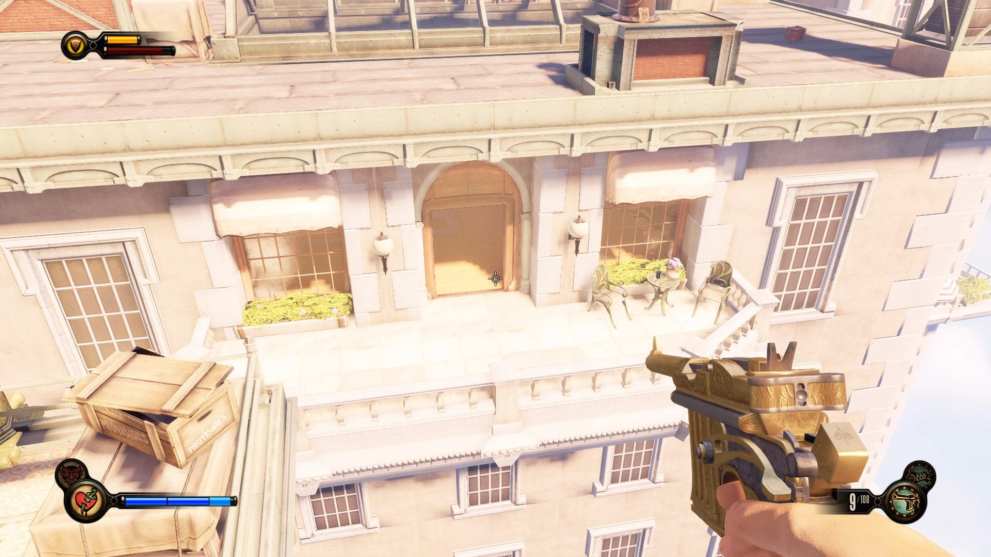
Jump down onto the balcony, and then proceed down into the house. Eventually, you’ll come to a bedroom with a chest bearing the Fraternal Order of the Raven’s crest. Use the key you got at the Order to unlock it, and the second Infusion will be inside.
Where to Find Infusion #3
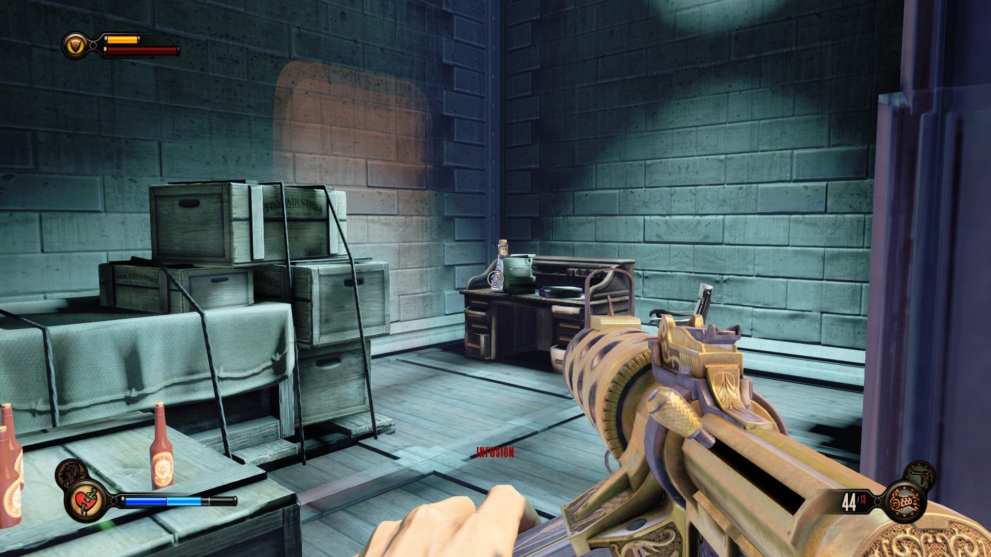
The third Infusion is hidden in a way station along the Sky Line leading to Monument Island.
First, proceed through the game until you come to the aforementioned Sky Line. You’ll know you’ve reached it when you see the sign to your right indicating it as such.
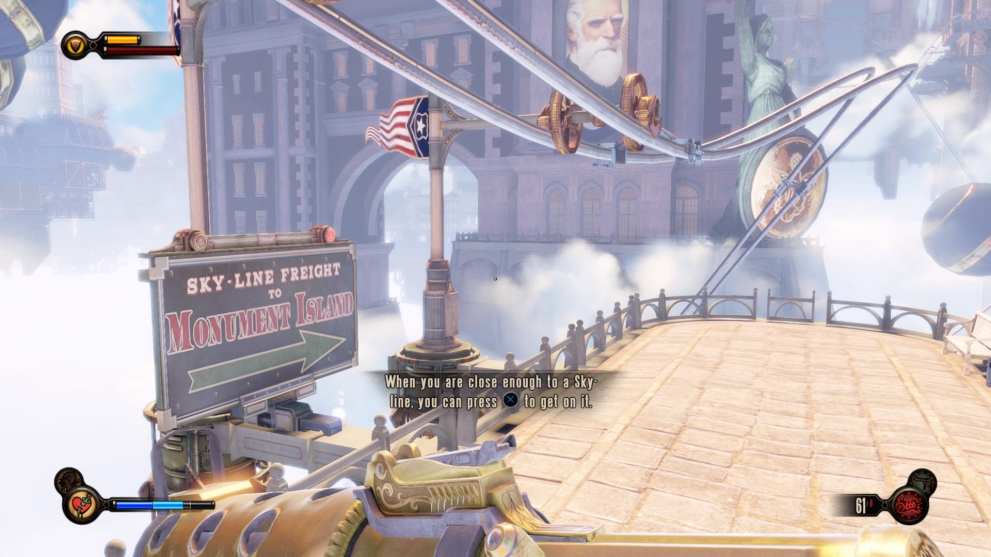
Jump onto the Sky Line and ride it until you see a platform to your left, leading into a way station. There should be two soldiers standing guard on it. Jump down and take care of them, and then head inside the station. Hug the right wall until you come to an opening, and then head into the opening.
This will take you into a storage room, and the Infusion will be in the back on top of a desk.
Where to Find Infusion #4 in BioShock Infinite
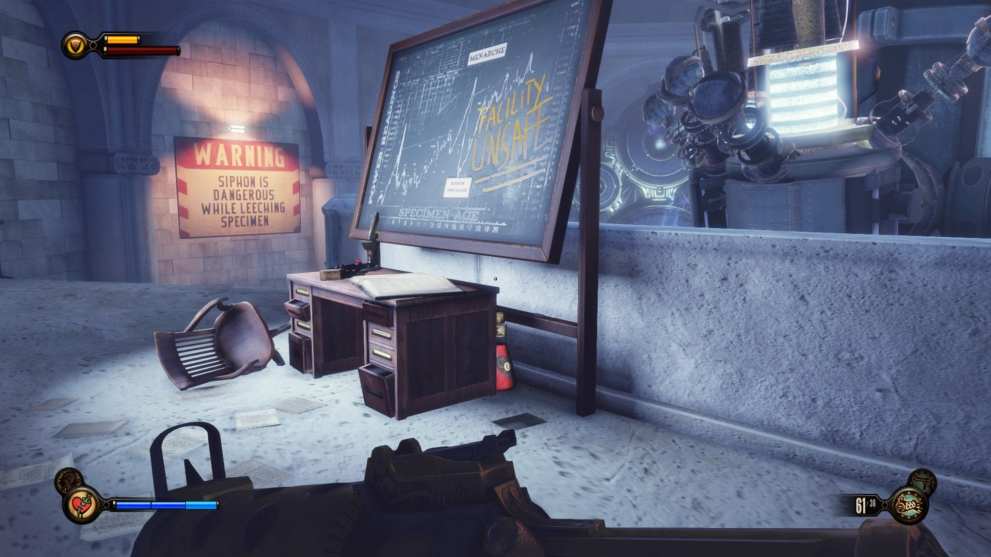
The fourth Infusion is found in Monument Tower, though it’s easy to miss if you’re moving too quickly through the location.
Proceed through the tower until you come to a room with a massive electric machine. It’ll have a desk and a chalkboard in front of it, and the chalkboard will have the words “Facility Unsafe” written on it in yellow.
Look behind the right side of the desk to find the Infusion.
Where to Find Infusion #5
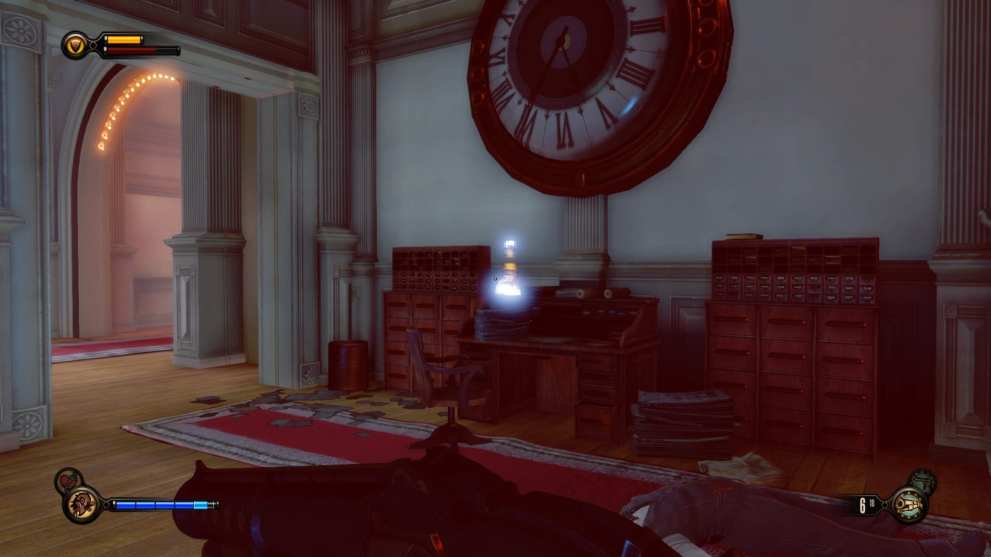
Next up is the fifth Infusion. It can be found in the ticket master’s office after you survive the soldiers’ sneak attack.
Once the attack subsides and Elizabeth runs off, head up the stairs to the right and then turn left toward a hallway. This will take you to the ticketing station’s rear entrance. Head inside, and then make your way back toward the ticketing desk. The Infusion will be to your right, on top of a desk and below a large clock.
Where to Find Infusion #6 in BioShock Infinite
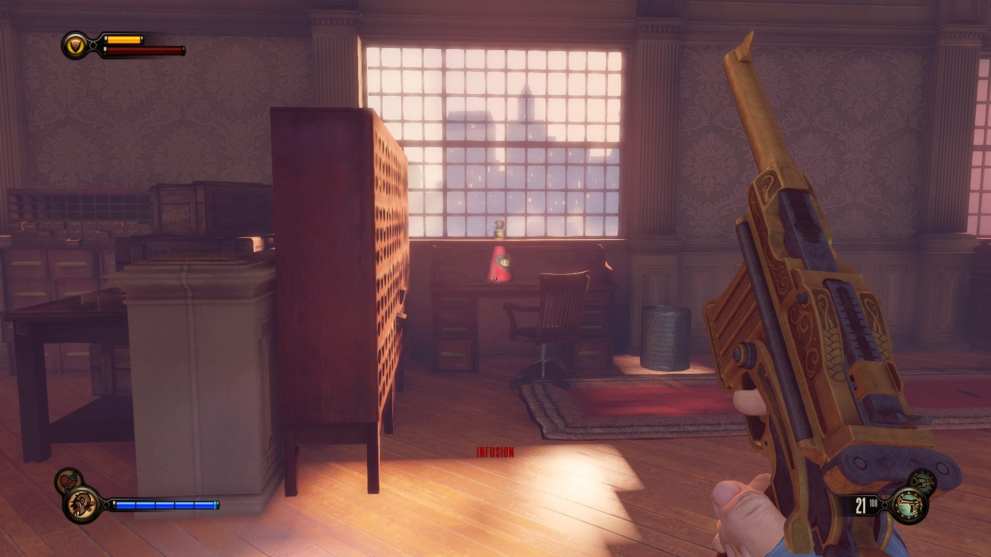
Next up is the Infusion in BioShock Infinite’s Soldier’s Field area.
From the area with the animatronic Eagle, head left through some white double doors into an office area. In the rear center of the room, you’ll see the Infusion on a desk sitting in front of a window.
Where to Find Infusion #7

The next Infusion is one of three hidden behind a Cipher puzzle, and will require a bit of leg work.
First, look for a bar in Soldier’s Field. It can be found to the left of the area where you see the Hall of Heroes sign and Sky Line. Head inside, and head to the right rear side of the building. There, you’ll find a bathroom with a coded message written on a wall in red. After Elizabeth makes note of it, you’ll be tasked with finding a code book to decipher it.
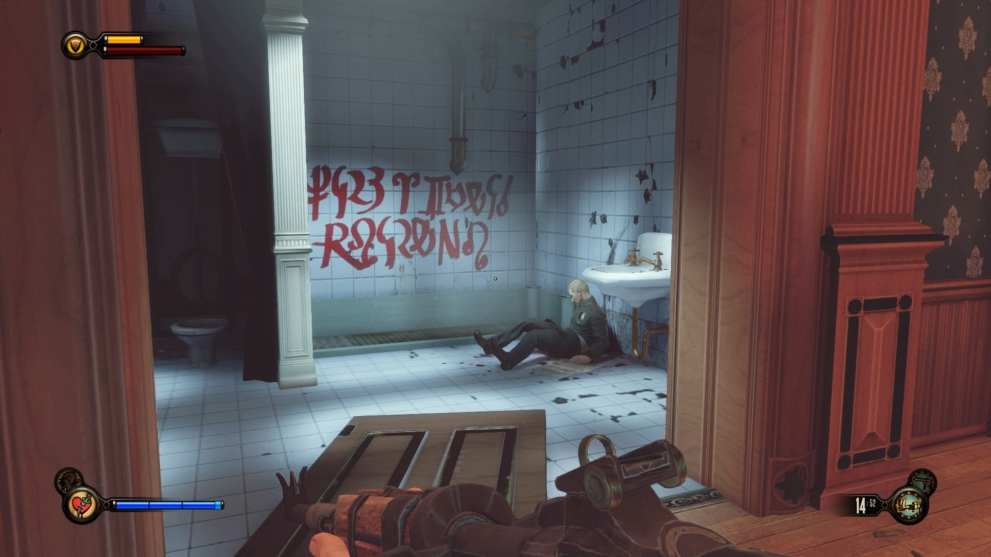
With this triggered, head toward the building across from the bar. Inside this building, there will be a cannon. Look in the barrel of the cannon to find the code book for the Cipher.
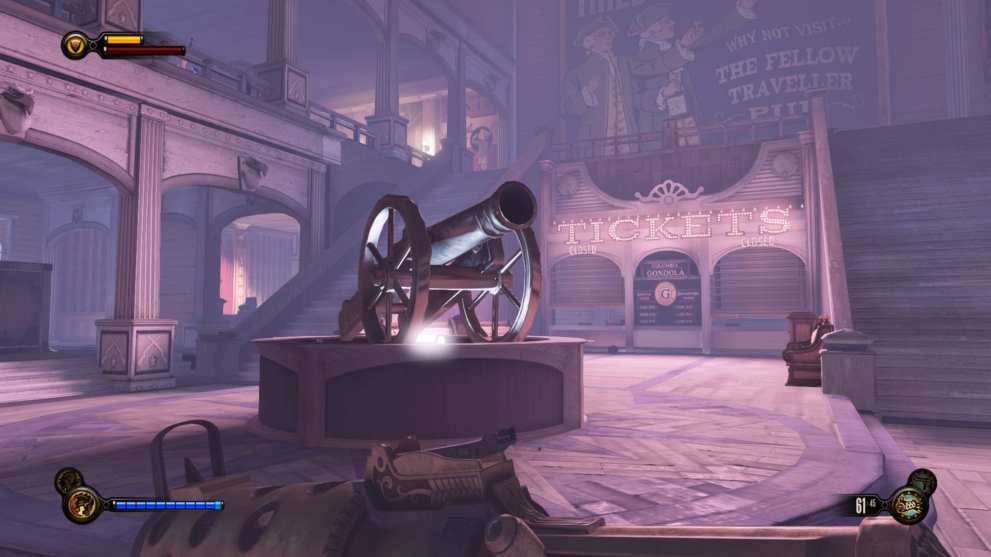
With the code book in hand, head back to the cipher message on the wall. Elizabeth will decode it to mean “Tip the Hat to Vox,” which hints at interacting with the hat on a hat rack in the room to the right of the bathroom.
Interact with the hat, and it’ll open up a secret area. Head inside, and the Infusion will be on a desk to your right.
Where to Find Infusion #8 in BioShock Infinite
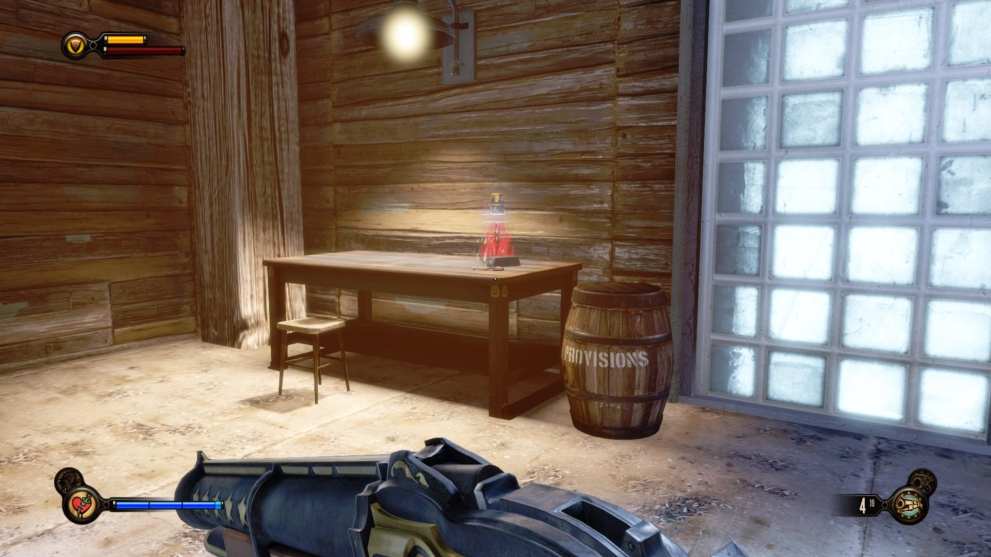
BioShock Infinite’s next Infusion is in the Hall of Heroes.
To get it, proceed through the main story mission until you survive the first wave of Slate’s men. After you do, a gate will be open to your right, leading into a storage area. Head inside and make your way toward the back. The Infusion will be on a desk in the upper right corner of the room.
Where to Find Infusion #9
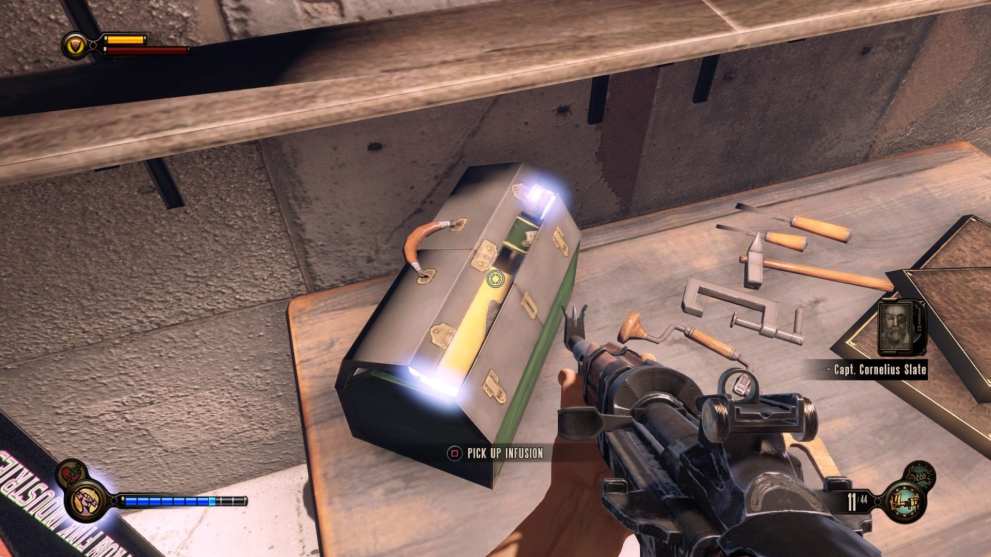
The next Infusion is one of the easiest to miss in the game.
From the room where you fought Slate and his men, turn left and head through some white double doors. Then, turn left again toward a workbench with a slightly opened toolbox on it. Jump up onto the bench, and look inside the toolbox to find the Infusion.
Where to Find Infusion #10 in BioShock Infinite
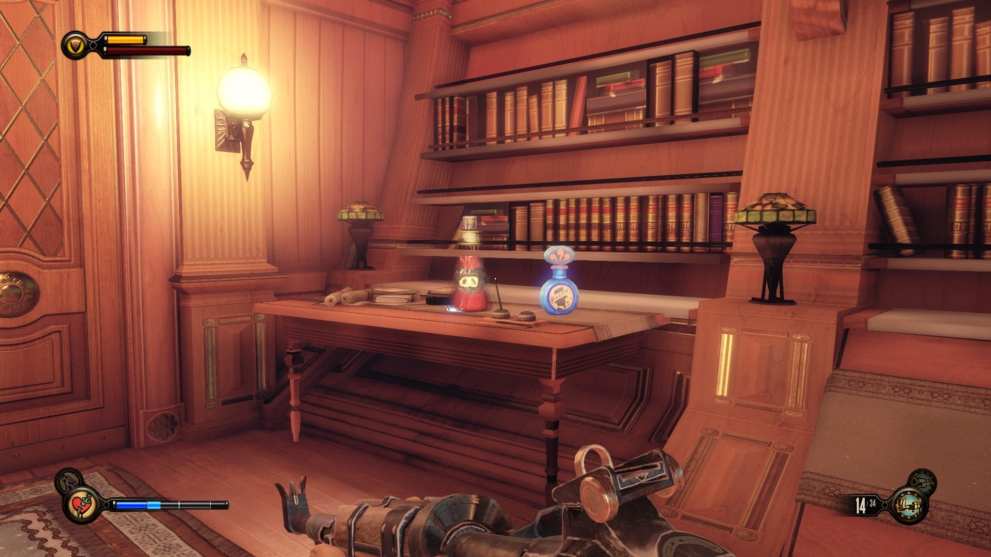
The tenth Infusion is one of the easiest to get. Simply look to your right after boarding the First Lady Airship, and it’ll be on a desk along with some Salts.
Where to Find Infusion #11
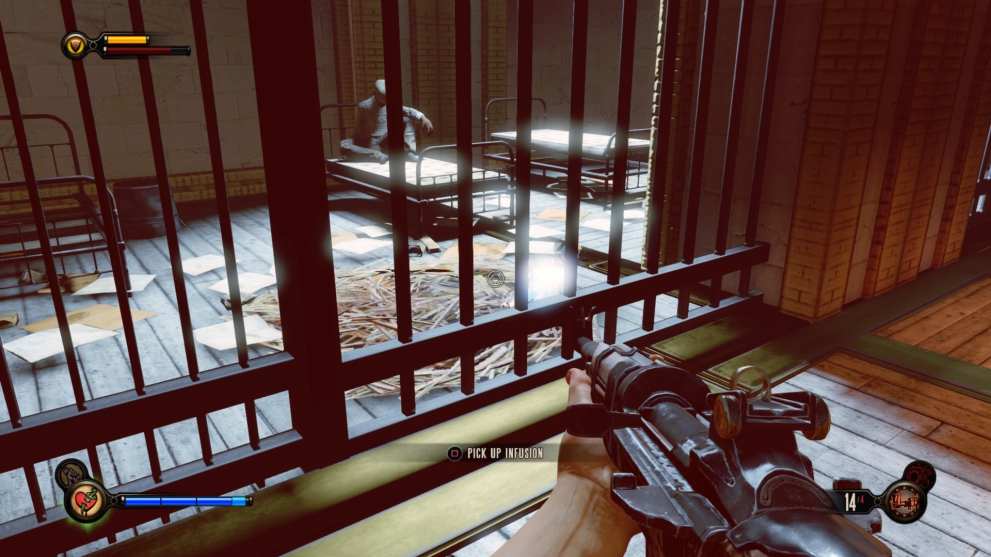
The next Infusion is found in the Finkton Docks, in one of the holding cells on the lower level.
After defeating the soldiers that take Elizabeth during the main story mission, head to the white double doors on the upper left side of the “Defending Our Values” building. Head through them, and then look for a pile of straw in the cells found inside. The Infusion will be sitting on top of the straw and leaning against the bars.
Where to Find Infusion #12 in BioShock Infinite
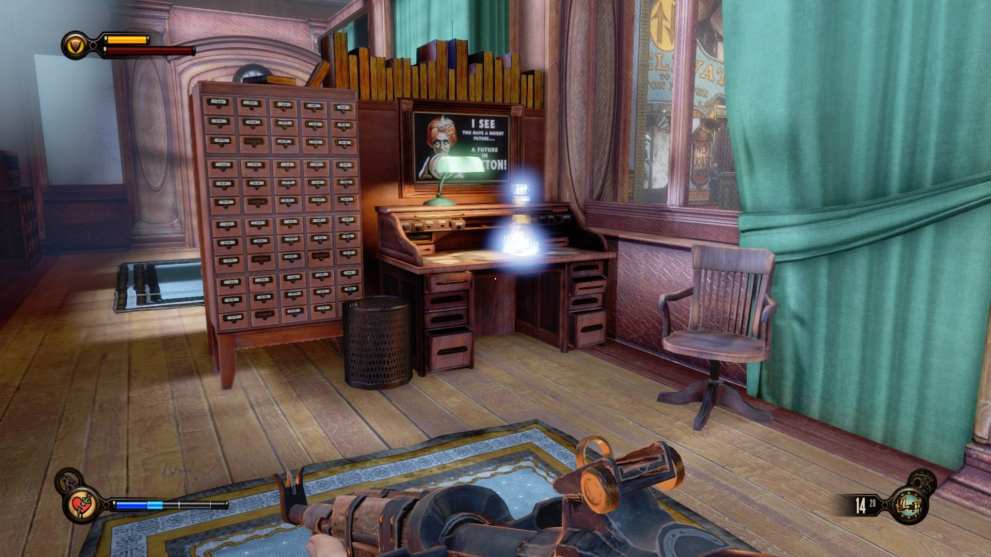
For the next Infusion, Proceed through the game until you reach Finkton Proper.
After entering the area, head toward the room with the Main Elevator and then head to the rear left side of the room. There, you’ll find a door that requires five lockpicks to open. If you don’t have enough, there are several scattered around the area that you can find.
Have Elizabeth pick the lock, and then head inside. The Infusion will be to the right on top of a desk.
Where to Find Infusion #13
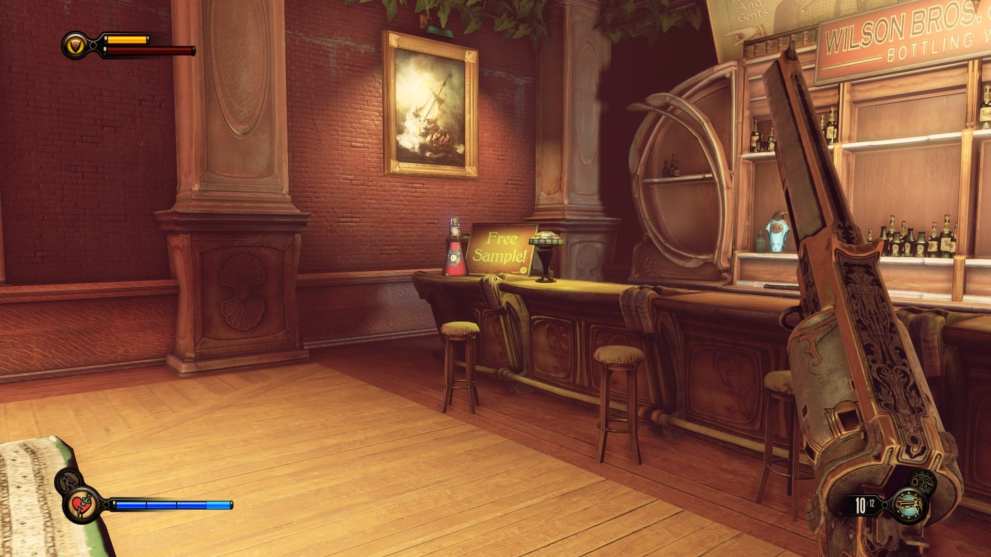
The 13th Infusion is in the room where Fink tests Booker’s potential as a former Pinkerton with waves of enemies. However, the room won’t be open until after you’ve defeated every enemy.
Once you do, head toward the bottom right corner of the room to find some white double doors below some stairs. Head inside, and the Infusion will be on the right next to a Free Sample sign.
Where to Find Infusion #14 in BioShock Infinite
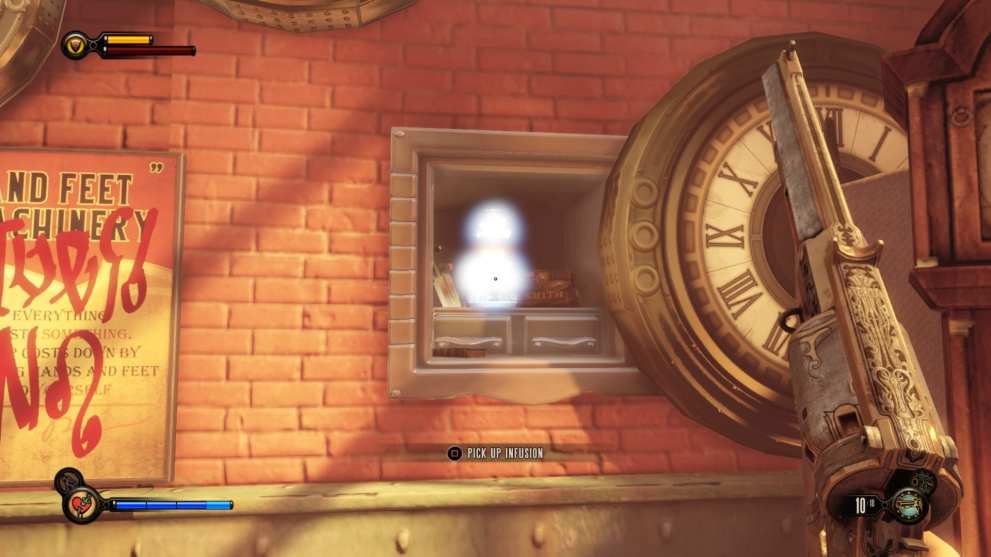
The next Infusion is hidden behind another Cipher puzzle located in Finkton Proper. The fastest way to get it is to first get the Code Book, and then take it to where the Cipher message is located.
To do this, head toward the lock-up where Chen Lin is being interrogated during the main story mission. Head to the room with the orange Disposal sign and the furnace, and then look for the Code Book sitting on a pile of his business’ signs.
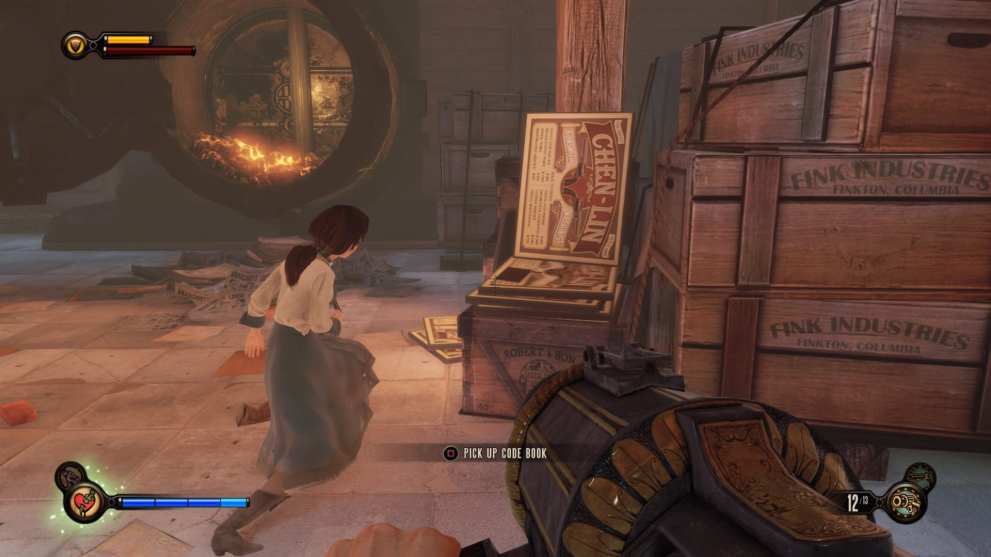
Grab the book, and then head out to Finkton Proper’s main area. Go to the Shantytown entrance, and then make your way up to the far right corner of the area. Here, you’ll find a small passageway leading to a hidden section of the area nestled between two buildings.
Go into the section, and then have Elizabeth pick a lock that requires one lockpick (like with the last lock, there are lockpicks scattered around the area you can use if you’re all out). Head through the opened door, and there will be a Cipher message on the wall next to some clocks.
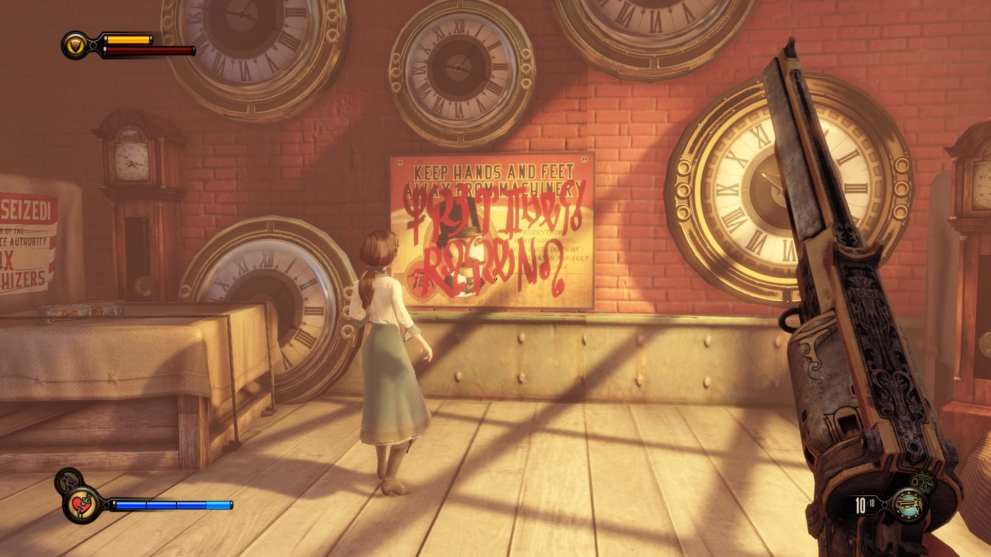
Once deciphered, the message will refer to a clock tolling at midnight. Interact with the clock just to the right of the message, and it will reveal a hidden compartment housing the Infusion.
Where to Find Infusion #15
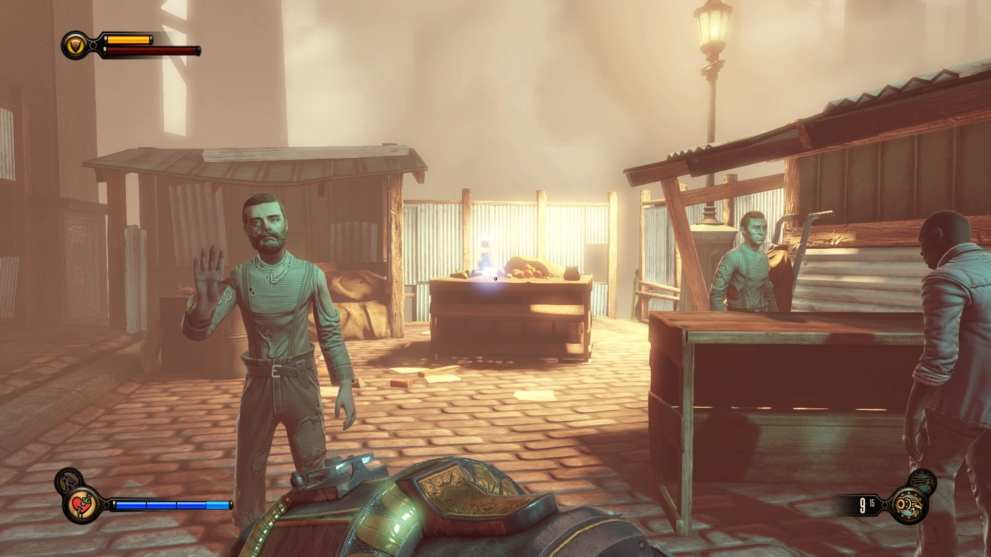
BioShock Infinite’s 15th Infusion is in Shantytown, on one of the food stands in the entrance area.
To reach it, head forward through the area until you come to a hut with a sign on it saying “Keep Your Guns. We Need Food.” At the sign, turn left, and you’ll see the Infusion back behind some men in white shirts. Note that when you take it, they will attack you, as it will be considered stealing.
Where to Find Infusion #16 in BioShock Infinite
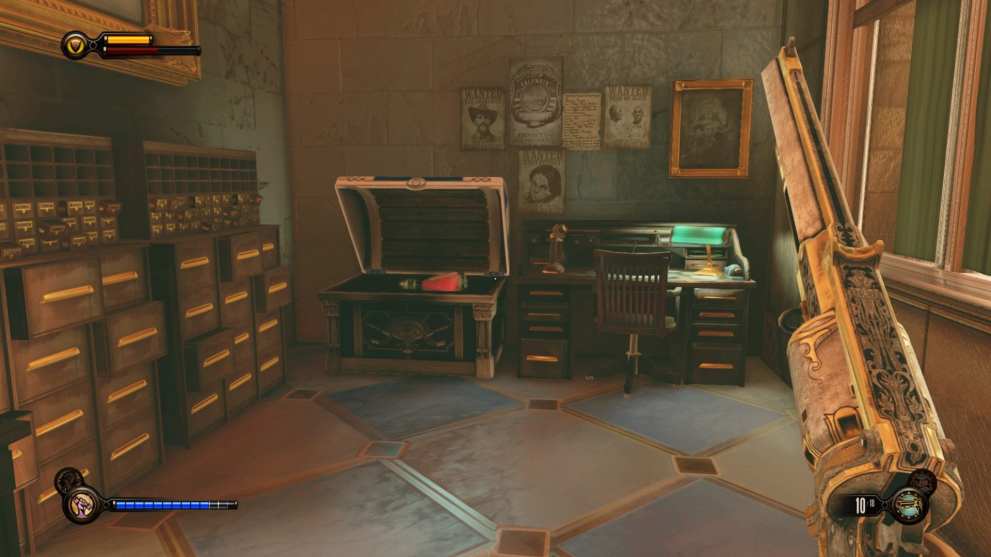
The next Infusion in BioShock Infinite is in a chest at the Shantytown lock-up, and you’ll need a key from Shantytown proper to open it.
First, head to the Graveyard Shift bar. It can be found down some stairs to the left of the table where you got the last Infusion. Head into the bar, and then head down into its basement through a doorway to the right. Once in the basement, look to your left to find a barrel with some keys on it.

With the keys in hand, head to the lock-up. Head to the upper level of the area, and then make your way toward a room on the left of the walkway. Inside, there’ll be a board showing prominent members of the Vox Populi.
Look to your left to find a small alcove with a chest inside. Use the keys you picked up to unlock the chest, and grab the Infusion inside.
Where to Find Infusion #17
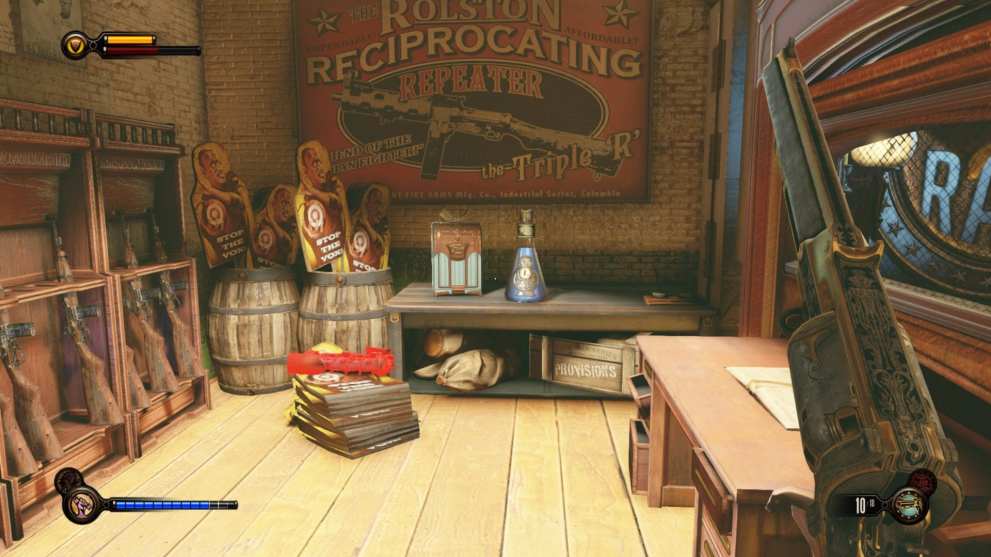
The next Infusion is also in the Shantytown Lock-up area, and is much easier to obtain.
From, head toward the main room and then go up the stairs to your left. Then, turn left again into a small room with a locked door. It’ll take five lockpicks to unlock. Have Elizabeth pick the lock, and then head inside. The Infusion will be on a desk to your right.
Where to Find Infusion #18 in BioShock Infinite

This next Infusion can only be obtained after Elizabeth kills Daisy Fitzroy in the Factory as part of the Main Story.
Once Elizabeth kills Daisy and opens the way into the tower they were in, head inside and turn left through some double doors. The Infusion will be on a table in front of a window looking out at some gears from the tower.
Where to Find Infusion #19
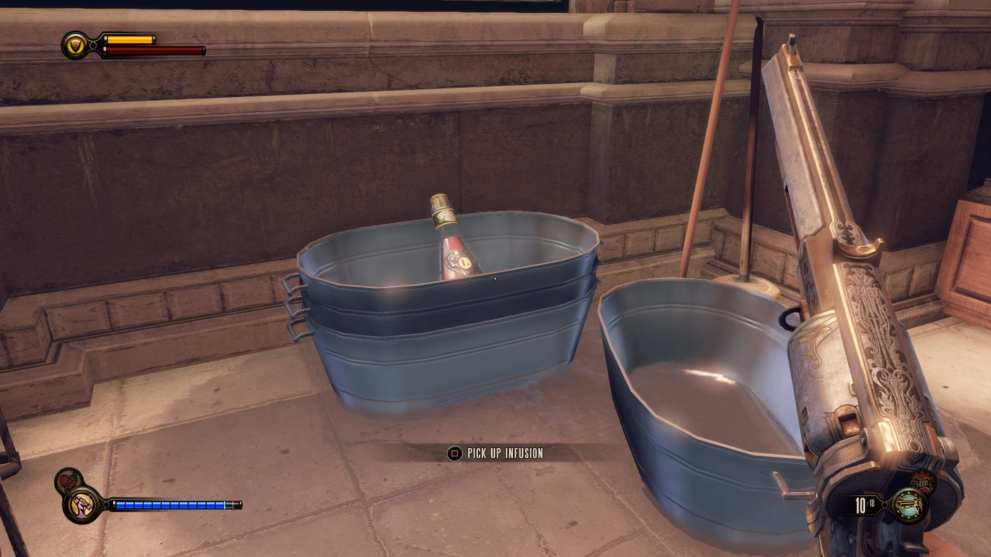
For the 19th Infusion, you’ll need to have reached the Emporia area in the main game.
Head through the area until you come to a room with scalps nailed to a plank of wood. From the plank, head left toward a gate that requires three lockpicks for Elizabeth to unlock it.
Have Elizabeth unlock the gate, and then head through the gate and to the right. This will take you down a hallway, and the Infusion will be at the end of the hallway in a washbasin.
Where to Find Infusion #20 in BioShock Infinite
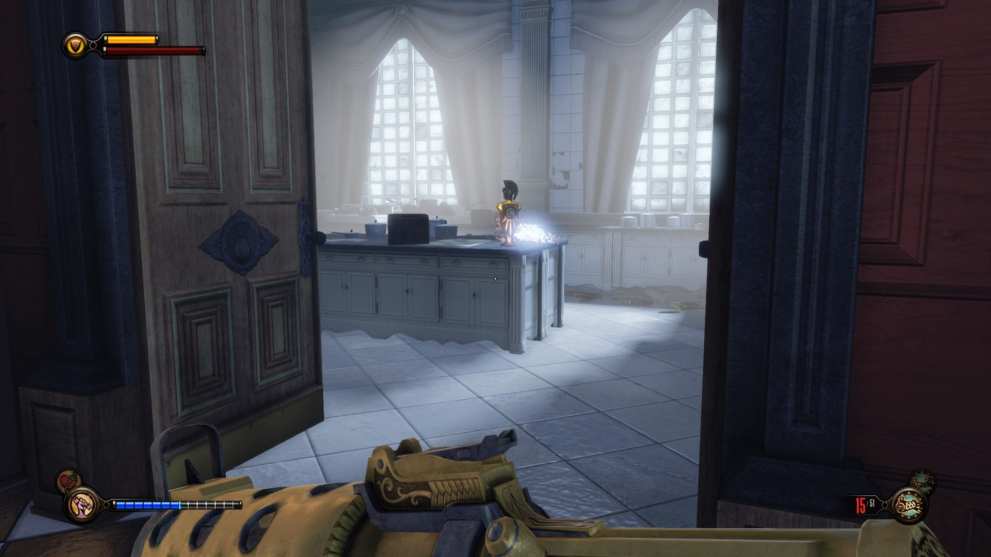
The next Infusion is hidden behind a trick door. To get it, head to the Salted Oyster, a bar in the Emporia area. It can be found in the rear of one of the rooms where you have to fend off waves of Vox Populi and can use a tear to summon a gun turret.
Head into the Oyster and make your way around to the back of the bar on your left. Look below one of the cash registers for a switch you can press, and then press it to open a door to your left. The Infusion will be on a counter next to a Return to Sender Vigor.

It’s worth noting that this switch may not be accessible if you haven’t obtained a Voxophone revealing its location from the Founder’s Book Store further into the area. If the switch doesn’t trigger, continue through the area as the main story mission dictates, and then grab the Voxophone from the lower level of the Founder’s Book Store.
Where to Find Infusion #21
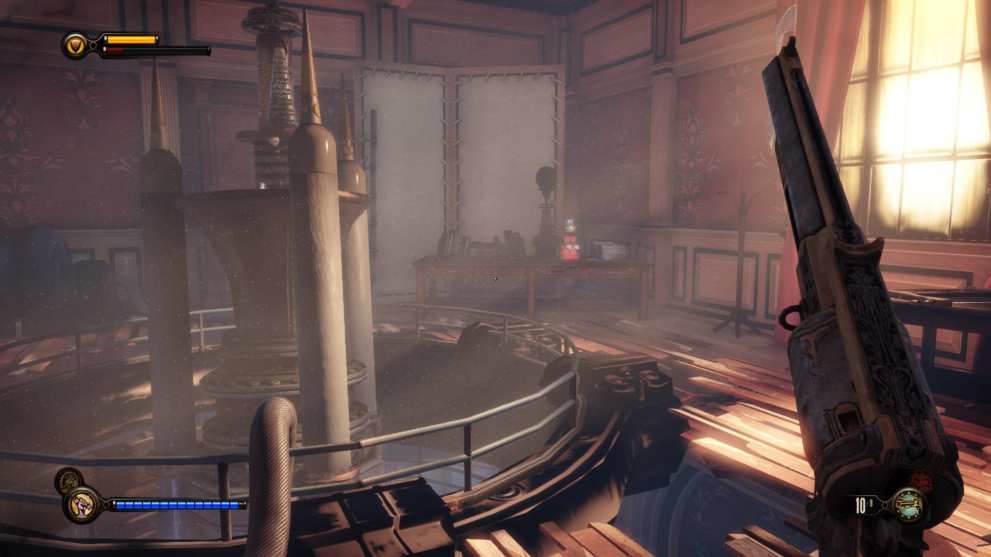
The next Infusion is in the Lutece Laboratories in the Downtown Emporia area, which is opened up as part of the main story mission.
After following the ghost of Lady Comstock into the labs, head inside and go up to the second level. Go into a bedroom directly in front of the stairs, and then look toward the upper right corner of the room. The Infusion will be on a desk.
Where to Find Infusion #22 in BioShock Infinite

BioShock Infinite’s next Infusion is also in the Downtown Emporia area, near the Financial District entrance.
From the Lutece Labs, follow Lady Comstock’s ghost toward the financial district. at the first Financial District gate, turn left and head toward the Wilson Bros. Company Bottling Works shop. Have Elizabeth unlock the shop’s door, and then head inside. The Infusion will be behind you to your left, in the shop window with a myriad of other bottles.
Where to Find Infusion #23
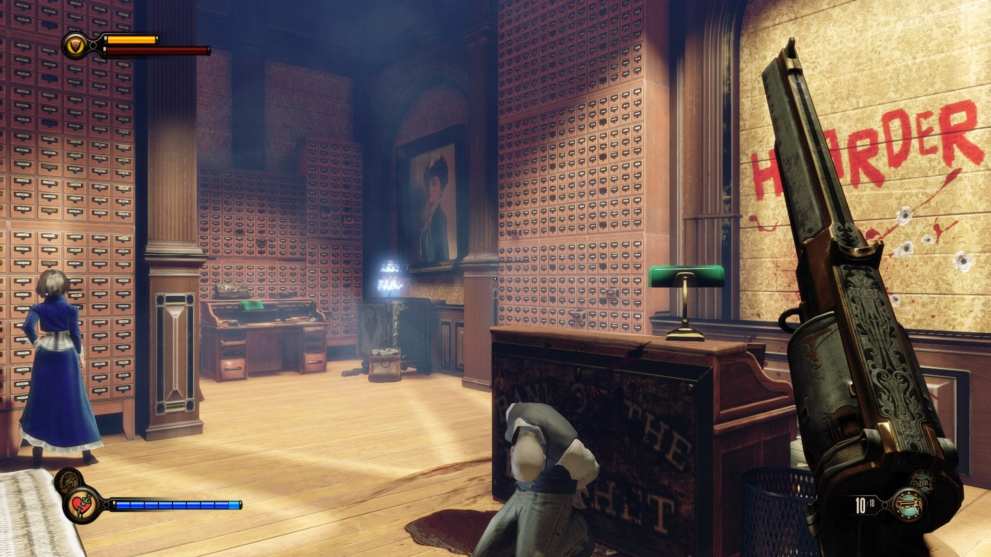
The 23rd Infusion is yet another locked behind a Cipher, with the Code Book and message both hidden in Downtown Emporia.
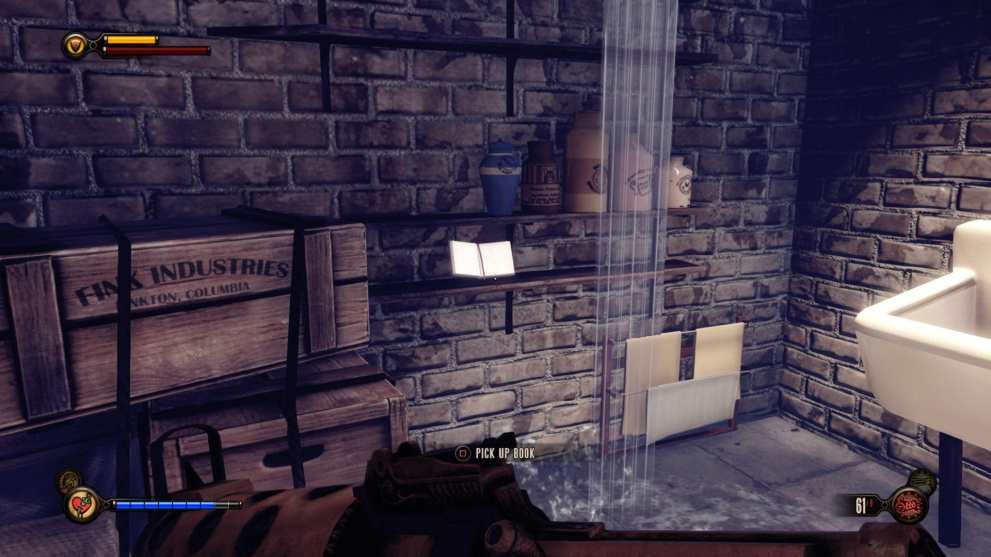
First, head toward the Hudson’s clothing store found to the right of the Founders will Bleed graffiti, just before the entrance to the Financial District proper. Go into the store, and then make your way to its lower level. In the back of the lower level will be a sink with some shelves to its left. The Code Book for the Cipher will be on the shelves.
Next, head to the Financial District proper until you come to a bank with a massive vault. From the vault, head left and then down a hallway until you reach a room with a dead body sitting below the word Hoarder written on some shelves. A book on a desk behind the body will contain the Cipher message.
Go to the desk behind the body, and once Elizabeth deciphers the code, interact with the typewriter to your right. Once you do, a trick bookcase will reveal a section of the room containing the Infusion.
Where to Find Infusion #24 in BioShock Infinite
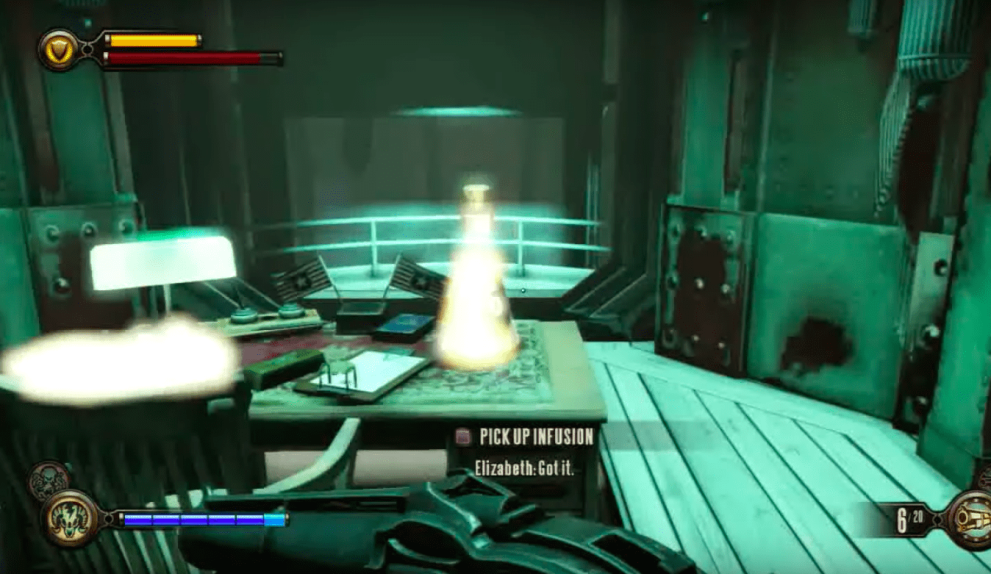
BioShock Infinite’s final Infusion can be found in the Comstock House, after you rescue Elizabeth.
Proceed with Elizabeth until you come to a gate she needs to unlock. From the gate, turn around and head down a hallway behind you. The last Infusion will be on a desk at the end of the hall.
Hopefully, this made collecting every Infusion in BioShock Infinite a little bit easier. For more on the BioShock series, check out the recent news that a fourth game is in development as well as our list of ways it could bring the series to new heights.











Updated: Feb 11, 2020 01:53 pm