Similar to other simulation games, Disney Dreamlight Valley features a photo mode that allows you to capture precious moments with your favorite characters. However, you may have a hard time using this photo mode feature, especially if you’re a beginner in the game. With that said, we’ll show you how to use Photo Mode in Disney Dreamlight Valley.
Disney Dreamlight Valley Photo Mode
Follow these instructions in order to use Photo Mode in Disney Dreamlight Valley:
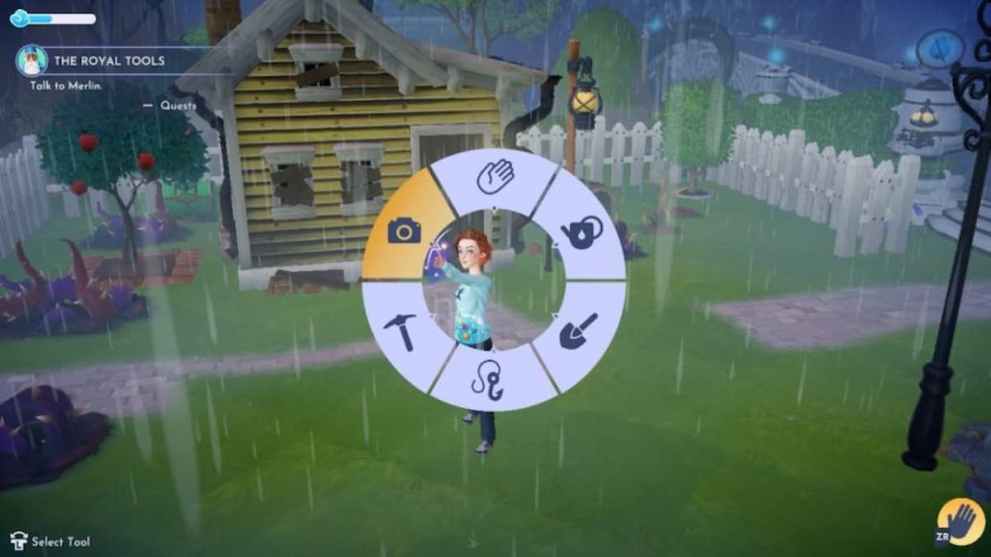
- Pull out the phone by holding down the tool button
Press the ZR button on Switch, R2 on PlayStation, and RT on Xbox to access the phone.
- Select the phone icon to pull out your character’s phone
After pressing the tool button, a wheel menu will pop up on the screen where you’ll need to select the phone icon.
- Enable the Photo mode.
Once you have the phone in your hand, press the Y button on Switch, the X button on Xbox, and the square button on PlayStation to activate the photo mode. At this point, you can also use the bumper buttons to change camera angles between selfie, full body, or sky view.
- Press the Shutter button to click the photo.
Once you’re ready, press X on Xbox, Y on Switch & the Square button on PlayStation to click the picture.
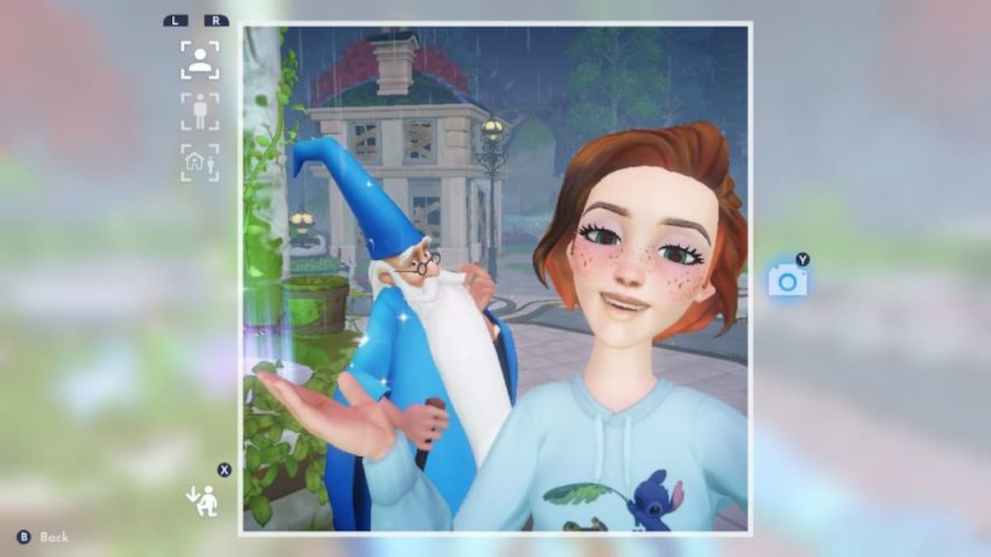
It’s worth noting that there’s no option available in Disney Dreamlight Valley to save the clicked photo. Therefore, players need to screenshot their screen if they want to view pictures in the future.
To unlock Photo Mode in Disney Dreamlight Valley, interact with Merlin and complete the task given by him. After that, you’ll be able to access your Phone and other features.
That does it for our guide on how to use Photo Mode in Disney Dreamlight Valley. Before you go, you can check out more content about the game by exploring the relevant links below or viewing our guide about how to get seaweed and Where To Find Onions in Disney Dreamlight Valley.











Updated: Oct 12, 2022 12:03 pm