Nintendo has been adding titles to a lot of its recent releases like Animal Crossing, Nintendo Switch Sports, Big Brain Academy: Brain VS Brain, and now Splatoon 3. Players get an extra little layer of personalization with titles and luckily it’s easy to change your splash tags and banners in Splatoon 3.
Changing Splash Tags and Banners in Splatoon 3
How to Change your Splash Tags and Banners in Splatoon 3
- Open the Menu
Press X on your controller to enter the menu.

- Navigate to Status
Use the L or R buttons to navigate to the “Status” menu.

- Select Gear then Edit
Select “Gear” and press A to edit your Splash Tag and Banner
- Pick a Banner
The first option you are given is to update your banner. Use the control stick to navigate through the options and press A to confirm.

- Pick Badges
Press R to switch to Badges. Use the control stick to navigate through your options and press A to confirm.

- Pick Titles
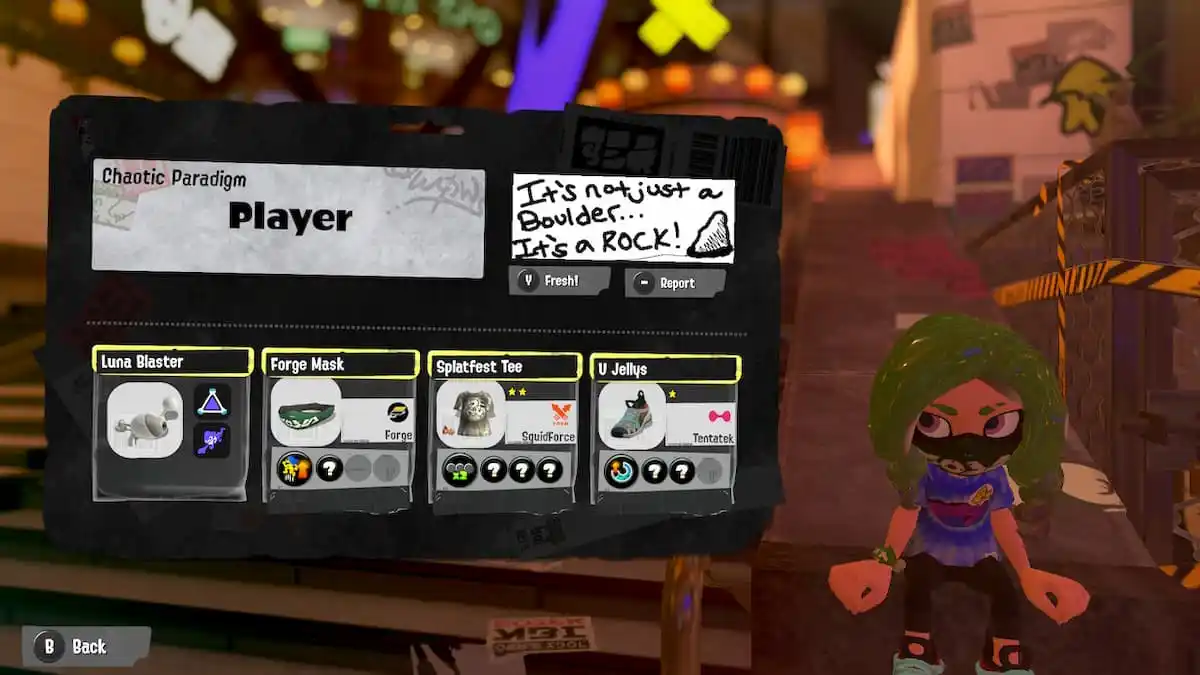
Press R again to switch to Titles. There are options on the left and right. Align the titles and when you press A, the two selected options will be confirmed. You can shuffle the options with Y.

- See Your Banner
After your banner has been customized, press B so you can see that your splash tag and banner has been updated.

As you play the game, you will unlock more options to customize your Splash Tag and build a story around your character. Between all the different gear and weapons, there are so many ways to change your look in Splatoon 3.
That’s all you need to know to change your Splash Tags and Banners in Splatoon 3. For more guides and information about Splatoon 3, keep it locked to Twinfinite.










Updated: Aug 28, 2022 07:38 pm