There are several different collectible challenges to tick off as you make your way through BlueTwelve Studios’ dystopian cat simulator. Here, we’ve compiled all the B12 memory locations in Stray for the completionists intent on ticking off this particular one.
Note that there are several memory locations in Stray that are totally unmissable since they form a core part of the main story. This guide will not include those and instead focus only on the locations that you’re required to seek under your own steam.
So, let’s run through each memory in order of how they appear on the memory log in your inventory, chapter by chapter. You might, however, encounter these in a different order given that in Stray you’re able to free-explore hub areas such as The Slums at your own pace.
The Slums
Memory Location 1
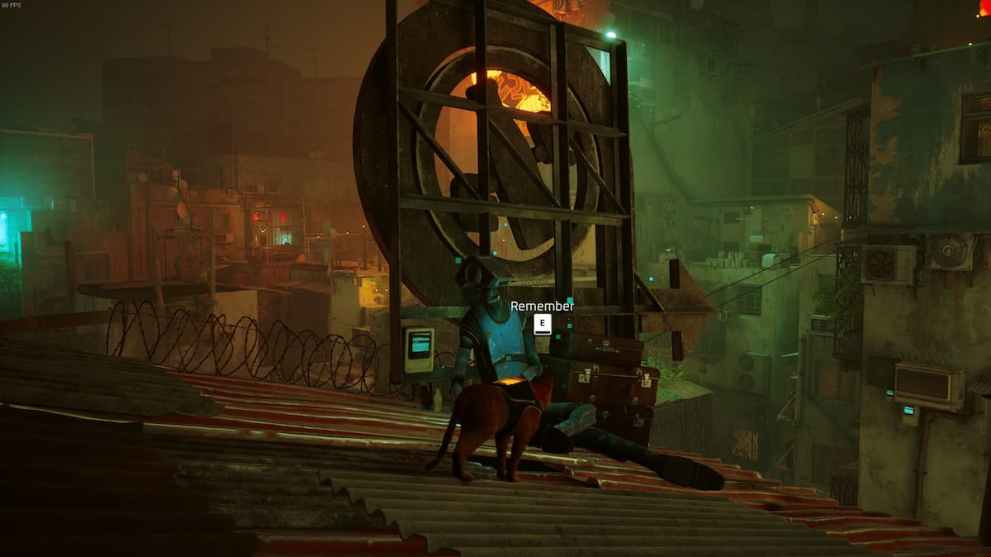
The first memory location is up on a rooftop in The Slums, behind an advertisement that is in a rather dark and dingy corner of the map. It’s directly opposite Zbaltazar’s Flat.
Memory Location 2
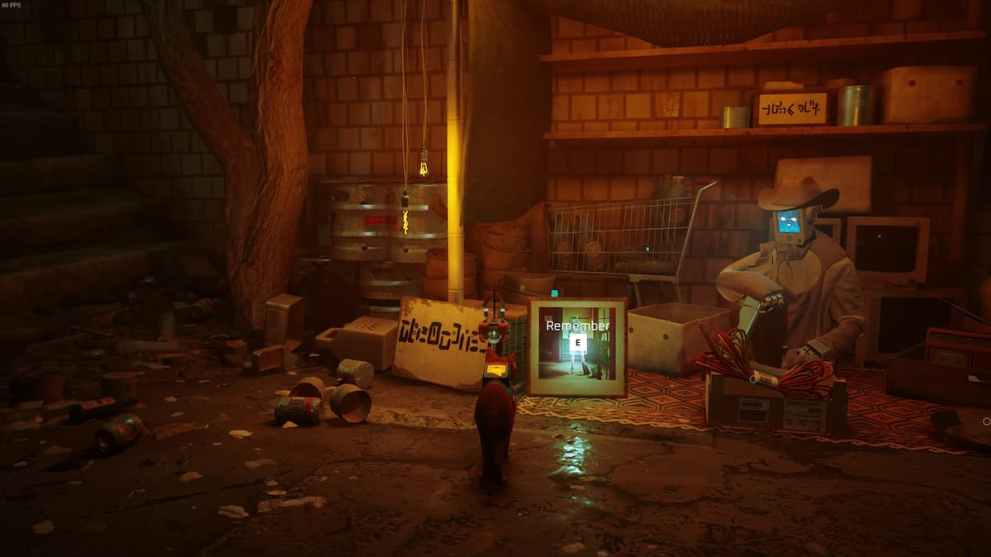
This memory is one you can obtain simply by purchasing it from the Barter Man, who is nearby the Guardian you meet at the beginning of The Slums’ chapter. You will need three Energy Drinks, which, as we’ve highlighted in our dedicated guide, can be obtained from vending machines. There are three in The Slums: two in the alleyways and one up on a rooftop.
Memory Location 3
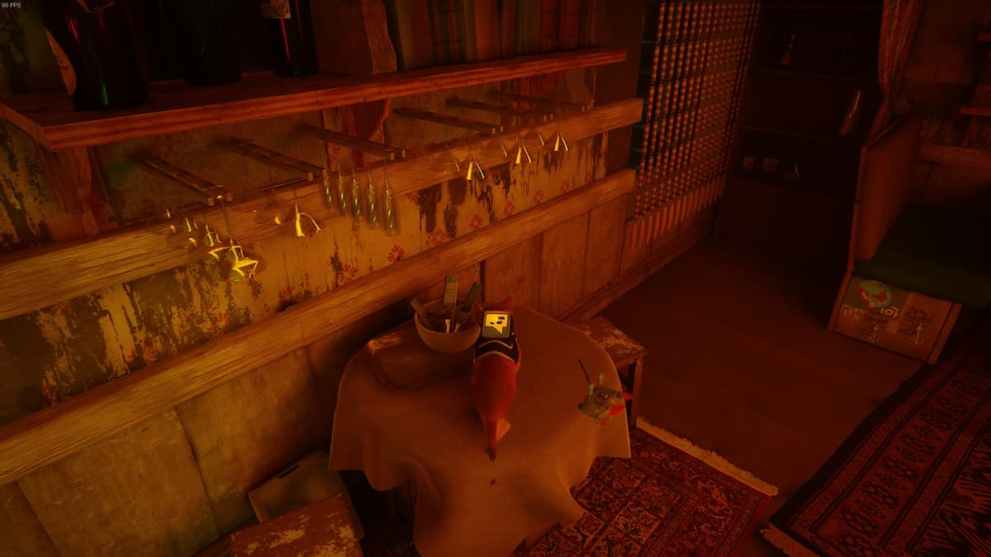
This memory is found on the upstairs floor of the bar, which is easily found with its big neon red sign outside. The memory is sitting on a table.
Memory Location 4
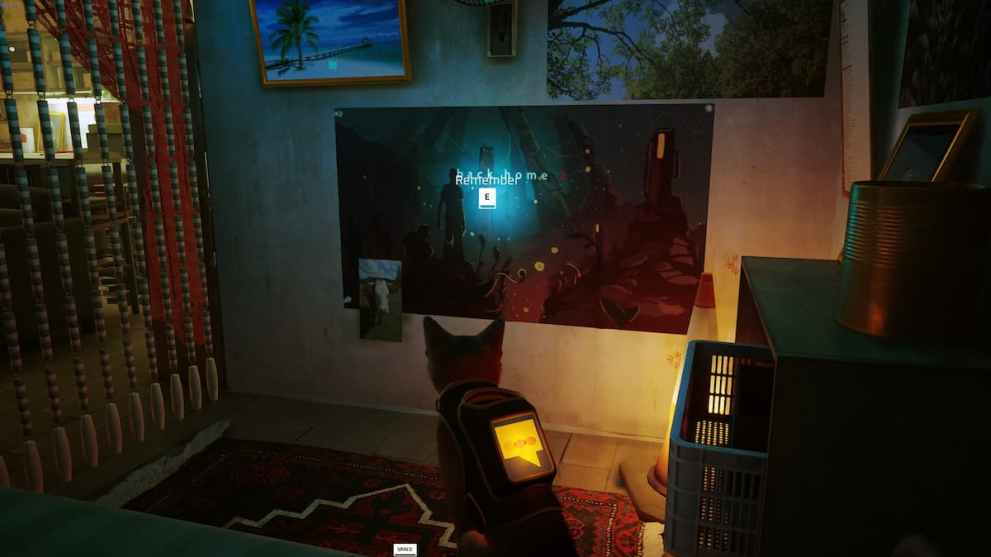
This memory is up in Momo’s Flat, which is a location you’ll need to find as part of the game’s main story. It’s easily found since every robot in town points to it if you show them the postcard. Still, if you’re struggling, it’s just above the two workers throwing paint cans to each other. This particular room is behind where Momo sits.
Memory Location 5
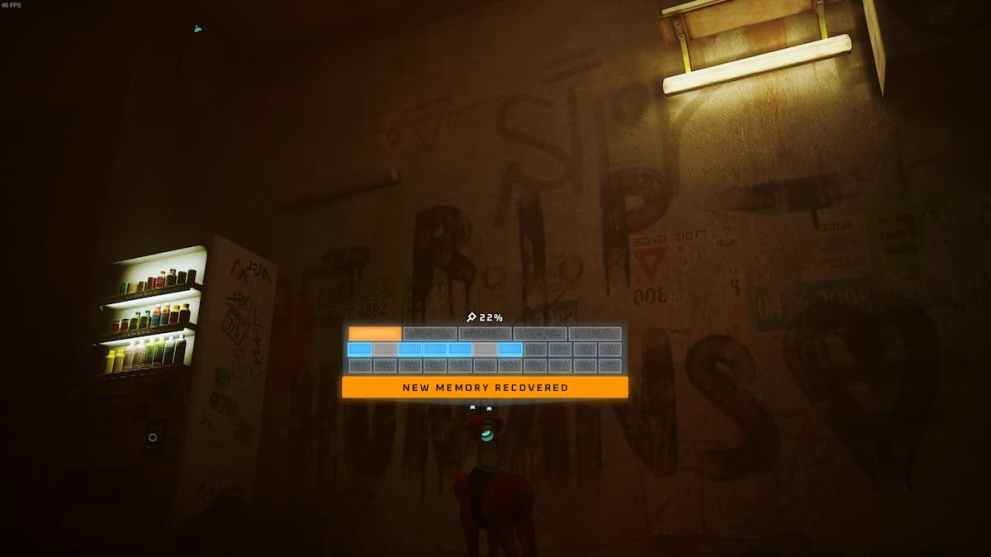
This memory is found in a dark alleyway just up from Super Spirit Detergent. There is a vending machine here you should remember to grab an Energy Drink from.
Memory Location 5
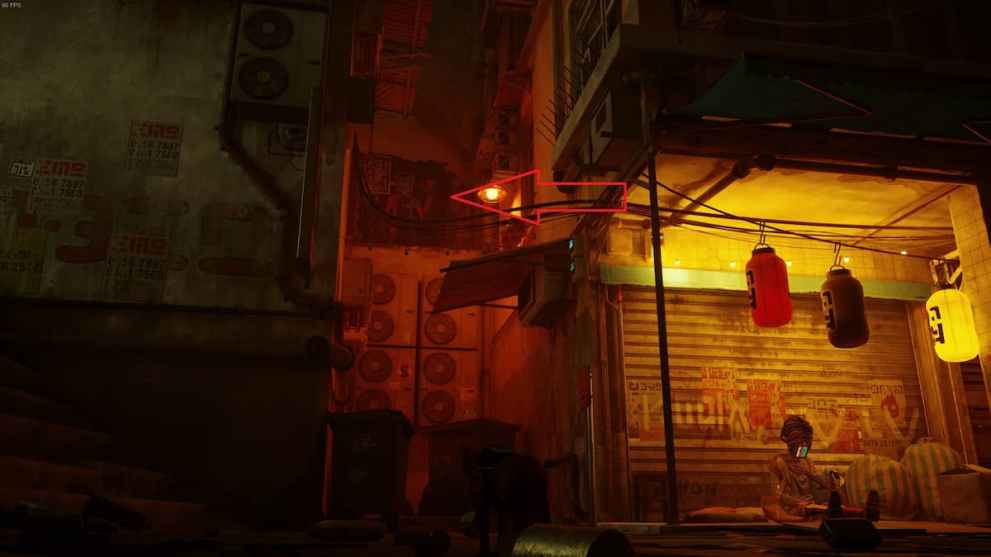
This next memory is just up from the musician, who itself is just down the road from the Guardian. Jump up the trash cans and onto the ledge to get it.
Memory Location 6
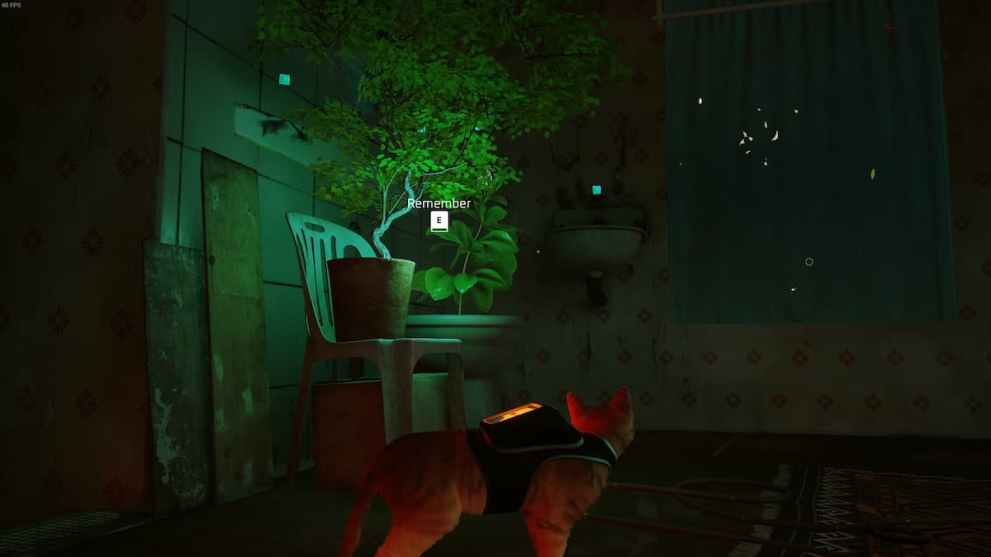
This memory is found upstairs in Elliot Programming’s flat, which is a location that is well signposted around The Slums and a building you’ll need to visit several times throughout the story.
Rooftops
Memory Location 6
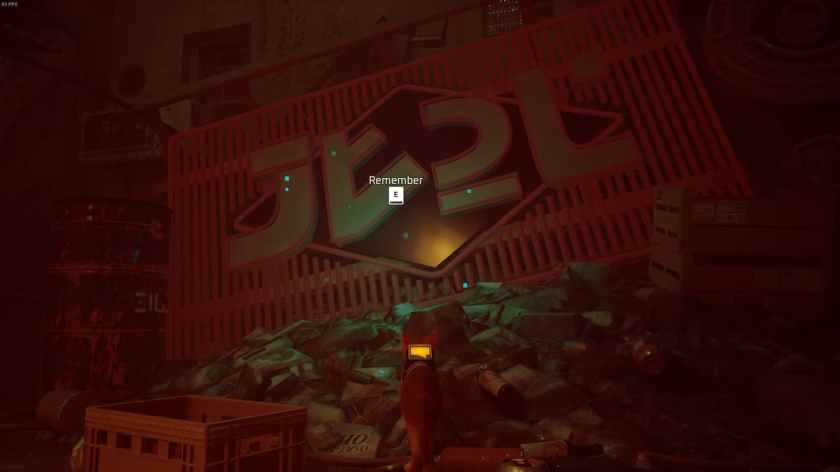
This memory location is almost unmissable. It’s close to the beginning of the Rooftops chapter after you’ve encountered a bunch of Zurks.
Memory Location 7
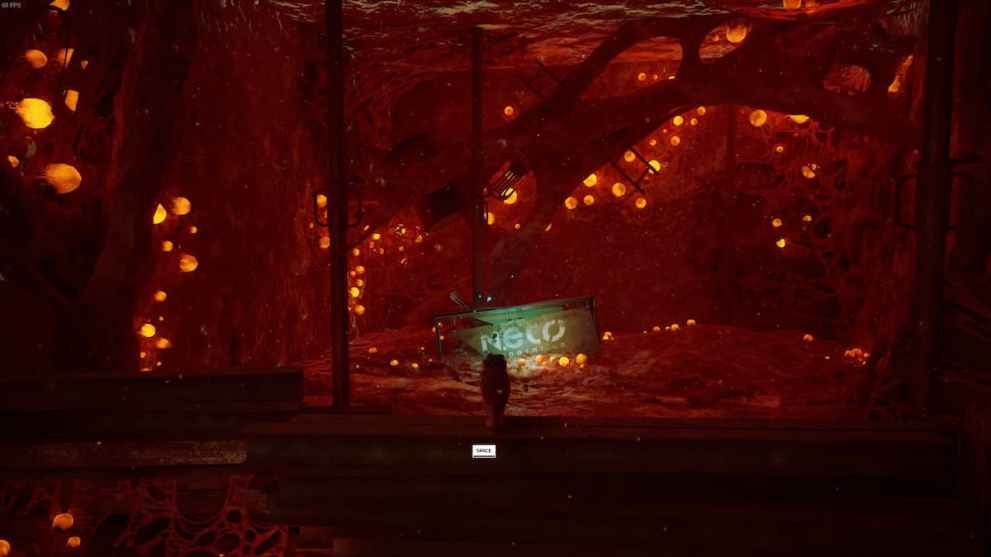
Another hard memory to miss, really, since it should catch your eye as you navigate a simple puzzle to lead Zurks from one cage to the next. Do this before beating that puzzle since you’ll need to lead the Zurks into this area to progress.
Dead End
Memory Location 8
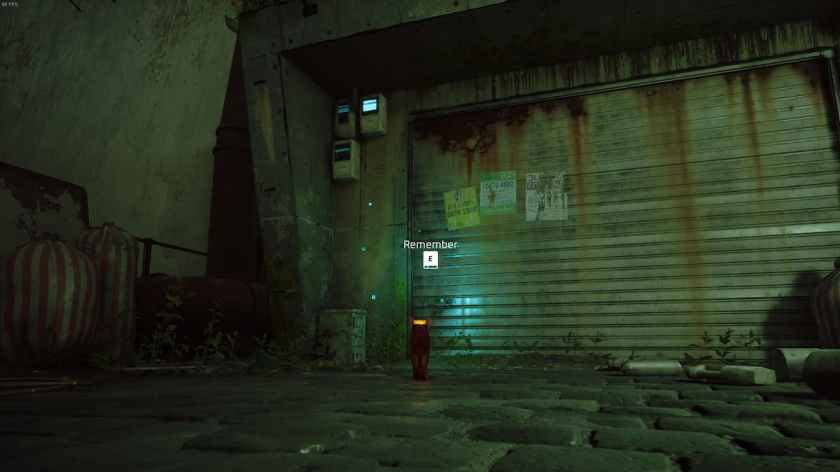
This memory is fairly close to the start of the chapter. When you come to a fork in the path, look left and you’ll see the wall of the city. It’s against a metal door as you can see above.
Memory Location 9

After you’ve escaped the Zurks and completed the chase sequence, there’s a short climbing puzzle to complete with swing arms. Directly after this, you’ll come to the location pictured above. Instead of going left, go straight and crawl under the fence. You’ll immediately see a memory location on the right.
Memory Location 10

This one is found in Doc’s apartment after you locate him. It’s fairly obvious to find within one of the room’s of his abode given that it looks so striking, as you can see.
The Sewers
Memory Location 11

When you reach the hallway with lots of Zurk sacs to clear out, keep an eye open for a path on the left full of sacs. Clear those and you will out and you’ll see a vent you can crawl through. The memory is up on a railing.
Memory Location 12
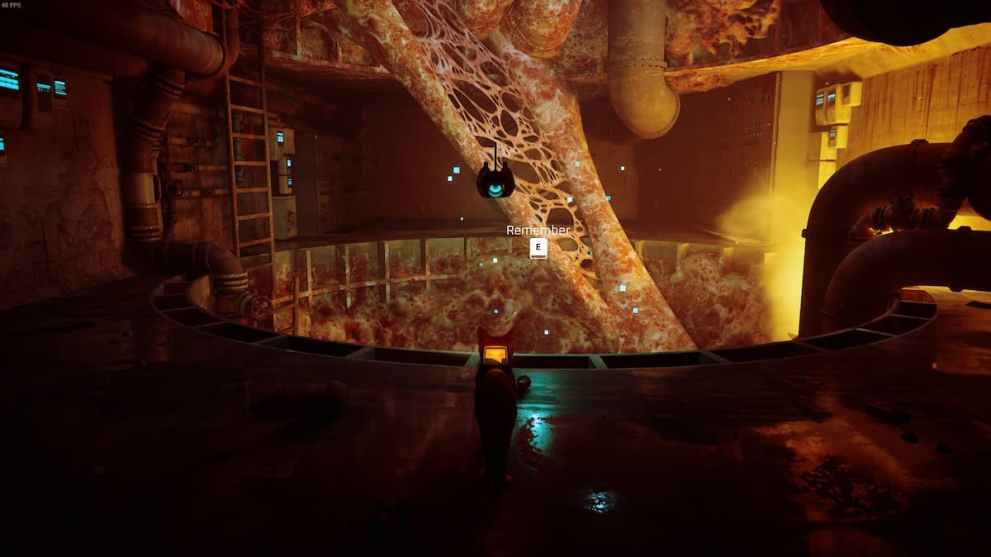
As you make your way through The Sewers you’ll come to an area full of strange eyes, which then turns into a chase sequence with lots of Zurks. You’re in the clear once you jump down onto some pipes. Instead of going left, turn right and jump across to a small pipe. Follow that until you reach the clearing and memory location pictured above.
Antvillage
Memory Location 13
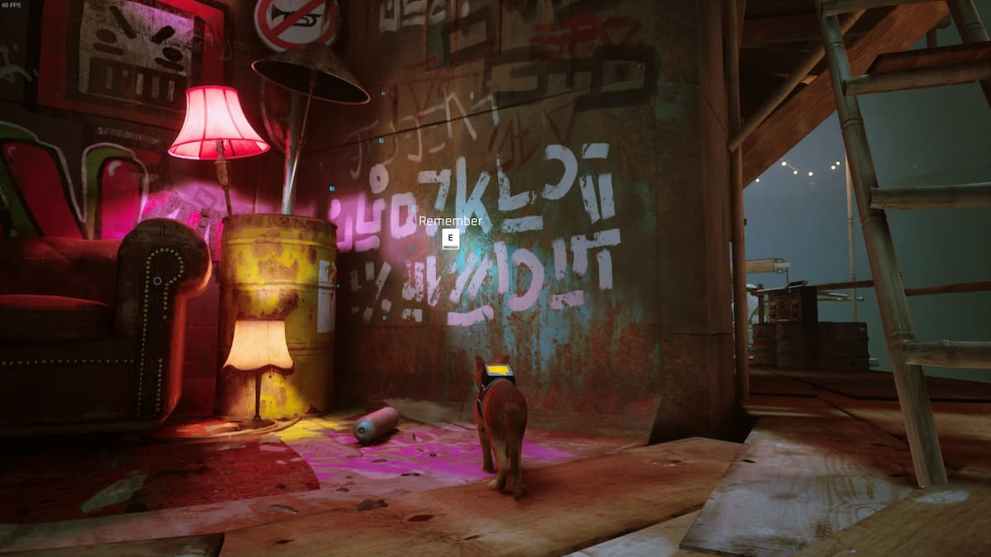
The second memory in Antvillage is easy to spot (the first is automatically gained), though you’ll have to go and meet with Zbaltazar at the very top before you can backtrack and go tick it off.
Midtown
Memory Location 14
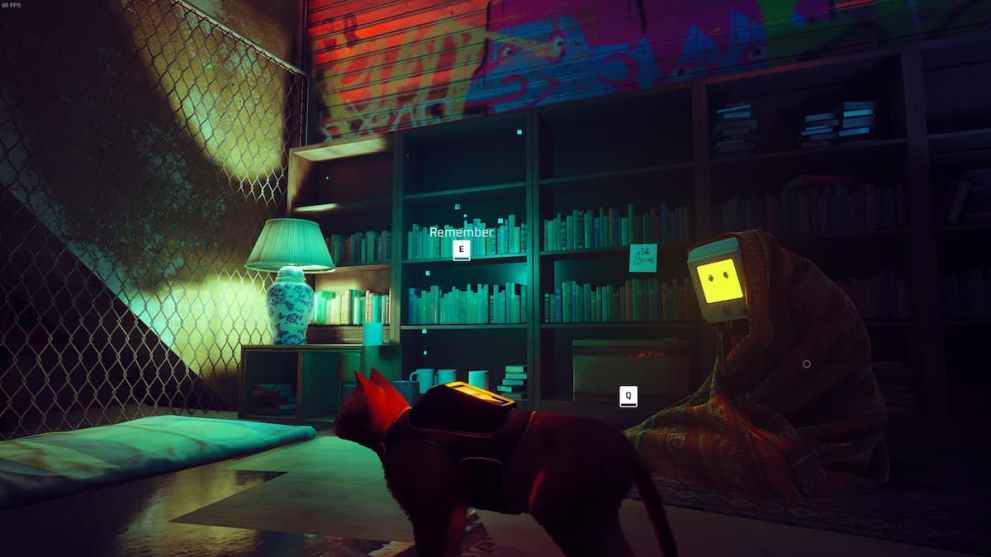
After arriving at the subway station, ascending the stairs, and crawling through the small gap in the fence, look to your right. There’s a little abode here with a robot. On the bookshelf, you’ll see the memory.
Memory Location 15
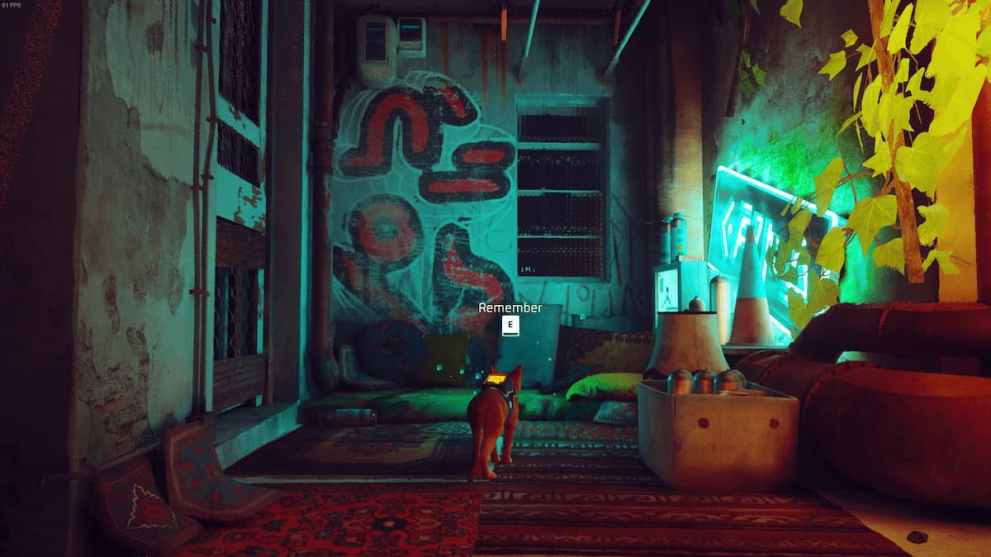
The alleyway near the nightclub has a robot sweeping up. Jump up on the trash cans, then up onto the ledge above, through some fans to reach a rooftop. The memory is sitting on some pillows.
Memory Location 16

Just near the large hologram in the middle of Midtown there’s a robot sleeping on a sofa. Look opposite him to see an open window; go through the open window, then climb up to the attic to find a memory.
Memory Location 17
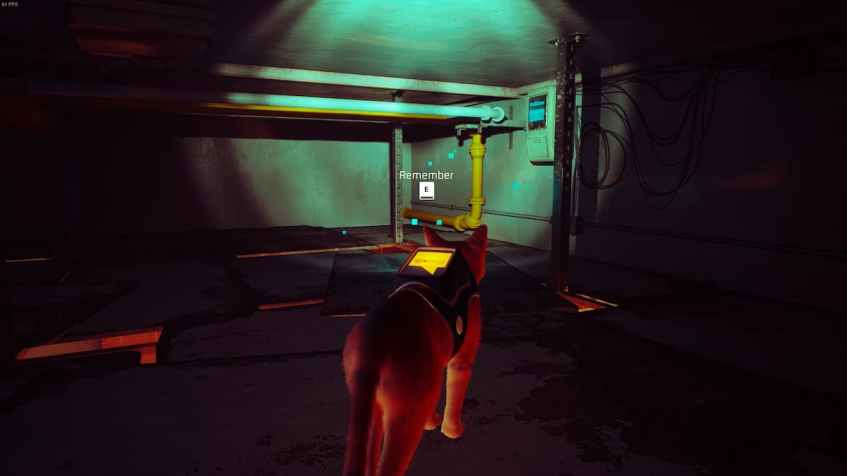
This one is off the main strip in Midtown at a small cafe with a yellow sign above it. You need to go inside and to the back of the kitchen, then climb up into the roof.
Memory Location 18
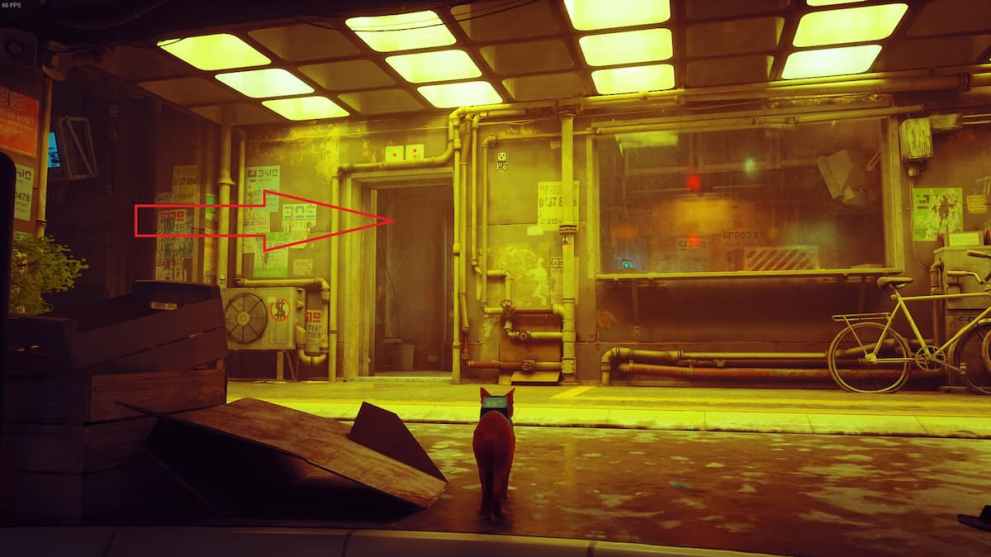
Opposite the large hologram in Midtown is a security station, and inside you’ll find a memory. However, you can only enter this building once you have infiltrated the Factory, which requires you to meet up with Clemantine, find her contact, and give them the Worker Jacket and Hat. We have a guide for that questline here if you haven’t yet completed it.
Memory Location 19
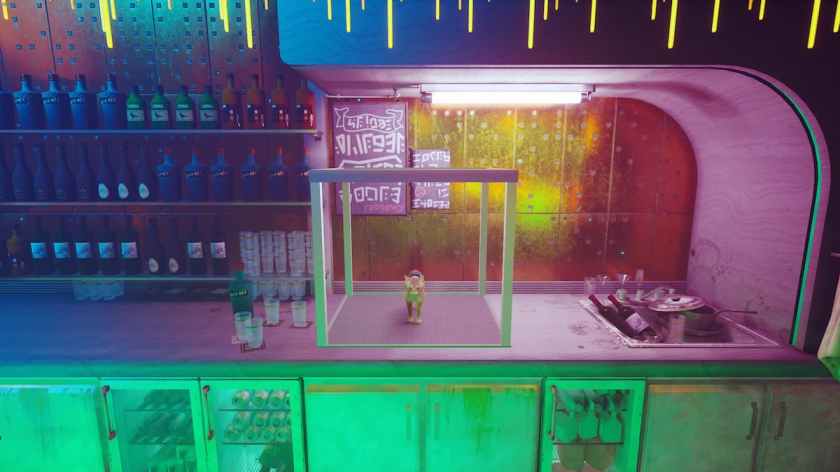
Once you gain access to the Night Club, which is after you discover Clemantine has disappeared from her apartment and is meeting someone there, go to the bar and then hop onto the dumbwaiter. This will then descend and take you to an area where a memory location is.
Jail
Memory Location 20

After rescuing B12 in the Jail you’ll head out into a courtyard where you’ll need to lure drones into fenced-off areas and lock the door behind them. In the middle of this area is a memory location.
And that does it for all B12 memory locations in Stray. Remember, there are several here we haven’t included but those are unmissable via the main story. For more tips and guides on the game, search Twinfinite.








Updated: Jul 21, 2022 01:22 am