In Valheim, you’ll constantly be trying to find materials and items that make surviving easier. As you search for things to improve your gear and build out your base, your tools will start to break down. To get them back to tip-top condition, here’s everything you need to know about how to repair tools in Valheim.
As is often the case in survival RPGs, every tool you have in Valheim has a durability meter, with them becoming completely useless once the bar empties. If it runs out of usability, it won’t be trashed, instead, staying in your inventory ready to be repaired.
How to Repair Tools in Valheim

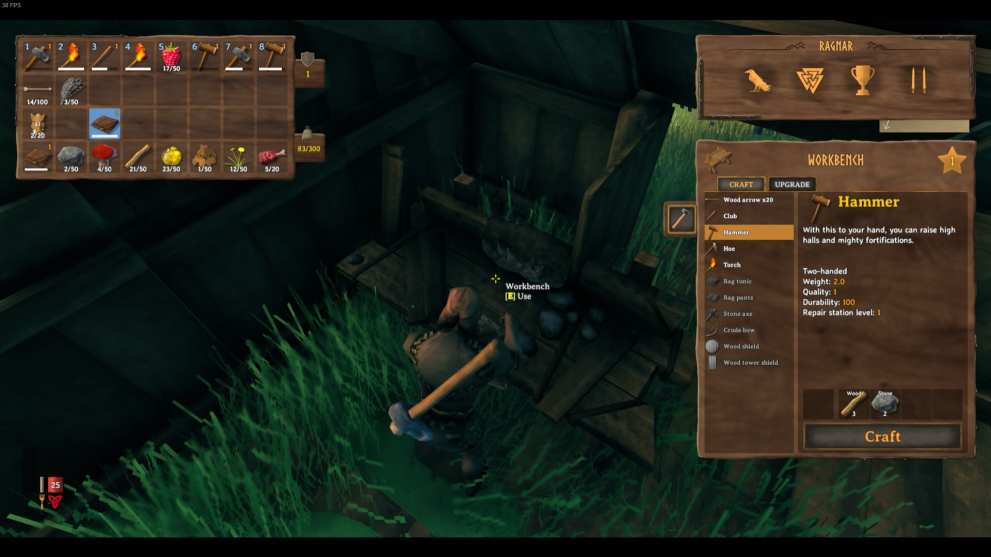
Thankfully, it’s not too difficult to do. You need to head to a workbench and repair it there. You might already have a workbench in your base, or be able to find one elsewhere, but you’ll need 10 Wood to make one if not.
Then, equip your hammer and right-click to start building something. Then, you’ll be able to go to the crafting tab and select the workbench, placing it somewhere nearby. Do note that you’ll need to cover the workbench with a roof before you’re able to use it to repair tools in Valheim, so you’ll have to build a basic shelter of some kind.
Then, use the workbench and select the option to fix your broken tools. You don’t have to wait for them to become completely unusable, being able to fix them from any point in their durable life. Also, it doesn’t cost anything to repair tools. As long as you’ve got access to a workbench, you can give new life to your tools as much as you’d like.
That’s everything you need to know about how to repair tools in Valheim. For more tips and tricks on the game, be sure to search for Twinfinite.


Updated: Feb 16, 2021 06:38 am