How to Mod Weapons in The Division 2
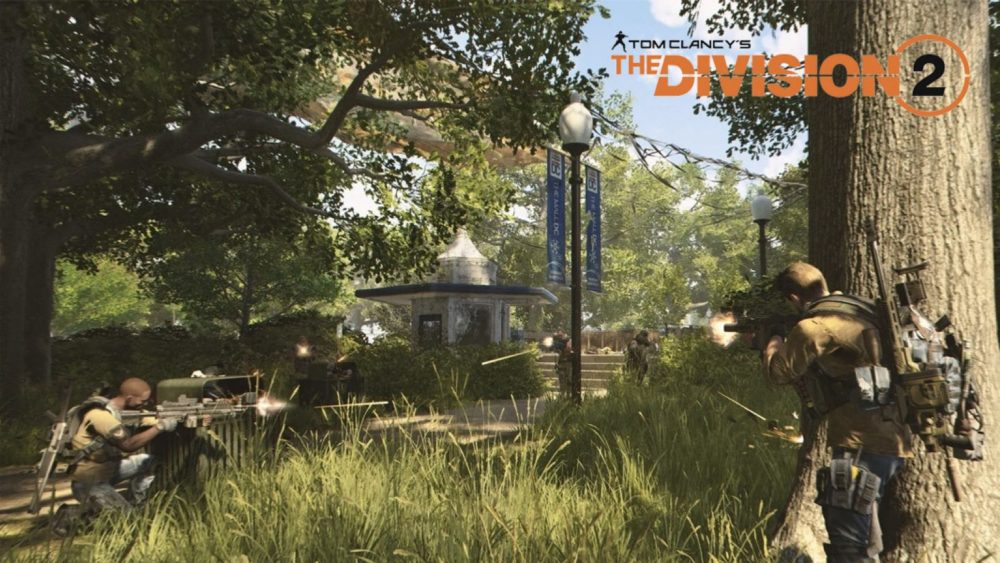
A big part of The Division 2 is managing your character’s weapons, items, and skills. You will need to be constantly working towards scoring better loot and improving your loadout to make headway. One way of making your character more effective in combat is by modding your arsenal of guns. Here’s how to mod weapons in The Division 2.
Most players will be used to the principle of modding weapons in games; it’s a feature that is often incorporated into competitive shooters and RPGs these days. The Division 2 gives you a huge range of weapon customization options to tailor it to your preference, or just improve its overall performance.
Installing a mod is nice and simple. To do so, press Options, select ‘Character,’ and then select the equipment that you wish to modify. From here, press square (PS4) / X (Xbox One) to mod it.
In The Division 2, moddable weapons are indicated by the small square or circle shapes at the bottom left corner of the gear icon. After choosing which weapon you’re wanting to customize, select the part of the equipment or weapon you want to mod, then select the mod for it.
It is pretty simple stuff, but you will want to get used to quickly cycling through the process so that you can get any new weapons you find set up nice and quickly out on the mean streets of Washington D.C.
That is all the information you should need about how to mod weapons in The Division 2. For more useful guides, such as how to change gear or how to assign staff to your base of operations. be sure to check out our extensive wiki page. We will have plenty of coverage for the game over the coming weeks.


Updated: Mar 14, 2019 05:30 am