The Legend of Zelda: Tears of the Kingdom has hundreds of different shrines to discover and complete, each fitted with their own unique puzzle scenario. By completing these along the way during Link’s adventure, you’ll be rewarded with more Light of Blessings, which allows you to upgrade Link’s stamina and max health. If you’re stuck on the Jiukoum Shrine and wondering how to complete it, then look no further; we’ve got all the information you’ll need. Here’s everything you need to know about how to solve the Jiukoum Shrine puzzle in Zelda: Tears of the Kingdom.
How to Solve the Jiukoum Shrine Puzzle in Zelda: Tears of the Kingdom
In Zelda: Tears of the Kingdom, the Jiukoum Shrine is home to the puzzle known as Built For Rails. This puzzle focuses on using Link’s Ultrahand ability to create objects and transport yourself using movement across a series of rails to reach new destinations.
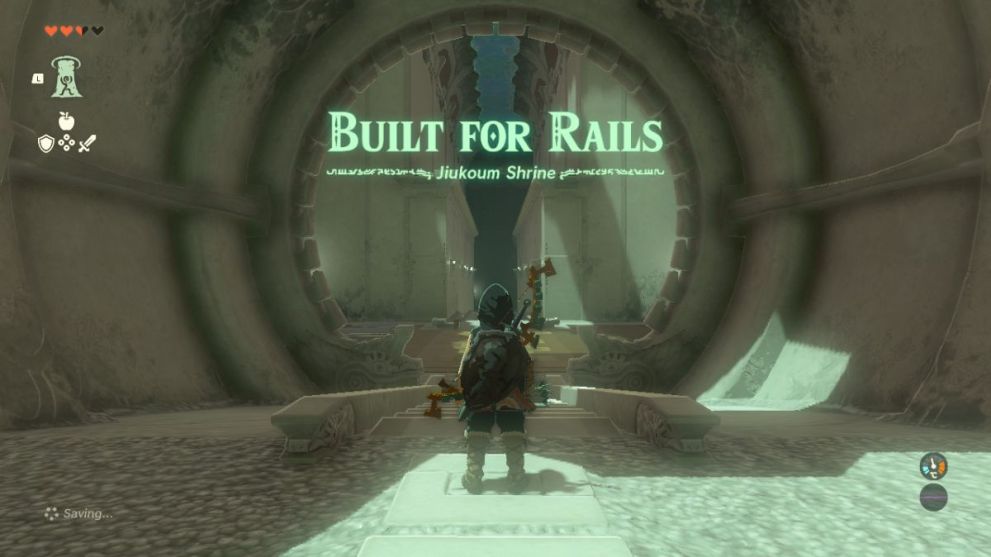
Once you’ve entered the Shrine, it’s time to begin the puzzle. Head down into the first room and you’ll come across your first set of rails. Now turn to your left side, and you will find two rectangular stone slabs that can be used as platforms.
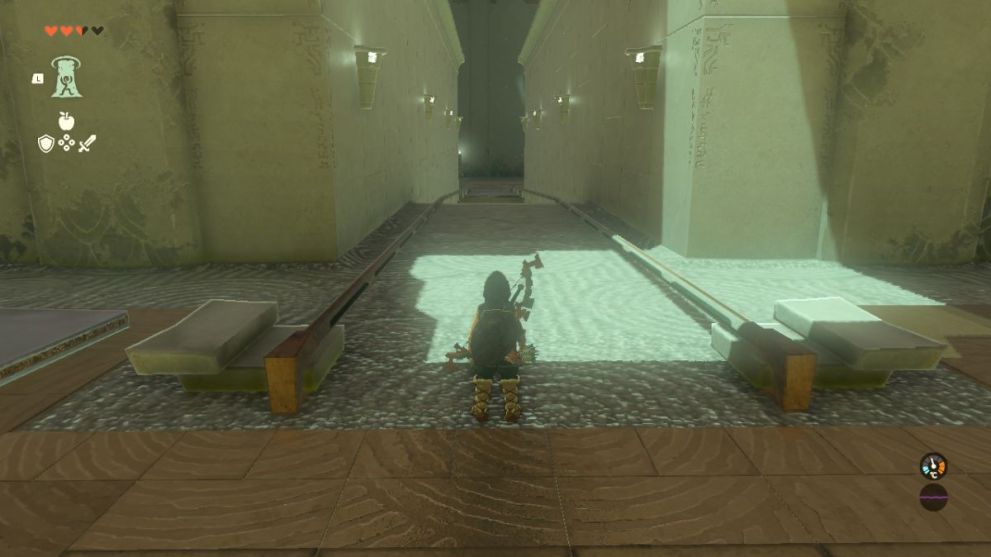
Grab these platforms with Link’s Ultrahand ability, and use it to align and attach them together. You’ll need to be careful during this step to make sure that the two platforms line up exactly. Once you’ve completed this step, it should look something similar to the screenshot below:
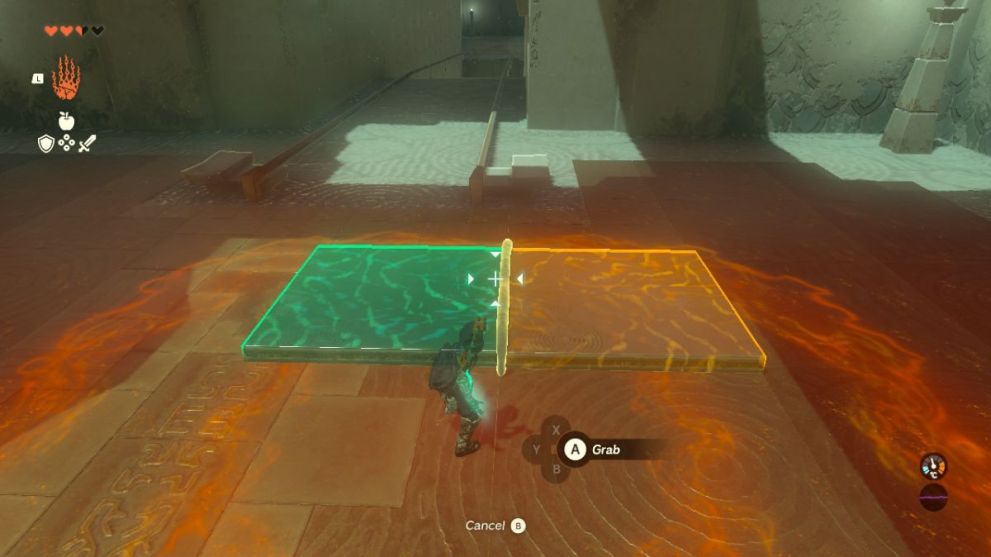
Once you’ve got these two halves stuck together, use Ultrahand to grab the combined platform and drag it towards the rail. Align and balance it on the two rails evenly, then release Ultrahand and quickly jump up on top of it to hitch a ride to the other side and reach the next stage of the Shrine.
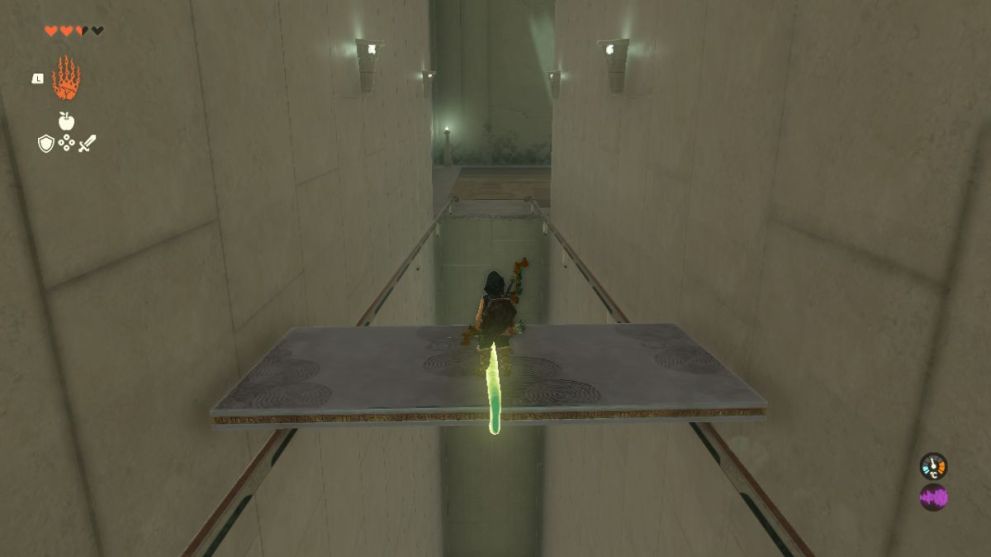
Once you reach this next section, you will notice a series of much more advanced railings. Before focusing on getting across to the next stage walk to the edge of the platform and turn left. You will be able to spot a chest tucked away across a tiny railing.
Just off to the side, there will be three thin pieces of platform. Grab each one of these with Ultrahand, and attach two of them to one another in a straight line to build a ramp. Finish the ramp with the third piece of the platform, but rotate this last section so that it is sloping upwards, and then attach it. Your ramp should look like this once complete:
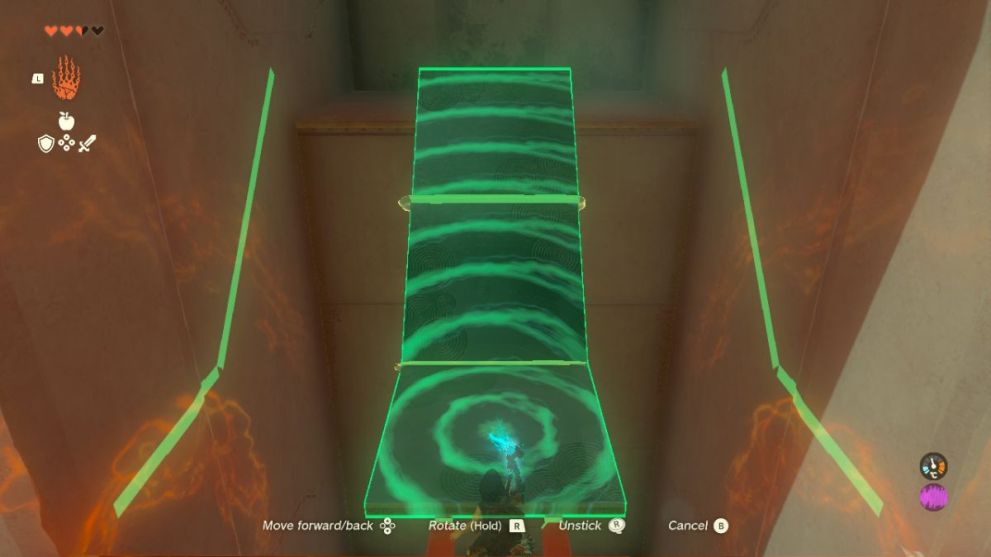
Once you have your ramp, use Ultrahand to drag it over to the railings, and then rotate it so that it slopes up towards the treasure chest. Release Ultrahand, and this should now fall into place.
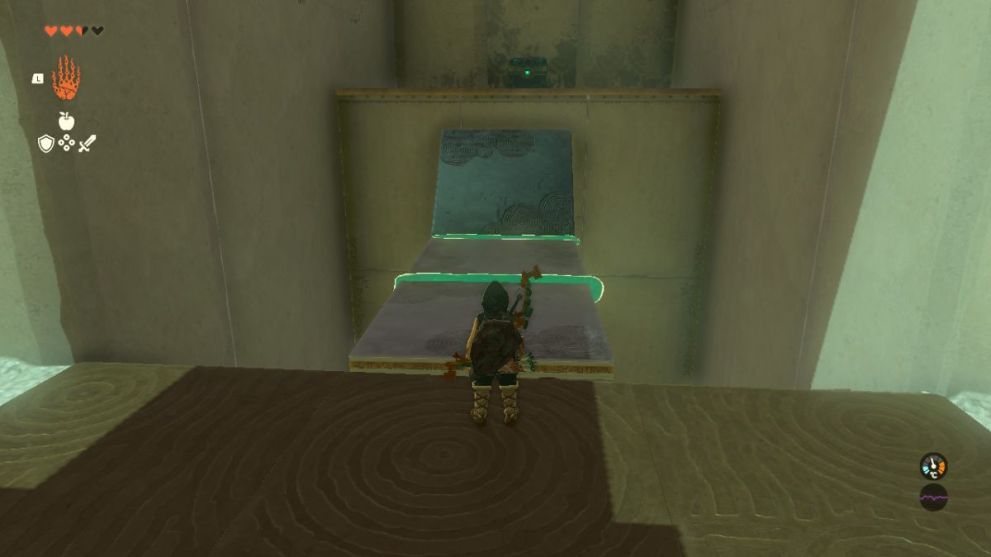
Run across your ramp and use it to get up onto the ledge and open the chest. Doing so will allow you to receive an extra 1x Sticky Exlir. This is worth taking the extra time to grab, as this is a helpful item that will provide Link with Slip Resistance for seven minutes and ten seconds once consumed, and these Elixirs aren’t super common to find laying around.
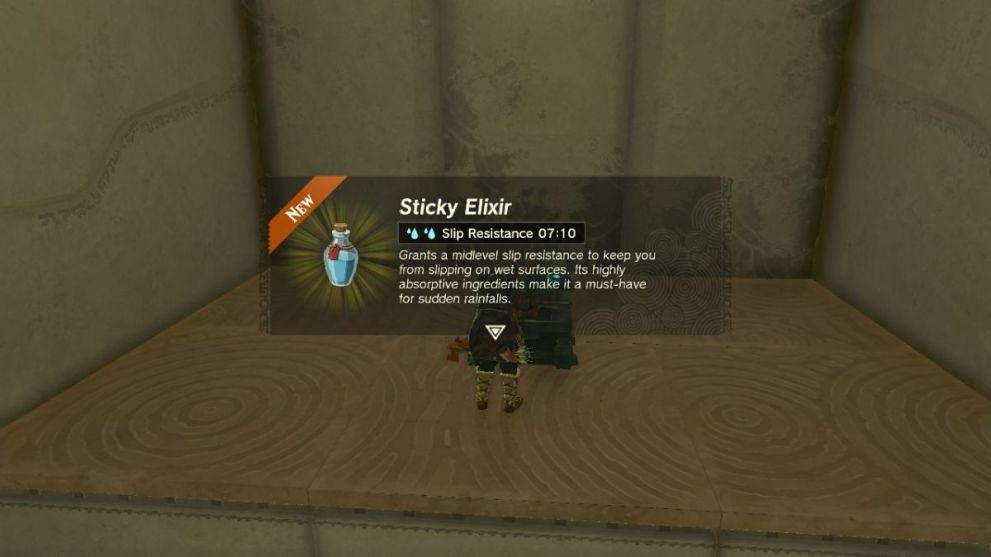
Go ahead and jump back down and walk back across to the other side. Once you’re back across, grab your ramp and disassemble it, as you’ll need to use these pieces for your next creation.
You’ll now need to build a platform that can ride the rails to the next section of the map. To do this, first grab a single small section of platform, and place it on the ground to use as your base. Now head back to your pile of loose platforms and grab another small section. Attach this section horizontically such as in the screenshot below:
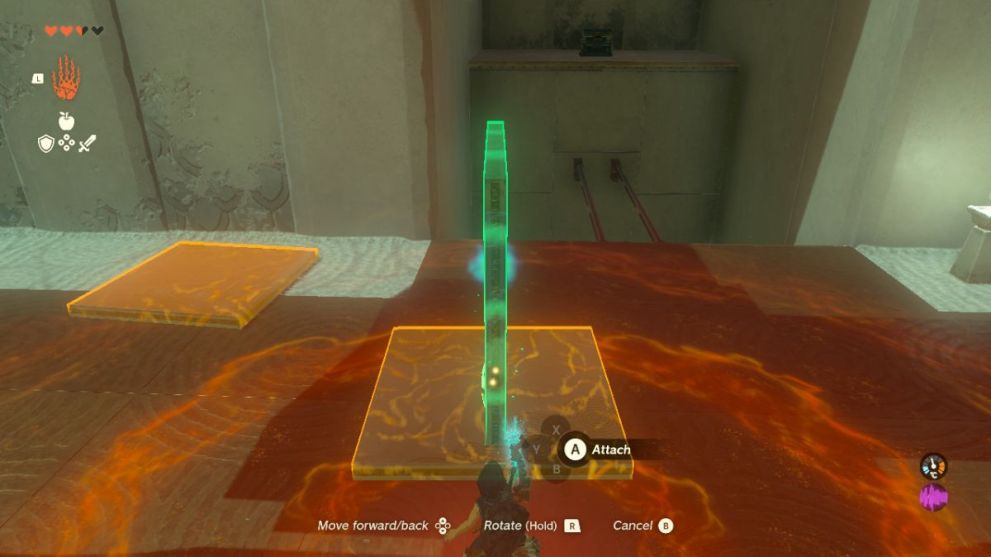
Lastly, head back to the rail where you landed and use Ultrahand to pick up the large double platform that you rode over on. Move this over to your work in progress creation, and attach it to the top to create a roof. Now your creation should look something like this.
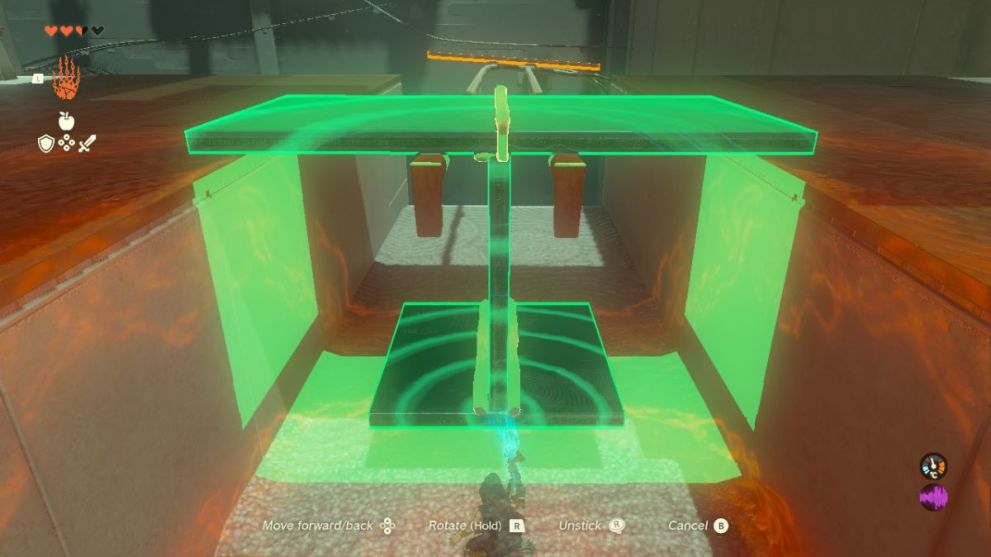
Activate Ultrhand once again, and use it to pick this creation up and drag it towards the rail. Rotate and position your creation accordingly, until you can balance it on the rails, and then release Ultrahand. Now you need to quickly jump on board, and once again use this as your transportation to the next section of the Shrine.
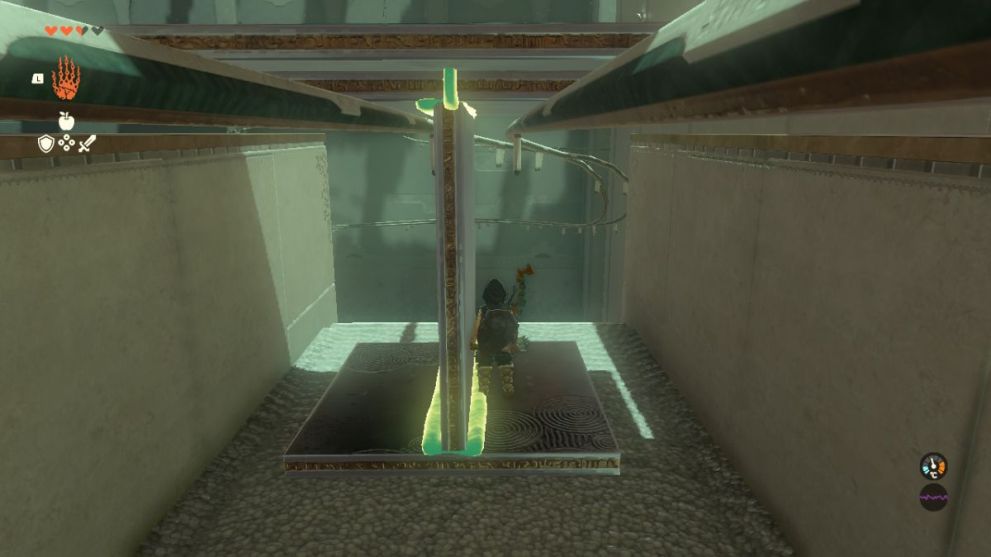
Once you’ve arrived safely on this next section, jump off of your creation, and head up the stairs to the top of the slope. Here you will come across a collection of platforms on your left hand side, and a section of Zonai Fans on your right hand side. Use Ultrahand to pick up the long section of platform, and then place it evenly on the rails.
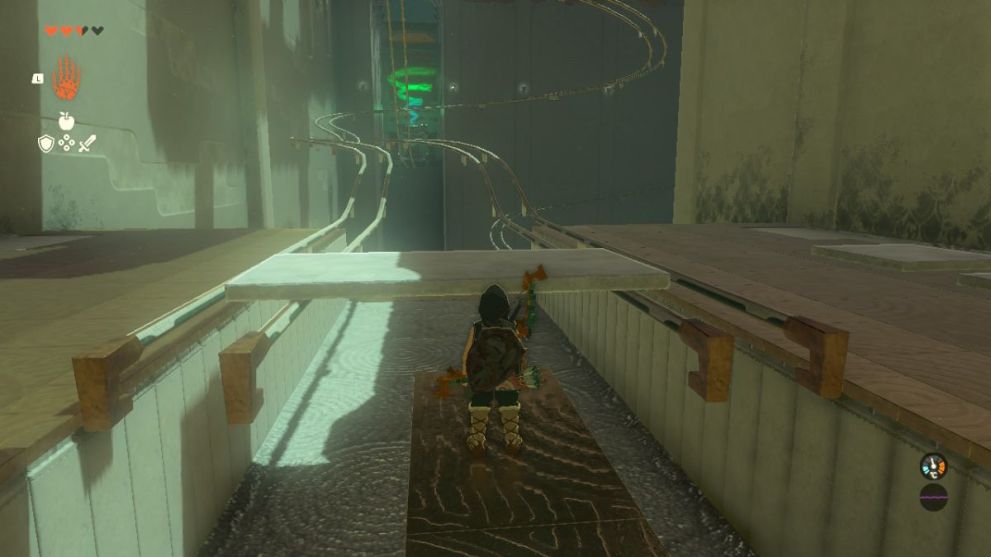
Now, grab two small slabs of platform and attach them vertically to the two ends of this platform to hold it down on the rails. This should look something like the screenshot below once complete. Lastly, you’re going to need to head to the left side of the room and pick up two of the Zonai Fans. Use Ultrahand to attach one Fan to each of these end pieces, just like in the image below:
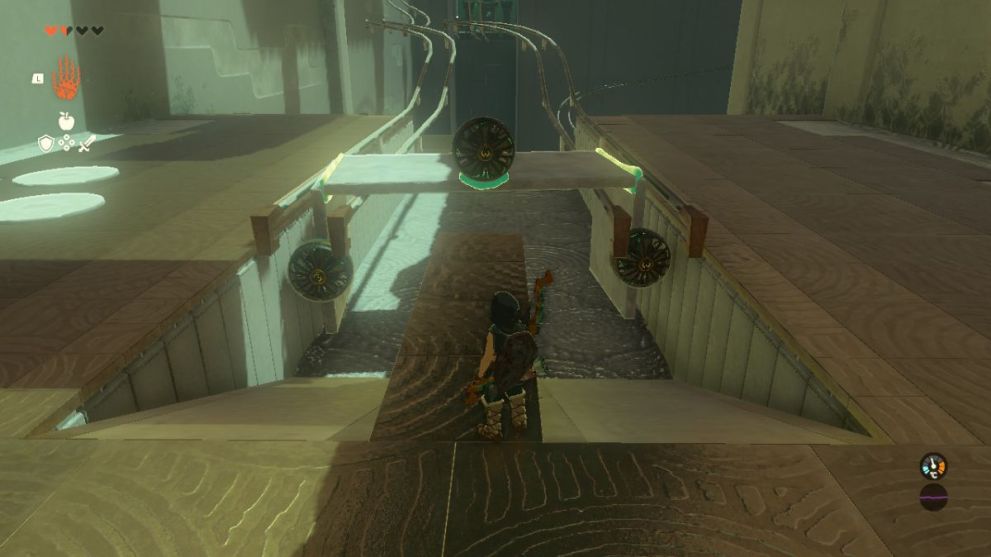
Now, head back and grab the third fan. Use Ultrahand to attach this one to the top of the platform and center it in the middle to help balance the creation along the rails.
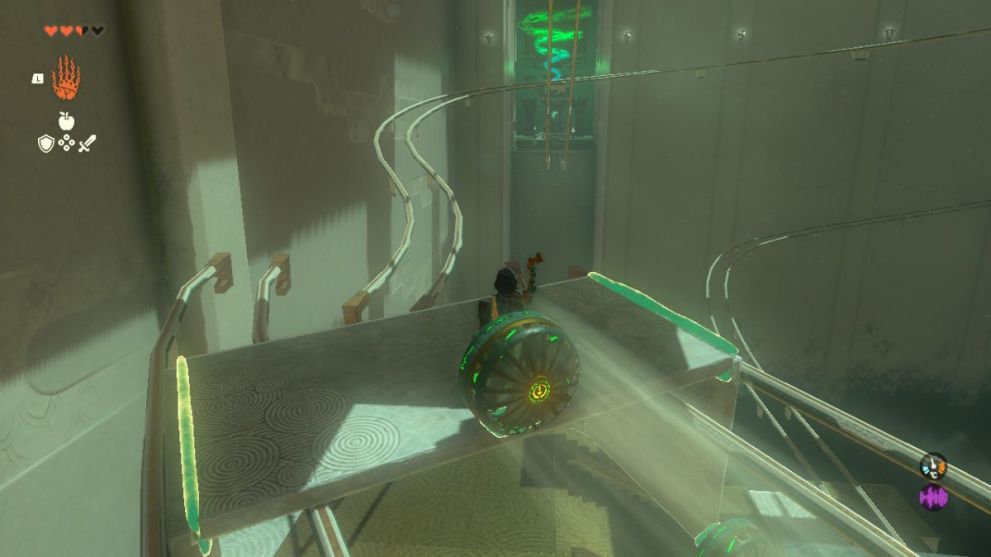
Now your cart is complete, so go ahead and jump on top of it, then strike the fan with a melee attack to power it on. This will push the cart along the rails to the end of the shrine, allowing you to complete the puzzle, mark the Shrine as clear, and receive your Light of Blessing.
That’s everything you need to know about how to solve the Jiukoum Shrine puzzle in Zelda: Tears of the Kingdom. For more helpful gameplay guides, news, and lists, check out the rest of our content here at Twinfinite. We have a wide variety of Zelda topics covering everything you’ll need to assist you on your Tears of the Kingdom adventure, so feel free to scroll down and look through our related links below for more help.







Updated: Jul 6, 2023 08:21 pm