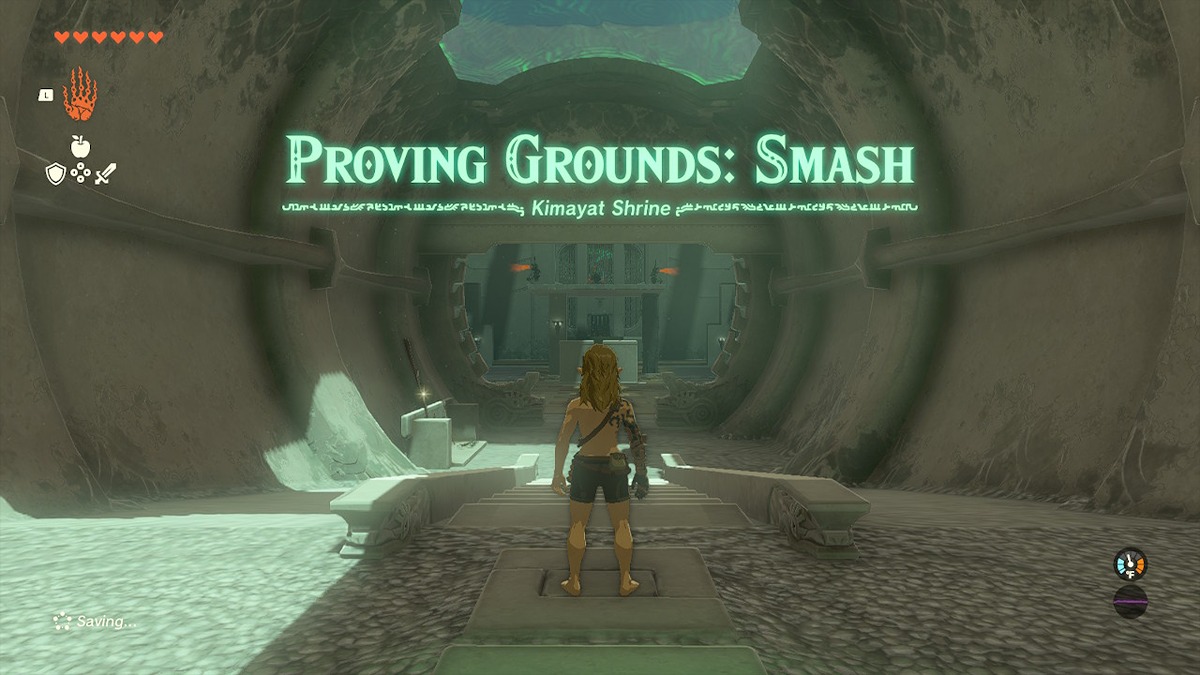
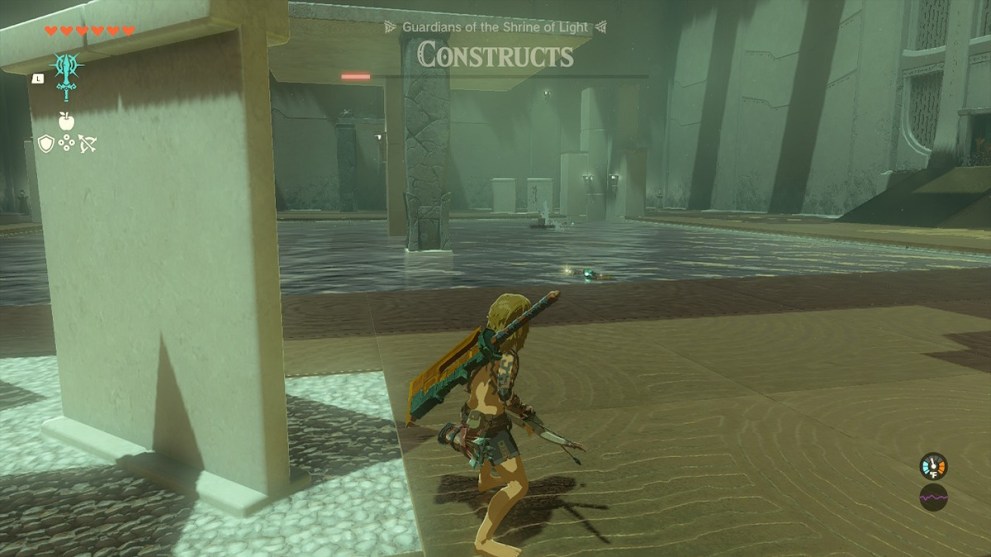
Certain shrines force you to remove all your equipment and fight a handful of constructs with basic weaponry. The trick with these shrines is knowing which battles to pick first and being cautious of the surrounding constructs. In these cases, it’s all about what you can use with fuse. Here’s our full walkthrough for the Kimayat shrine in Zelda: Tears of the Kingdom.
Zelda: Tears of the Kingdom Kimayat Shrine Walkthrough
Kimayat shrine is located in the map’s far northeast, not much farther northeast than the Sibajitak shrine. It sits at the coordinates 2863, 3637, 0241.
As said, this is one of the Proving Grounds shrines (like Kamizun and Eutoum) that force you to use sparse equipment. In this instance, you get a Wooden Stick, a Long Stick, a Wooden Bow, and an Old Wooden Shield.
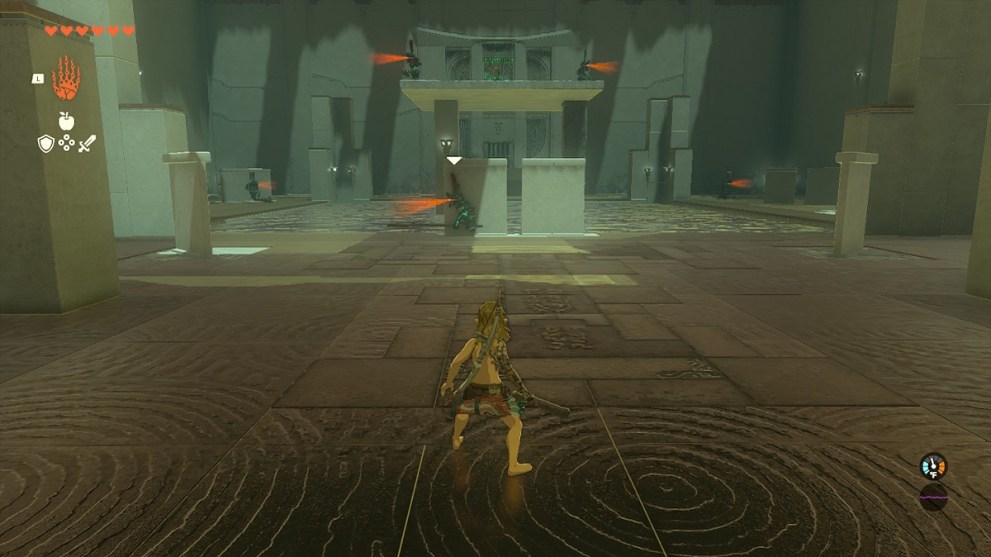
You will have to fight six total constructs, but only three will be an up-close fight.
Step One
From the start, equip the Wooden Stick and rush the construct in front of you. Fuse its dropped Zonai Charge with your Wooden Stick to better break the guard of an upcoming construct.

You’ll definitely have to fight two at once, so be sure to keep on your toes and dodge at the right time for a flurry attack. Swap to your Long Stick for the Thick Stick construct if you beat the shielded construct first.
Step Two
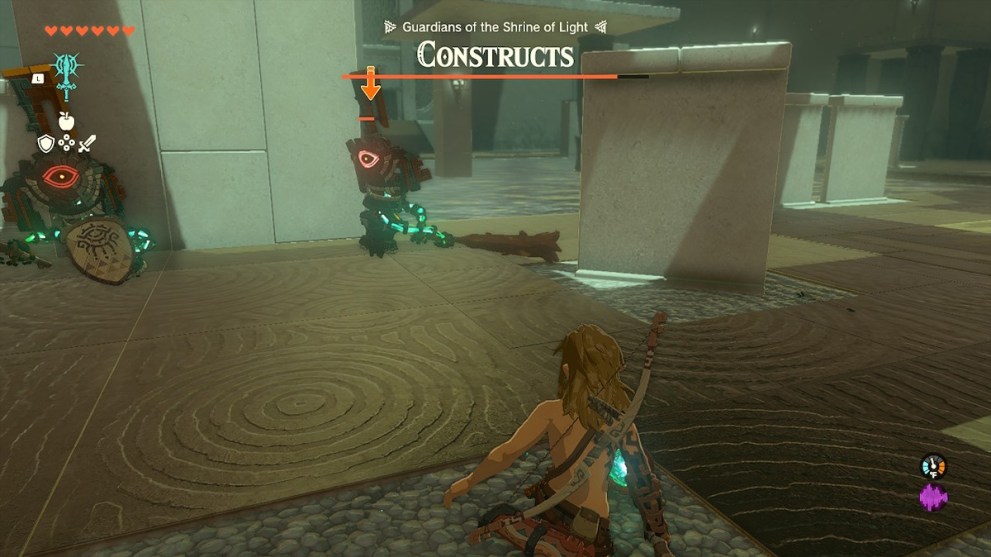
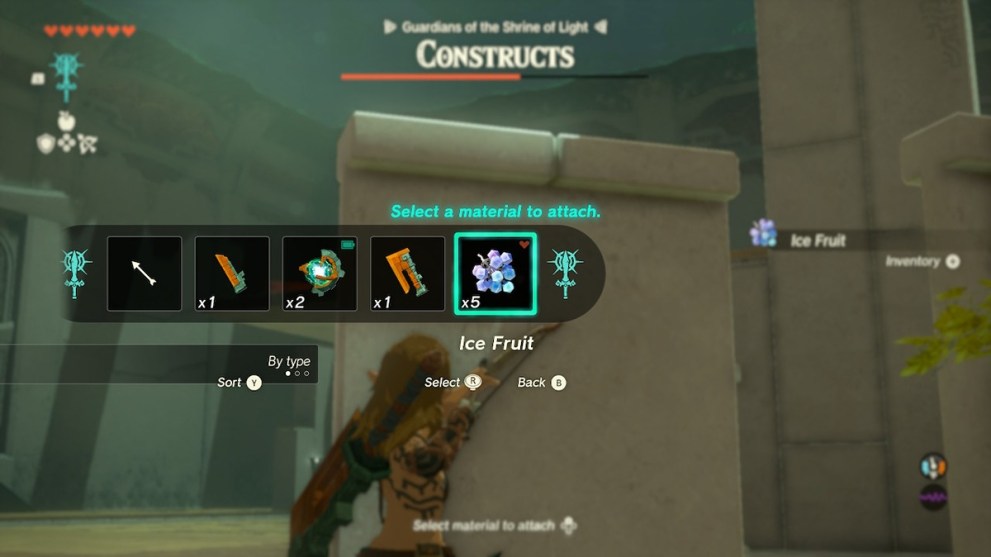
With these two defeated, now it’s a matter of taking out the constructs on the platform. On the left side of the arena is a tree with Ice Fruits. Use one of these per construct.
The first shot will freeze the construct, and then when you hit the frozen construct, it will slide off the platform and into the deadly water below. This will clear out the three remaining constructs, and you will finish the shrine.
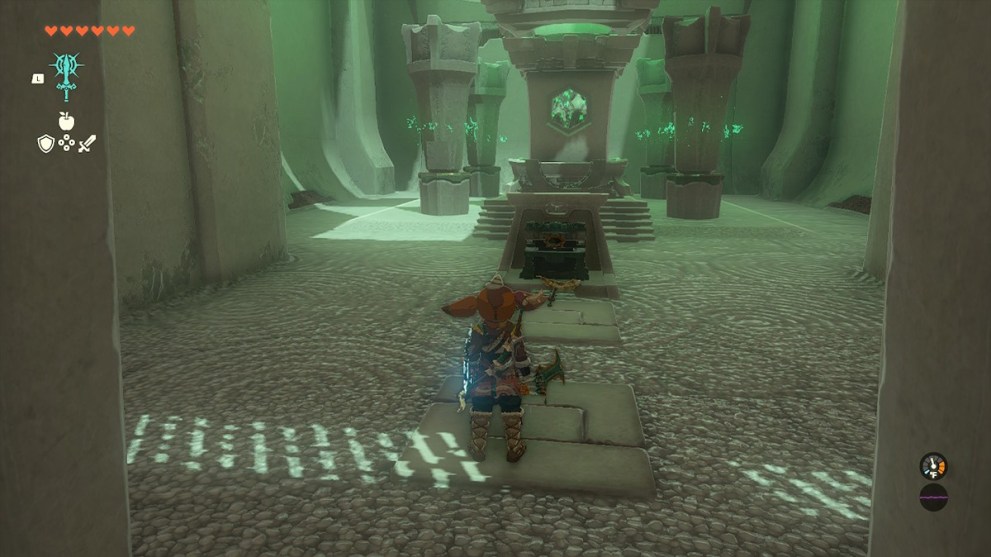
When heading towards the Light of Blessing pedestal, the shrine chest will be in front of you, containing a 35-strength Captain II Reaper.
This Kimayat shrine walkthrough for Zelda: Tears of the Kingdom will hopefully get you from beginning to end without too much trouble. For more shrine guides and helpful tips, check out our links below.


Updated: Jul 6, 2023 08:18 pm