The Legend of Zelda: Tears of the Kingdom has four different shrines to visit during the first stage of the game that takes place at Great Sky Island. These Shrines can sometimes be a little tricky to discover and navigate, especially when they’re located in areas with harsh weather conditions such as Gutanbac Shrine. If you’re wondering where to start and how to reach this Shrine, we’ve got you covered. Here’s everything you need to know about how to get to & clear Great Sky Island’s Gutanbac Shrine in Zelda: Tears of the Kingdom.
How to Get to Great Sky Island’s Gutanbac Shrine in Zelda: Tears of the Kingdom
To get to Great Sky Island’s Gutanbac Shrine, we’ll set our starting location as the Ukouh Shrine. You should be able to see the Gutanbac Shrine from here, so go ahead and mark it on your Purah Pad with a pin so it’s easier to navigate your way. If you can’t locate the Gutanbac Shrine in the distance, you can also view our guide for all Great Sky Island Shrine locations and copy that pin into your Purah Pad.
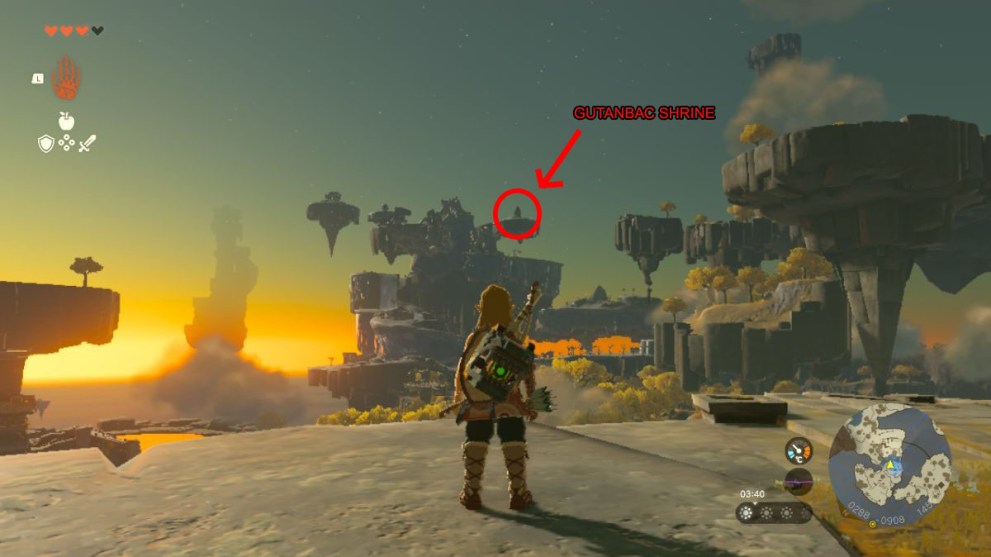
Now, dive into the water below you and start heading directly for this frosty, icy terrain you marked in the distance. If you get lost, this direction should be northwest from the Temple of Time.
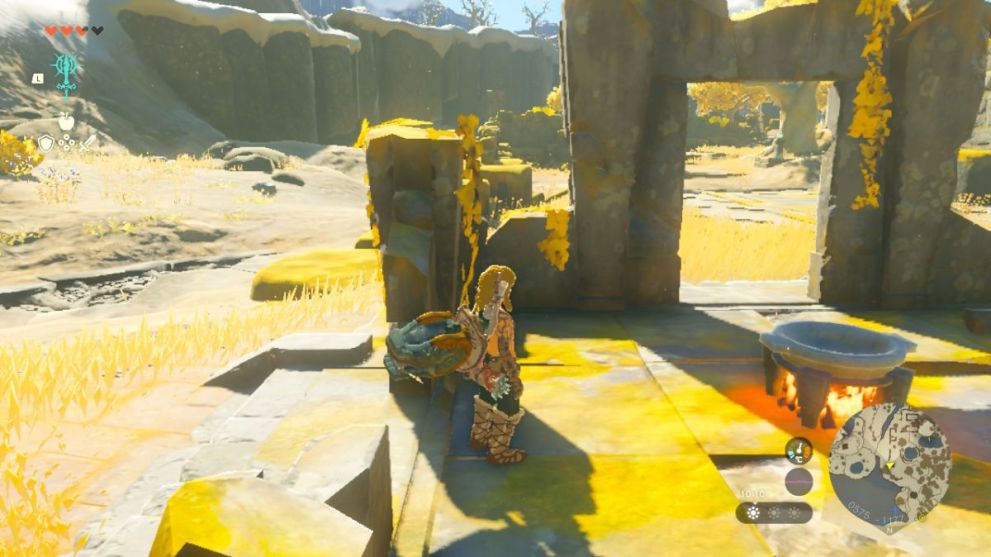
As you approach the snowy terrain, you will stumble across an area with a fire pit. Once you take out the Soldier Constructs, this is a great place to prepare for entering the climate by cooking Cold Resistance dishes. Some Spicy peppers are also in the surrounding bushes, making the preparation job even easier.
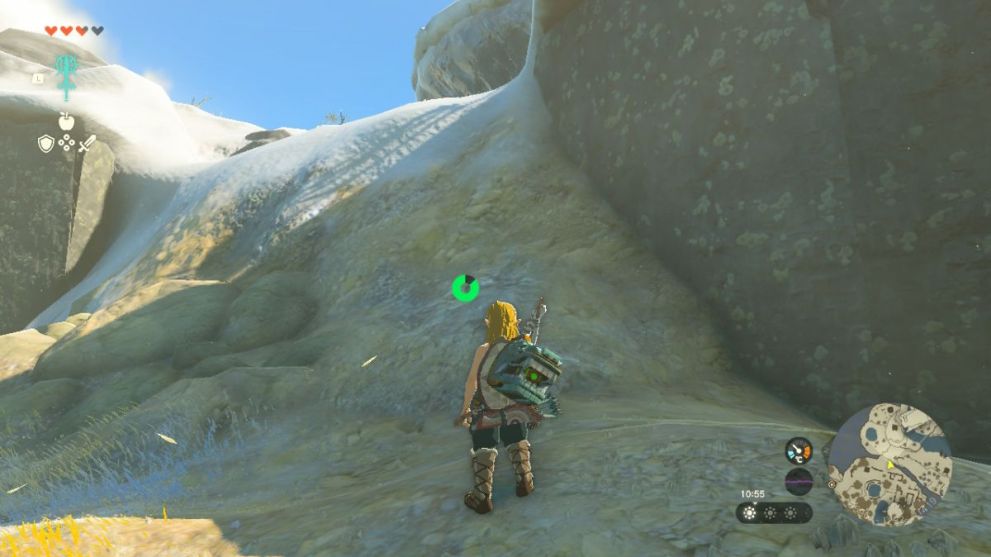
Once you’ve cooked enough Spicy Peppers into Spicy Sauteed Peppers (I’d recommend 2-3 batches to be safe), you can consume the first one to gain Cold Resistance and step foot in the snow.
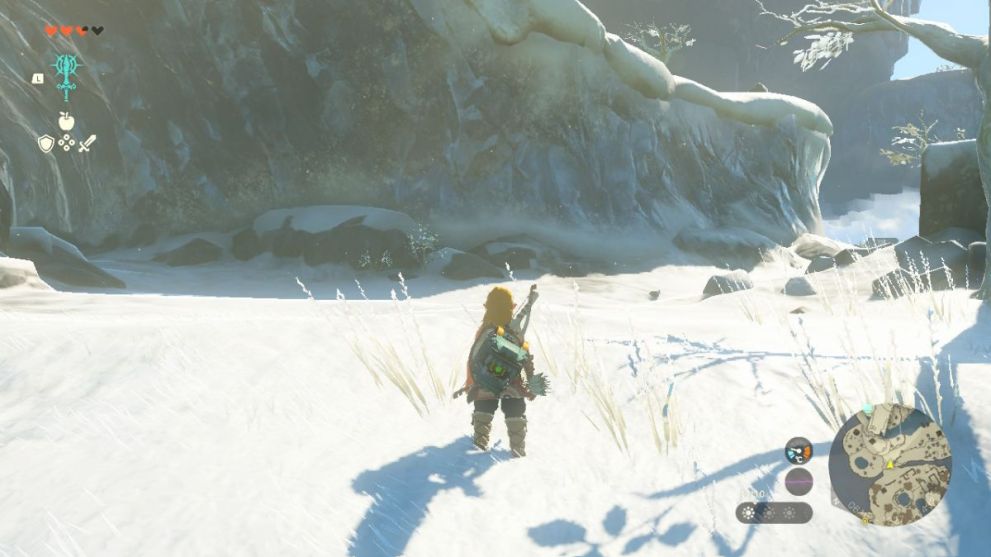
As you enter the snow, there will be two paths to follow. Head right, and you will find an area with log boats ready to go. First, find the Maker Construct and talk to him. He will explain the use of Zonai Devices and Energy Cells to you and permit you to use the boats.
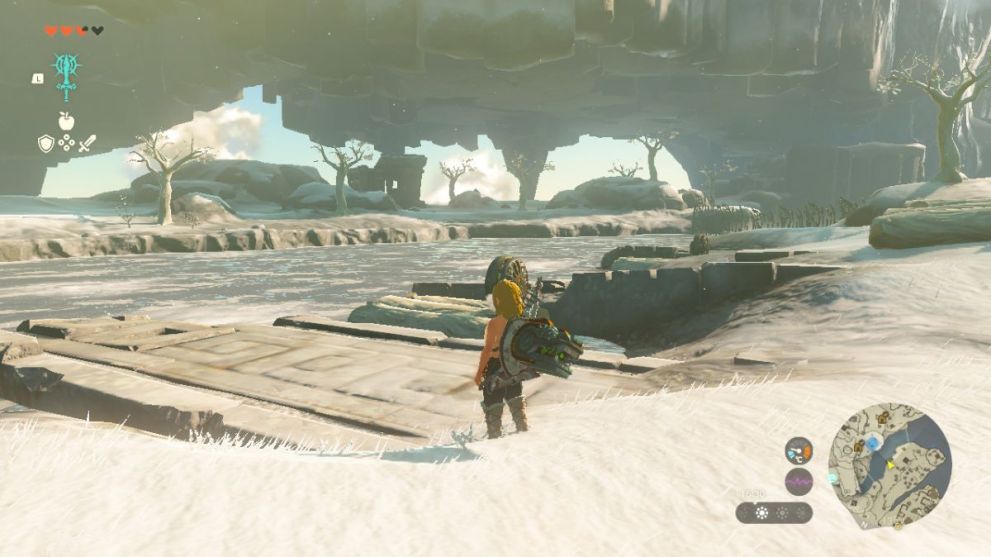
You’ll now need to use one of these boats to cross safely to the other side of the river, so go ahead and step onto one, then hit the fan with a weapon attack to power it on. This will move you to the other side of the river, where you can safely step off. You can also use Ultrahand to help move the log boat out of the water and onto the shore if you don’t want it drifting downstream.
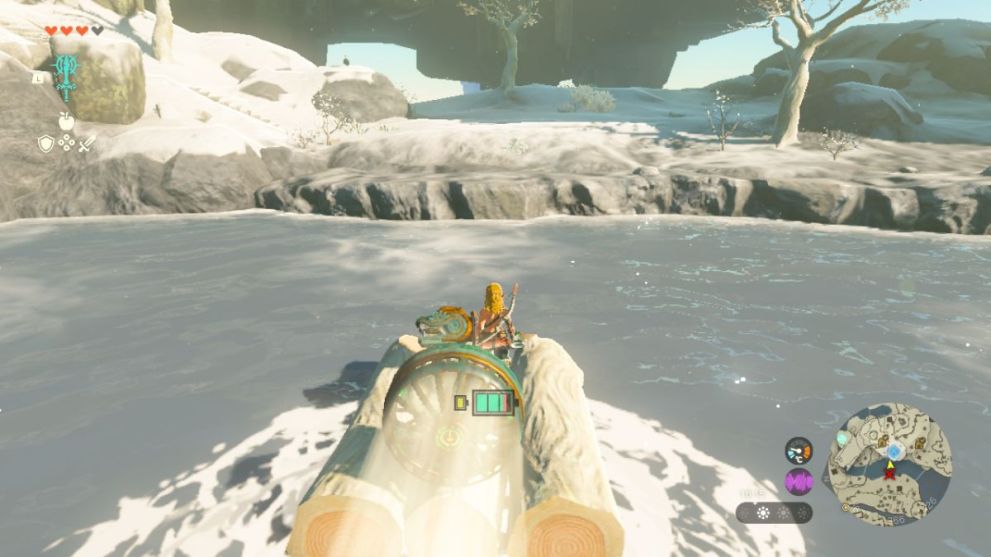
Once you’ve crossed to the other side, turn to your left, and you will see a snowy stone staircase. Follow these stairs up the mountain, and you will come to a side of the cliff that Link can climb.
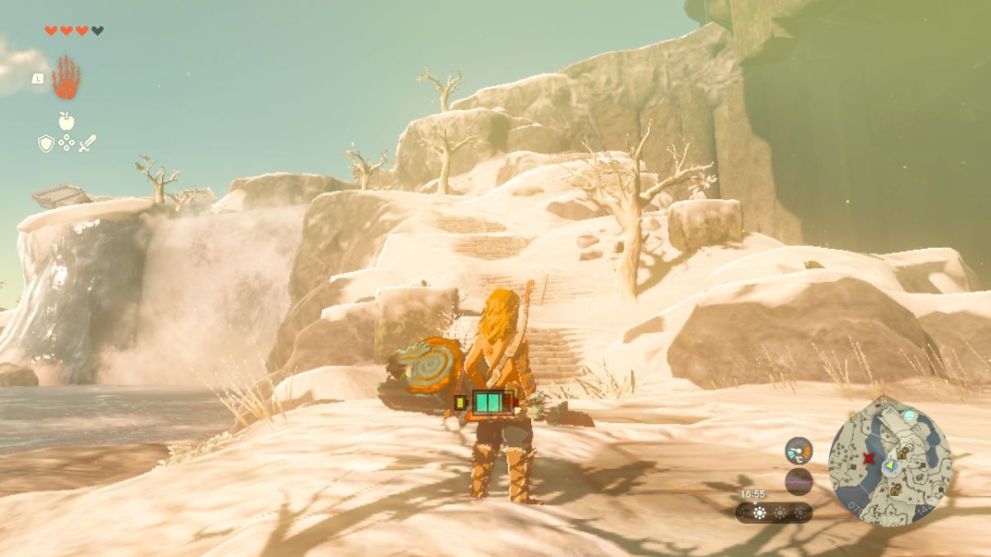
Climb to the top of this cliff, and then follow the path behind the waterfall. Once behind the waterfall, turn right and follow the path upwards.
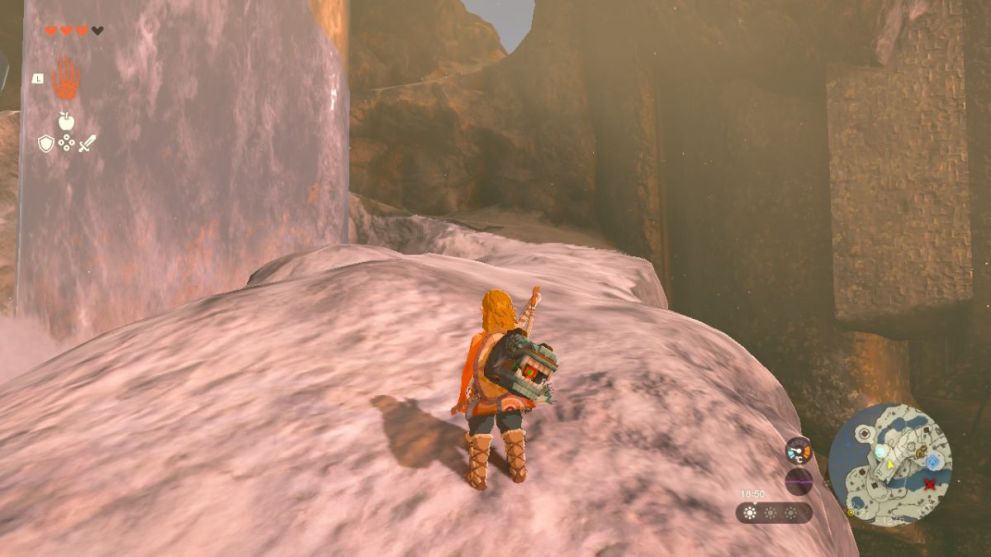
This will bring you to a new clearing with another waterfall and bridge. Cross the bridge to your left and start heading towards the small campsite you can see.
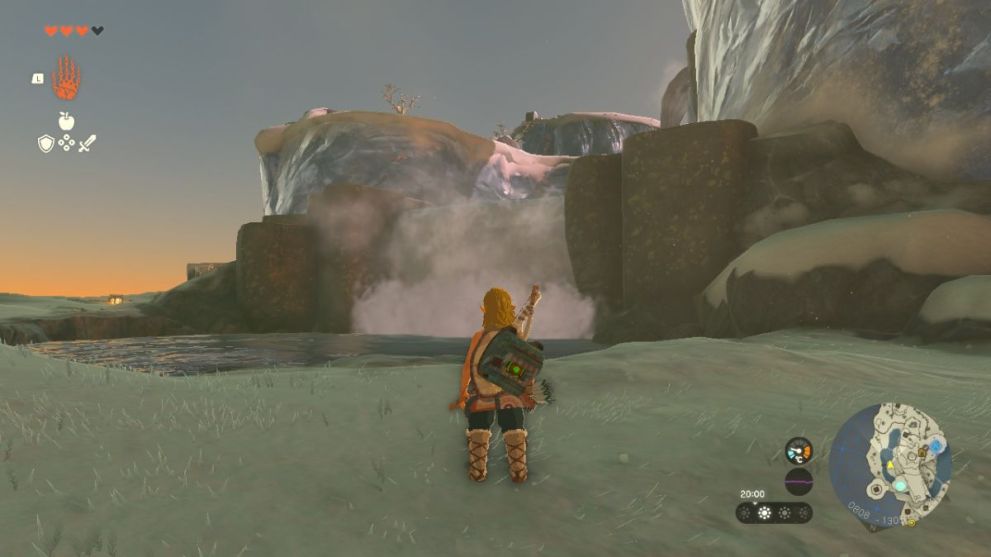
There will be a Soldier Construct guarding this campsite and fire pit, so go ahead and take it down with whatever weapon you have on hand.
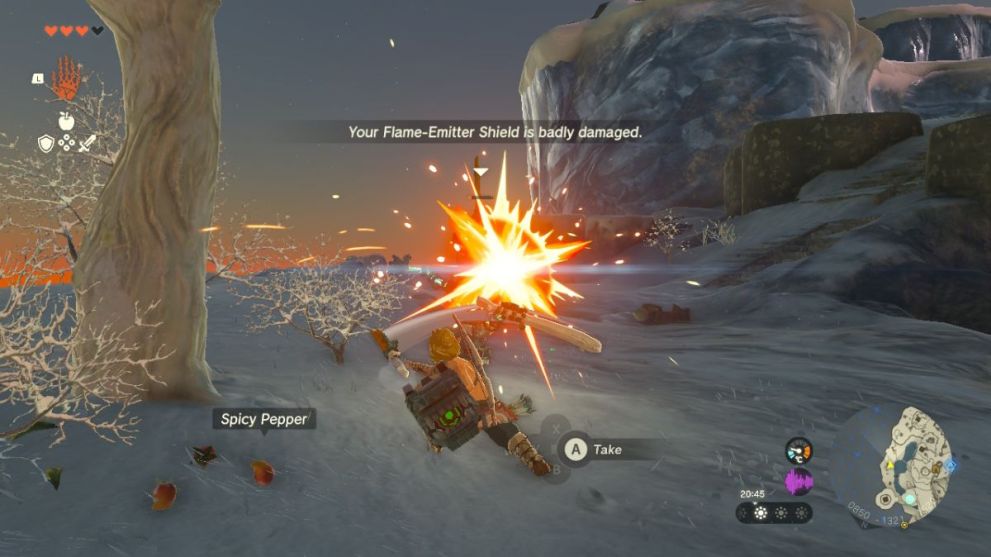
There are also more Spicy Peppers and a Fire Pit at this location, so you can cook more meals to increase Cold Resistance if needed. Besides this fire pit, there is another frosted staircase. Run up this staircase, and you will reach another cliff face behind a waterfall.
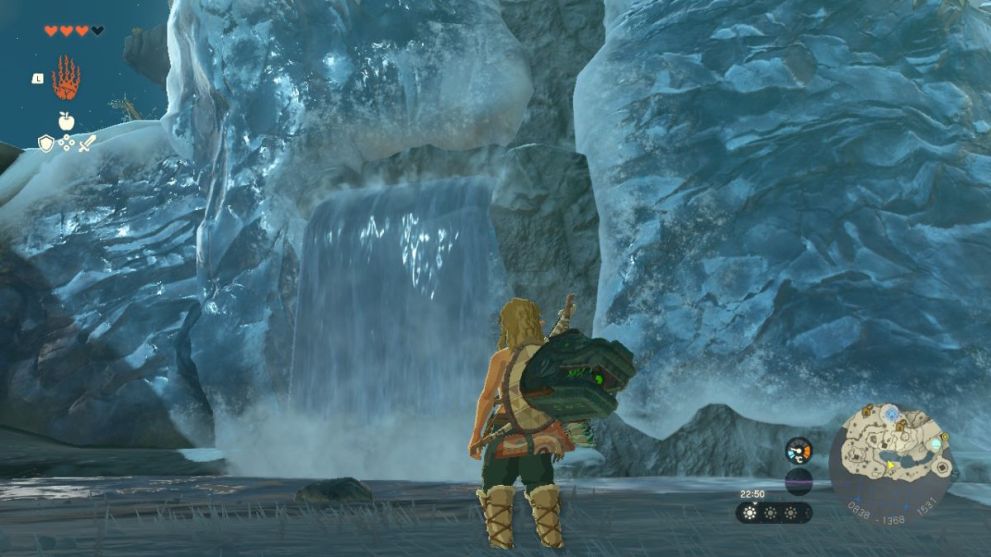
At first, this can seem confusing as the cliff is made out of ice, which Link can’t climb. Don’t worry, though; you’re not stuck. If you look closely, a small section of the stone cliff isn’t covered in ice, and this section is climbable. Follow the path to the left, around and behind the waterfall, until you reach this section of stone. Once here, latch on and begin your climb up the cliff.
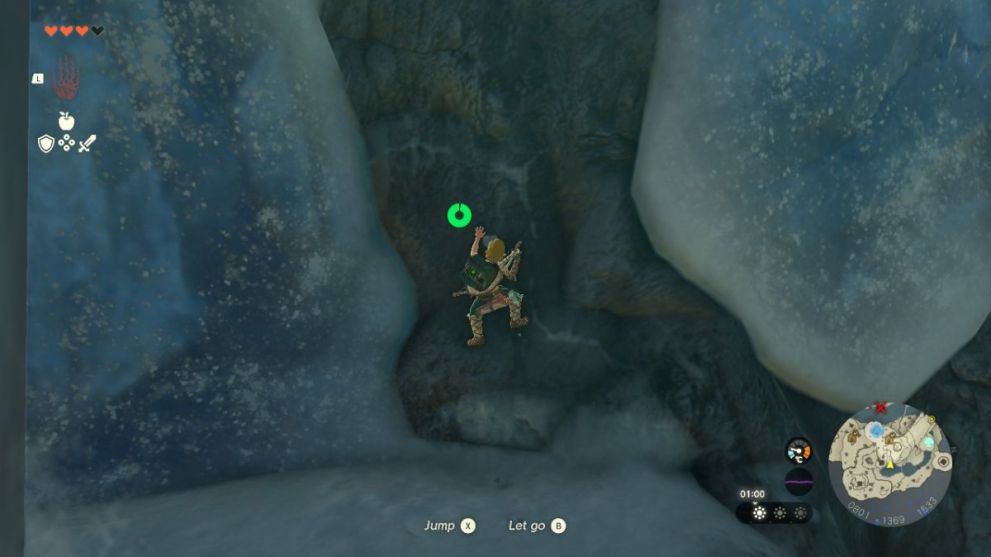
Now that you’re at the top of the cliff, climb the rocks to your left, and you should easily see Gutanbac Shrine just across the top of the mountain.
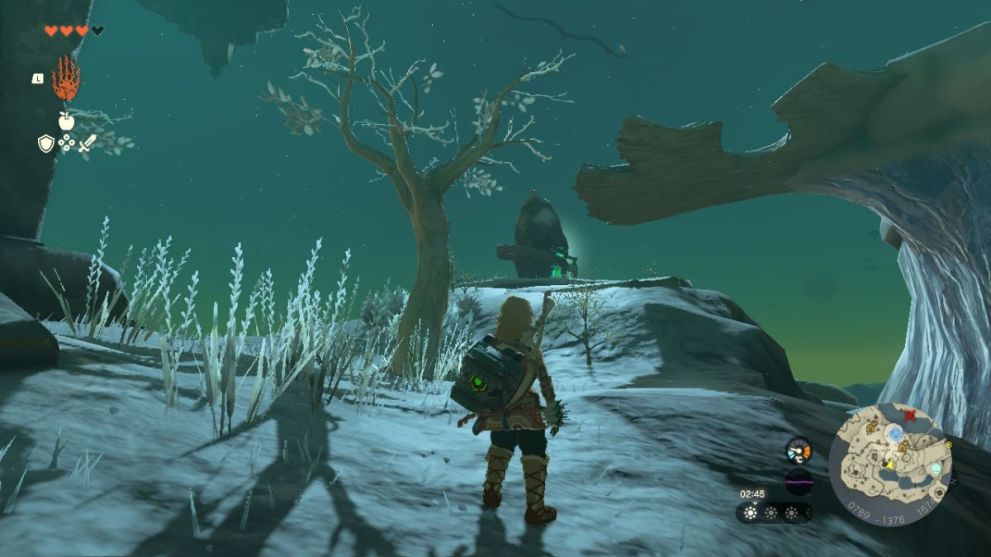
Run across the snow until you reach the Shrine, and you’ll be all set. Easy as that! Now it’s time to dive in to how to clear the Shrine.
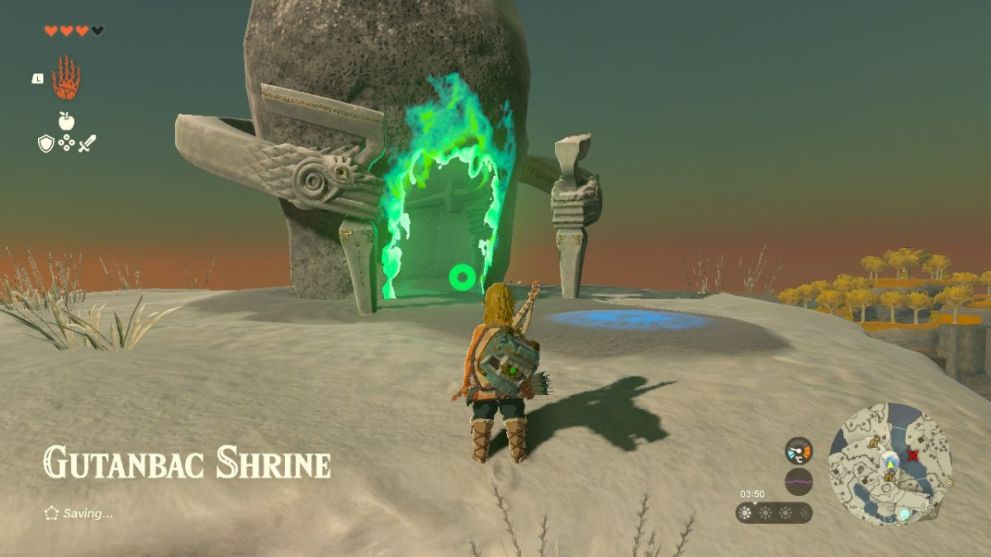
Zelda: Tears of the Kingdom Gutanbac Shrine Walkthrough
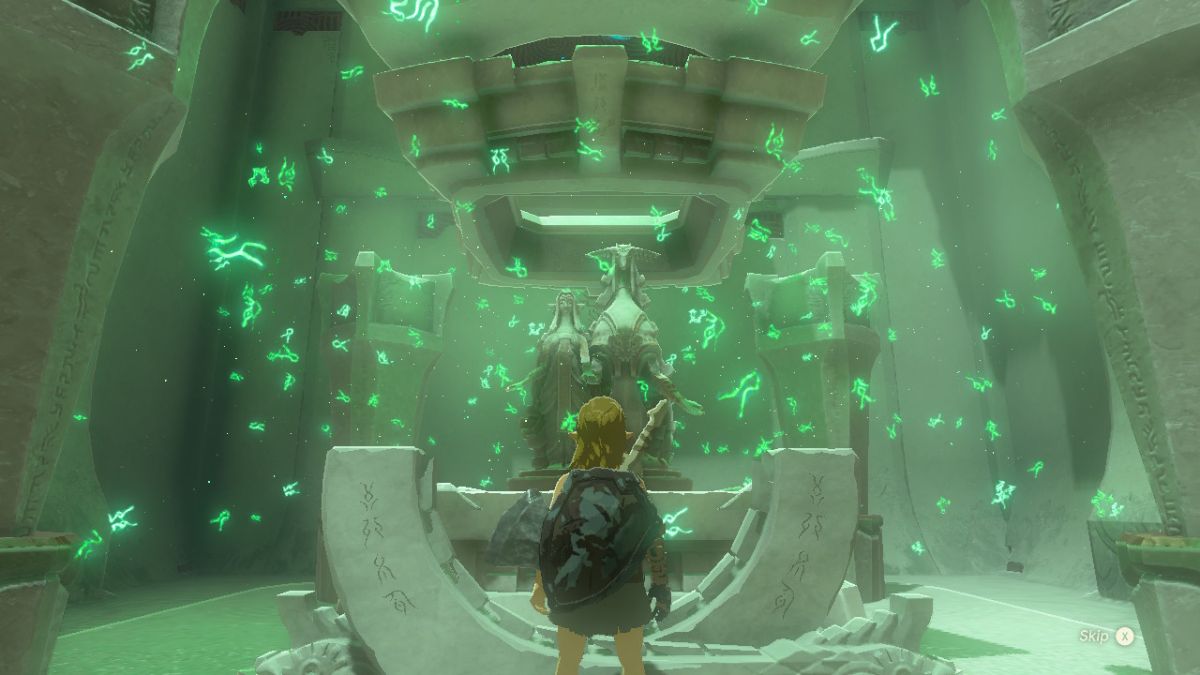
Gutanbac Shrine focuses on getting used to Link’s Ascend Ability and is reasonably easy to clear. You should have no problem following our lead here and working through it for yourself, so once you’ve entered the Shrine and the intro sequence is complete, head down the stairs at the entrance.
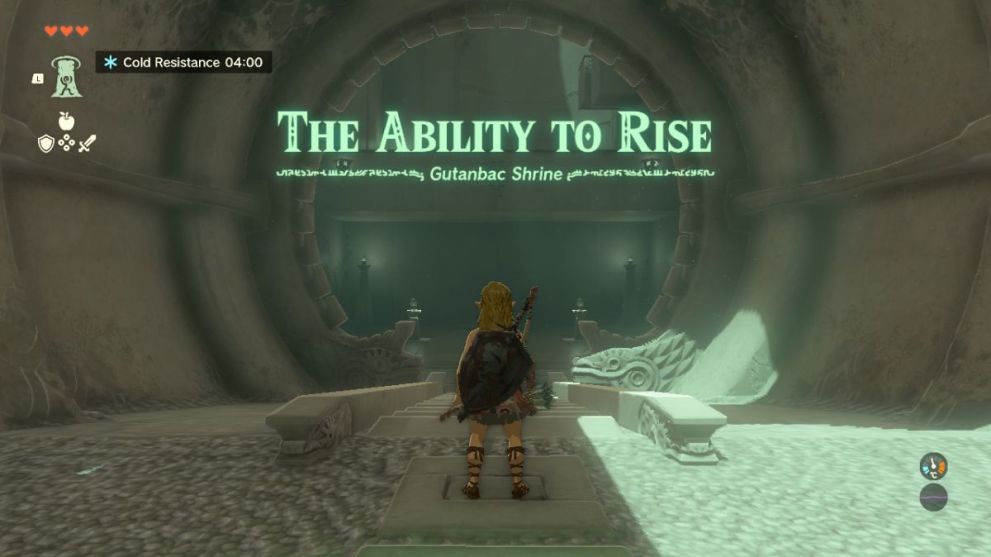
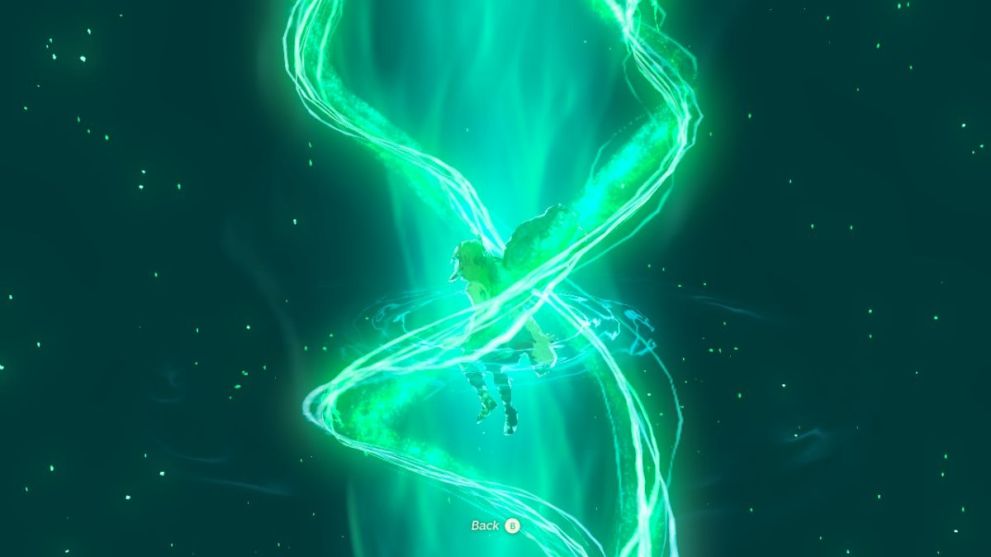
You will notice a platform above you that has no way of climbing. This is where Ascend comes in handy! Walk underneath this platform, activate your Ascend ability, and look up. You can press A and phase through this platform, appearing on the top.
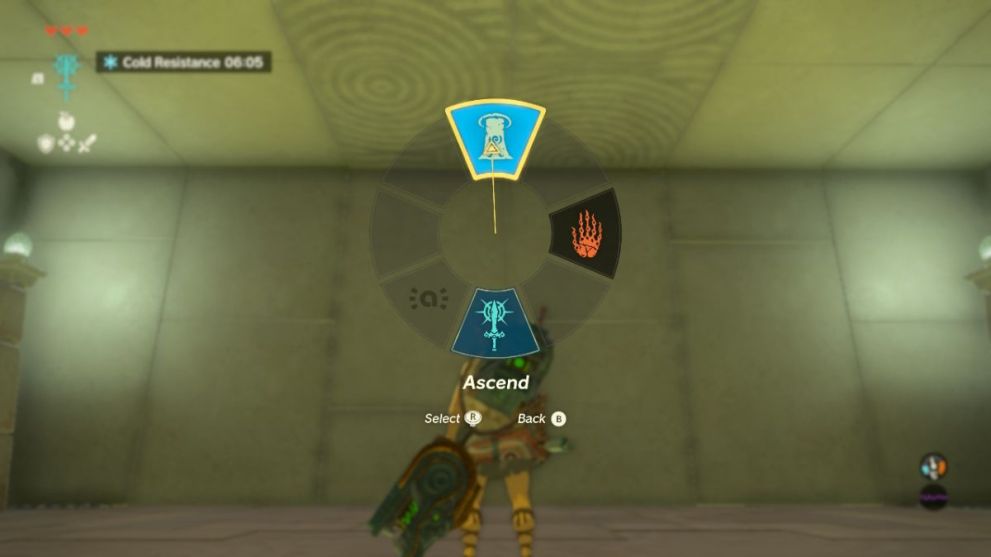
Now that you’re on the second floor, two block-like structures will be on the wall. Both of these are compatible with the Ascend ability.

Climb the small, square-shaped one on the left to reach a Chest and receive a Stone Axe. Make sure to pick this up, as it is needed for clearing the next stage of the Shrine.
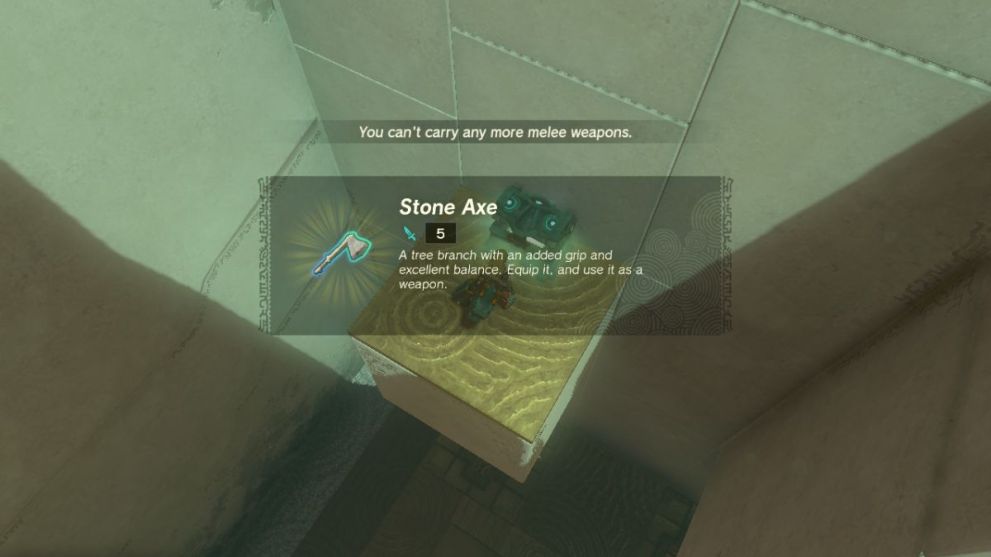
Now jump down and use Ascend on the larger, rectangle-shaped block. This will allow you to climb to the third floor. Once you reach this floor, a Soldier Construct will be waiting, so go ahead and take him out with your choice of weapon. You can even use the stone Axe that you found if you’d like.
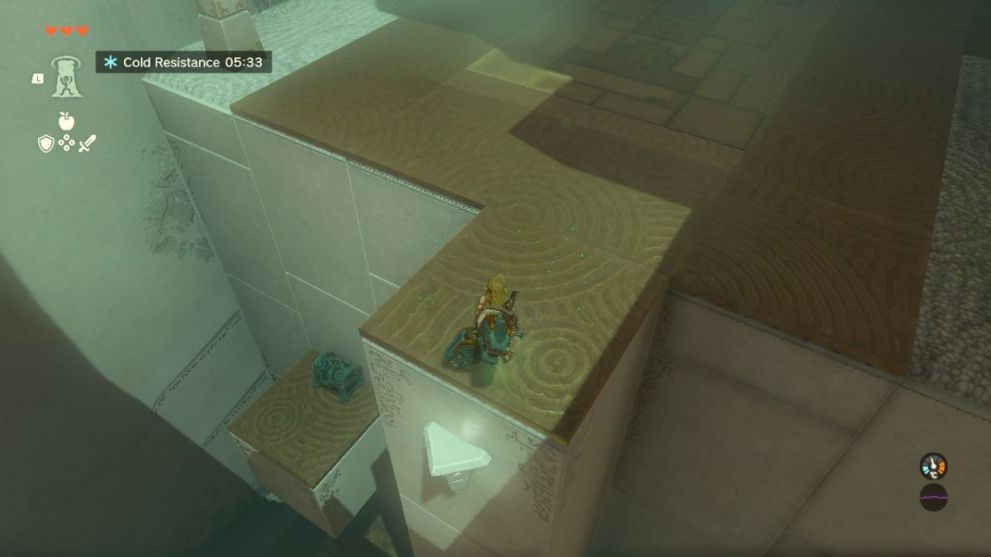
After you’ve defeated the Soldier Construct, move forward and turn to your right. You will notice a platform with two wooden crates underneath. Use your Axe to destroy these crates, and then you can walk under and use Ascend to rise to the top of this platform and open another chest.
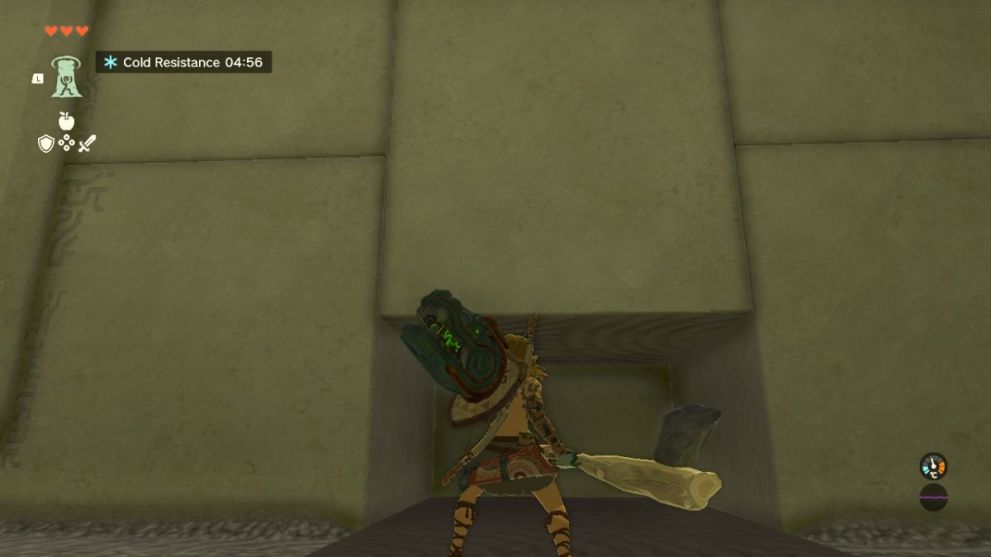
Jump down from this platform, and head over to the two ropes holding a rectangular platform up. Use your Axe to slice these ropes.
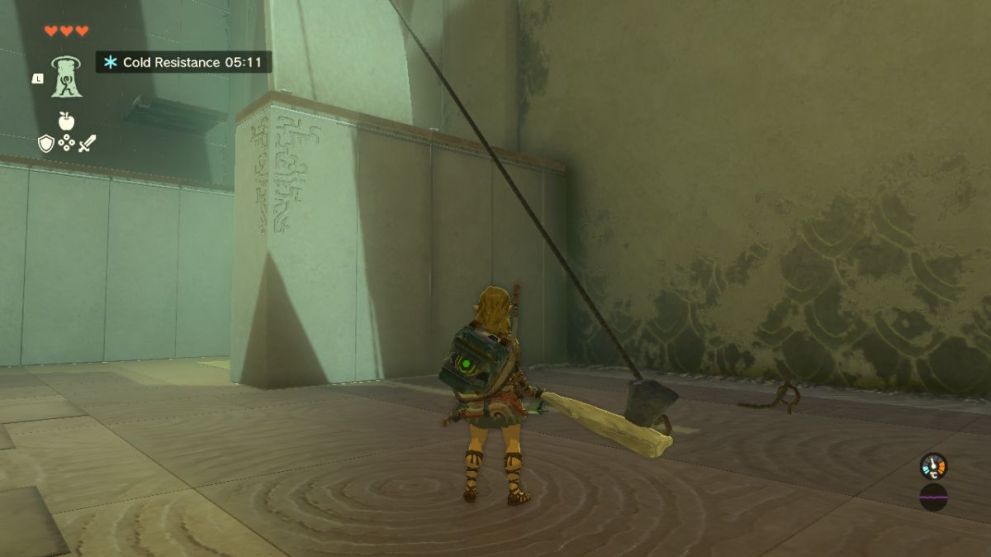
After cutting both ropes, the platform will fall flat, making a new surface that Link can Ascend through. Walk under this surface and use Ascend to reach the next floor.
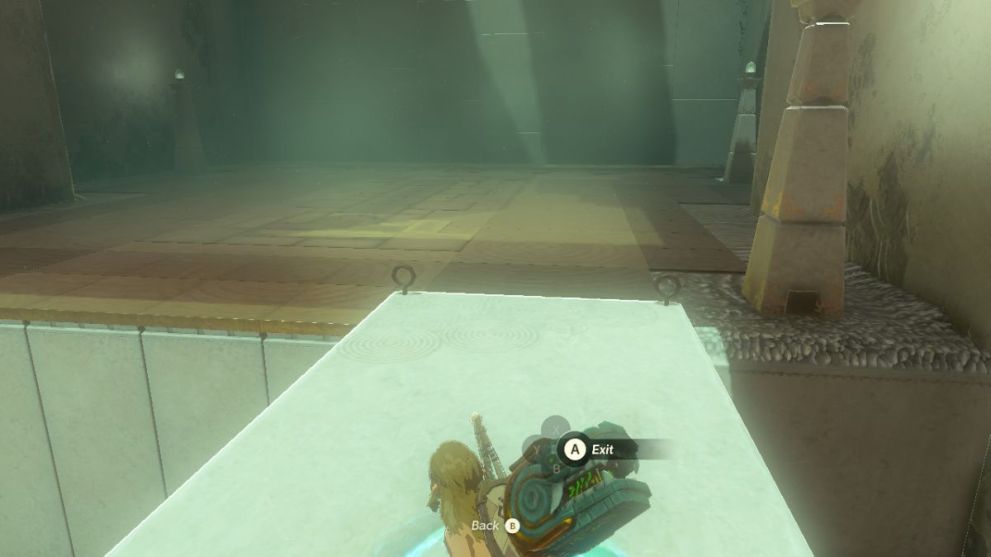
This next floor involves moving platforms and will help you get your timing with Ascend on surfaces that are in motion. Wait underneath the moving platform with Ascend activated, and hit A to initiate the ability once the platform moves over you.
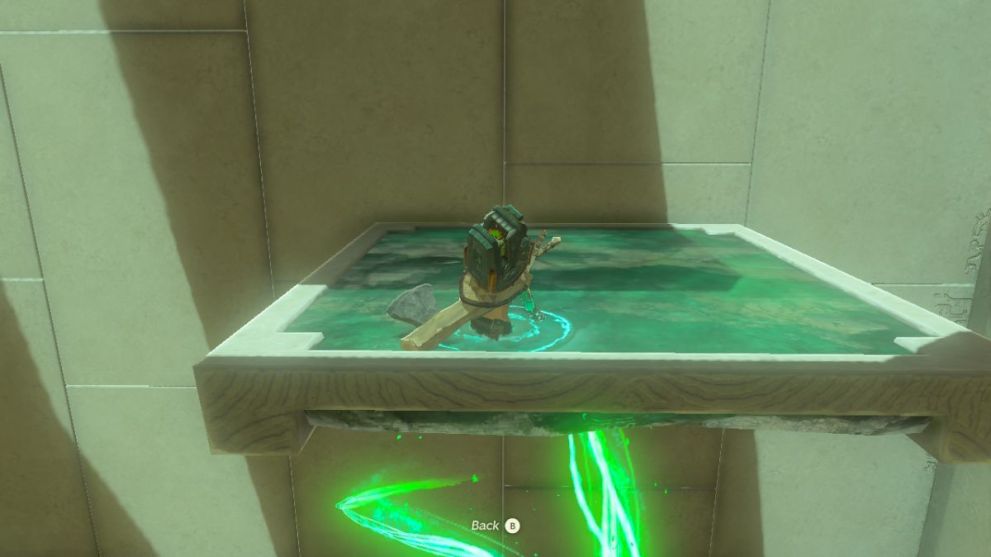
Now you’ll need to repeat this action while standing on the moving platform and stand with Ascend ready when the moving platform’s position reaches under the square slab at the top floor. Once this matches up, hit A to Ascend, and you’ll reach the top, where you can complete the Shrine.
That’s everything you need to know about how to get to & clear Great Sky Island’s Gutanbac Shrine in Zelda: Tears of the Kingdom. For more helpful gameplay guides, news, and lists, check out the rest of our content here at Twinfinite. We have a wide variety of Zelda topics covering everything you’ll need to assist you on your Tears of the Kingdom adventure, so feel free to scroll down and look through our related links below for more help.







Updated: Jul 6, 2023 08:23 pm