Since Cygames launched the English worldwide version of Umamusume Pretty Derby on June 26, 2025, I have spent countless hours in the training simulator trying to decode the exact physics of our favorite horse girls. If you have been relying on generic search engine slop or outdated databases, you have probably noticed your organic win rates plummeting.
There is no such thing as a universal, static tier list. Everything in this game is highly contextual. If you are not training your trainees with the exact track geometry, stamina math, and support card synergies in mind, your girls will consistently lose in competitive lobbies.
In this guide, I will deconstruct the real training difficulty of our trainees, break down the physics engine that governs their races, and show you how to master the economic loop of the Trackblazer scenario, also known as Make a New Track (MANT).
The Reality of Trainee Difficulty
Many casual sites rank characters in simple, static brackets. They tell you to just level up S-Tier girls and ignore the rest. In my experience, that is a one-way ticket to losing your local PvP matches. A C-Tier character built with a fully limit-broken support deck will absolutely destroy an S-Tier character trained with zero synergy.
Here is a comprehensive breakdown of our trainees based on how forgiving they are to build and how they actually perform in PvP.
S-Tier: The Most Forgiving
- Oguri Cap (Christmas): This version of Oguri is widely considered the most broken trainee in the game. She requires exactly three recovery skills to trigger her unique skill. Her extreme turf and dirt flexibility is a massive advantage, and she is practically immune to stamina debuffs.
- Sakura Bakushin O: Absolute god-tier pick for beginners who want a fast sprint career. Just stack speed and power and let her run wild.
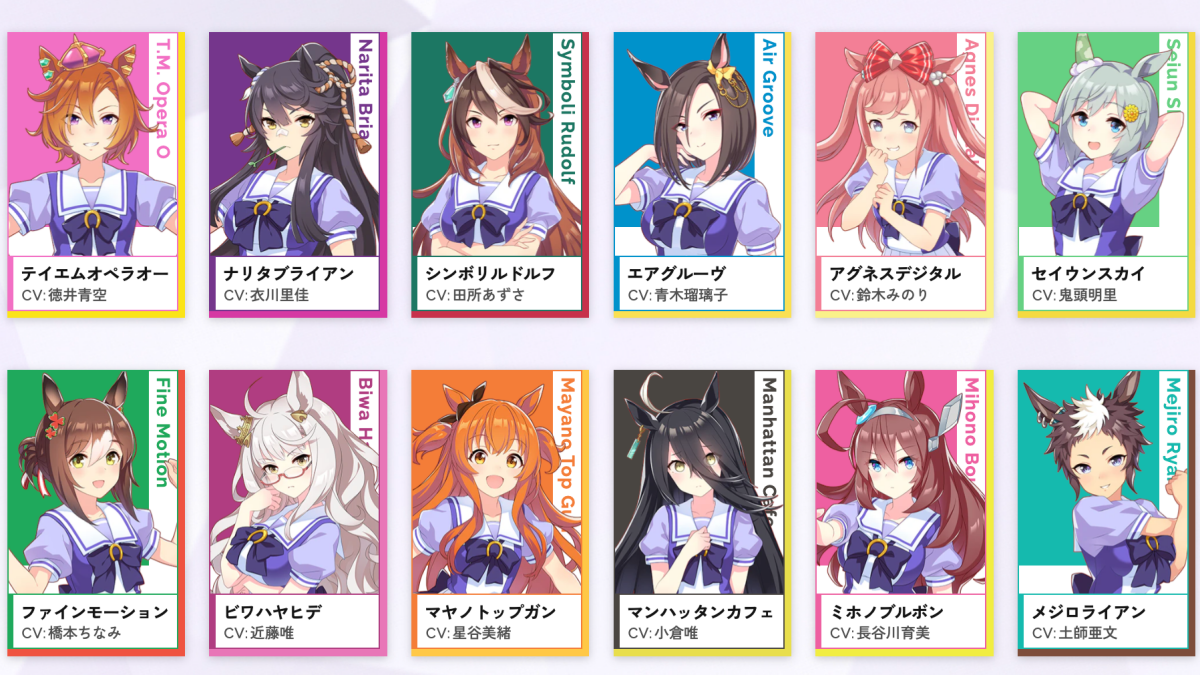
- T.M. Opera O: Highly forgiving stats make her incredibly easy to clear career mode with.
A-Tier: Beginner-Friendly with Slight Requirements

- Silence Suzuka: An amazing front runner at blocking other front runners, but the Trackblazer scenario turns off her unique story events, making it harder to get her specialized skills natively.
- Agnes Digital: Her extreme turf and dirt flexibility makes her a perfect choice for parental inheritance loops.
- Taiki Shuttle: Excellent speed and acceleration profiles, but she suffers from lower base stamina, meaning you must carefully manage her energy.
- Haru Urara, Agnes Tachyon, Air Groove, Matikane Fukukitaru, Vodka, El Condor Pasa, Grass Wonder, Winning Ticket.
B-Tier: Moderate Challenge Requiring Setup
- Kitasan Black: Her unique skill, Victory Cheer!, is an absolute game-changer for front runners on long courses. It triggers when she is in first or second place on the third corner, delivering a massive velocity and acceleration boost.
- Super Creek: Very solid stat growths, but she strictly requires her own stamina recovery skill, Swinging Maestro, to survive long courses.
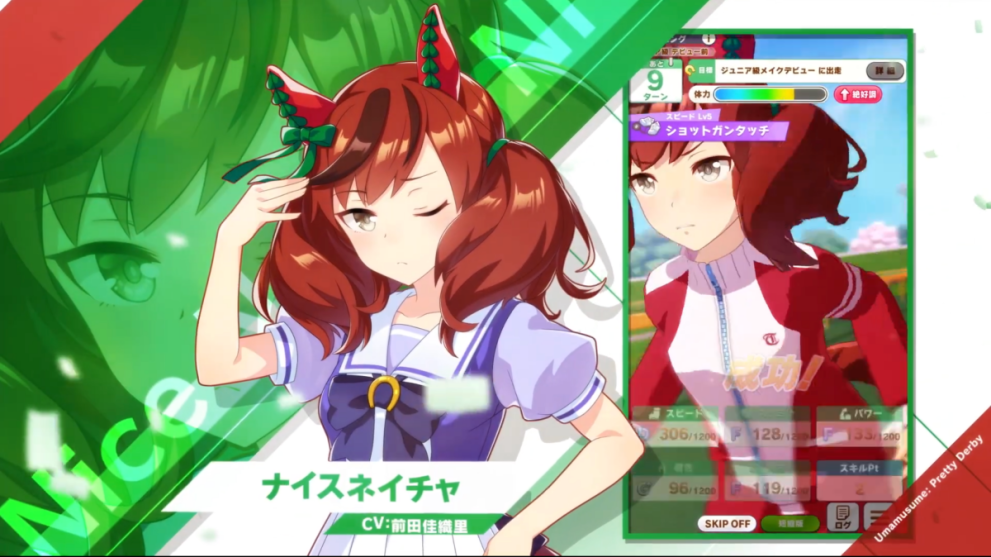
- Mejiro McQueen, Symboli Rudolf, Tokai Teio, Daiwa Scarlet, Mayano Top Gun, Mejiro Ryan, Nice Nature.
C-Tier: Highly Technical and Unforgiving

- Narita Taishin: The undisputed queen of end closers. She natively holds Encroaching Shadow, the golden version of Straightaway Spurt, which is the single most explosive late-race acceleration skill on straight homestretchs. However, training her is a nightmare if you do not have premium stamina cards.
- Gold Ship: Highly free-to-play friendly because of her built-in Go-Home Specialist recovery, but she requires a highly specific training facility route to hit competitive PvP stats.
- Biwa Hayahide, Mihono Bourbon, Rice Shower, King Halo.
Lore Meets Mechanics: The Strange Case of Mejiro Bright
I love how deeply Cygames weaves real-world turf history into game mechanics. Mejiro Bright is a perfect example. In real life, she was a legendary stayer but was notorious for a delayed reaction to her jockey’s physical instructions. In the game, this is beautifully adapted into her slow-paced, deliberate in-game personality.
Even better, her C-rank in Mile aptitude is a highly specific tribute to her real-world debut. The real horse ran exactly four mile-long races, never finishing below second place and outright winning two of them, including the G3 Radio Tampa Sho. Because she ran alongside Silence Suzuka in the tragic 1998 Autumn Tenno Sho, her event paths are laced with references to endurance and recovery. This level of detail is exactly why I recommend looking up the real-world histories of your favorite racers, as the developers almost always hide mechanical clues in their biographies.
The Secret Math of Stamina, Guts, and HP Consumption
Stamina is not just a stat — it is your trainee’s actual HP pool during a race. At the start of a race, your girl’s base HP is calculated as:
HP(base) = Track Distance + 0.8 x Style Coefficient x Stamina.
For late surgers and end closers, that style coefficient is exactly 1.0.
As she runs, her HP drains every single second based on this formula:
HP(consumption) = 20 x ((V(current) – V(base) + 12)^2) / (144 x StatusModifier x GroundModifier).
The track’s base velocity is purely a function of distance:
V(base) = 20.0 – (CourseDistance – 2000) / 1000.
This means a 1,200m sprint has a base speed of 20.8 m/s, while a punishing 3,200m Kyoto track has a base speed of 18.8 m/s.
During the final leg and last spurt, Guts steps in to multiply the consumption rate:
GutsModifier = 1.0 + 200 / sqrt(600.0 x GutsStat).
At 200 Guts, your HP drains at a brutal 1.577x rate. At 600 Guts, it drops to a much safer 1.333x. That non-linear scaling is why I always tell my clubmates to target at least 400 to 600 Guts for medium and long tracks.
Velocity, Acceleration, and Spatial Track Topography
In the opening and middle legs, your trainee’s target speed is completely locked by her strategy coefficient and the track base speed — meaning speed stats do not matter yet: V(target_mid) = V(base) x StrategyPhaseCoef.
During the final leg and last spurt, the speed stat finally uncaps:
V(target_spurt) = V(base) x StrategyPhaseCoef + sqrt(500 x SpeedStat) x DistanceProficiencyModifier x 0.002.
If her Guts are high enough, her absolute top spurt speed gets a massive guaranteed buff:
V(spurt_max) = (V(target_mid) + 0.01 x V(base)) x 1.05 + sqrt(500 x SpeedStat) x DistanceProficiencyModifier x 0.002 + (450 x GutsStat)^0.597 x 0.0001.
This formula proves that Guts acts as a secondary speed multiplier when the final sprint begins.
Track geometry also dictates positioning. When your trainee hits an uphill, like Nakayama’s final 400m uphill slope, her velocity is penalized based on her Power. If you do not build enough Power, she will crawl up that hill.
On the flip side, downhill segments like those on Kyoto’s punishing 3,200m track trigger Downhill Mode every second with this probability: P(Downhill) = WizStat x 0.04%. Once in Downhill Mode, she gets a direct speed boost of Delta V = 0.3 + SlopePercentage / 10 m/s and a massive 60% reduction in HP consumption. At 1,000 Wit, she will spend roughly 66.6% of the downhill slope coasting at maximum speed while saving massive amounts of HP.
The Trackblazer Economic Loop and Gacha ROI
Since the launch of the Trackblazer scenario, training is no longer about hitting standard facilities. It is a full economic roguelike where you race for coins to buy broken items in the Pro Shop.
To navigate this, open the training menu, pick your trainee, set your legacy parents, and choose your six support cards. Once in the run, always keep your eye on the Agenda tab on the top right. Pre-program your race schedule here to ensure you hit at least 25 to 30 races per run.
Here is my personal Pro Shop prioritization list to secure S+ ranks:
| Item | Effect |
|---|---|
| Gold Megaphones (Empowering Megaphone) | +60% training bonus for two turns. Save four for summer camp and three for the Twinkle Star Climax finals. |
| Ankle Weights | +50% training bonus to Speed or Guts. Combine with megaphones during summer camp for +100 stat training turns. |
| Good-Luck Charms | Sets your training failure rate to 0% for one turn. Train at zero energy with zero risk of negative conditions. |
| Gold Cleats | Temporarily boost your race rewards during year-end matches. |
The critical Race Bonus (RB) breakpoint matters because the game’s reward engine floors all division operations, a 48% Race Bonus rounds down to act exactly like a 45% bonus. You must hit the 50% RB breakpoint. This is achieved by running four cards with 10% RB and two with 5%. If you have premium cards like Nice Nature SSR (Wit), you can push past the next rounding tier at 63% RB.
To maximize your account’s return on investment, stop spending your hard-earned carats on character banners. A rate-up trainee only has a 0.75% pull rate, and a full 200-pull spark costs 30,000 carats. Instead, invest your carats into support card banners. It takes about 400 pulls on average to Max Limit Break (MLB) a rate-up SSR. Having an MLB Super Creek SSR for her corner recovery or an MLB Nice Nature SSR to hit high Race Bonus will carry your entire account to competitive heights.
How to Trigger Senior Year Unique Skill Level Ups
If you want to maximize your score and power, you must level up your unique skills in Senior Year (Year 3). This requires hitting strict fan-count thresholds by specific dates.
For standard turf specialists:
| Date | Fan Threshold | Additional Requirement |
|---|---|---|
| Valentine’s Day (Early Feb) | 60,000 Fans | — |
| Fan Festival (Early Apr) | 70,000 Fans | Green Bond with Chairman Yayoi Akikawa |
| Christmas (Late Dec) | 120,000 Fans | — |
For dirt specialists, who earn fewer fans on average, the thresholds are slightly lower:
| Date | Fan Threshold | Additional Requirement |
|---|---|---|
| Valentine’s Day (Early Feb) | 40,000 Fans | — |
| Fan Festival (Early Apr) | 60,000 Fans | Green Bond with Chairman Yayoi Akikawa |
| Christmas (Late Dec) | 80,000 Fans | – |


Updated: Jun 21, 2026 02:39 am