
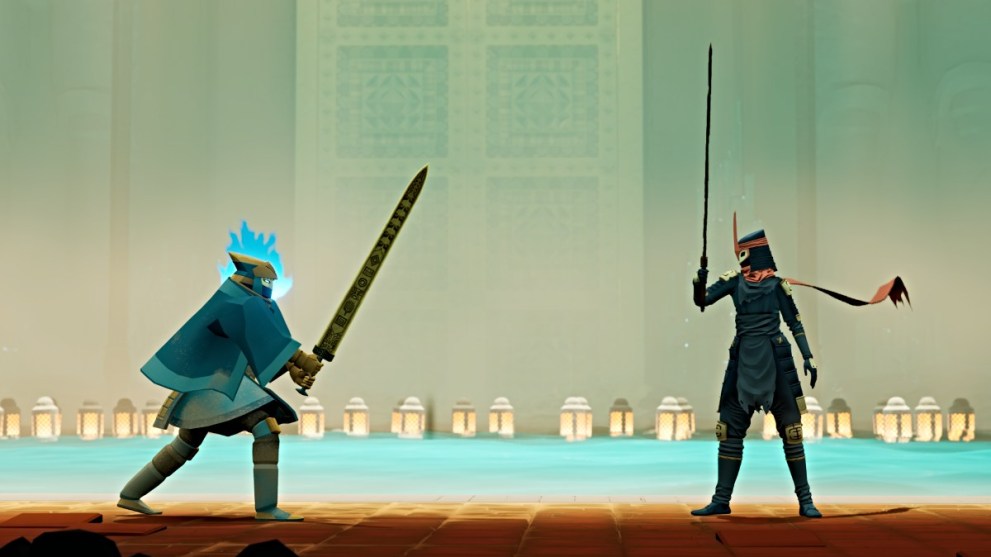
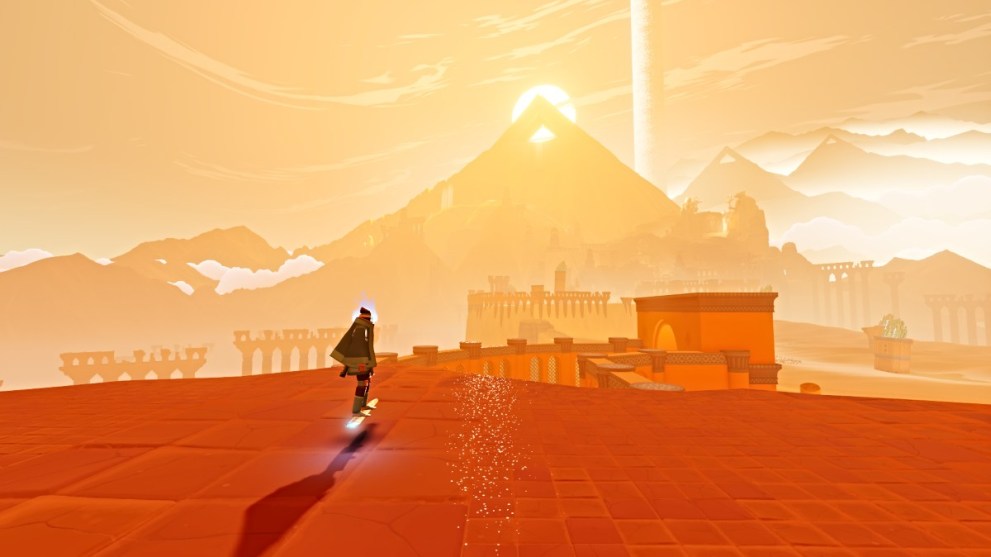
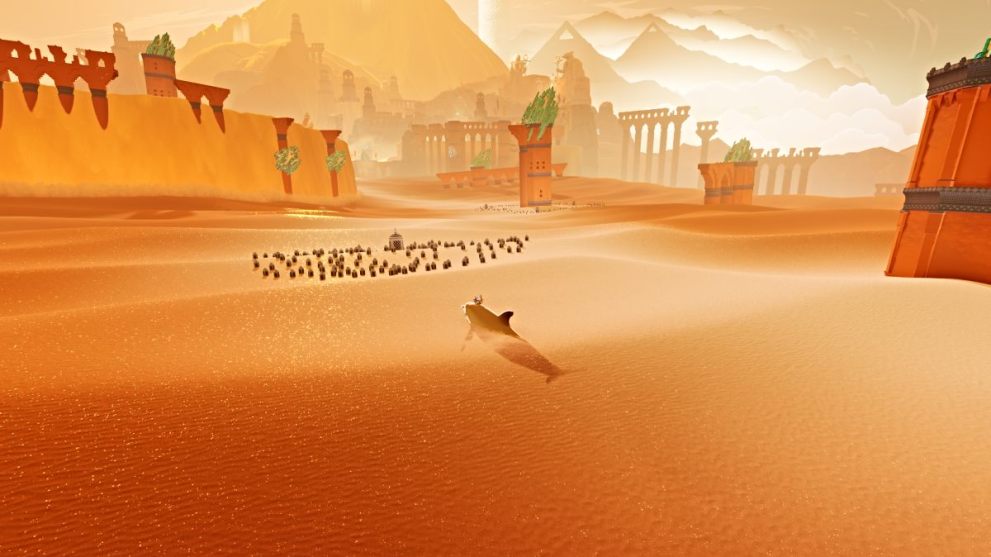
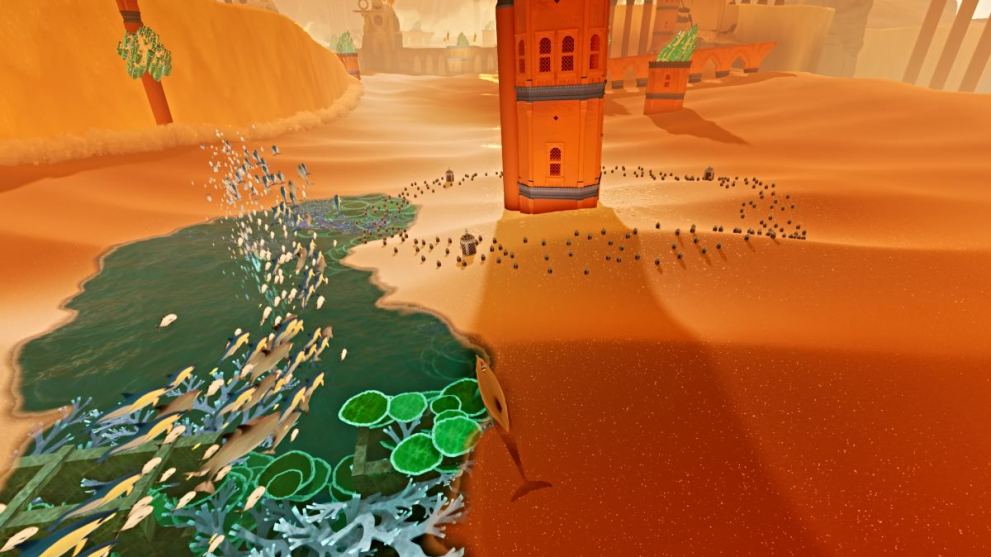
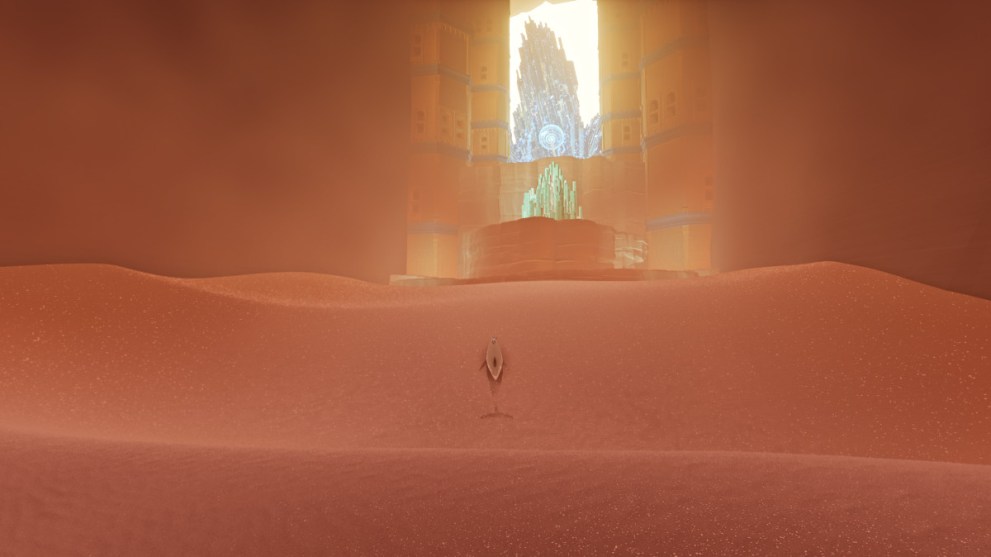
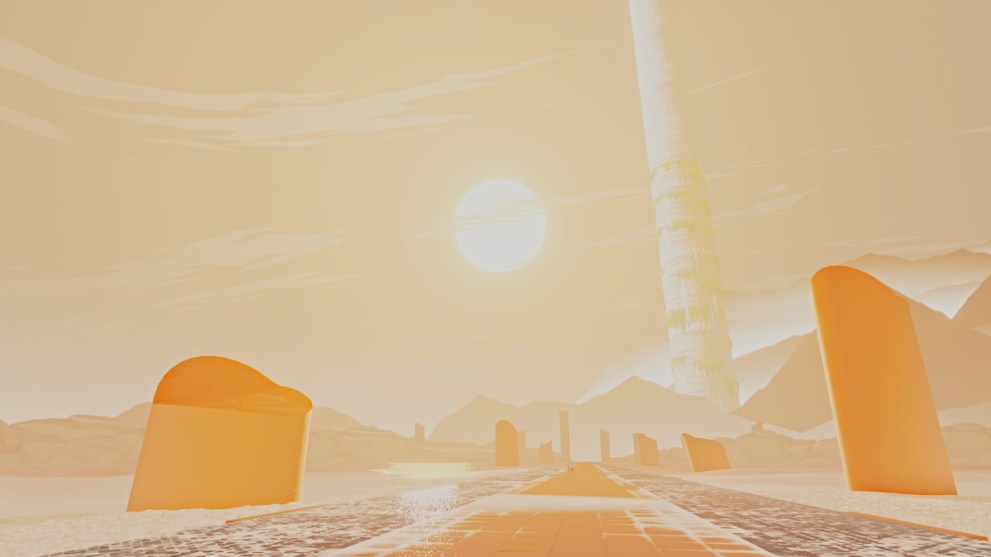
Sword of the Sea is a unique atmospheric exploration game developed by Giant Squid, including the artist behind award-winning games such as Journey, The Pathless, and ABZU. Surf atop a sword across sweeping seas of sand as a mysterious swordsman known as The Wraith, as you seek to restore a lost ocean.
Table of contents
Sword of the Sea Walkthrough
Note that Sword of the Sea does not feature any alternate difficulties. The game is also aesthetically very minimalist when it comes to hinting at objectives and things to interact with. Rather than a HUD that provides icons or cursors, it’s up to you to seek out landmarks and collectibles based on visual cues.
On that same note, the game does not have a map of any kind to view or interact with, so make sure to keep track of your surroundings and location as you explore.
Sword of the Sea Trophies and Achievements
There’s a total of 48 trophies and achievements to earn in Sword of the Sea. A minimum of two playthroughs is required to unlock all of them, including a New Game Plus run after initially completing the game.
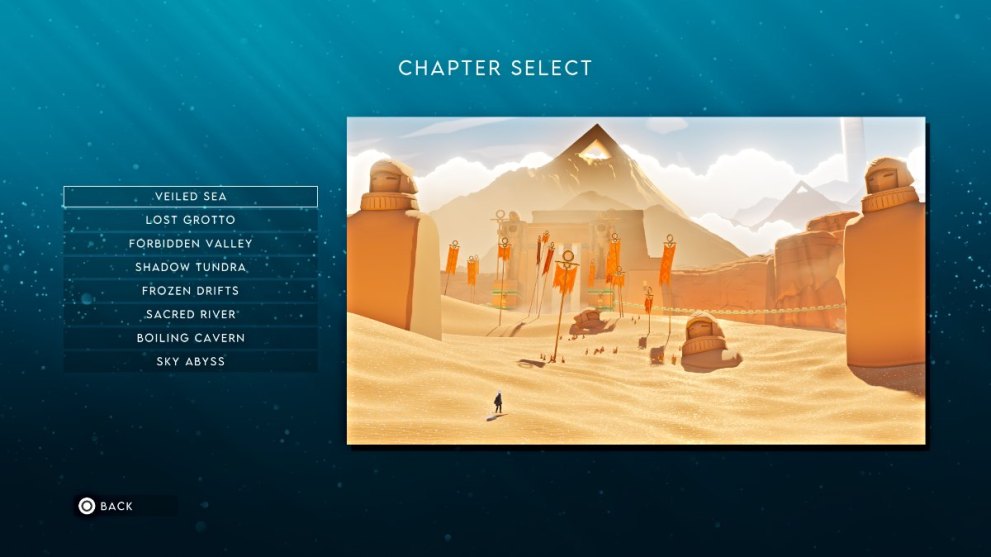
Once you unlock New Game Plus, you’ll gain access to Chapter Select, allowing you to revisit any particular chapter in the game to catch up on anything you’ve missed, including any lingering trophies/achievements and abilities you still need to unlock with Astra currency.
The ‘New Game Plus Completed’ one requires you to complete the entire story once more on New Game Plus, so make sure to replay those chapters in order.
| Trophy/Achievement | Description | How to Unlock |
|---|---|---|
| Pro Surfer | Collect all Trophies/Achievements. | Obtain all other trophies/achievements in the game, which will then automatically unlock this one. |
| Treasure Tracker | Open 10 treasure chests. | Treasure Chests are gold-colored chests scattered around each level of the game that contain Astra. |
| Tile Finder | Find 10 fish tiles. | Fish tiles are small blue tiles with fish icons that you can find and interact with in the open world. They’ll give you Tetra for doing so. |
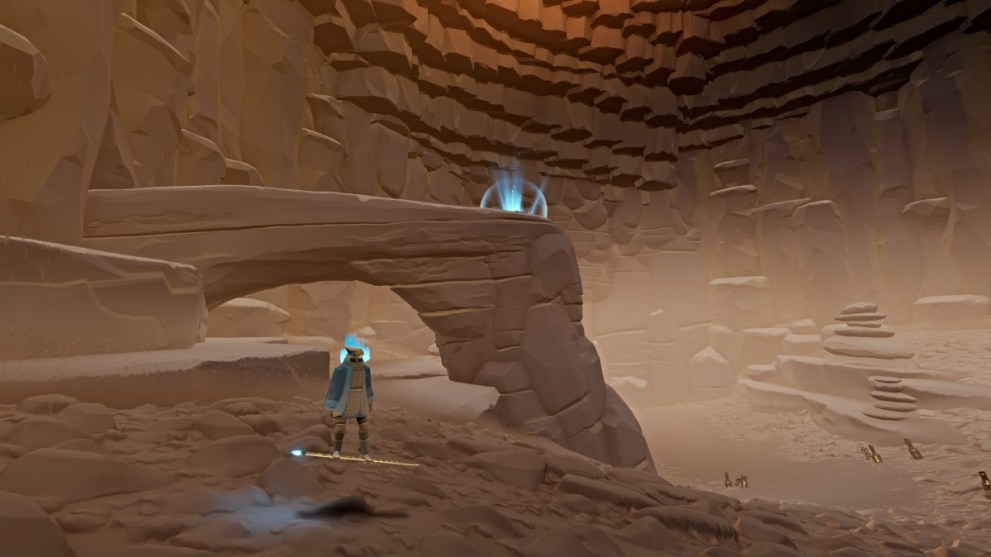
| Long Distance Jumper | Travel a huge distance without touching the ground. | The best way to tackle this is by leaping from the ramp in Shadow Tundra that leads across a chasm to a water orb room. However, you can attempt this with any long-distance jump. |
| Nice Combo! | Land a 5x combo trick. | It’s easiest to unlock this during the timed Trick Attack challenges, as you can track the tricks you do during them. |
| Cool Combo! | Land a 10x combo trick. | It’s easiest to unlock this during the timed Trick Attack challenges, as you can track the tricks you do during them. |
| Awesome Combo! | Land a 20x combo trick. | It’s easiest to unlock this during the timed Trick Attack challenges, as you can track the tricks you do during them. |
| Cleanse the Veiled Sea | Return all water to the Veiled Sea. | Find and unlock all 10 restoration points in the Veiled Sea. |
| Cleanse the Lost Grotto | Return all water to the Lost Grotto. | Find and unlock all 8 restoration points in the Lost Grotto. |
| Cleanse the Forbidden Valley | Return all water to the Forbidden Valley. | Find and unlock all 15 restoration points in the Forbidden Valley. |
| Cleanse the Shadow Tundra | Return all water to the Shadow Tundra. | Find and unlock the two restoration points in the Shadow Tundra. |
| Cleanse the Frozen Drifts | Return all water to the Frozen Drifts. | Find and unlock all 20 restoration points in the Frozen Drifts. |
| Cleanse the Sacred River | Return all water to the Sacred River. | Find and unlock all 19 restoration points in the Sacred River. |
| Trick Attack Seeker | Find all trick attack areas. | Trick Attack Areas are the timed challenges found in each level (except Boiling Cavern and Sky Abyss). They’re indicated by an hourglass icon at their entrances. |
| Trick Attack Expert | Beat the high score in all trick attack areas. | Successfully beat the high score (8-10,000 points) in each timed Trick Attack challenge. |
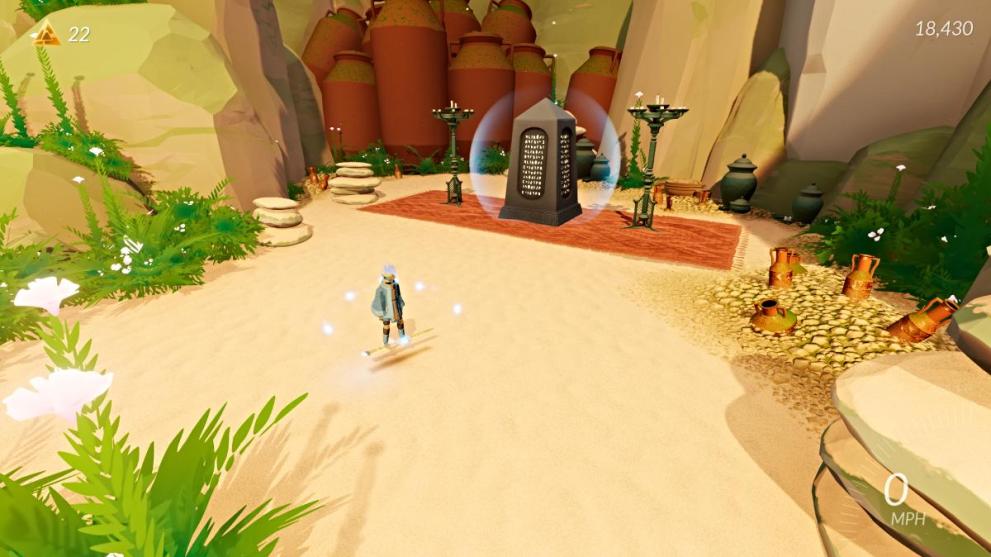
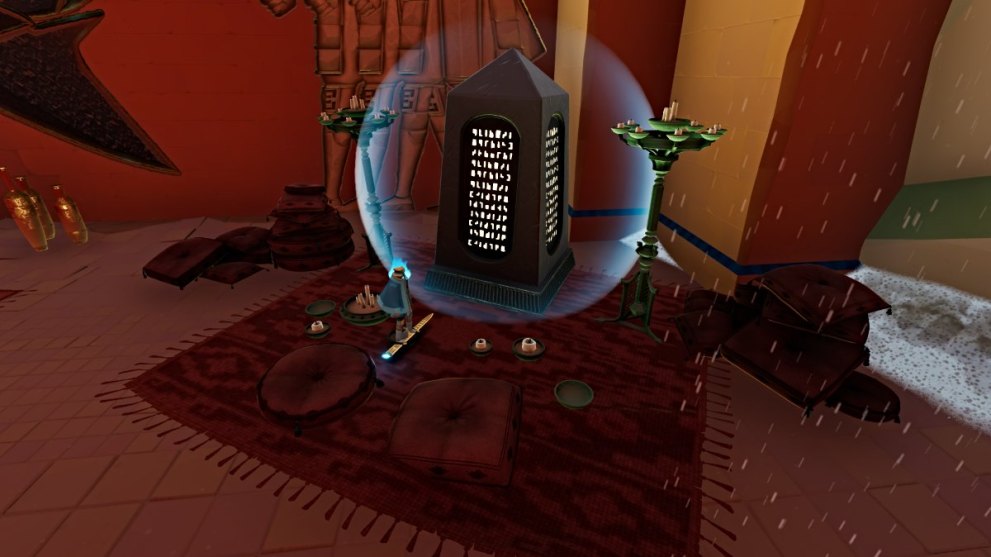
| Wisdom of the Ancients | Read all the stele messages. | There’s a total of 23 stele messages in the game, which you can unlock by interacting with Stele Pedetsals scattered throughout each level. |
| Orca Rider | Ride an orca. | You can ride an Orca after activating the restoration point inside a temple in the Veiled Sea. |
| Archelon Rider | Ride an archelon. | Ride an Archelon (turtle with moss on its back) after restoring the water at the base of the giant dolphin statue. |
| Humpback Rider | Ride a humpback whale. | Ride a humpback whale after restoring the water around the giant statue in Shadow Tundra. |
| Sperm Whale Rider | Ride a sperm whale. | Ride a sperm whale after restoring water to the circular room in Sacred River. |
| Whale Shark Rider | Ride a whale shark. | Ride a whale shark after restoring the water around the huge boat in Sacred River. |
| Blue Whale Rider | Ride a blue whale. | Ride a blue whale after restoring the water around the tower at the far end of the map in Sacred River. |
| Elasmosaur Rider | Ride an elasmosaur. | Ride an elasmosaur after restoring the water in the room with the skeletons in Shadow Tundra. |
| Water Rider | Ride the water rail 4 times consecutively. | You can ride water rails around Sacred River. The easiest spot to do this is around the huge boat, as you can use the groups of floating lanterns to extend your air time. |
| Veiled Sea Shell Collector | Find all the secret shells in the Veiled Sea. | Find all 10 secret shells in the Veiled Sea. |
| Lost Grotto Shell Collector | Find all the secret shells in the Lost Grotto. | Find all 11 secret shells in the Lost Grotto. |
| Forbidden Valley Shell Collector | Find all the secret shells in the Forbidden Valley. | Find the secret shell in the Forbidden Valley. There’s just one on this level. |
| Shadow Tundra Shell Collector | Find all the secret shells in the Shadow Tundra. | Find all 10 secret shells in the Shadow Tundra. |
| Frozen Drifts Shell Collector | Find all the secret shells in the Frozen Drifts. | Find the secret shell in the Frozen Drifts. There’s just one on this level. |
| Sacred River Shell Collector | Find all the secret shells in the Sacred River. | Find all 11 secret shells in the Sacred River. |
| Boiling Cavern Shell Collector | Find all the secret shells in the Boiling Cavern. | Find all 7 secret shells in the Boiling Cavern. The final one is from the merchant for 5,000 x Astra. |
| Desert Rain Frog | Find the desert rain frog. | The Desert Rain Frog is found in the Veiled Sea. |
| Bullfrog | Find the bullfrog. | The Bullfrog is found in the Lost Grotto, behind the giant dolphin statue. |
| Horned Frog | Find the horned frog. | The Horned Frog is found in the Shadow Tundra, on a tall platform near the mountain exit. |
| Poison Dart Frog | Find the poison dart frog. | The Poison Dart Frog is found in the Sacred River, on a small boat hanging off a cliff near the level’s huge boat. |
| Frog Skeleton | Find the frog skeleton. | The Frog Skeleton is found in the Boiling Cavern, on a small boat hanging off a cliff in the lava room with the sealed blue doorway. |
| Drop | Earn the Drop ability. | Trade Astra to the merchant to unlock this ability. |
| Spin Tricks | Earn the Spin Tricks ability. | Trade Astra to the merchant to unlock this ability. |
| Super Jump | Earn the Super Jump ability. | Trade Astra to the merchant to unlock this ability. |
| Loyal Customer | Earn the last reward from the mysterious vendor. | Trade 5,000 x Astra to the merchant to get the final secret shell. |
| Tricky | Do all the aerial spin tricks. | Perform each type of spin trick after you unlock the Spin Tricks ability. This is easiest to do during a Trick Attack challenge. |
| Untouchable | Defeat Tornamun without taking a single hit. | Defeat the game’s final boss without taking a hit in any phase of the fight. |
| Sword of the Sea | Complete the adventure and view the credits. | Finish the game and watch the credits. |
| Speed Surfer | Complete the adventure in under 2 hours. | Finish the game (including Tornamun’s encounter) in less than 2 hours. |
| Great Score | Earn a game-wide high score of 1,000,000 points or higher. | You earn points toward your score by performing aerial tricks. This is easiest to do on New Game Plus, as all points you earn are doubled. |
| New High Score | Beat your own game-wide high score. | Start a NG+ run and beat your final score from your first playthrough. |
| New Game Plus Completed | Complete the adventure in New Game Plus mode and view the credits. | Self-explanatory; beat the game once more on NG+ and watch the credits after. |
| Water Whisperer | Find all secret shells. | Find all 50 secret shells in the game. |
Chapter 1 – Veiled Sea

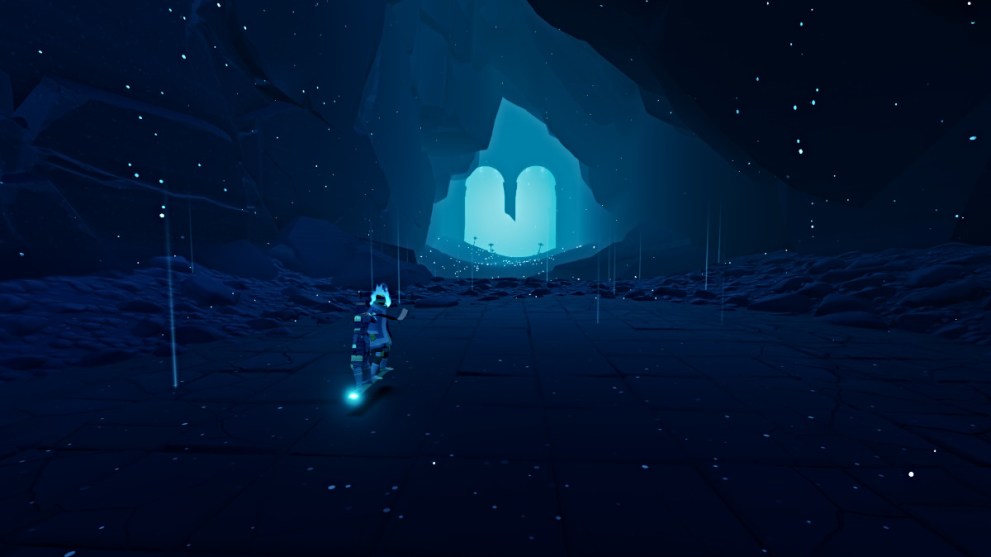
The game opens inside a cave, where a lone swordsman awakens from a stony slumber via a single drop of water from above. His sword also comes alive, and he surprisingly leaps onto it as a means of transportation.
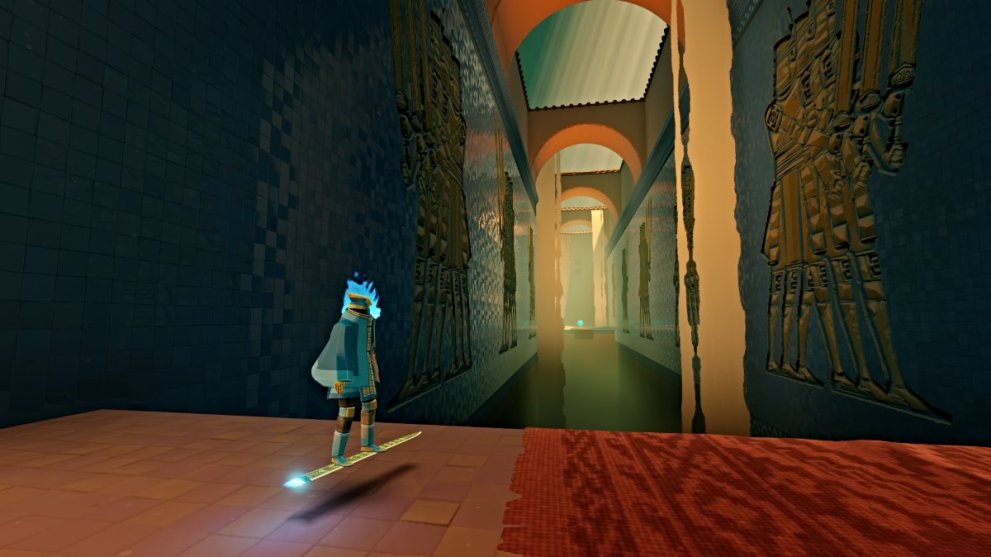
This is where the game immediately starts you off, taking you through a simple tutorial of how to “surf” atop the sword. Head through the temple while learning how to turn and jump. Once across the gap, interact with the contraption ahead to open the gate.
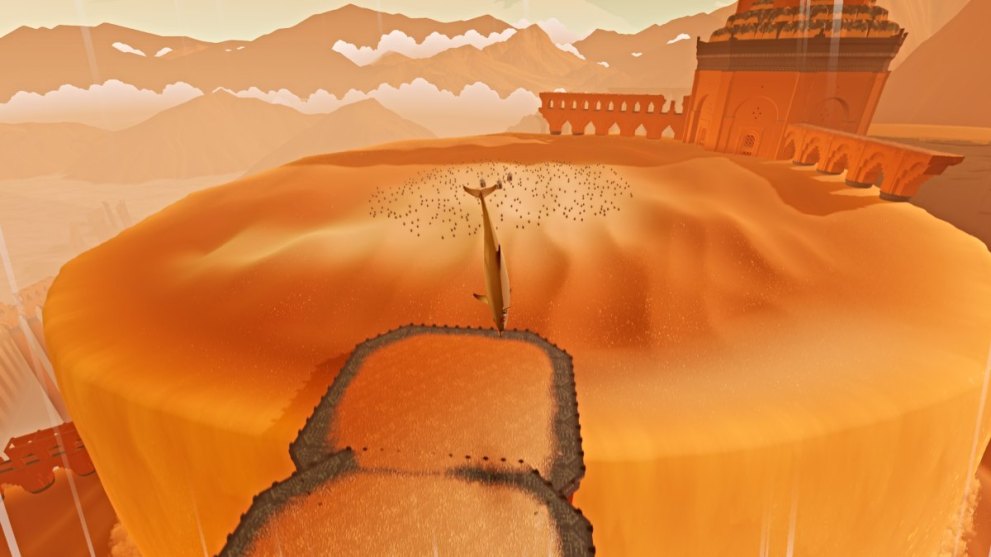
Head up the stairwell, and you’ll arrive outside. Make your way across the waves of sand, and take the opportunity to further practice your basic movements and jumps. It’s also convenient to get some early points for your score.
Surf your way past the area full of rock pillars toward the small opening ahead.
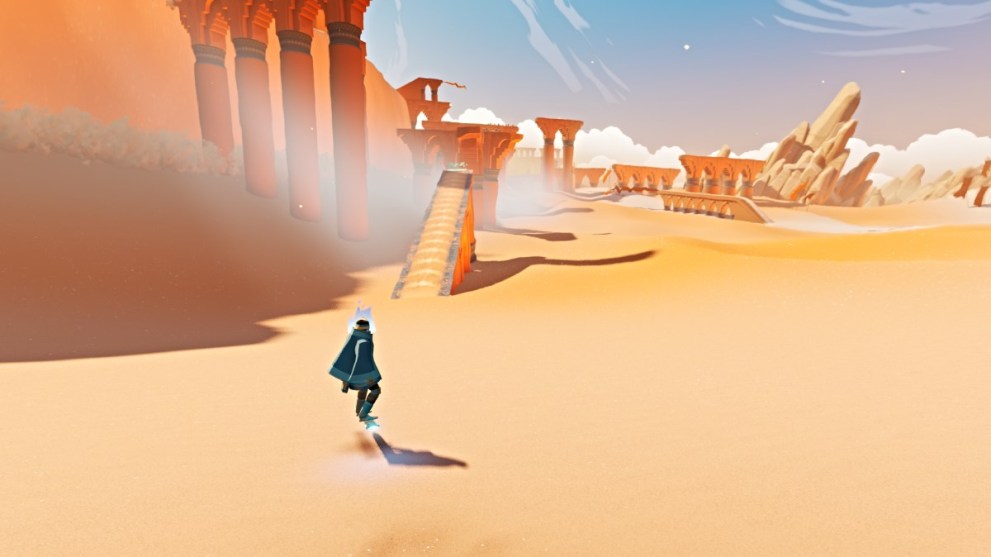
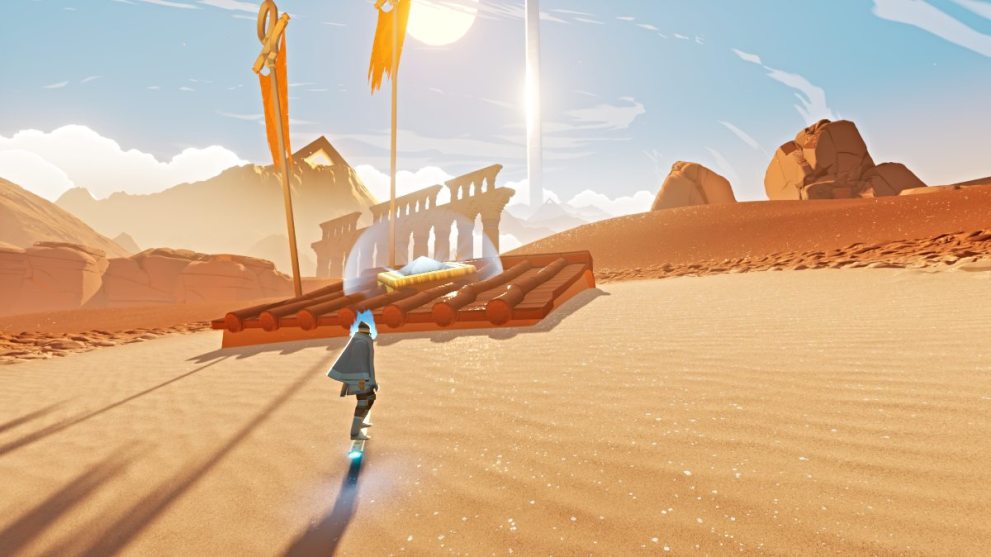
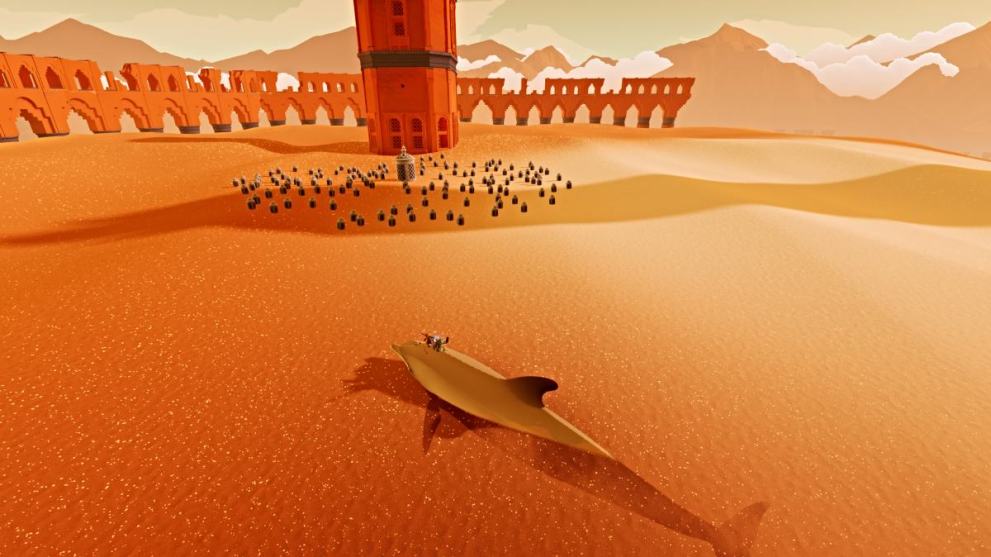
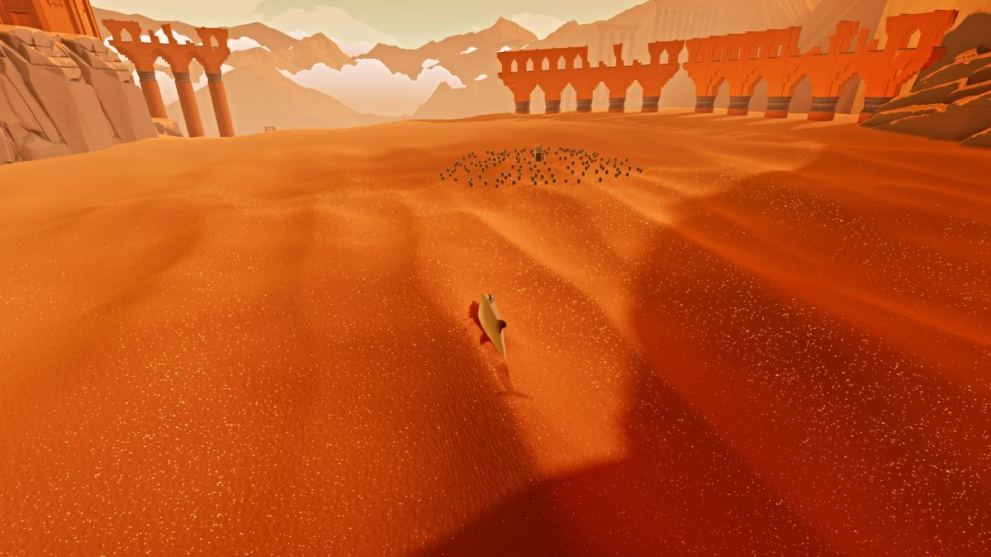
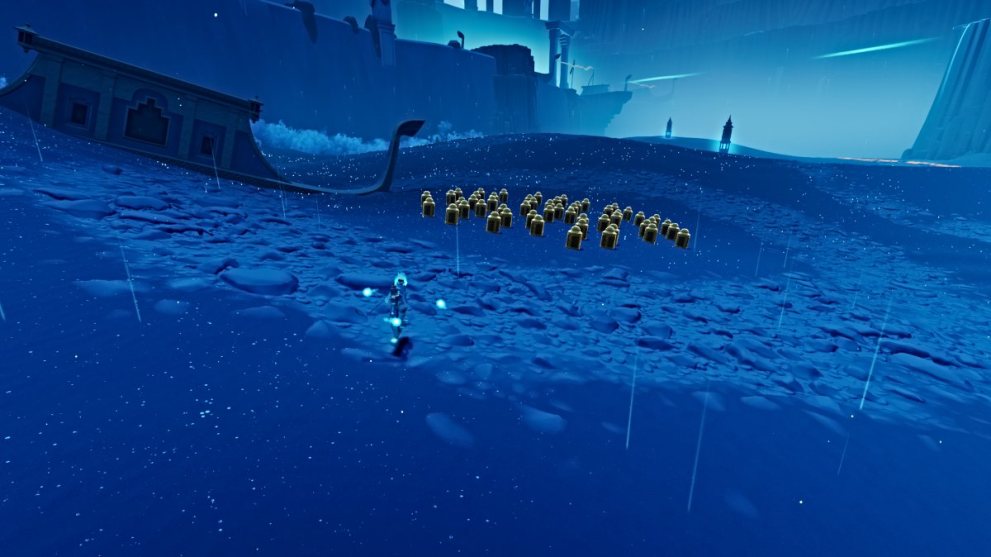
At the summit, you’ll arrive at the first open-world area of the game, known as the Veiled Sea. Take in your surroundings, then surf your way down the slope ahead.
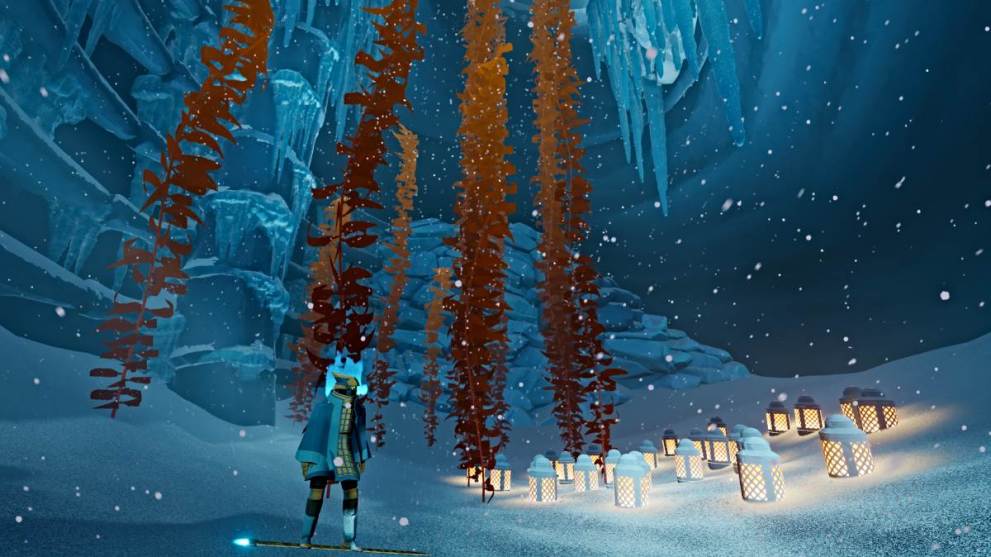
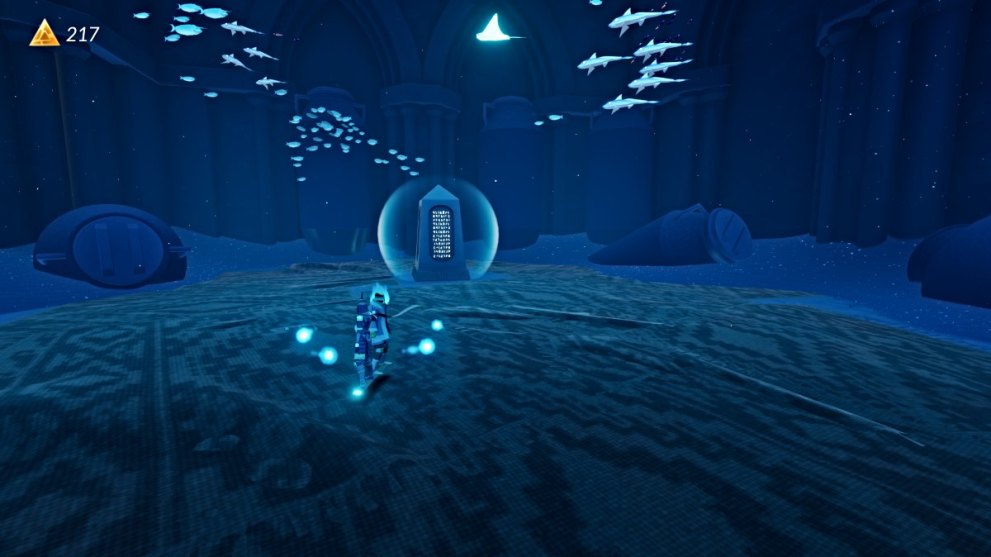
First head left and look for a small circle of lanterns. Surf over them to light them up and reveal a hidden room nearby. Go inside to find a Stele Pedestal (The Sea Remembers). Interact with it to read its message. It will also count toward the trophy/achievement for finding all Stele Messages in the game.
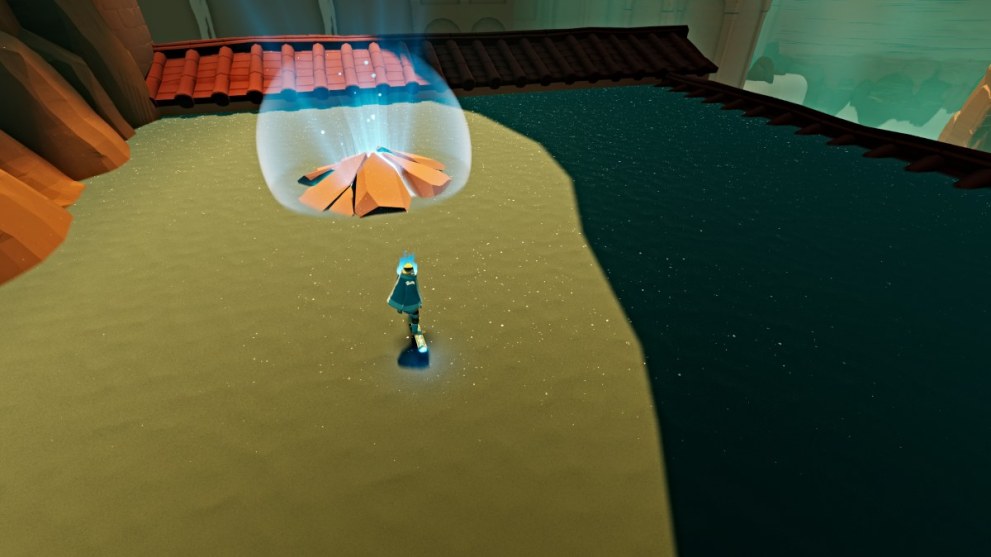
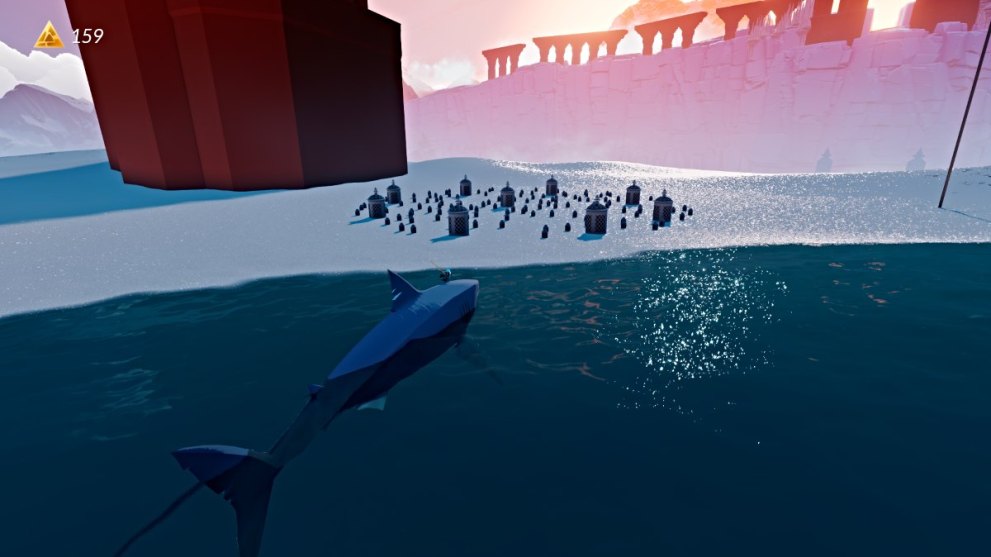
Make your way toward the right side of the first area, past the waterfalls, to where you see some flags. Continue past them and up toward the left, where you see a red pillar. Go over to it and use your Interact button on it.
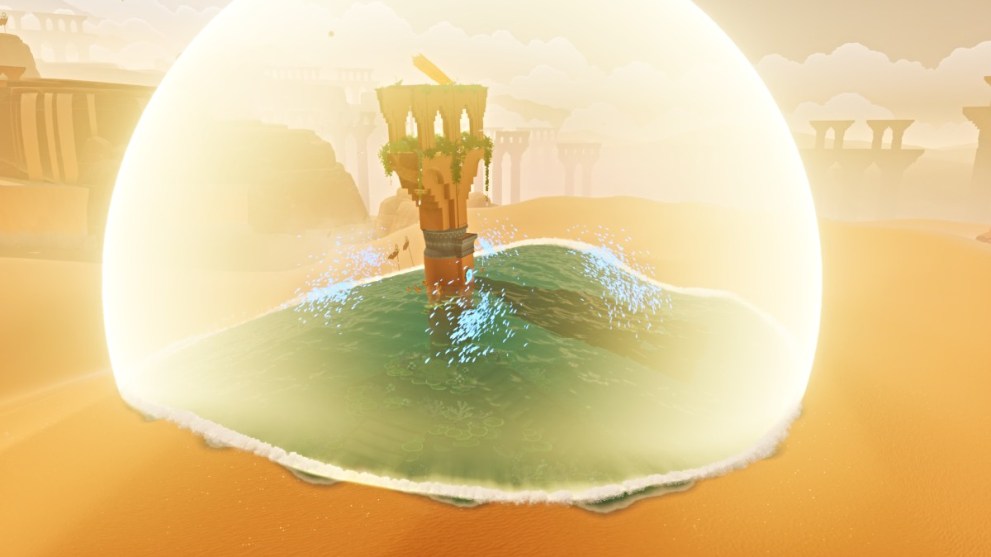
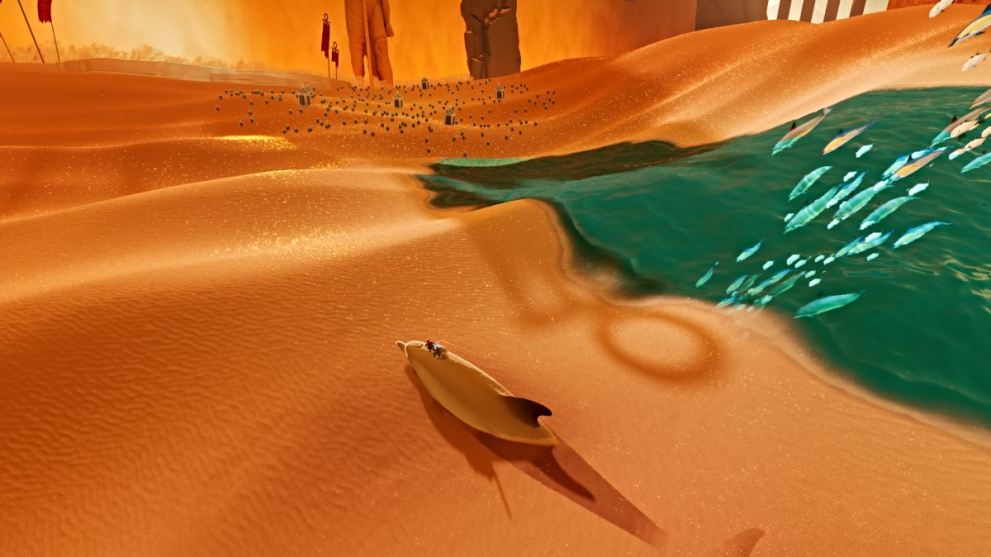
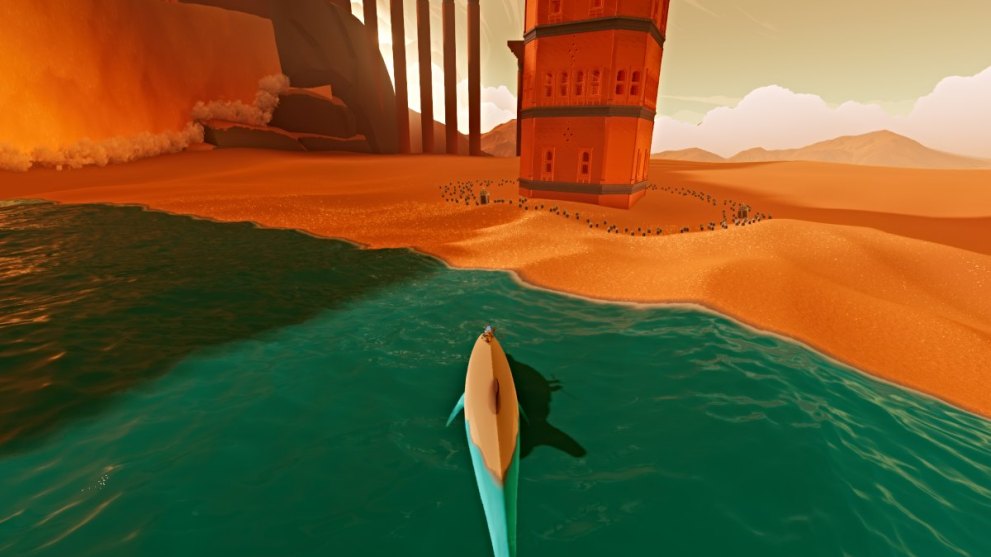
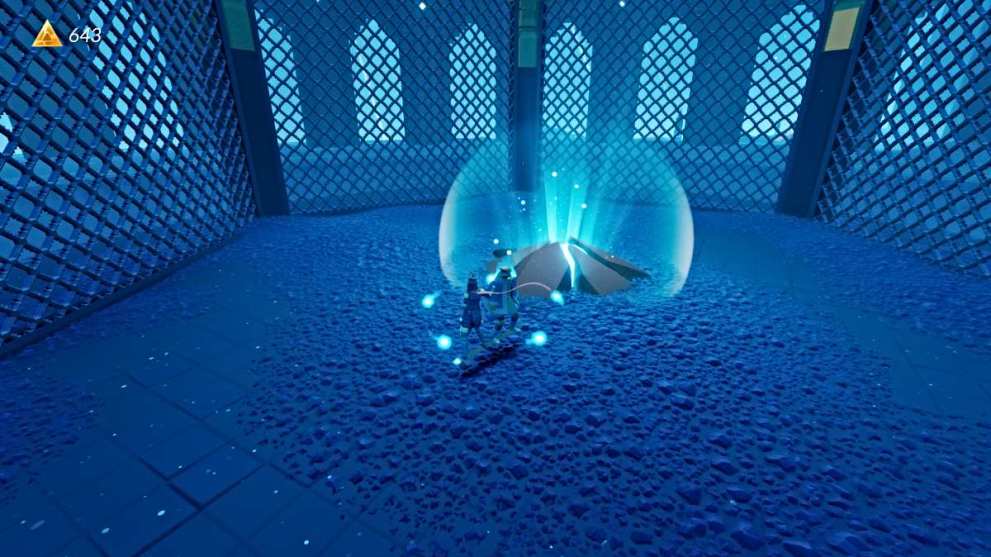
This will cause the immediate area to “restore” itself to an aquatic sea, full of all manner of creatures. You’ll need to do the same unspoken objective in other parts of the Veiled Sea.
Follow the stone pathway that reveals itself across, and then follow the stream of water to a temple area ahead.
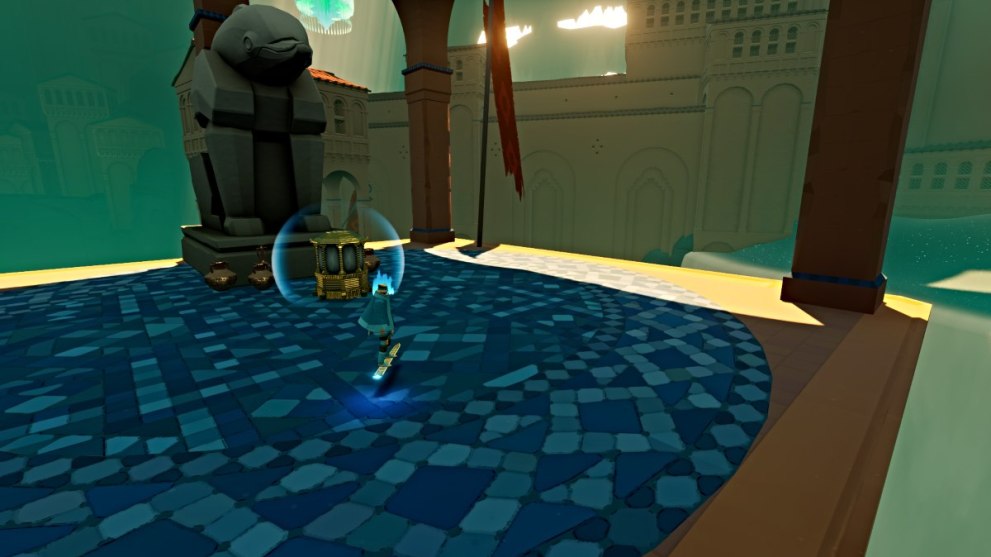
Once inside, go to the gold pedestal on the right side of the room and interact with it. This will cause the water in the room to drain, allowing you to gather the gold pieces (called Astra) in the small embankment before jumping up to the ledge ahead. Use the curve of it to gain enough air to reach the ledge.
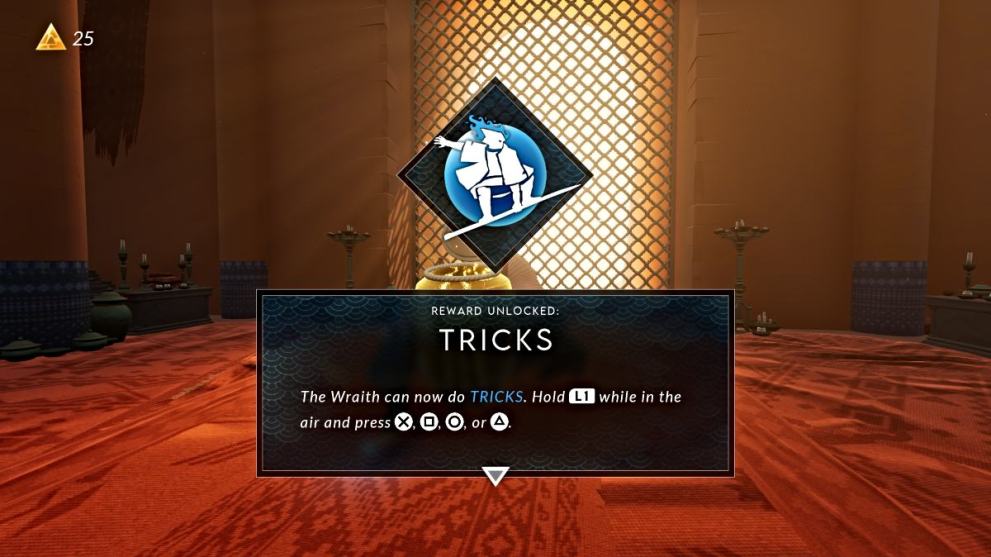
Once up there, interact with the merchant to give them 50 x Astra from what you just gathered. In return, you’ll unlock the Tricks ability. As its name suggests, it allows you to perform aerial tricks by pressing the appropriate buttons while in the air.
The gate behind the merchant will also open, so head through once you’re ready. In the next open area, make your way around to a somewhat hidden corner area on the right, where you can see a series of pillars with the tallest one in the center. Around the base of the tallest pillar is a circle of lanterns.
Ride over that circle of lanterns to light them up. Once they’re all lit, a series of green bouncing platforms will appear. Ride these up to the top of the center pillar, and then use your Interact button on the blue crack there.
This will restore the sea biome to the immediate area. Before you leave, make sure to jump around the platforms to gather the Astra that’s also spawned. Also, there’s another Stele Pedestal (The Necropolis) on a high ledge behind the pillar.
When you’re ready, look for a path in that same pillar area that’s off to the left and up a hill.
Go inside to find a cavern area, where there’s another blue crack on top of a ledge. Jump up to it and interact with it to restore yet another section of the aquatic biome. This also reveals a gold chest across the room. Go over and open it to receive some Astra.
With that, leave the cavern and follow the watery path down the slope. Make your way over to the left side of the area, where another circle of lanterns is sitting in the sand, surrounded by flags.
Light up these lanterns, and a nearby cave temple will reveal itself from beneath the sands. Head inside the cave entrance, and in the room ahead, there will be another circle of lanterns. Light those, and the sand in the room will sink, revealing a blue crack on a ledge on the left side.
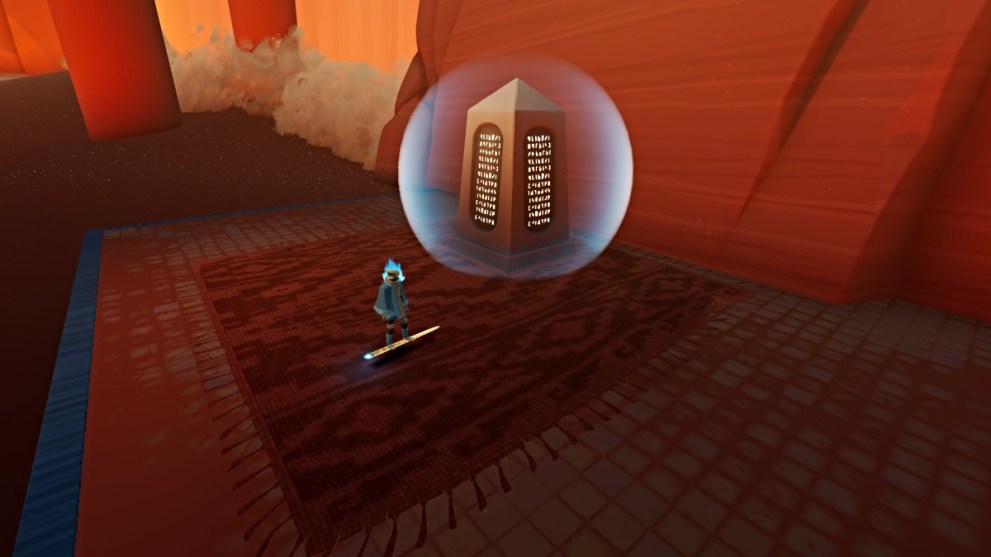
To reach it, head through the passage nearby it and interact with the blue crack at the end of the path. This will restore the watery biome in the area, and also reveal a Stele Pedestal by the large mural.
Jump down and go over to the pedestal. Interact with it and you’ll be shown a cryptic message about The Blade. Once you’re done, leave the temple through the same way you came in.
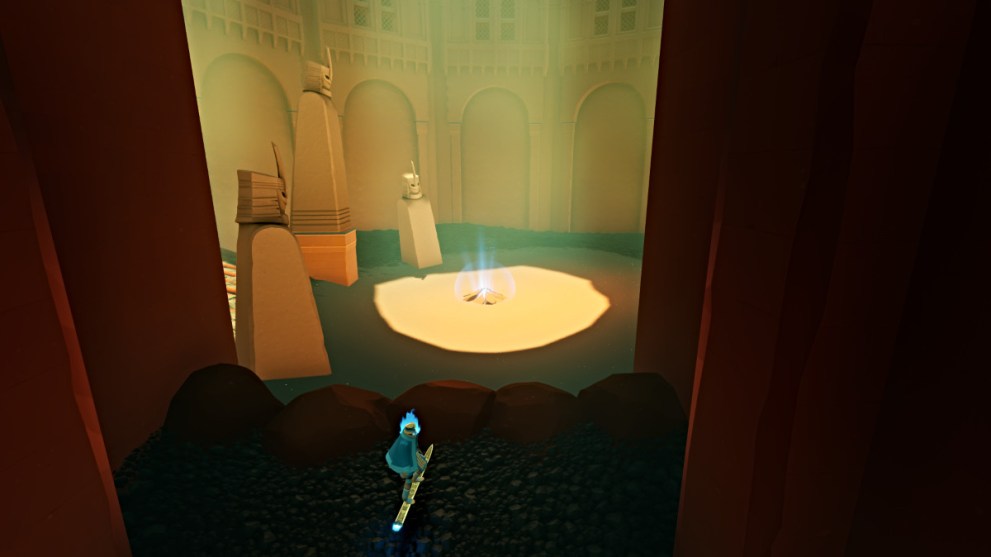
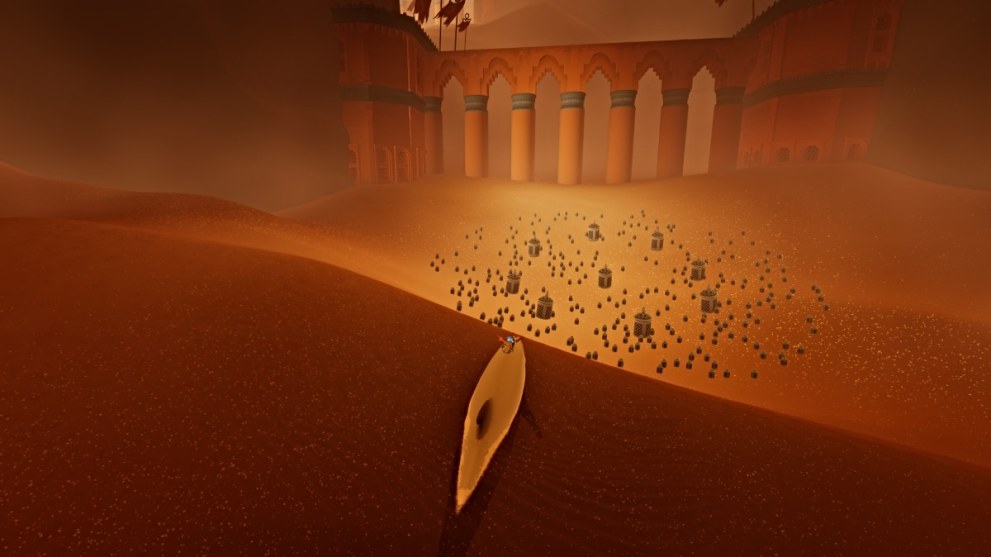
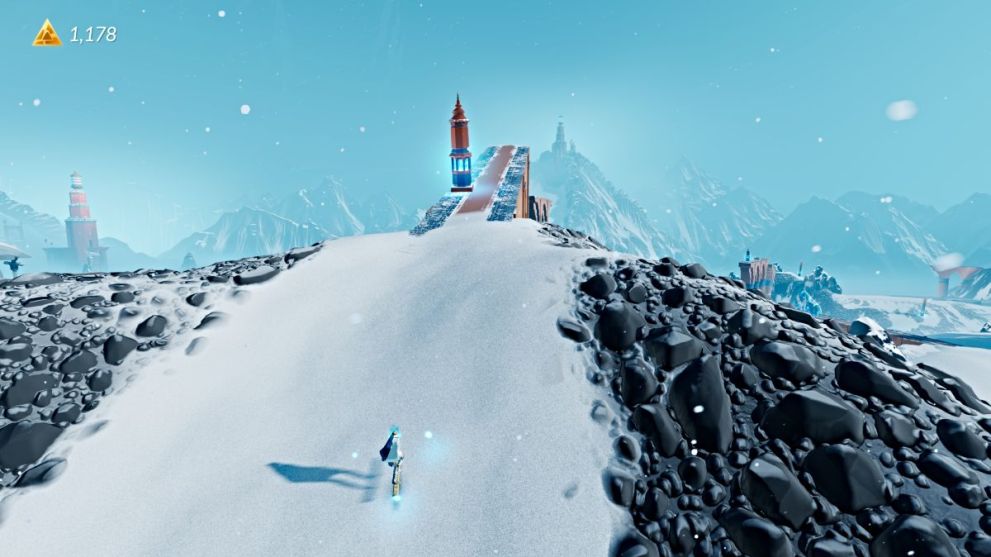
Back in the open area, look for an incline ramp ahead (seen above). Surf up the ramp and then jump off the edge to the ledge ahead. Time another jump early enough to reach the horizontal ledge beyond that, where more lanterns are found.
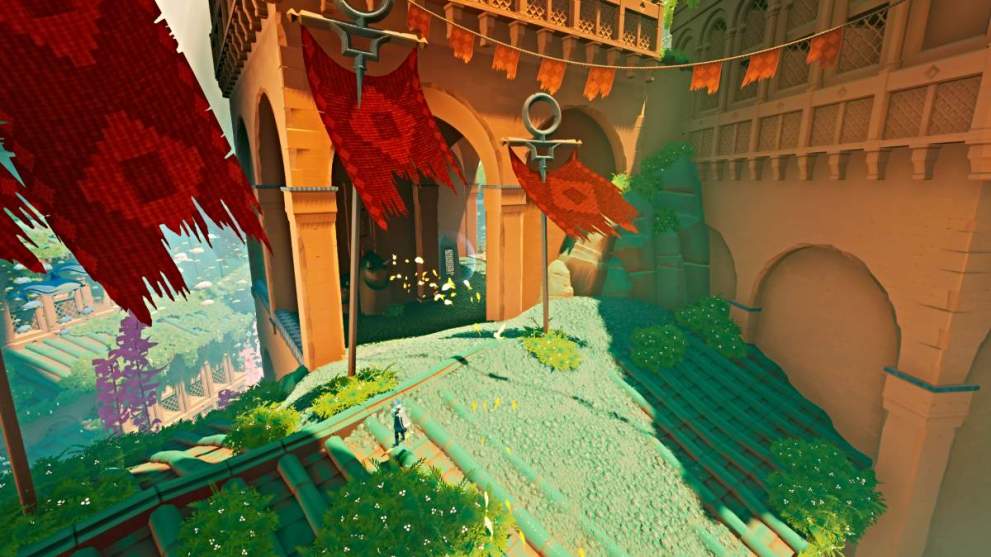
Light them up to spawn more green bouncing platforms off to the left. Use them to reach the next area higher up. Once there, follow the stone path ahead and then go right to head up stairs to a ledge with a red flag hanging off it.

Use the ledge to get a look at your surroundings below, and to the left, you’ll see another column ledge with more lanterns (seen above). There are even more lanterns on the ground below, and these all spawn more bouncing platforms to make it easier to navigate the area and explore for Astra if you want.
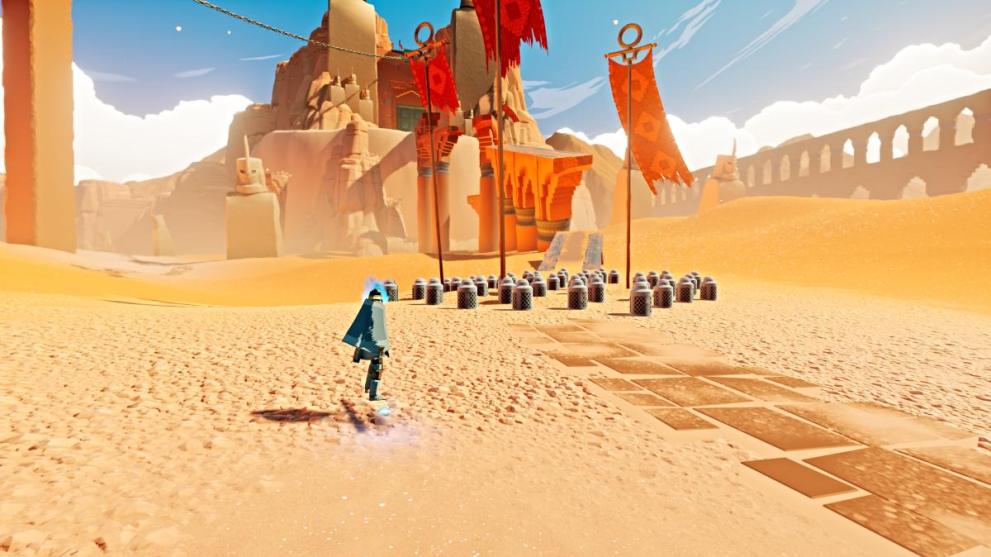
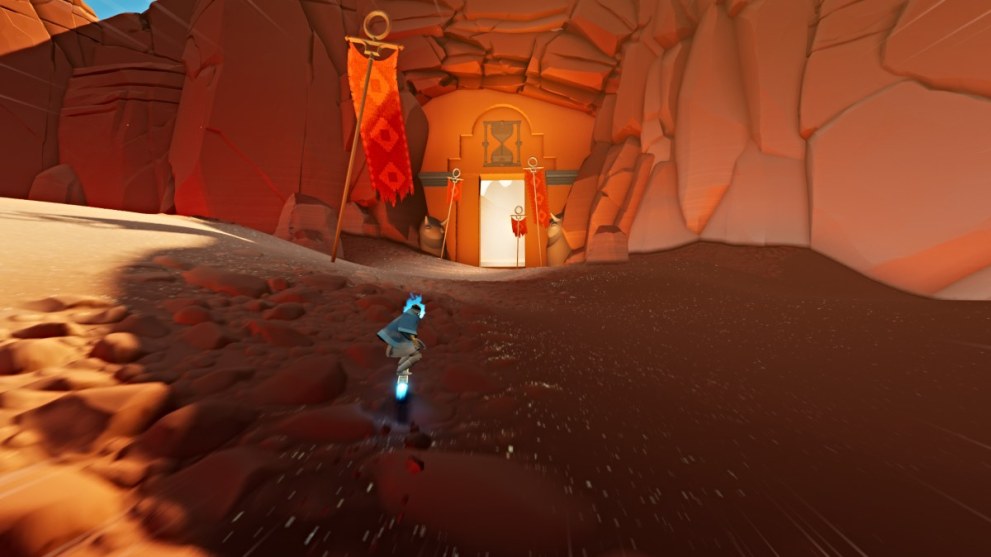
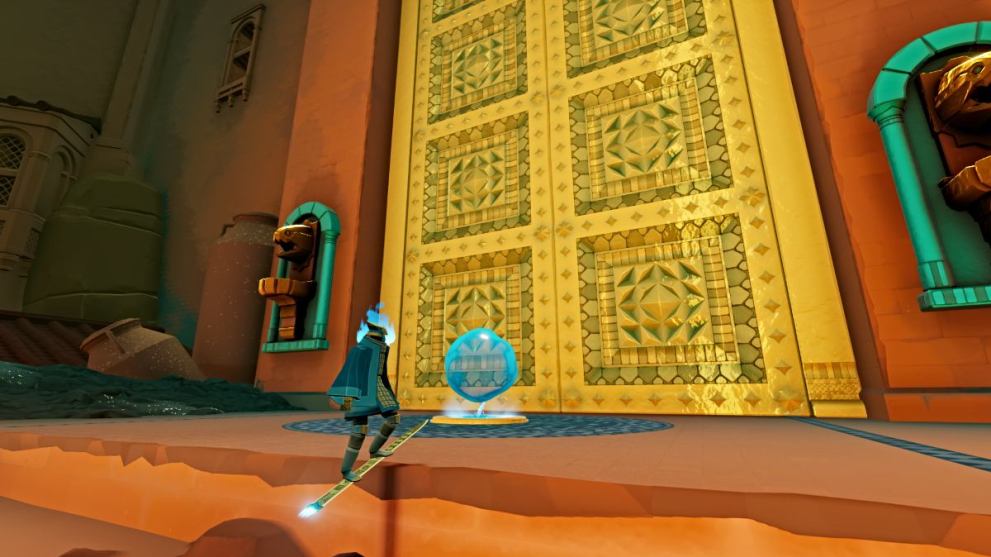
When you’re ready, head over to the circle of lanterns nearby and light them up to open the giant doors to the temple on the cliffs ahead. Use the ramp ledges to reach the temple itself and head inside.
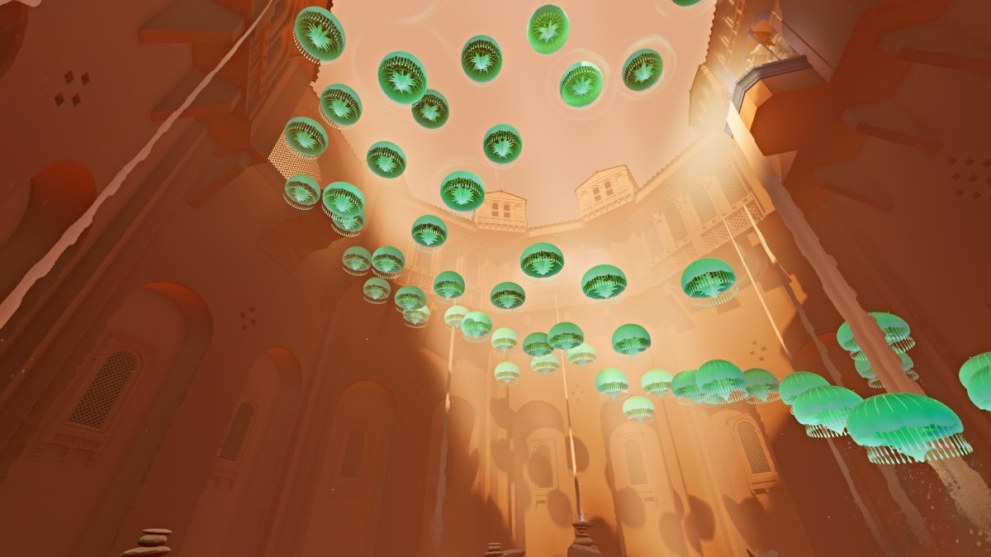
Follow the path up the stairs until you reach a cavernous room with lanterns in the center. Light them up, and a spiral staircase of bouncing platforms will spawn overhead that leads to the top.
Use them to ascend upward until you reach a small ledge with a statue and a blue swirl icon. Interact with it, and the surrounding area will be restored. The chain paths spanning the entire region will become accessible as well.

Before you leave the temple, notice that several Orcas have spawned in the area. Use the bouncing platforms to approach one and ride it to unlock the Orca Rider trophy/achievement.
Let the Orca carry you to the walkway on the other side of the temple, and there you’ll find the merchant sitting to the right. Interact with them, and you’ll need 500 x Astra to unlock the next ability. Don’t worry about needing to backtrack to any particular merchant, as your progress toward the next ability unlock is universally saved.
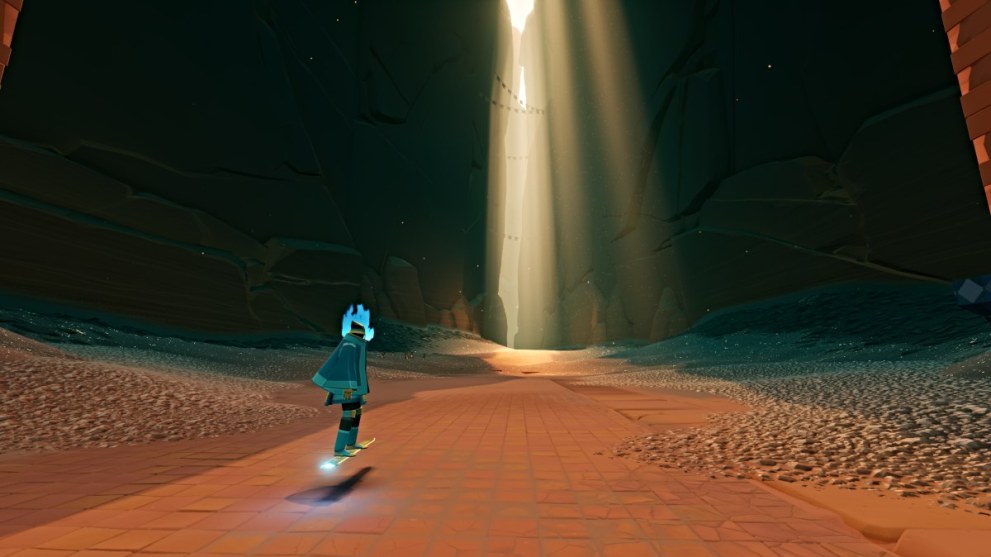
With that, continue ahead to the blue platform at the edge of the room, where you can see a large chain spanning across the desert. Hop onto it and ride the chain all the way down to the far side of the region that still needs to be restored.
Once you reach the very end of the chain path, jump down to the ground and take in your surroundings.
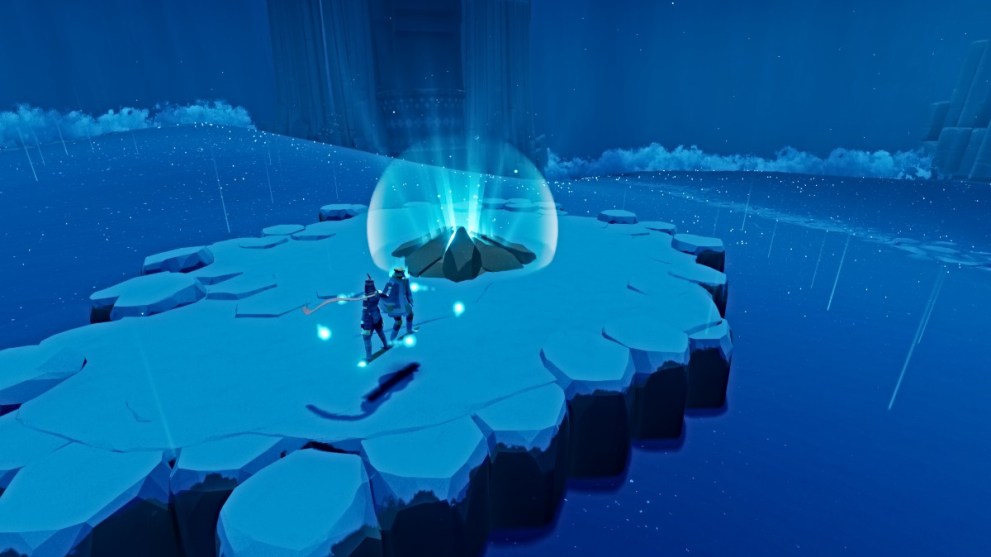
Go straight ahead from where you landed until you see a large green door inside the cliffs (seen above). Approach it, and look for the blue crack in the ground. Interact with it, and the area will be restored, also revealing a new ability called Float.
Use it to float up to the doorway that’s now open, and follow the path to the next area. Continue until you can jump up to a higher platform, where another blue crack is.

Interact with it, and it’ll reveal a unique path along the cliffside for you to ride to the next area. Once you arrive in the big open area ahead, look for a crystal on a submerged roof that you can interact with it.
When you do, the sand in the area will drain, revealing a large building. The next restoration point is locked up inside behind a gate, so that’s your next objective.
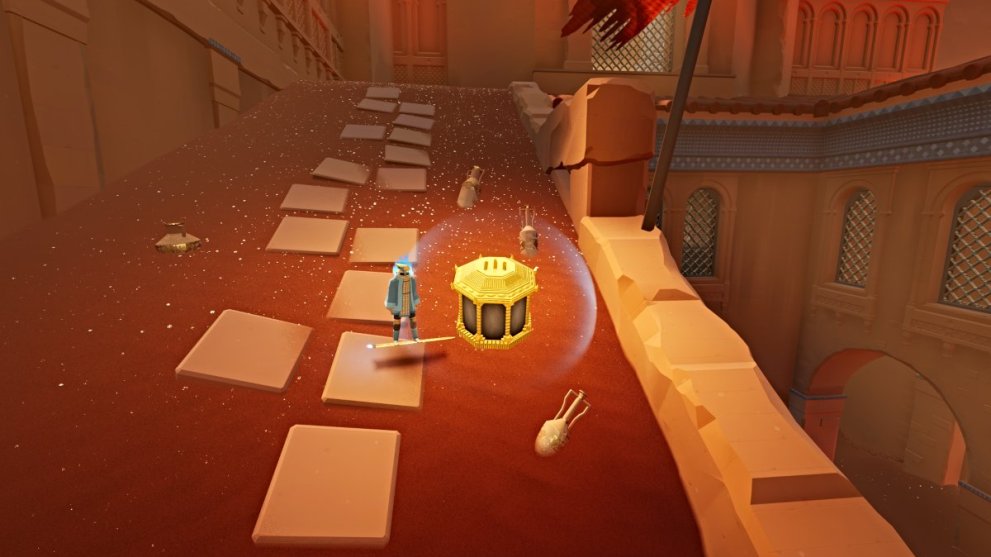
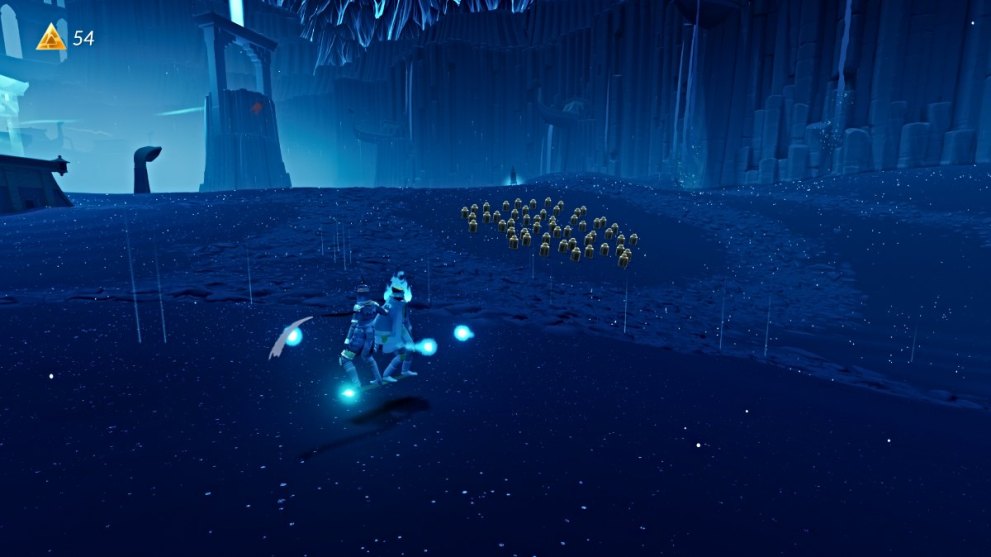
For now, look for a doorway in the cliffs to the left, which has an hourglass symbol above it. Go through it and approach the slab pedestal ahead. Interact with it, and it’ll reveal that this area is home to a timed challenge. You must perform enough aerial tricks and achieve a minimum score of 8,000 to pass.

Approach the hourglass below to start the challenge. Once you’ve reached the required score, return to the center platform with the hourglass to claim your Astra reward. Leave the area and return to the center building.
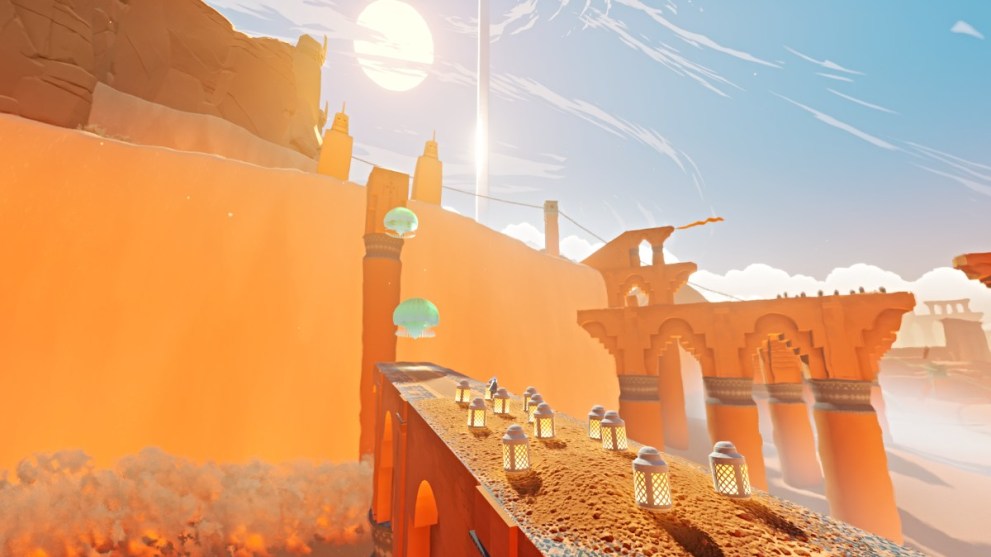
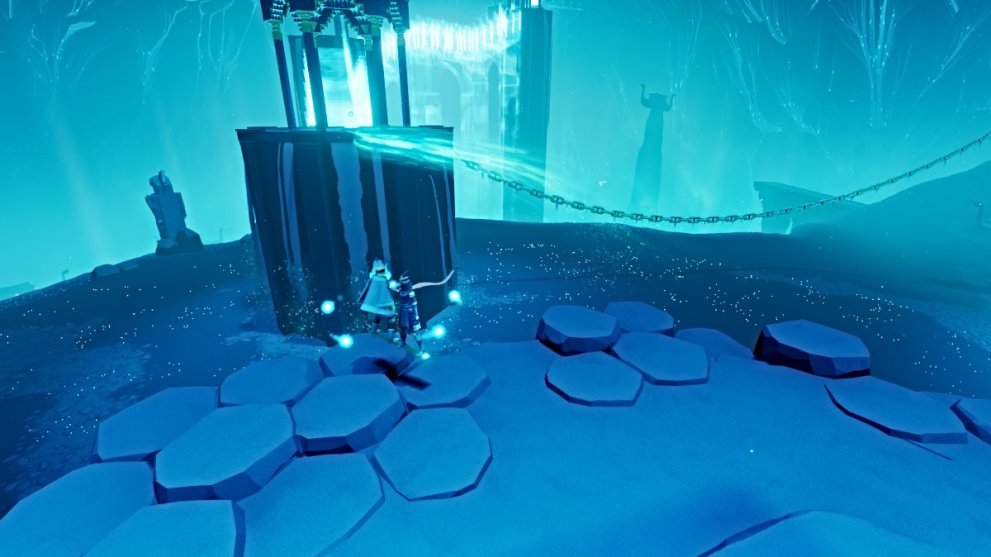
On an upper walkway on the left side of the building’s inner courtyard, you’ll find a large lantern (seen above). Interact to light it up, which will release the first “lock” on the gate sealing the restoration point.
Now jump to the other side of the upper courtyard level, where you’ll see a boost ramp with a green jump point.
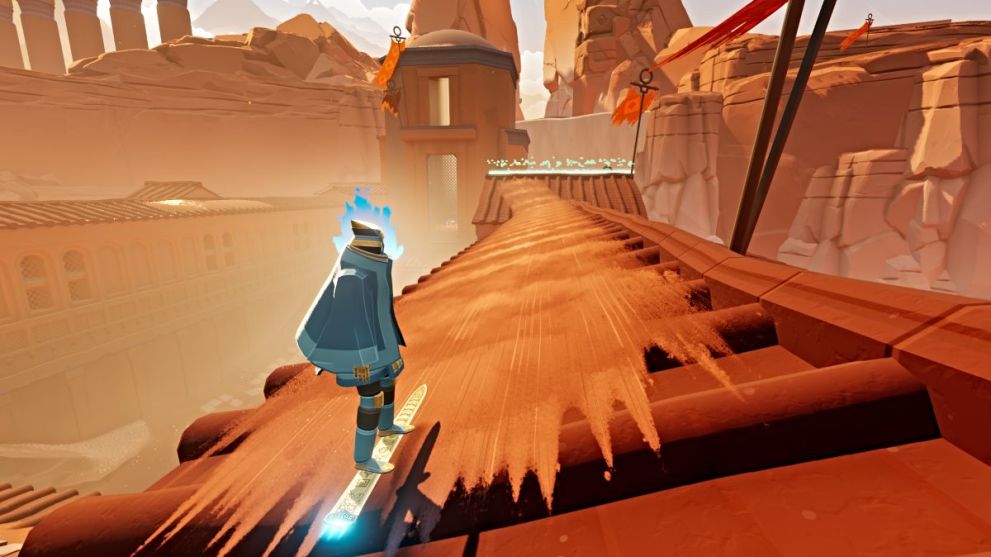
Ride the ramp and jump off at the end to reach the high ledge of the center tower ahead (seen above). Once you’re there, go inside and down at the bottom of the tower is the other large lantern. Light it, and the other lock on the gate will release, opening access to the restoration point.
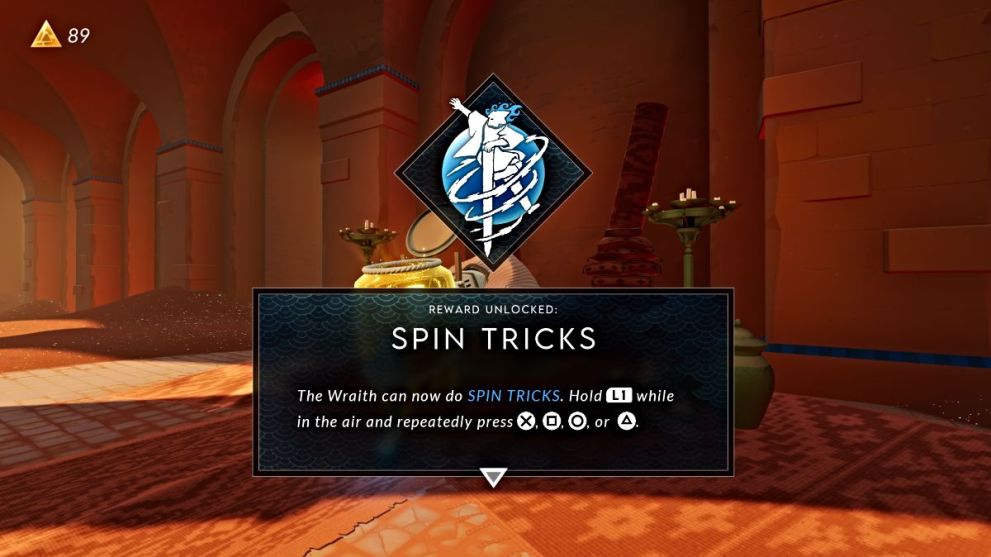
The merchant will be on the bottom level of the courtyard to the right. If you have enough Astra, interact with them to unlock the next ability, Spin Tricks.
Now go and activate the restoration point, and this will restore a huge span of the area and activate the next chain path. You can catch it from the same building, but make sure to explore it for Astra before you leave.
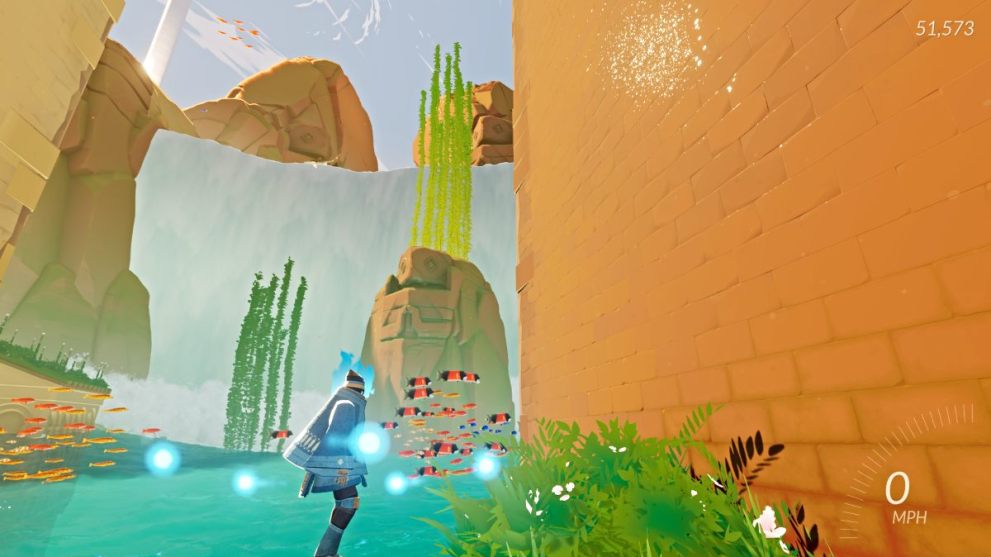
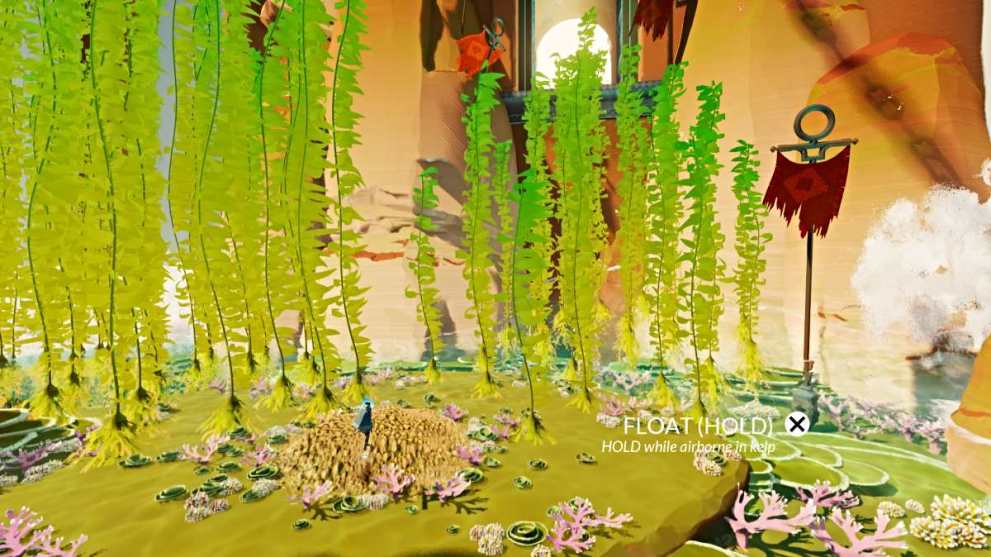
Also, before you leave, go behind the building and look for some kelp plants in front of a large waterfall. Use the kelp to float up to the top of the waterfall. Next, turn right and follow the cliffs as far as you can.

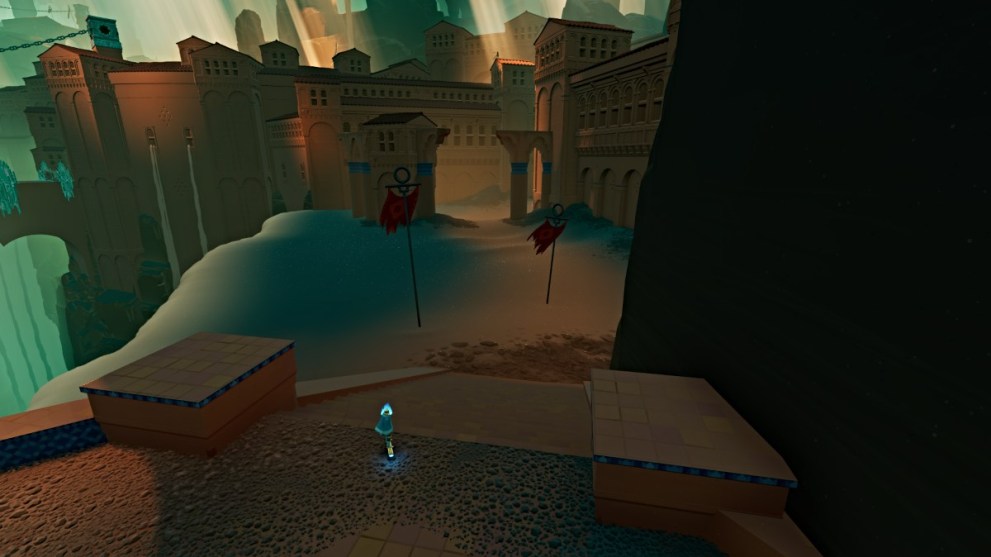
Eventually, you’ll reach another large waterfall flowing out in the opposite direction. Make your way across it until you reach a long platform stretching out over its edge (seen above).
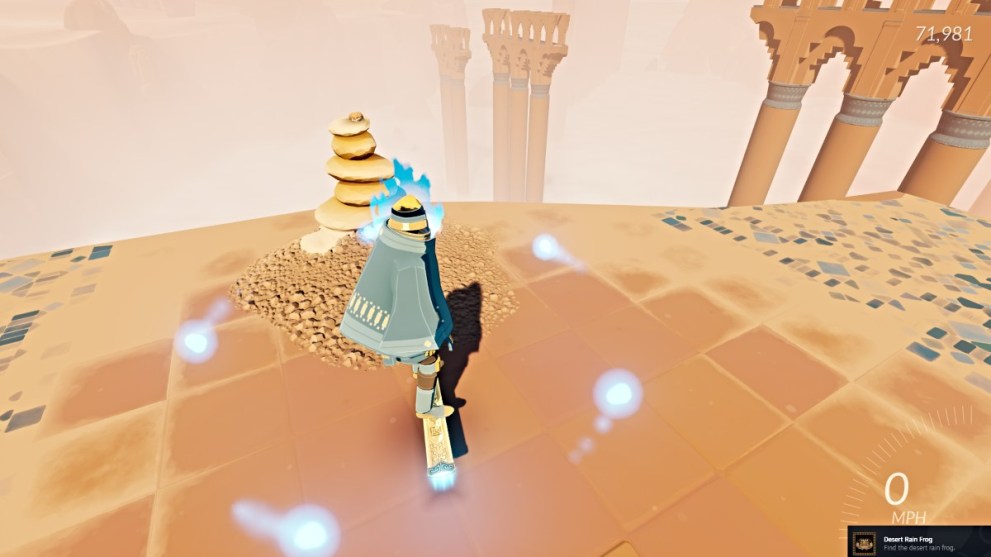
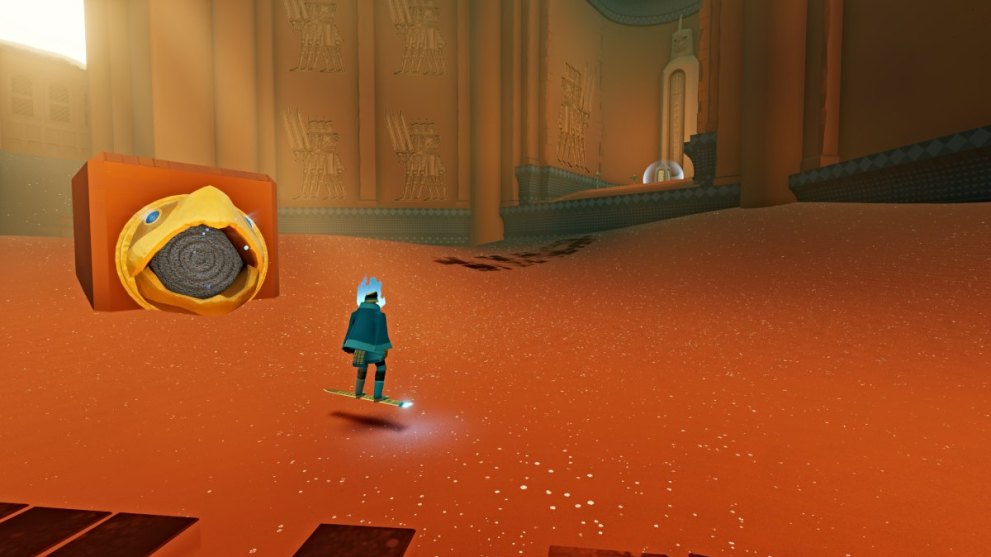
Go to the edge of the platform and look down, where you’ll see another platform below. Jump down to it, then go to the edge and look for another to jump down to. At the bottom, you’ll find the Desert Rain Frog sitting on a cairn. This is the first of several Frog collectibles in the game.
Ride the chain path all the way back to the previous area, where the gold doors to the large building you passed before on the previous chain path will now be open.
On your way to the building, make sure to interact with another Stele Pedestal (The Cycle Is Broken) on the ground to the right.

Now go inside the building, and a brief cutscene will play, showing a mysterious figure watching the Wraith from nearby. It vanishes from view, and this ends the first area and chapter of the game.
Chapter 2 – Lost Grotto
Follow the path through the ravine ahead, and soon you’ll arrive at this level’s main open area. Take in your surroundings and then follow the path on the right side.
Turn the corner to the right, where you’ll see a pedestal adorned with a turtle head with its mouth open. You can’t interact with it just yet, as you’ll need the blue water orb in the room nearby.
Go and grab the water orb, then bring it back to the turtle head. This will unlock the gold doors behind it, allowing you inside. Head through the doors and follow the path ahead until it brings you to another expansive room.
You may catch a glimpse of the mysterious figure from earlier on the cliffs in the distance. For now, go left and interact with the blue crack in the ground to activate the next restoration point. This will open a pathway along the cliffside to the right. Ride it until you reach the end of the path and the next area of the grotto.

Immediately to your left, you can find the merchant sitting under some pillars. Interact with him and you’ll discover that you need 1,000 x Astra to unlock the next ability. For now, follow the path straight ahead until you reach another set of sealed gold doors and a water orb sitting in front of them.
This means you’ll need to find more turtle head pedestals to open the doors. For now, grab the orb and then go to the right side of the area, where you can light up some lanterns.
This will drain the sand in the area and reveal a room ahead containing a Stele Pedestal (Not All Wars Have Victors). Interact with it, then backtrack to the gold doors. From there, this time go left and light up another set of lanterns on the ground. These will spawn more green jump points nearby for you to use.
Before you start hopping the rooftops, head right to the ledge with the dolphin statues. Interact with the Stele Pedestal (The Great Dolphin) at the end of the ledge, then head back to the previous area.
Use the newly-spawned green jump points to hop to the rooftops, and then use the tile mural on the nearby wall to surf to the building across the room.
From there, follow the rooftops to more green jump points. Use them to reach the roofs of the building ahead. Next, turn right and follow the rooftops to a turtle head embedded inside the wall ahead.
Give it your water orb, and this will activate the next restoration point. The first lock on the gold doors below will release as well. Before you leave the rooftops, make sure to explore a bit to find some blue Fish Tiles (seen below). Not only do they give you Astra, but these contribute toward the Tile Finder trophy/achievement.
Next, jump back down to grab another water orb, then circle around the building directly across from the gold doors to its open side. You’ll find the other Turtle Head inside.
Activate this next restoration point, and the gold doors will open, allowing you to progress. When you’re ready, jump down to the ground and head through the open gold doors. Follow the path beyond to the next area, where you’ll catch another glimpse of the mysterious swordsman on a rooftop in the distance.
For now, turn left and follow the next path all the way to a junction where you’ll find your next restoration point. Activate it, and the surrounding area will transform. Use the kelp plants to float up to the nearby rooftops.
Inside a small room, you can find another Stele Pedestal (The Lost Grotto) to interact with. Use the school of fish to guide you across the rooftops and through a doorway to the next area.
Here you’ll find a series of tall buildings above a chasm, and you’ll need to carefully navigate around them. Use the bouncing platforms to make your way across the chasm to the large double doors ahead.
There you’ll find a dolphin statue and a large lantern on the ground in front of it. Interact with it, and this will release the first of four locks on the doors.
Next, navigate the rooftops to the left side of the chasm, where you’ll find another dolphin statue with a lantern. Light it up to release the second lock.
From the same platform, look to the building behind it, and you’ll see the next dolphin statue and lantern over there. Jump to it and light the lantern to release the third lock.
From there, circle around the rooftops, and you’ll find the fourth dolphin statue on a ledge with a red flag. Jump to it, light the lantern, and this will release the final lock on the gold doors nearby.

Before you continue on, if you cross the chasm to the right side, there’s a path to a room marked by hourglass symbols. This leads to a room with another timed trick challenge for you to try. The high score to beat this time is 10,000 Points.
While not required for the story, winning the challenge can net you a good sum of Astra. The merchant is also there if you’d like to trade in your rewards toward the next ability.
When you’re ready, head through the open gold doors to progress onward. In the room ahead, you’ll find another Turtle Head and a Stele Pedestal (The Champion) in the nook to the right. Interact with it, then head left, where you’ll see a chasm ahead and a room on the other side that contains a water orb.
You’ll need to carefully navigate your way along the walls to the room and back with the water orb. The reason for this is that there are sand waterfalls on either side that will absorb your water orb if you bump into them.
Once you’ve made it safely with your water orb, go and give it to the Turtle Head in the previous room to activate the next restoration point.
This raises the sand in the room, creating a ramp to the window behind. Surf up and out of the window to the ledge pathway ahead. At the end, you’ll find a blue crack restoration point in the ground. Activate it, and a series of bouncing jellyfish will spawn behind you, leading up to the top of the building.

Use them to reach the building’s roof, and once there, go over to the water sphere icon in the center. Activate it, and the chain path nearby will be restored. You’ll also unlock the Cleanse the Lost Grotto trophy/achievement here.
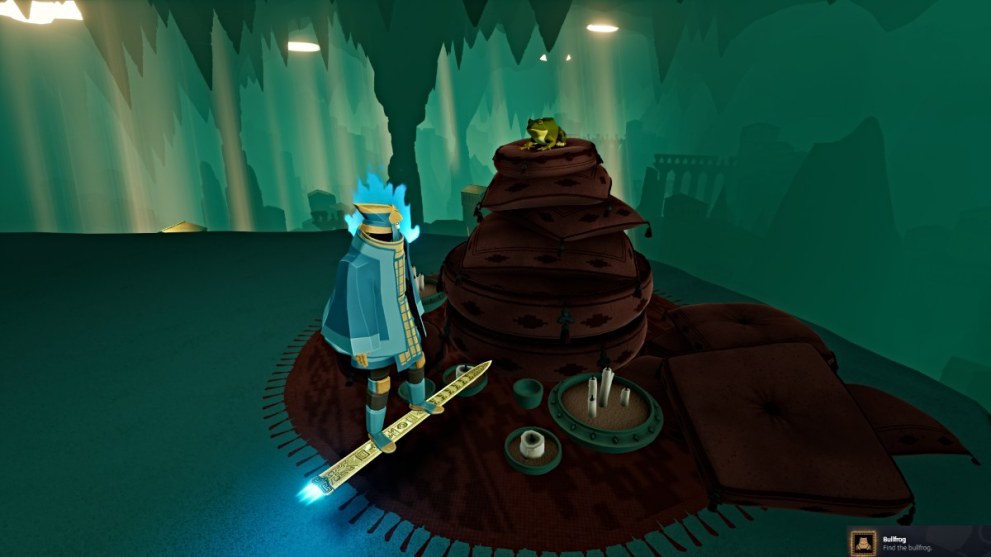
Next, make your way around the statue until you see a narrow roof path behind it. Follow it to the stone pillar and circle around it to find the Bullfrog.
Before you ride the chain path, make sure to jump up and ride one of the sea turtle creatures swimming around here (the ones with moss on their backs) for the Ride the Archelon trophy/achievement as well. The ones that spawn in the previous restoration area will NOT count toward this unlock, for some reason.
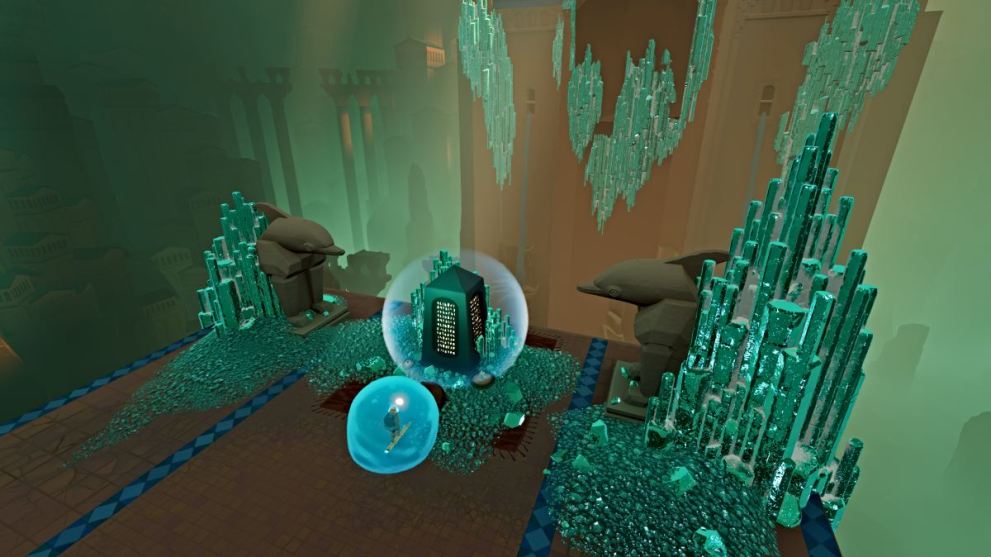
When you’re ready, ride the chain path all the way across the entire level to the temple covered in blue crystals. Go inside, and then light the lanterns around the dolphin crystal statue in the center. This will summon another water sphere icon.
Interact with it, and a cutscene will play as the mysterious swordsman from earlier approaches the Wraith. However, rather than engage in combat, the swordsman uses the Wraith’s power to restore their sword’s power, allowing them to surf as well.
They then ride the giant resurrected dolphin to open the doors ahead, allowing you to progress. This concludes the level and chapter.
Chapter 3 – Forbidden Valley
Follow the path through the red doorway ahead, and this brings you to the first open area of the Forbidden Valley. Jump down to the sand path below and follow it as the mysterious swordsman follows on the giant dolphin.

At the end of the surf path, the swordsman will convene and invite the Wraith to ride the dolphin. Now you’ll have control of the dolphin itself.
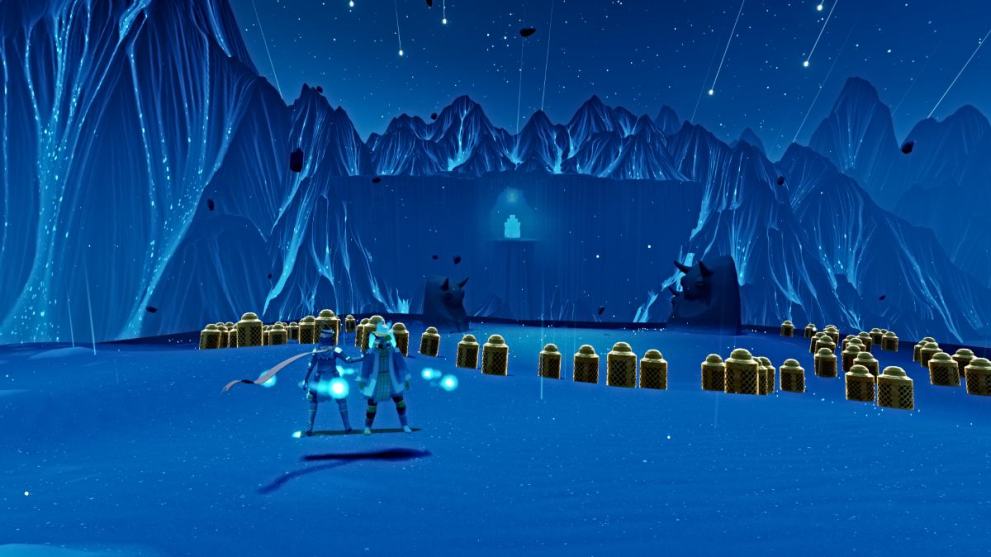
Head toward the large circle of lanterns ahead and light them to activate the first restoration point.
Now head a short distance to the right, where you’ll find more lanterns around the base of a pillar. Light them to activate the level’s second restoration point. Now use the bouncing jellyfish platforms that spawn around the pillar to reach the raised area nearby.
Up there, you’ll find another circle of lanterns near a pillar. Light them to activate the next restoration point. Now follow the school of sea creatures to the raised areas ahead.

At the highest area, you’ll find another circle of lanterns. Light them to activate the next restoration point, then use the bouncy jellyfish platforms that spawn nearby to make your way over the high ledge ahead to the next area.
Start by going left and up the sandfall, where you’ll find another circle of lanterns. Light them to activate the next restoration point, then follow the path that spawns to a bigger circle of lanterns at the base of another sandfall.
Light those up, and a series of jellyfish platforms will spawn in front of the sandfall. However, before you go up that route, look to the right, and there will be another circle of lanterns around a pillar nearby.
Light them up to activate yet another restoration point. Now head up the jellyfish platforms to traverse the sandfall to the raised area ahead. Follow the watery path, but before you go up the ledges ahead to progress, detour to the left.
Use the ledge pillars to jump up to the raised area nearby, where you’ll find a huge circle of lanterns. Light them to activate another restoration point, and it will also spawn several groups of Astra for you to gather. Do so, then return to the lower area to continue along the main path up the ledges.
In the next area, you’ll see translucent blue crystals that contain water sphere orbs inside them. Use the dolphin to shatter both crystals and activate both restoration points.
This will release two locks at the top that then activate a waterfall you can climb to reach the next area. Follow the path ahead until you reach a ledge with a circle of lanterns in front of it.
Light the lanterns to activate the next restoration point and jellyfish platforms for you to get over the ledge. Continue to the next area, where you’ll find three more blue crystals with water orbs to shatter and progress.

Go to the far side of the area and then jump to the raised area on the left side, where you can shatter the first blue crystal. Make your way around to a circle of lanterns you can light up, which will spawn some jellyfish platforms.
Use them to get to the other side of the room, and shatter the two crystals over there to activate the other two restoration points. This will activate a geyser on the lower level, which you can use to reach the next section.
Ride the sand dunes down to the next area, and once there, swim to the other side of the room where you’ll see another water orb crystal blocking the way through. Jump up and shatter it to activate the next restoration point and continue on.
This will also unlock the Cleanse the Forbidden Valley trophy/achievement for you. Make your way to the geyser at the end of the room ahead and use it to leap a great distance ahead. Do the same at the next geyser you reach, and this will trigger a cutscene.
The Wraith and the mysterious swordsman continue onward, and meanwhile, something sinister seems to awaken elsewhere.
With that, the chapter ends.
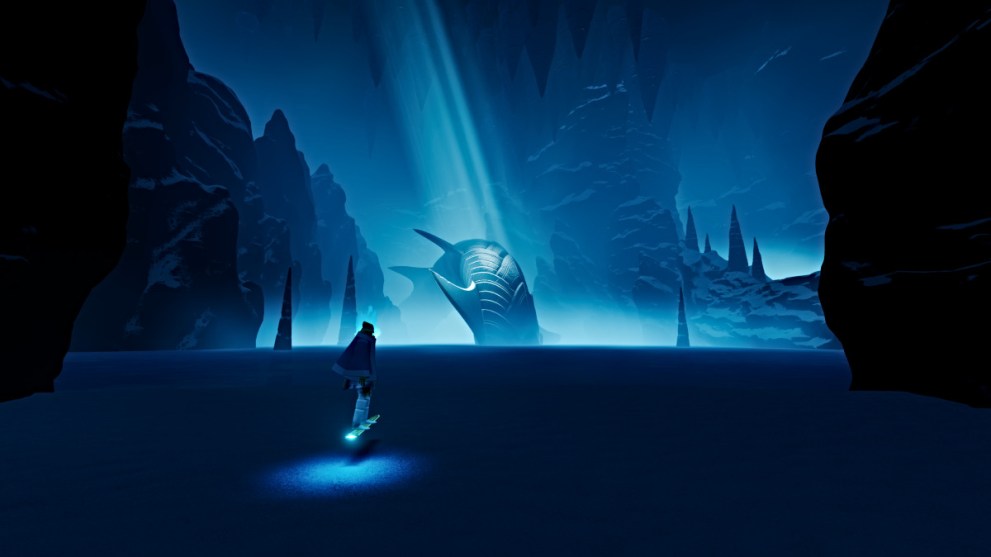
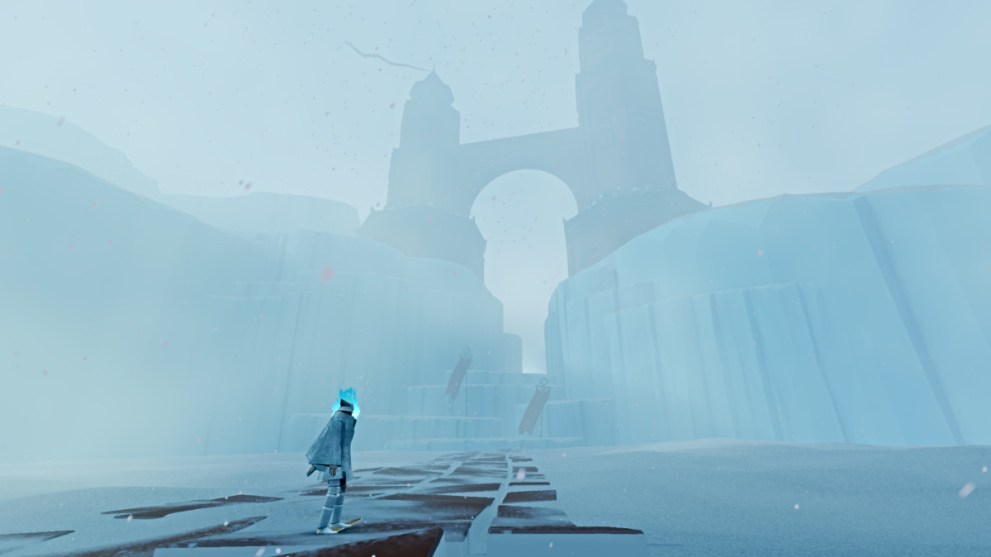
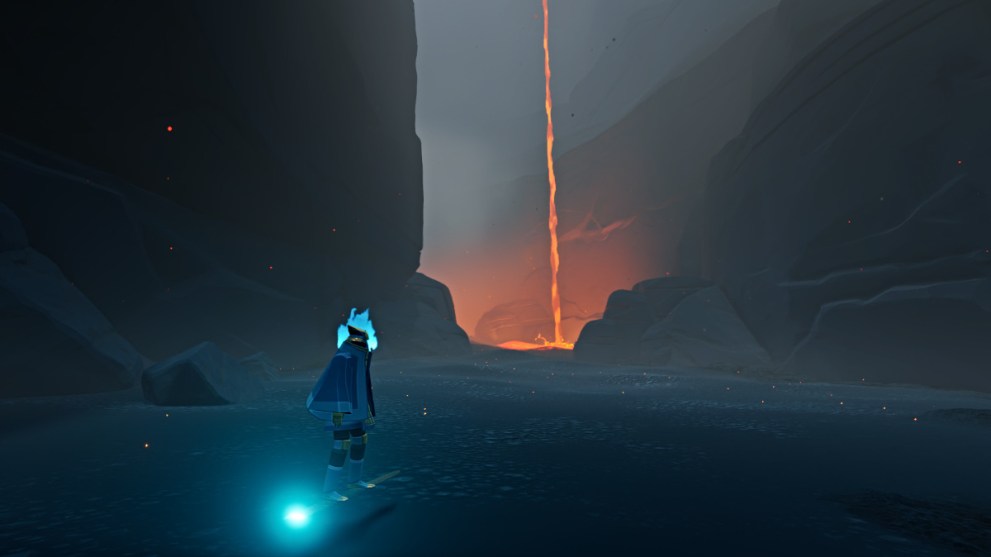
Chapter 4 – Shadow Tundra

Join up with the swordsman on the ridge ahead that leads down a snowy slope. Surf it all the way down to a room in an icy cavern, where a cutscene will play. The ice beneath their feet shatters, sending them down to a cave below.

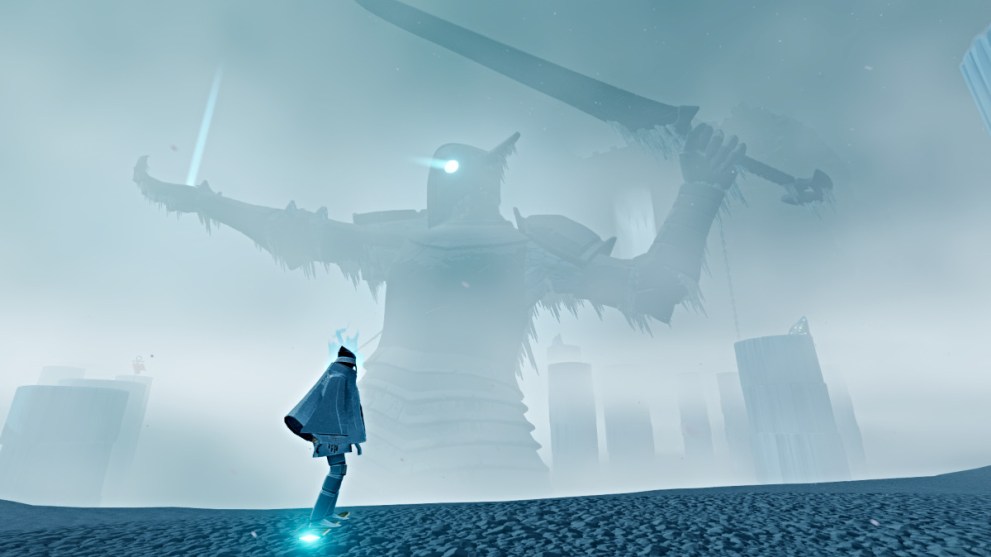
Once you regain control, head over to the Stele Pedestal (Fire Elemental) ahead and interact with it. Next, continue down the path ahead and follow the tunnel until you reach a huge room with a serpentine statue in the distance.
Approach it, and a brief cutscene shows the statue come to life and shatter the ice floor, relocating you to the ledge to the right.
From there, follow the passage out to a snowy open area with giant swords buried in the snowy sea. Use them to lead you forward to a large statue with one glowing eye.
Continue past it for now and keep using the buried swords to guide you along the right path. The light emitted from the statue’s eyes also points in the correct direction.
They’ll eventually lead you to another partially submerged statue, again with a glowing eye. They also each have a Fish Tile on them, so make sure to explore them before moving on.
Use the statue’s light and the swords in the snowy sea to continue on until you come to a third statue.
Interact with the Stele Pedestal (Ghost Warriors) on the ground nearby, then climb the statue to find another Fish Tile. From there, follow the statue’s gaze to the next statue.
This one you’ll approach from behind, and you can find another Fish Tile on its left arm. Follow its gaze to the next statue.
Explore this one for another Fish Tile on its back, then follow its gaze to your destination in the tundra.
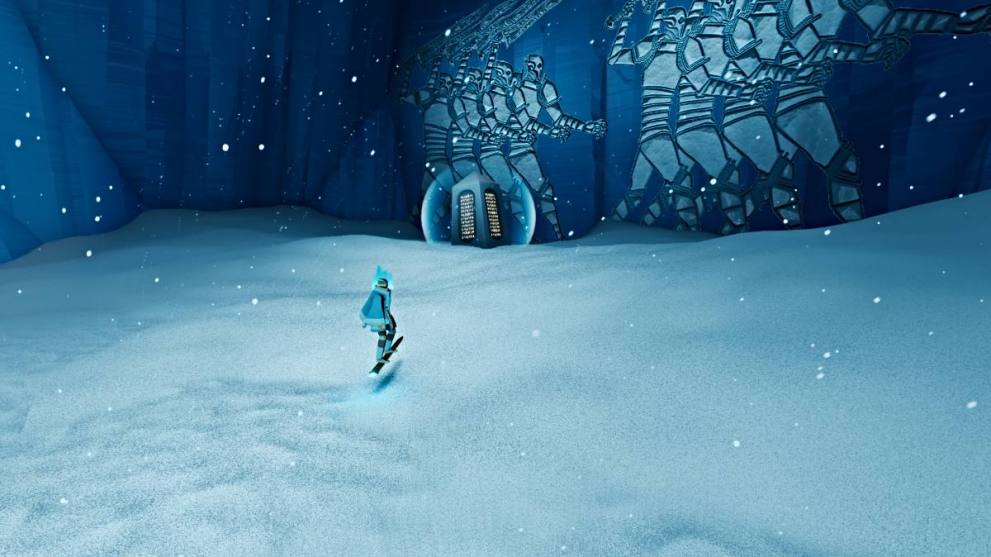
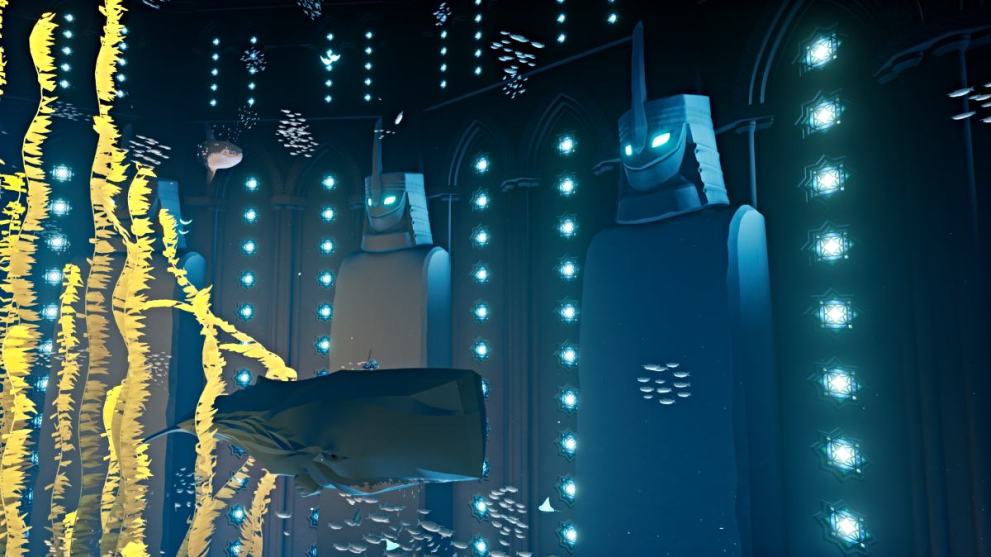
Soon you’ll arrive at a passage with two towers overhead. Head through the passage until you come to a cavernous room with a giant statue in the center.
Start by going right and around a corner, and up some steps, you’ll find another Stele Pedestal (The Ghost Warriors Undoing).
Interact with it, then head back to the left and look to the pillar platforms ahead that you can jump to. Use them to cross the chasm around the giant statue.
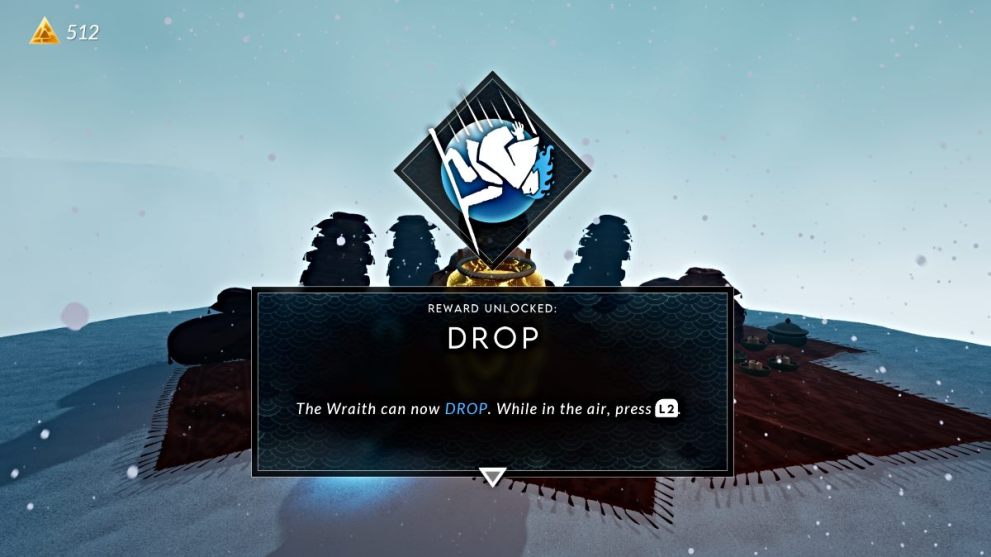
About halfway through, you’ll find the merchant sitting on one of the pillars, where you can finally turn in the Astra you’ve collected over the past two levels. With 1,000 x Astra deposited, you’ll unlock the Drop ability. The next unlock will require 2,000 x Astra, so make sure you’re gathering as much as possible throughout your travels.
For now, continue on until you reach a button on the ground you can interact with to activate the chain leading up to the giant statue.
Ride the chain until you’re inside the statue itself. Look for the lanterns on the ground ahead and light them to spawn kelp plants you can use to float upward.
Do so, and then jump through the statue’s open eyehole to land on the outstretched arm. In its palm, you’ll see a water orb restoration point. Ride to it and activate it, and then the surrounding area will be restored. This also activates a chain path to the next area.
Before you move on, however, make sure to explore the entire area for Astra, as there’s quite a bit to pick up. Also, notice that several humpback whales have spawned in the area. Jump onto one and ride it along its path to unlock the Humpback Rider trophy/achievement.
When you’re ready, use the chain path from the statue’s hand to ride to the area’s exit. As you surf through the tunnel ahead, make sure to shatter the glaciers along the path for more Astra.
Eventually, you’ll reach the next area, with a mountain in the distance. As you ride through the pairs of pillars ahead, they’ll grant you Boost Wisps. You can use these to give yourself a speed boost.
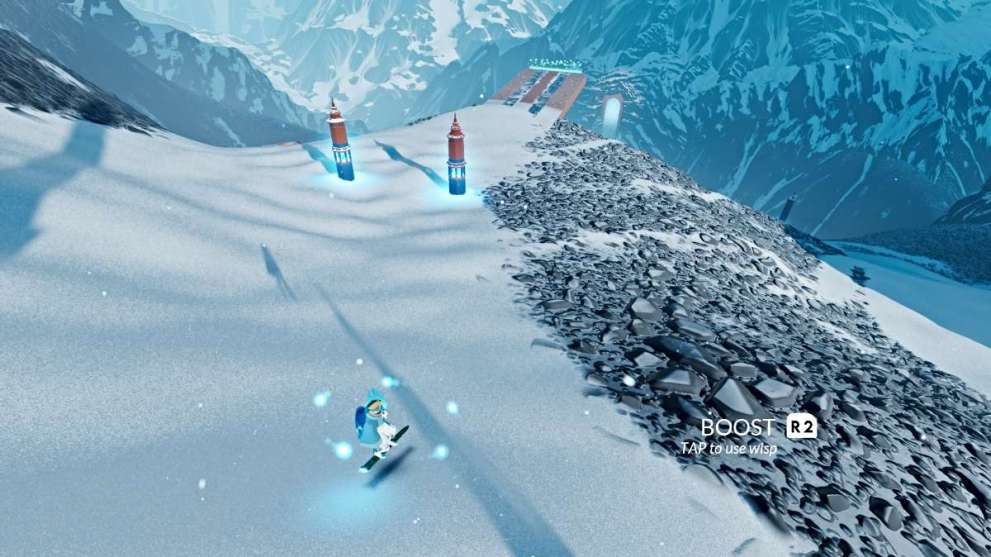
As you climb up, veer to the right until you see a platform ledge that leads off to a doorway far across the chasm. Use the green jump point and two of your Boost Wisps to make it across to the doorway. You should also unlock the Long Distance Jumper trophy/achievement here, if you haven’t already.
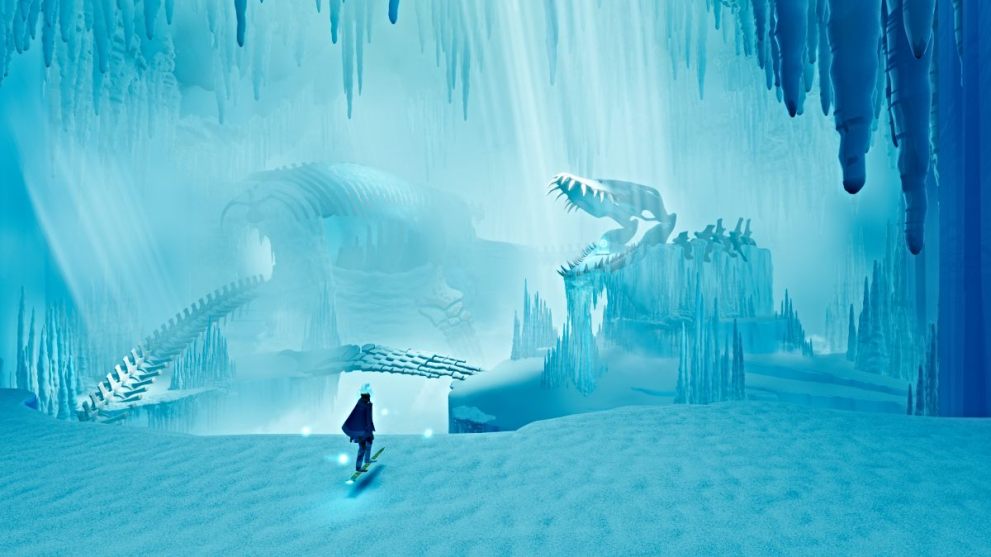
Once you’re across and inside, follow the passage until it brings you to a room with a giant skeleton. There’s another water orb restoration point here, inside the skull to the right (seen above). You can also find another Stele Pedestal (Forgotten Eras) at the back of the room.

Once you’ve activated it, the Cleanse the Shadow Tundra trophy/achievement should unlock. Also, ride one of the four-flippered creatures in the room to unlock the Elasmosaur Rider trophy/achievement.
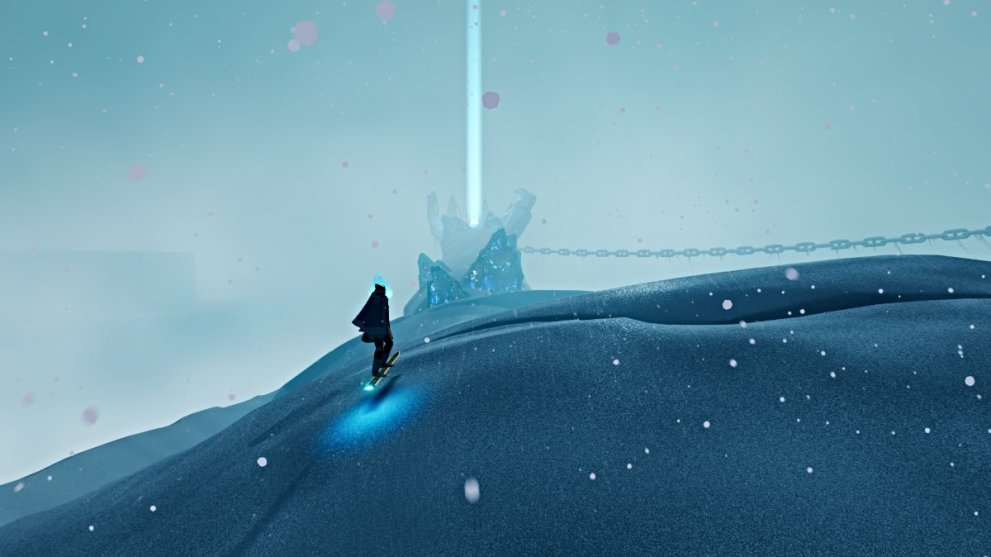
When you’re ready, backtrack to the mountain area and boost your way up to the summit, where you’ll find a large gold bell inside a tower. Activate it, and one of the three bells on top of a castle in the distance will also activate. You’ll need to find two more bells to open the doors to the level’s exit.
The gate behind the first bell will open, leading you to the next area. Jump down to the slope below, and you’ll come to an expansive mountainous field full of ramps and sky-high platforms that can lead you to valuable items.

However, focus first on reaching two other bell towers. Luckily, their respective towers are easy to spot on the horizon. One is to the far left side of the area, while the other is to the far right side. Activate both bells, and the gold doors leading to the exit will open.

Before you leave, however, there’s another timed challenge for you to try that’s found on the right side of the area, just north of the path leading to the right-side bell tower. Along with a hefty Astra reward, the expansive area you’re given to complete it is great for unlocking your combo-related achievements.

Also, there’s another Frog collectible to be found here. Head toward the castle exit up the mountain, then veer to the left. Maneuver around until you find a ramp with a Wisp Boost pillar on it. This one leads directly to a platform ahead, where you’ll find the Horned Frog. Approach it to unlock the Horned Frog trophy/achievement.
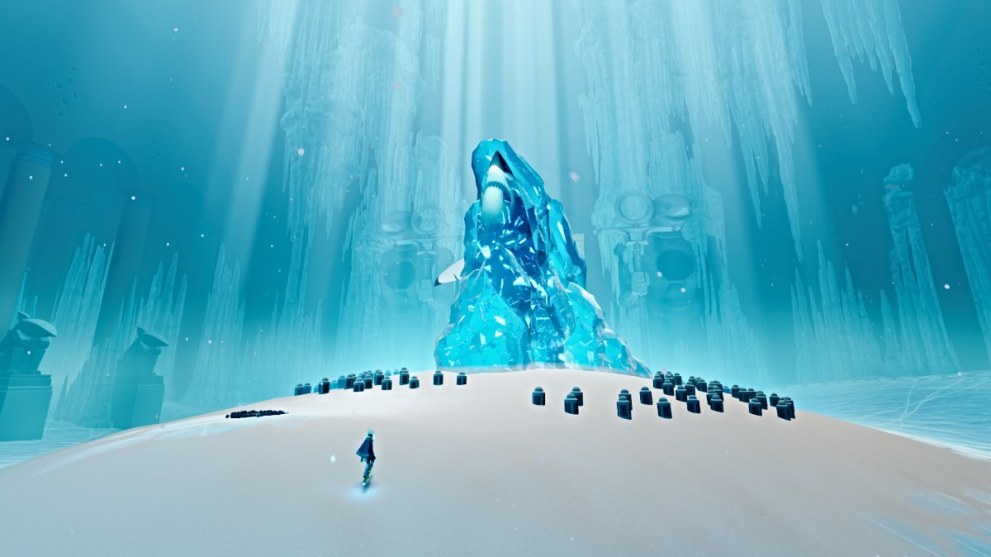
With all that done, head for the castle’s doors. You’ll find the merchant near it to the right, if you want to deposit all the Astra you picked up in this area. Head inside, and in the room ahead you’ll find a shark encased in ice. Light the lanterns around it, and then activate the water orb that appears.
A cutscene will show the shark freed from the ice, and the Wraith will then ride it to the exit ahead. This concludes the chapter.
Chapter 5 – Frozen Drifts

This next level is similar to Forbidden Valley in that you’ll be using the shark to navigate around the terrain.
Swim forward and light the lanterns to open the doors ahead. This brings you to an open area, so start by heading left, where you’ll find more lanterns. Light them to activate a restoration point and spawn some Astra.

Next, swim forward to where you find a large iceberg that contains a water orb. Shatter it to activate this restoration point.
From there, swim up and to the left, where you’ll find another iceberg with another water orb inside it. Again, shatter it to activate the next restoration point.
This will activate the bell tower nearby and spawn some lanterns at its base. Go and light them to raise a new tower that lets you cross to the next section.
Once over there, veer to the left, where you’ll find another circle of lanterns to activate the next restoration point.
From there, head a short distance to the right to find another water orb inside an iceberg. Shatter it to activate the restoration point.

Next, swim left around a snowfall surrounding a raised area. At the back side of that path, you’ll find another circle of lanterns. Light them to activate another restoration point.
From there, make your way up to the raised area, and shatter another iceberg with a water orb to activate that restoration point. This one will activate the next bell tower ahead, and also spawn more lanterns at its base.

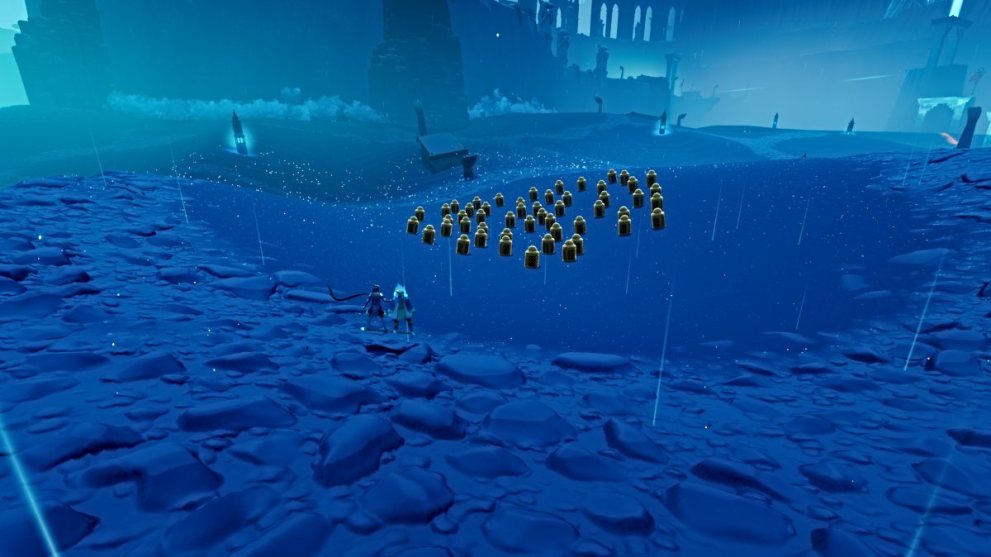
Swim up and light them to raise the next tower passage leading to the next area. Follow the watery path through it. Once in the next area, there are a total of eight restoration points to activate here (including the final lantern circle at the final bell tower), so make sure you don’t miss any.

Lantern restoration point – Image via Twinfinite 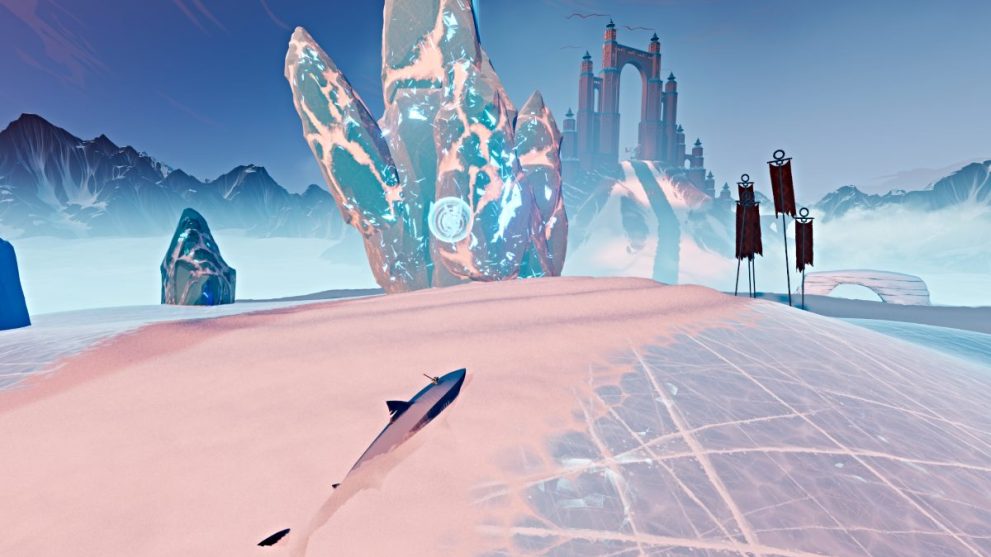
Iceberg water orb – Image via Twinfinite 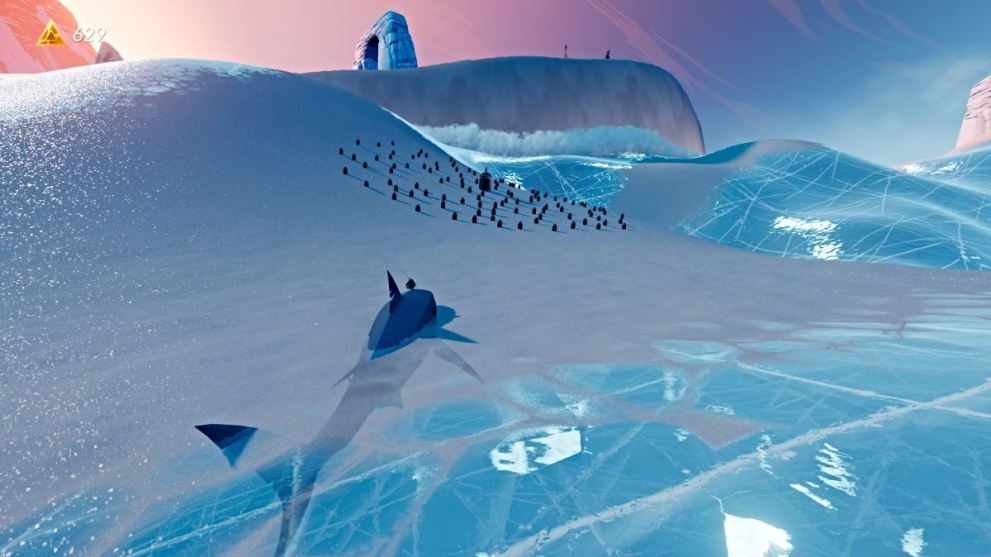
Lantern restoration point – Image via Twinfinite 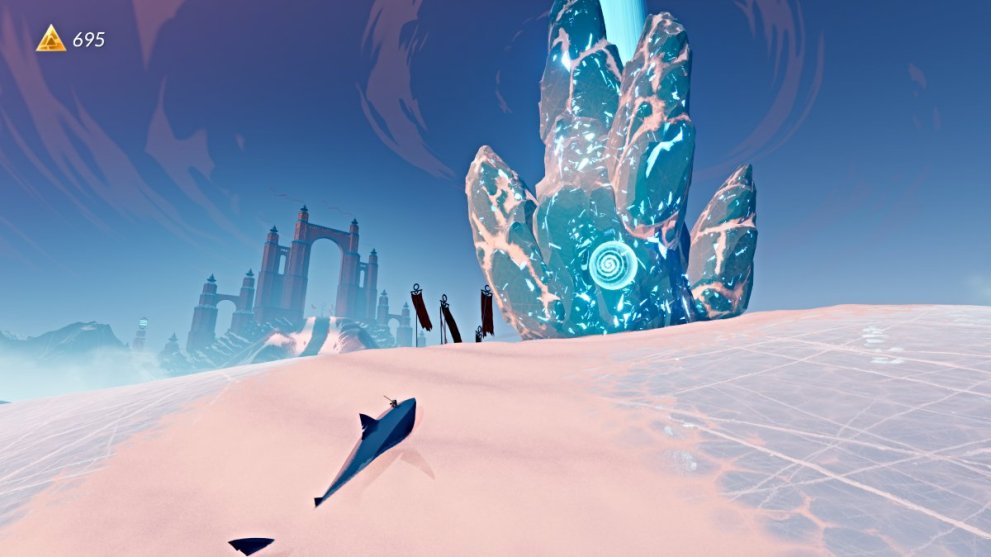
Iceberg with water orb – Image via Twinfinite 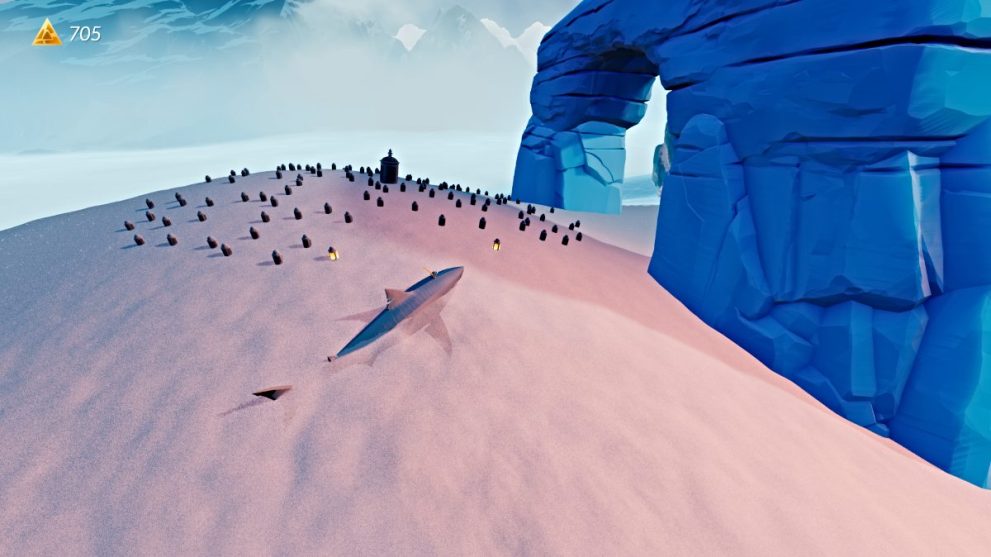
Lanterns near an ice arch – Image via Twinfinite 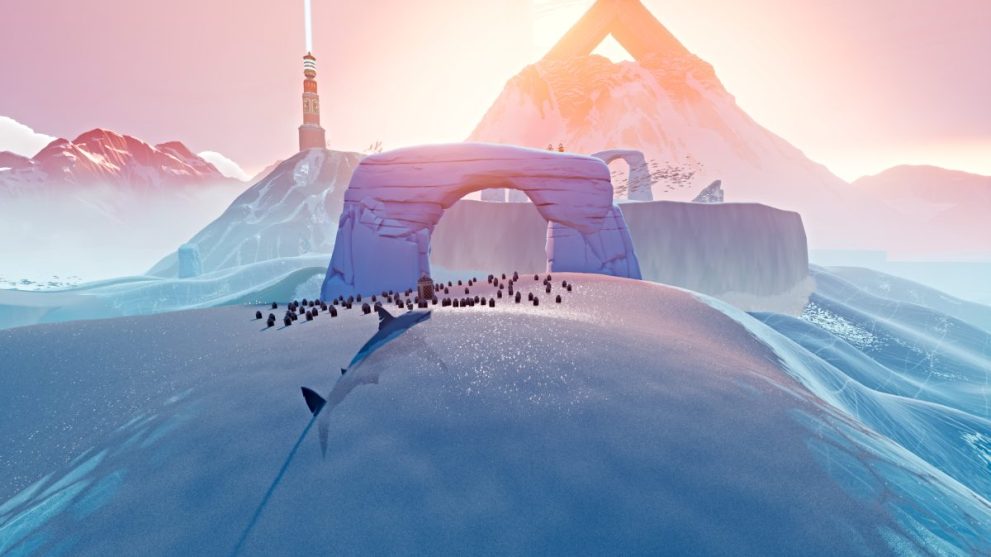
Lanterns near another ice arch – Image via Twinfinite 
Lanterns near chasm gap – Image via Twinfinite 
Lanterns at final bell tower – Image via Twinfinite
Once you activate the lanterns at the final bell tower, you can proceed to the level’s exit.

A cutscene will play out, where the Wraith reunites with the mysterious swordsman after being threatened by the fiery serpent that’s awakened.
This concludes the chapter.
Chapter 6 – Sacred River
Start by heading through the passage ahead, and then to the left, you’ll find a large gap that you need to cross.
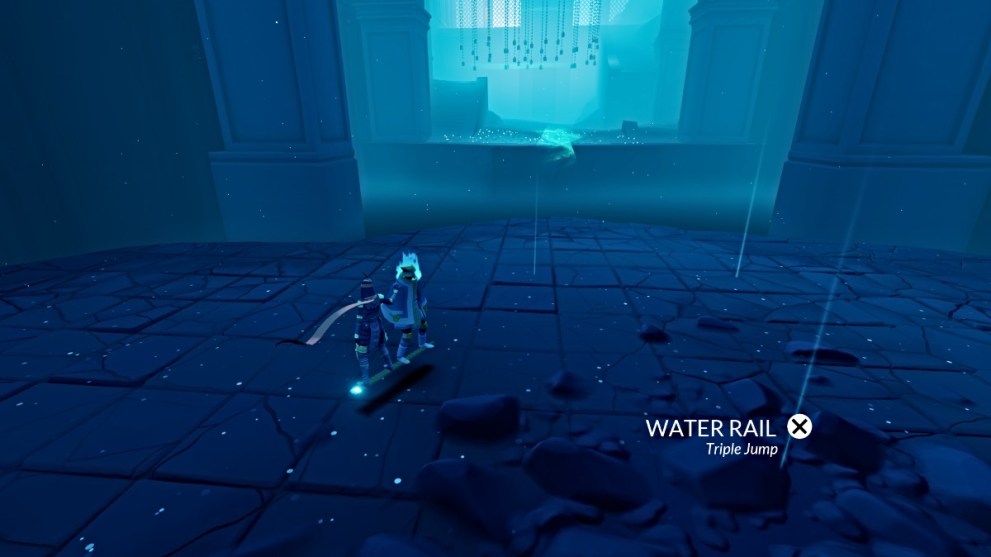
A prompt for the Water Rail triple-jump ability will pop up as you approach. Use the current floating in the gap to perform it and cross over.
Head up the stairs and use the next water rail to light the hanging lanterns and activate the level’s first restoration point. From there, use another Water Rail at the top of the stairs to reach the top floor.
Next, head through the room ahead to the next water rail that curves around the corner. Ride it to the next room.
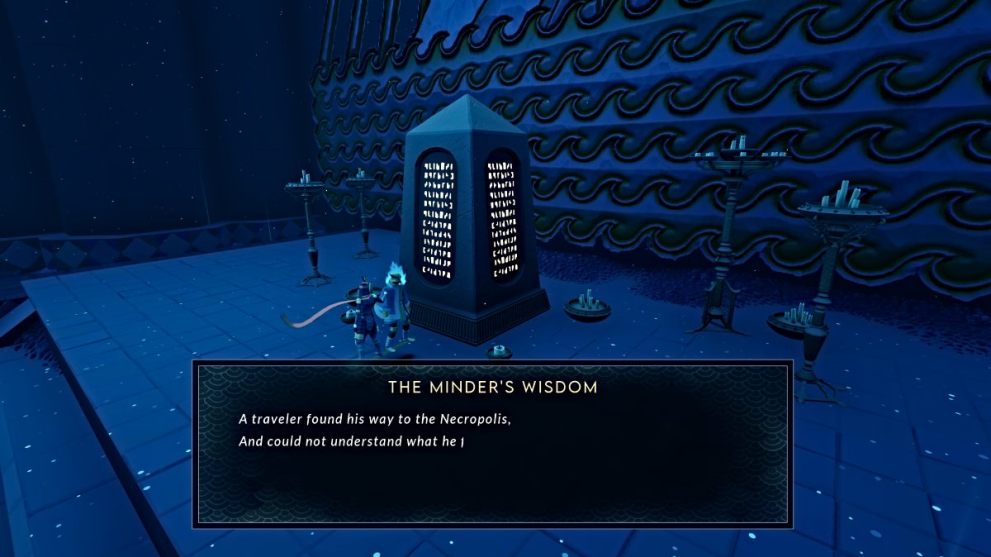
Once there, you can find another Stele Pedestal (The Minder’s Wisdom) at the far side of the room. Next, look for a ramp on the left side that leads up to another group of floating lanterns.
Use the water rail to light them up, which then unlocks the gate ahead. Jump down and head through, where you’ll find a restoration point crack in the ground ahead.
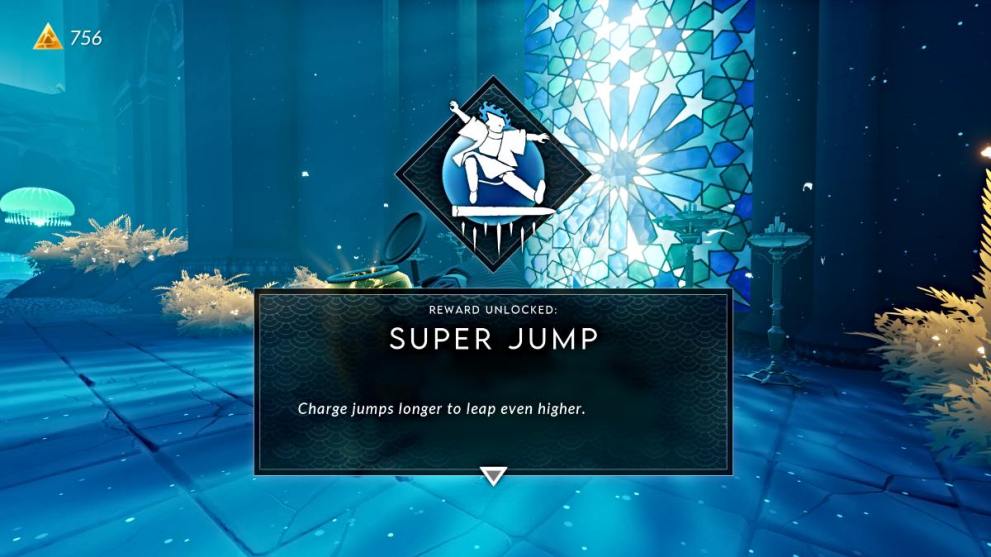
Activate it, and it will spawn jellyfish platforms you can use to reach the level above. Ahead, you’ll find the merchant, and by now you likely have enough Astra to unlock the next ability – Super Jump. The next ability will require 5,000 x Astra, so make sure to collect where you can.

For now, head left and continue up to the next level, where you’ll see a familiar Turtle Head and a sealed gate. To open it, look behind you to see a water rail that leads to a hidden room with a water orb visible inside.

Go gather it, then head back and use it on the Turtle Head to open the gate. Head through, and you’ll come to a large room with a water orb on a pedestal in the center. To reach it, use a water rail on either side.
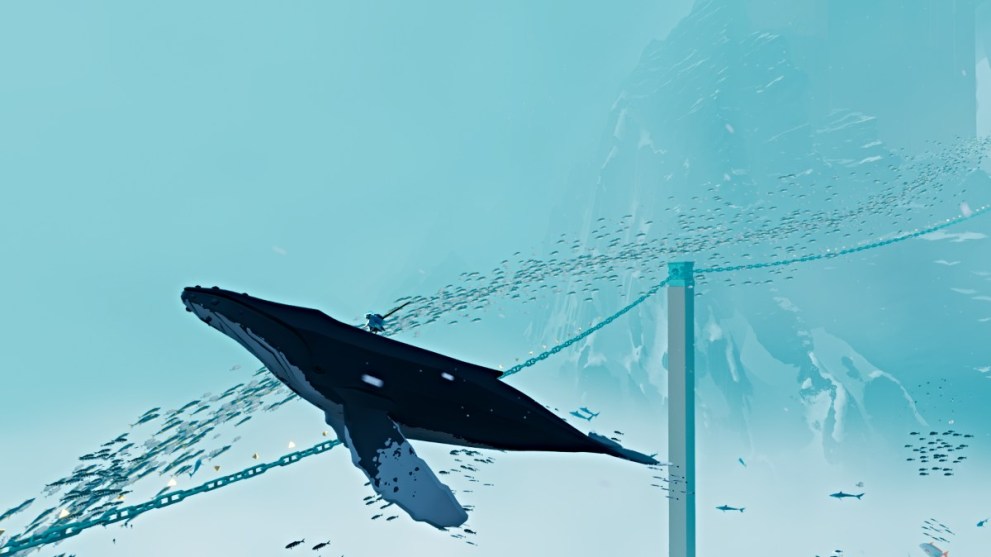
Activate the restoration point, and the room will come alive with sea creatures while the gates ahead open. Before you leave, make sure to ride one of the Sperm Whales swimming around. This will unlock the Sperm Whale Rider trophy/achievement for you.
Leave the room through the open doors and follow the passage until you reach the next expansive area.
Start by jumping down to the lower level and find a Stele Pedestal (The Tower) on a ledge behind the boats to the left. Next, go right, and there will be a circle of lanterns straight ahead to activate the next restoration point.
From there, cross the lower level and gather some Boost Wisps along the way. Ahead, you’ll find another circle of lanterns near a boat. Light them up to activate the next restoration point.
Next, turn and head right across the area to find yet another circle of lanterns near the wall. Light them up for the next restoration point.
From there, follow the stone path to a platform with a blue crack restoration point. Activate it, and then jump up to the nearby tower pillar using the jellyfish platforms. Then ride the water rail across to the upper level.
Once there, make your way to the next tower pillar and jump up to it. Use the water rail to glide across to the tower pillar ahead, where a water orb is. Activate it for the next restoration point.
Next, head right up the hill ahead, then turn right again to head through an archway, where you’ll find another blue crack restoration point. Activate it, and this will summon two circles of lanterns at the base of pedestals holding up two boats ahead.
Go and light up each circle of lanterns, and make sure to activate the buttons on top of each boat to restore their respective chain paths.
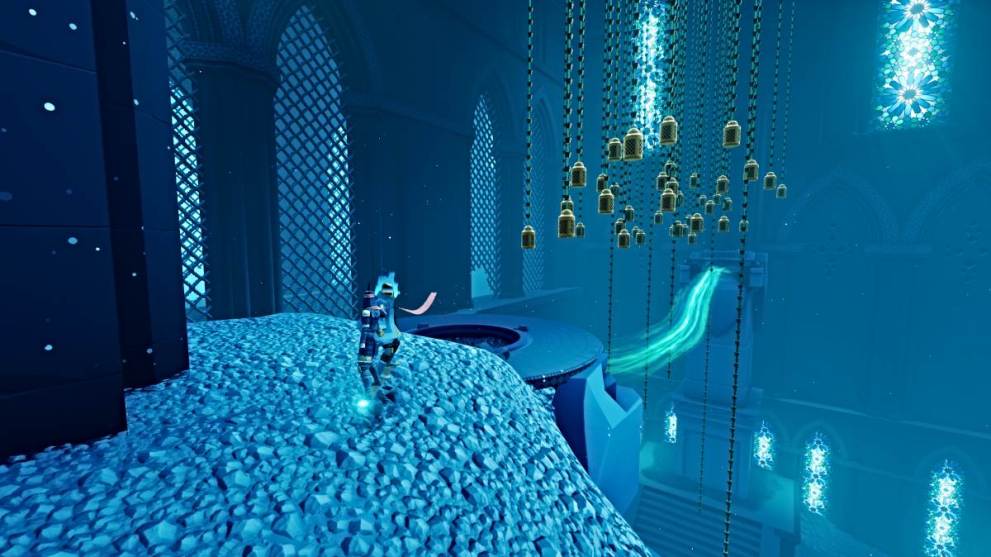
Once done, both chain paths will lift a much larger boat out of the water. Use either chain path to cross and board the ship. Once there, you need to reach and activate the two large lanterns on the pillars around the deck. Remember to use your water rail ability to make it easier.

Once done, use the jellyfish platforms that spawn to reach the upper deck, where a water orb will be. Activate it, and this will restore the surrounding area and manifest the next section of the stairwell that leads to the level’s exit.
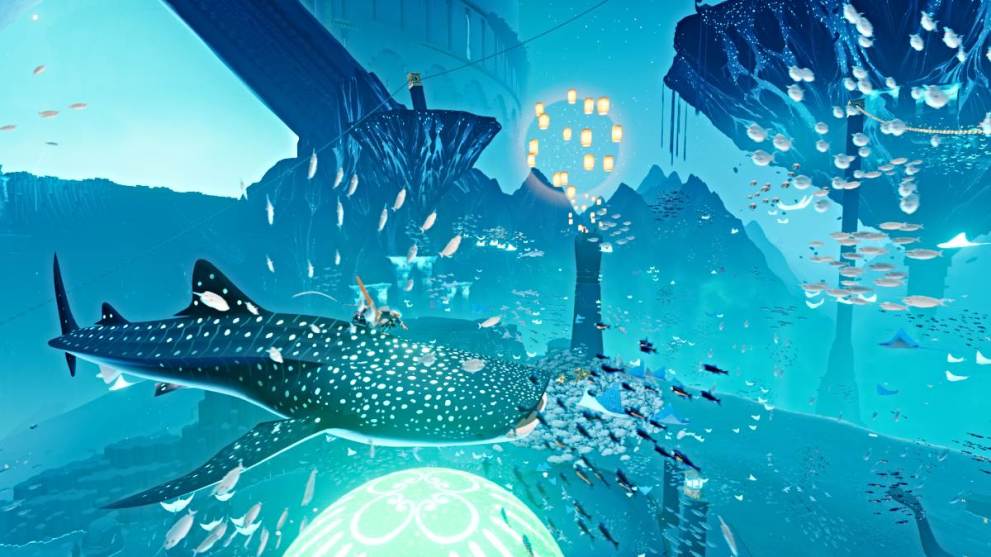
Before you do, however, look for one of the Whale Sharks swimming around the big boat and jump onto it to ride it and unlock the Whale Shark Rider trophy/achievement.
Next, explore the inside of the ship itself, where you’ll find some treasure chests and a Stele Pedestal (The Sacred River). Also, use the lantern rings around the boat to extend your water rail riding time and unlock the Water Rider trophy/achievement.

There’s a small area to the right of the big boat, which you can reach by using the kelp plants to float your way up to it from the chain path on that side. Once over there, make your way up to a boat hanging off the edge of the cliffs, and the Poison Dart Frog can be found on top of it.
Next, ride the chain path on the right side of the big boat all the way up until you reach a section where you need to traverse using jellyfish platforms and floating boats. Make your way to a lone island, where you’ll find some lanterns to light up.
Do so, and this will create a water rail pathway to the doorway across the chasm, where the next timed challenge is. Travel to it and start the challenge, which will also unlock the Trick Attack Seeker trophy/achievement.
Complete the challenge to earn more Astra and also unlock the Trick Attack Expert trophy/achievement for beating every timed challenge in the game.
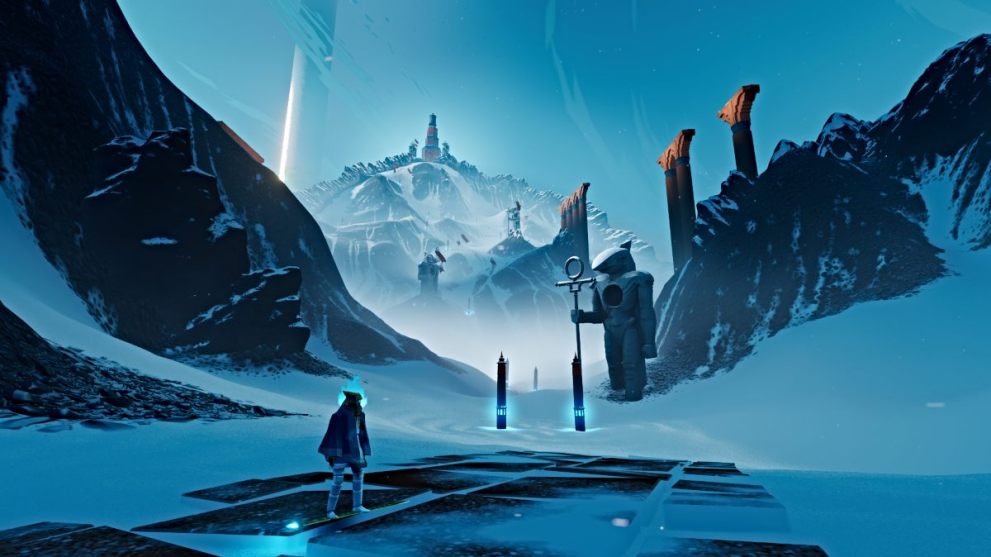
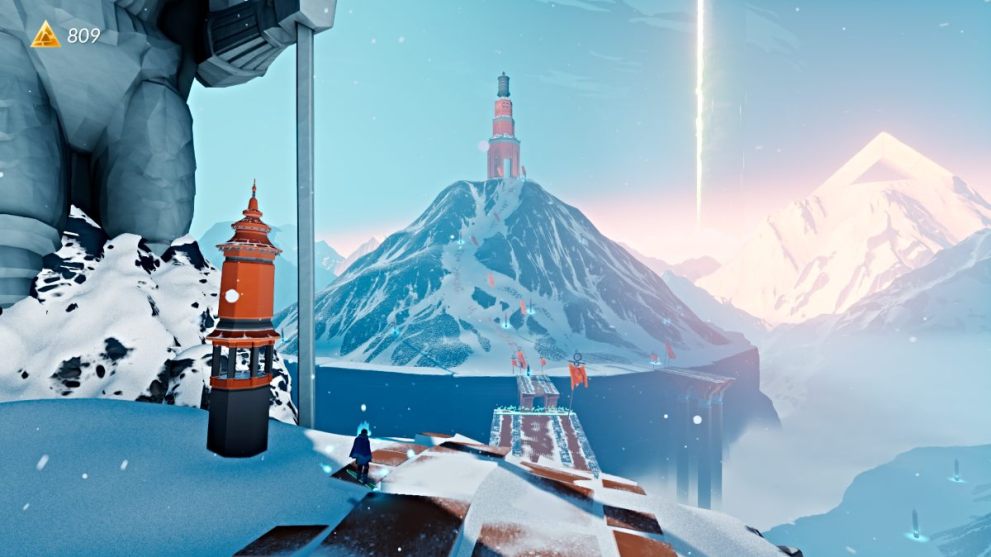
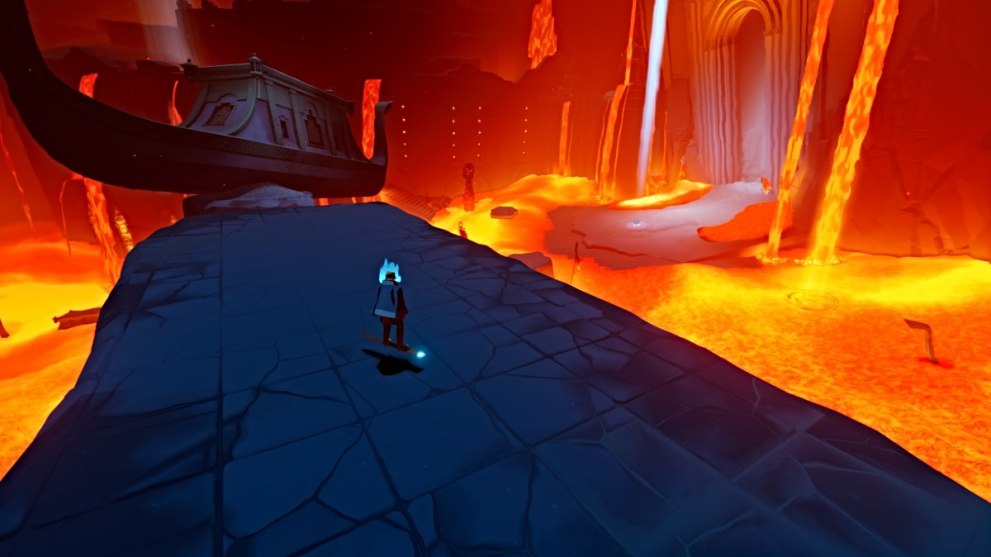
Back at the island where you lit the lanterns, this time, continue traversing across the boats and jellyfish platforms to the right until you reach the tower (seen above) at the far end. Go inside and surf your way up to the top of the tower’s interior.
Once on the top level, go over and interact with the hole in the wall to get transported up to another, bigger island.
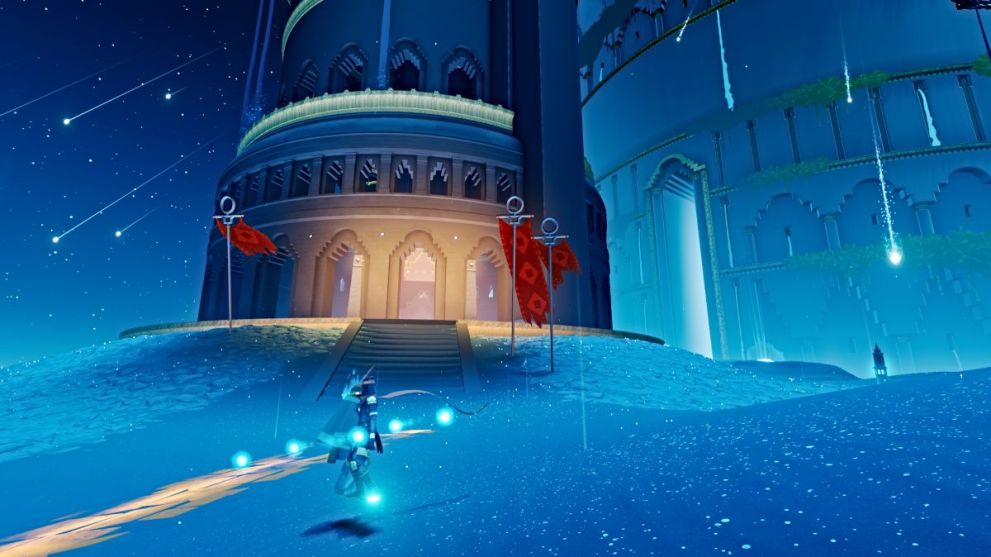
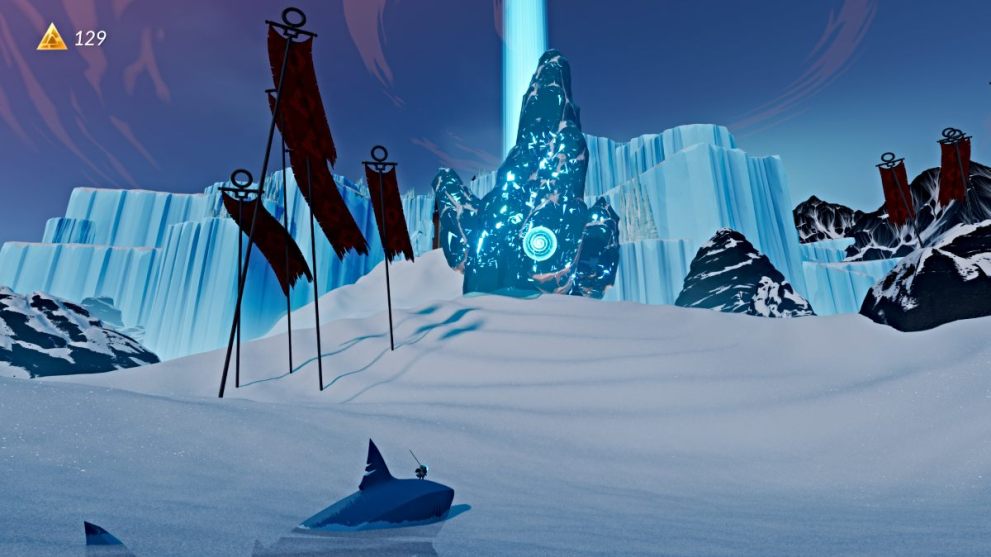
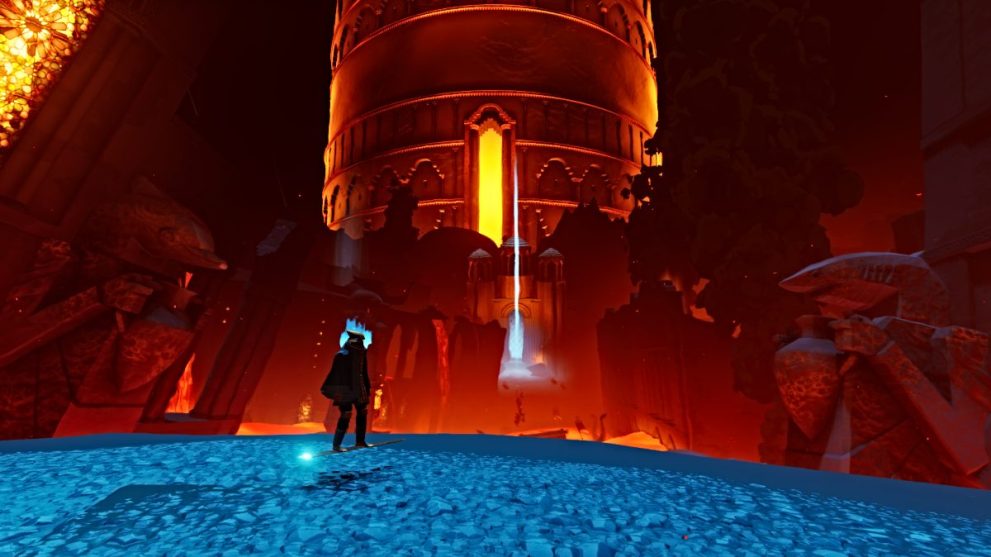
Make your way across the island toward the large tower with red flags in front (seen above). Go inside, and you’ll see a blue crack restoration point in a sealed area. Surf the slopes surrounding it until you can reach the ledge above that leads down inside the sealed area.
Activate the restoration point to open the gates and spawn floating kelp plants inside the tower. Use them to float up to the very top of the tower. Once there, go and activate the button in the center of the platform.
This will unlock a pathway to the next tower ahead. Jump over to the ledge and use the lanterns to extend your water rail and reach the tower. Once there, go inside and light the circle of lanterns in the center.

Next, ride the floating kelp all the way up until you reach a small platform with a water orb. Activate it, and this will restore the area and the final section of stairs you need to reach the level’s exit. The Cleanse the Sacred River trophy/achievement should also unlock.
While you’re here, jump onto one of the Blue Whales that’s spawned in the area and ride it to unlock the Blue Whale Rider trophy/achievement. There’s also another Stele Pedestal (The Value of Legend) on a small isle nearby as well.
With that, ride the restored chain path all the way back down to the stairway leading to the level’s exit. Head through it, and down the slope ahead until a cutscene plays.
Once the cutscene ends, the chapter will conclude, leading to the final level of the game.
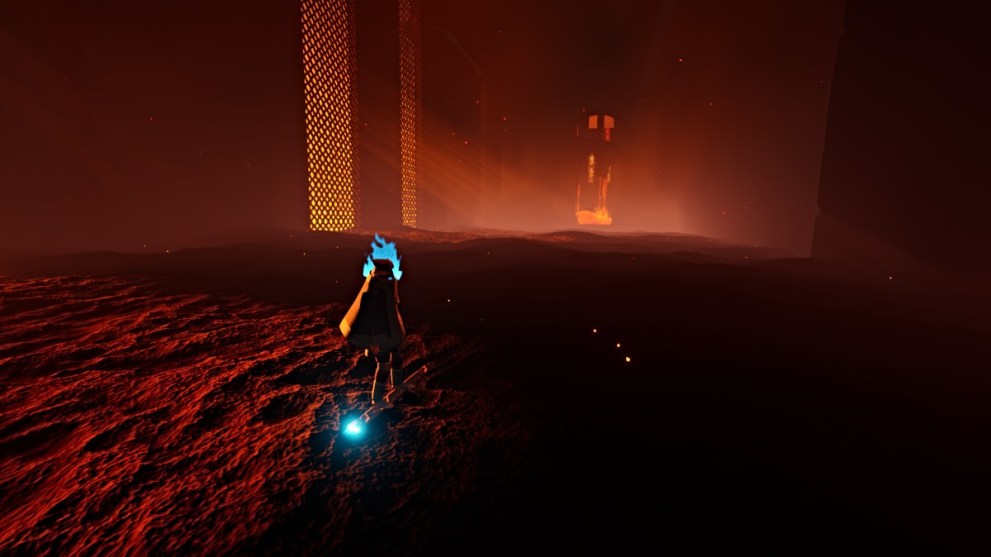
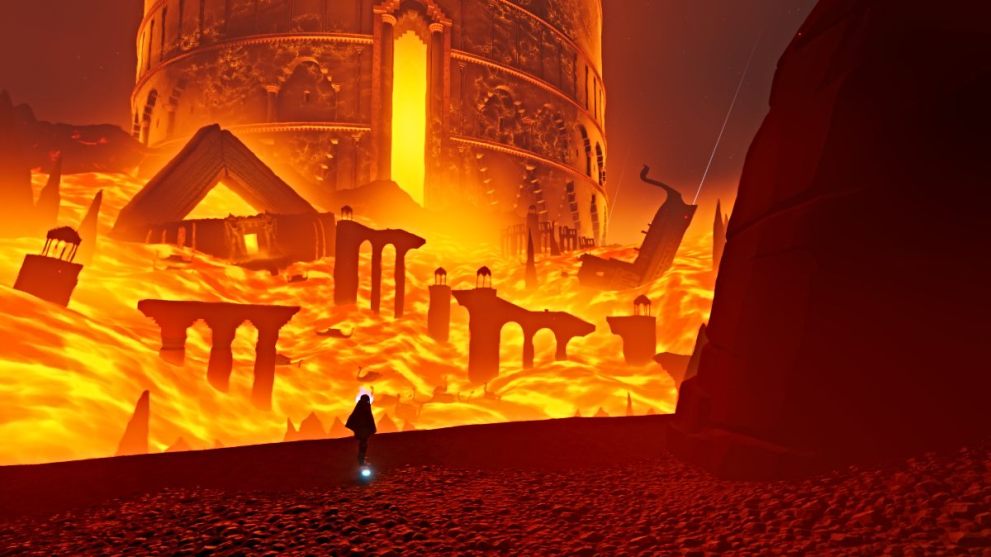
Chapter 7 – Boiling Cavern
Start by following the passage ahead all the way until you reach a large room full of lava. The serpent will fly by overhead as well.
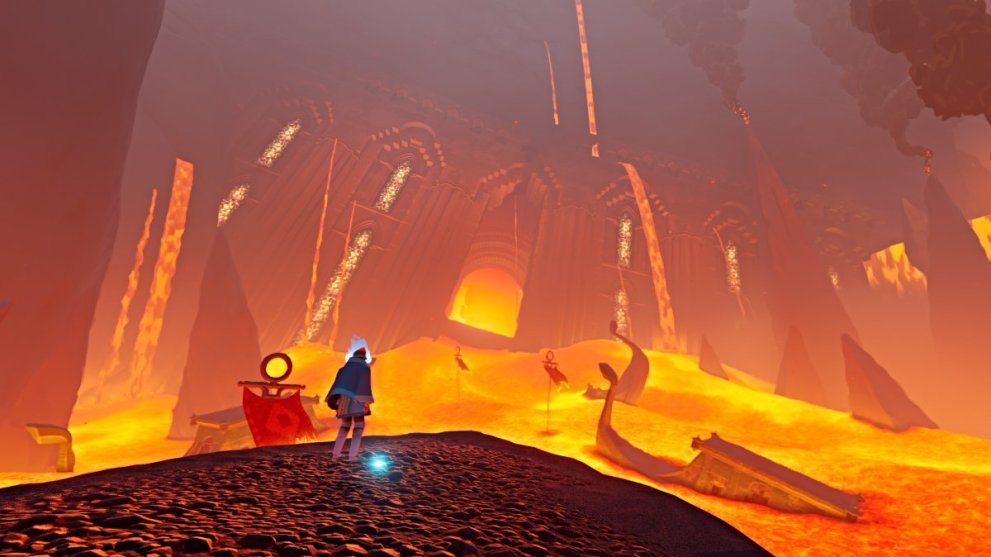
From there, use the partially submerged boats to make your way across to the doorway ahead. Once there, follow the passage to another lava room. Carefully cross to the other side, and then head up the stairs.
At the top, you’ll find a familiar turtle head pedestal that requires a water orb. To find that, head through the doorway to the right.
The water orb will be inside the small gazebo structure across the room ahead. Make your way over to it, pick it up, then interact with the chain machine nearby.
This will raise two platforms out of the lava, allowing you to cross back over safely. Be quick, however, as they’ll start to fall back into the lava.
Return to the turtle head and feed it the water orb. This will open the gate nearby, so head through and follow the path. At one point, you’ll come to a hallway where the serpent passes by once more.
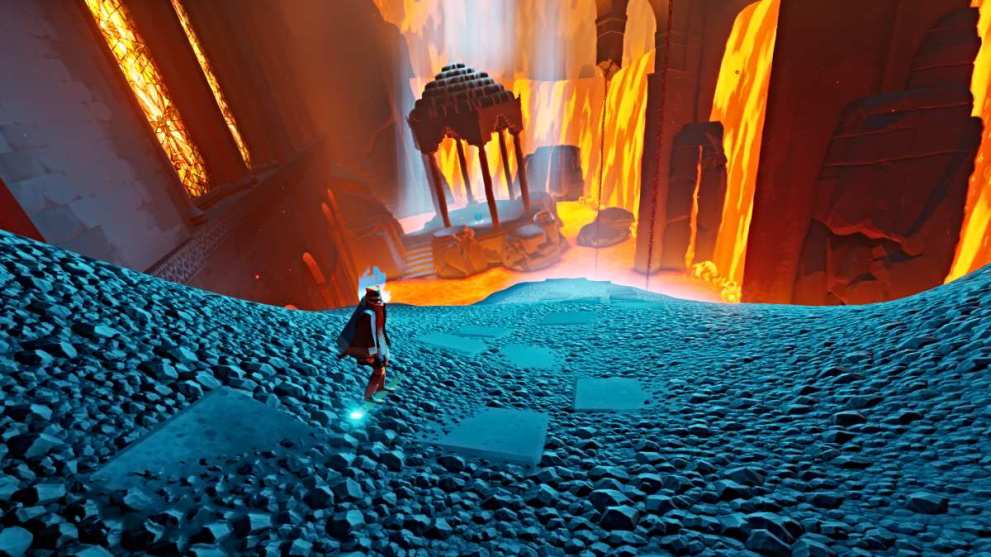
Continue on until you reach a large area, again full of lava, with a tall doorway on the other side. Once more, your main goal is to make it across to the blue doorway. Before you do, however, there’s a little exploring you can do first.
As you cross, make your way via the boats to the right side of the room towards the wall. Use the boat furthest to the right to jump up to an open space in the wall. From there, look to the other side, where you’ll see a Stele Pedestal (The Army of Red Fire) on a platform below.
Jump down and interact with it, then make your way toward the other side, where the doorway and a water orb is. Before doing anything with that, however, turn right and leapfrog across the boats until you find some rocky outcrops to jump to, again to the right.
From there, jump up until you reach a ledge (seen above) with a boat dangling off its edge.
Jump on the boat, and on top, you can find the Frog Skeleton collectible. Approach it to unlock the last frog-related trophy/achievement. Now jump back down to the safe area ahead with the water orb.
Notice that the gate ahead is sealed, so you’ll need to find the spot to place the orb first. Luckily, it’s not too far away.
Look to the left, where you can see another gazebo structure with a turtle head. Gather your water orb and carefully make your way across the lava to that area.
At the stairwell, use the chain machine to raise platforms out of the lava and make it across to the gazebo. Once there, feed the water orb to the turtle head, which then opens the gate.
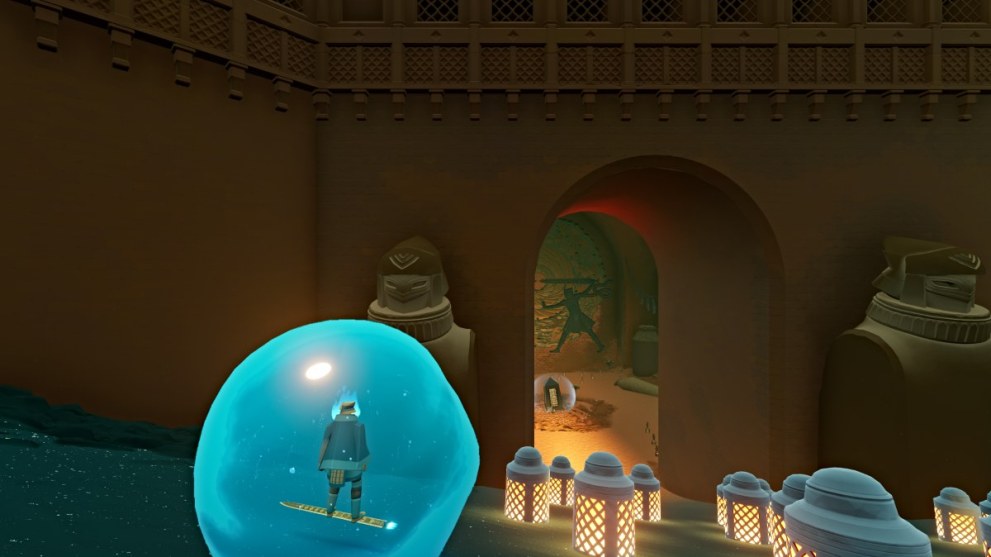
Backtrack over there and go through the now-open gate. Note that if you need to visit the merchant, he’s in a hidden room via the passage to the right of the gate.
Head through the passage ahead, and follow it all the way to the next area. Use the skeletons to traverse the room, and you’ll encounter another Stele Pedestal (When Water Battles Fire) along the way. Continue until you reach the open doors at the back of the room.
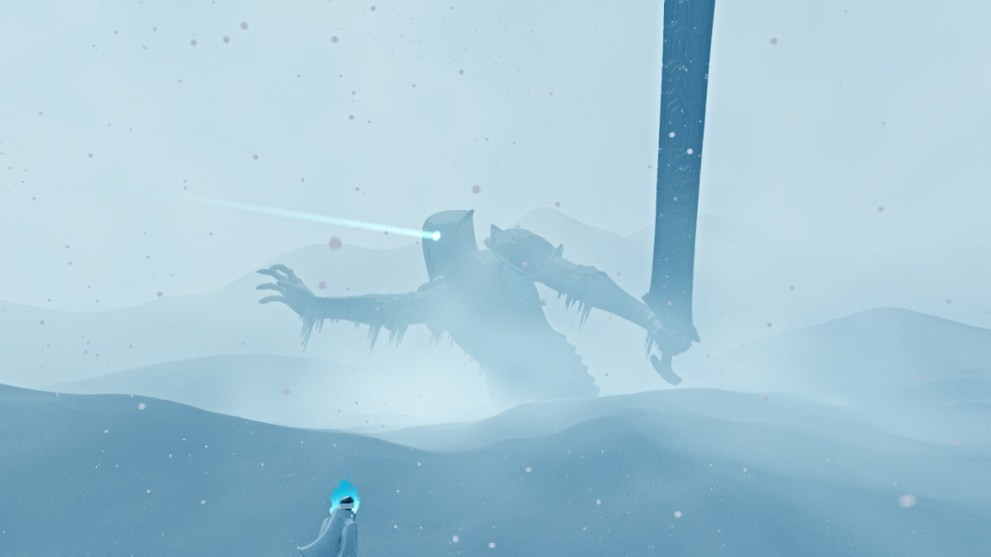
Head through them and follow the passage until you arrive at a gigantic lava area. Jump down, and the serpent will suddenly appear again, disrupting the environment and causing lava to submerge everything in its path.
Try and jump to each safe spot that you can, though everything quickly becomes swallowed by lava. Soon enough, you’ll run out of safe spots, and the lava will overwhelm you. This is meant to happen, however, and a cutscene soon follows.
The powers of water soon bring the Wraith back to life, granting him a new sword with which to defeat the serpent Tornamun that threatens the land and the balance of nature itself.
As the initial cutscenes end, this concludes the chapter and leads to the game’s final encounter with Tornamun in a new area.
Chapter 8 – Sky Abyss

The Sky Abyss is the locale for your showdown with Tornamun. The battle itself consists of a few phases, starting with a chase up the tower itself. Use the green and yellow jump points to gain more speed and leap past obstacles and debris that Tornamun attempts to hit you with.
After that, the camera will pivot to the front as you surf up the clouds to stay clear of Tornamun’s jaws (seen above). Gather the orbs of fish spirits along the way to power up an attack against the boss, and fire it as soon as you’re able. Continue this mechanic until the encounter proceeds to the next phase.
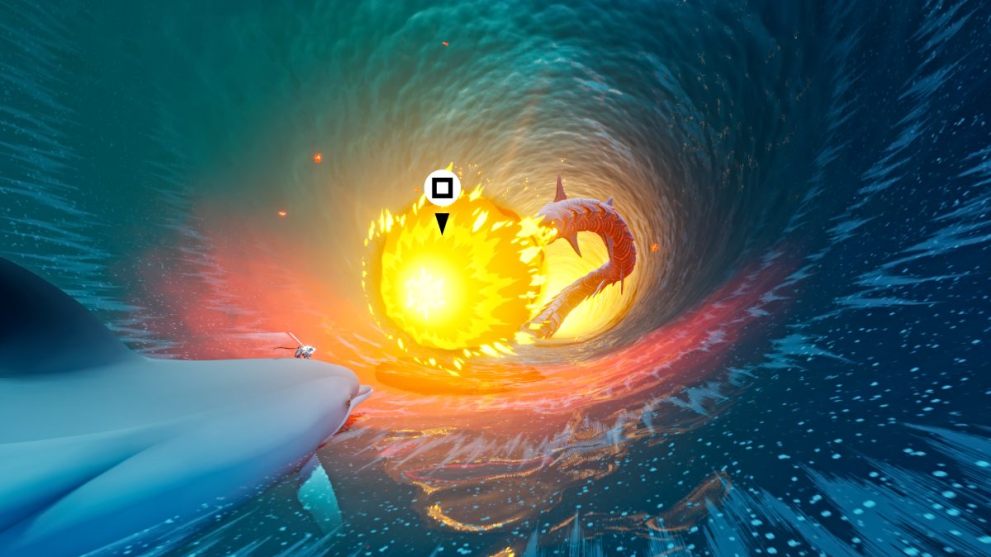
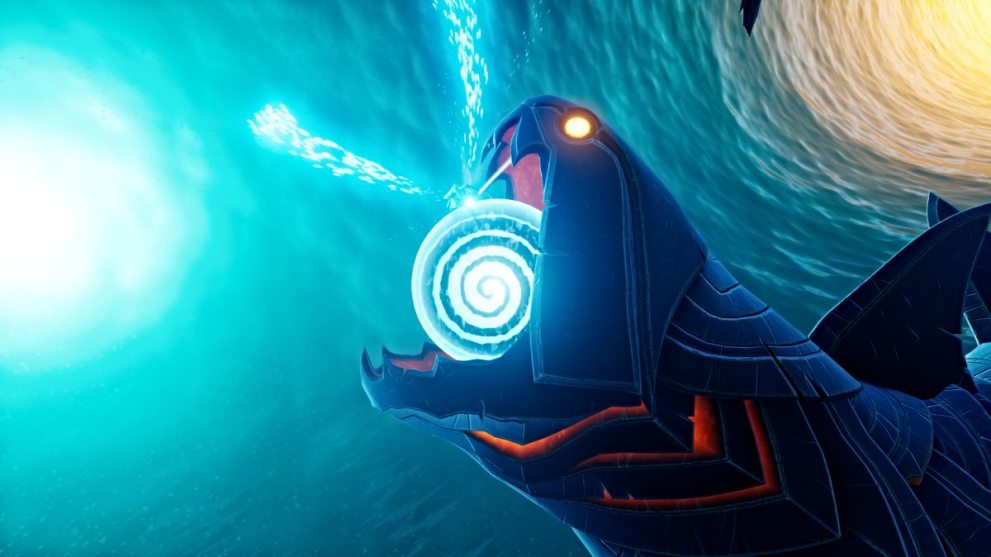
Next, you’ll face Tornamun in the center of a watery maelstrom. Tornamun will attempt to hit you with various fire obstacles, so do your best to dodge them. Meanwhile, continue gathering fish spirit orbs to hit the serpent with.
Soon, the dolphin you allied with in the Forbidden Valley will join the fight. Repel the fireballs from Tornamun until you’re back on the water. Repeat the process until the shark from the Frozen Drifts joins next. Again, repel Tornamun’s fireball attacks, and soon another cutscene occurs.
The swordsman, now free of Tornamun’s clutches, joins the Wraith in one final attack that vanquishes the serpent for good. One final cutscene transpires before the credits roll. Once they finish, the Sword of the Sea trophy/achievement will unlock.
Enjoy the adventure and any subsequent playthroughs! If you choose to start New Game Plus, you’ll automatically unlock the Wisp Cloak, Speedometer, and Trick Display abilities.
Be sure to check out our latest published walkthroughs at Twinfinite, such as our LUTO Full Walkthrough – All Achievements and Collectibles.


Updated: Aug 22, 2025 04:03 pm