
Since Baldur’s Gate 3 has an abundance of quests in Act 1 alone, Mayrina and her tragedy may be just another mention in your adventure journal. Although her tale started with heartache and is fast approaching its finale, you can make a difference. If you’re looking for a way to save this wayward soul and navigate the multiple fights, tricks and traps; you’ve come to the right place. So let’s find out how to save Mayrina in Baldur’s Gate 3.
Checklist Of Items
Before we continue, be sure to grab these items to help skip some tedious parts of this quest.
- Scroll of Feather Fall/Feather Fall spell on a party member (Not mandatory but helps skip a frustrating trap-infested area.) Scroll of Feather Fall can be bought from Arron in the Emerald Grove very early on.
- Ice Arrow, Water Balloon, Ray of Frost (Any way to put out flames!) Arrows can be bought from Arron in the Emerald Grove. This is a must!
Baldur’s Gate 3 Mayrina Quest Location
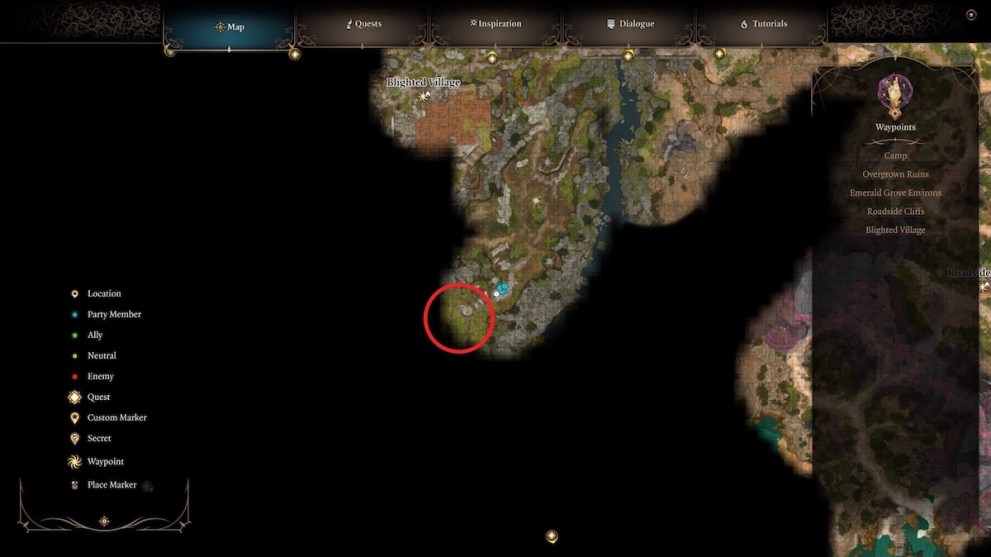
During Act 1 and directly south of the Blighted Village, you will find Auntie Ethel arguing with two brothers. They demand to know where their sister is being held as you approach. The conversation turns to you with the old woman asking for assistance — whether you choose to side with the old hag or with the brothers Johl and Demir, the Hag will return to her domain deep in the swamp.
Step 1 – Into The Swamp
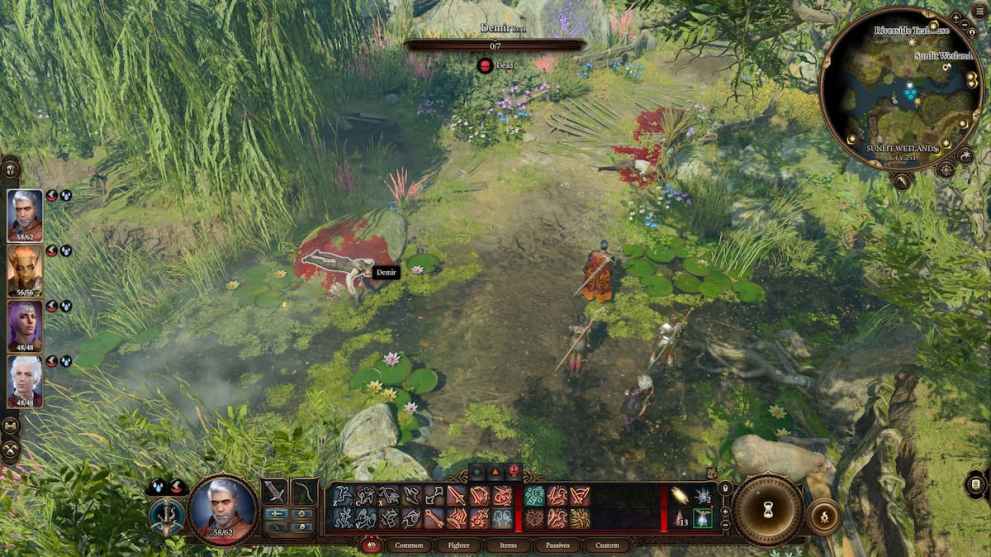
Venture into the swamp and you’ll be greeted with a tranquil view, a couple of grazing sheep and two corpses. The brothers Demir and Johl are gutted, a brutal kill that appears out of place in these beautiful wetlands. Here you find the Riverside Teahouse fast travel point, just in case your sword isn’t sharp enough for the upcoming fiesta. Continuing on you find the Teahouse and the two wooden doors that are your last barrier before meeting Auntie Ethel and Mayrina herself.
Confronting Auntie Ethel
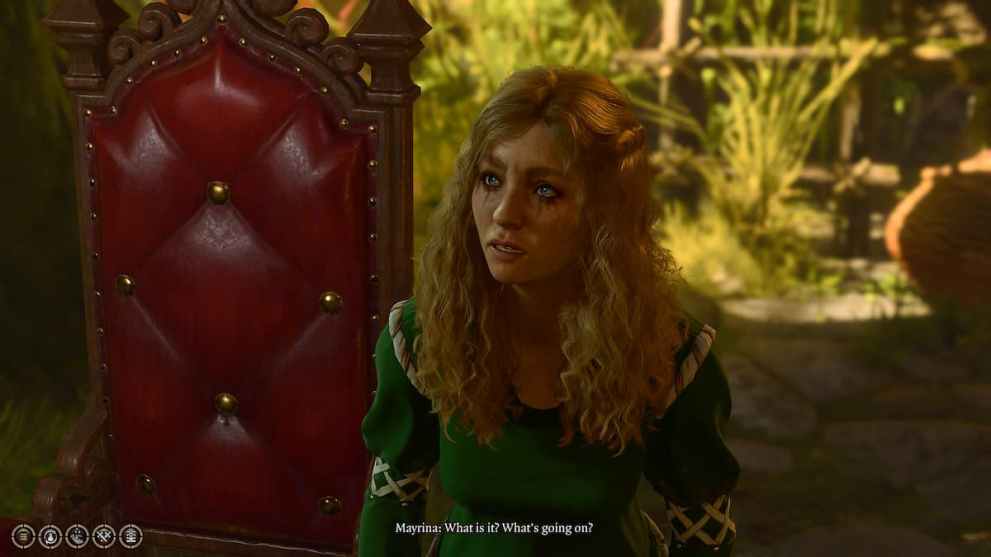
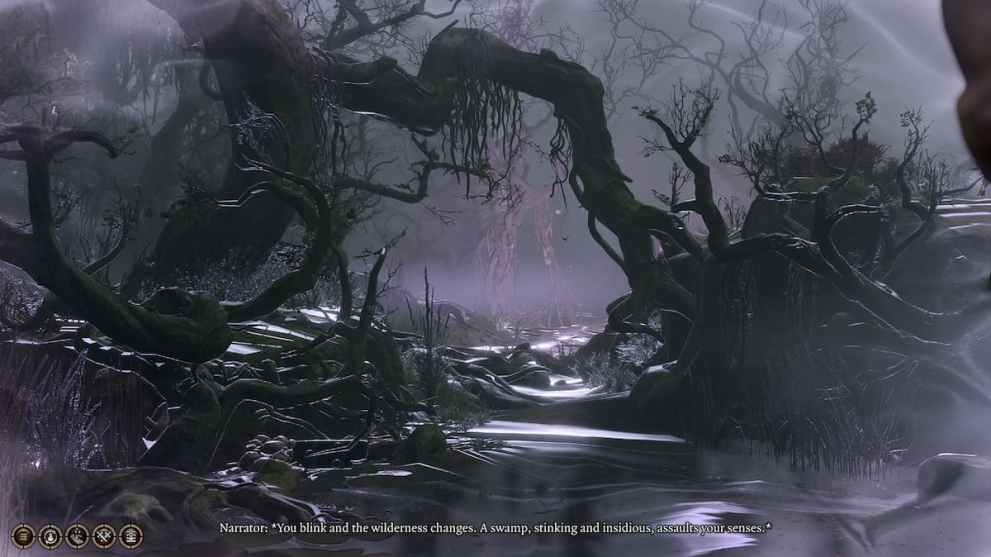
The old woman welcomes you to her home and you see Mayrina for the first time. During the conversation your aim is to anger Ethel until she whisks Mayrina off to someplace else with a flick of her wrist. When she turns back to you, she begins her transformation. Not only does Ethel turn into a lanky crone, but the entire wetlands morph and change shape, revealing the truth.
Step 2 – Out Of The Fire, Into The Fireplace
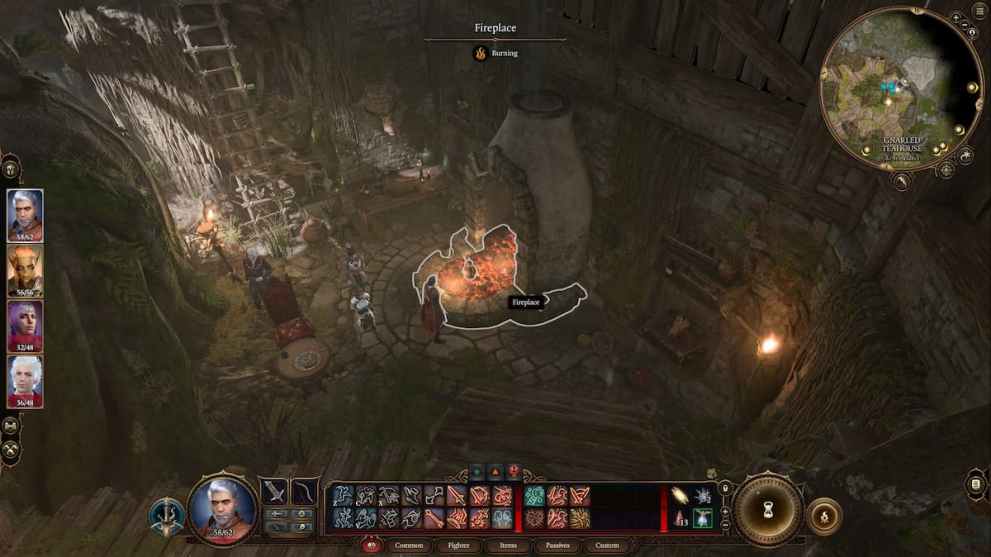
After defeating the Redcaps, ransack granny’s house for all those goodies. Once ready to move on, head down to ground level and approach the Fireplace. With nothing but a left-click, you can extinguish the fire and walk safely into the hidden room. Left-click again into the darkness and your character will run right into a hidden room with a staircase.
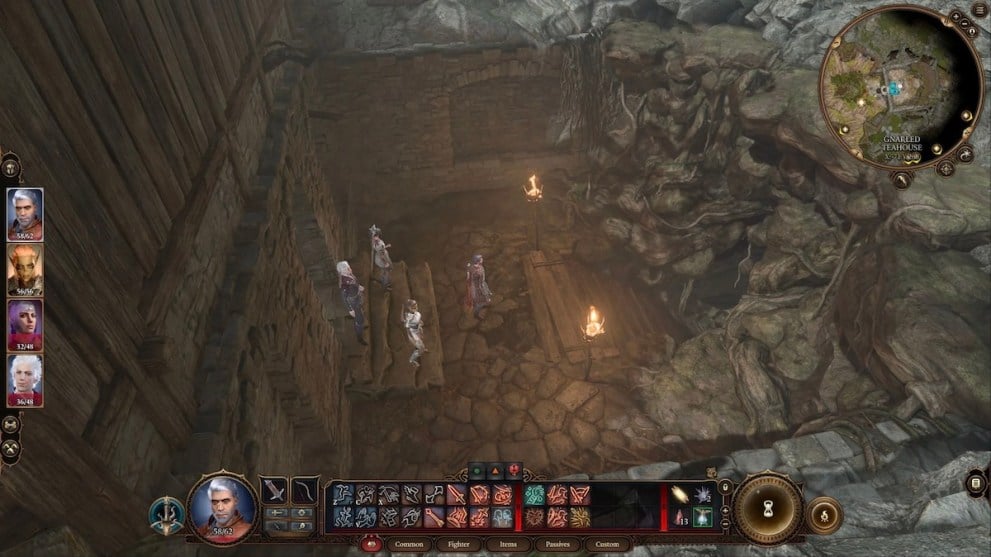
The House Of Horrors
You now find yourself deep in the crone’s lair and with a few steps inward, you are quickly greeted by her timely appearance. She warns you to stay away one final time before flittering off deeper into her domain. Once free of her ugly visage, you may explore her lair for a few knickknacks.
Beware: The Crone’s lair is considered a dungeon; you are unable to camp and long rest here! Be sure to stock up on supplies, healing items and arrows before venturing further.
You Shall Not Pass the Tree
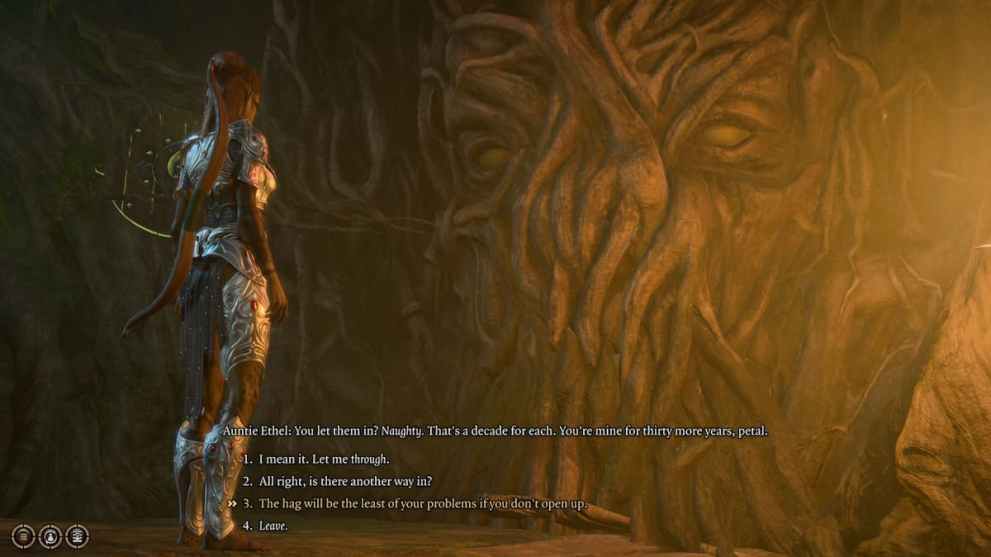
The solution to the knock-off Deku Tree, is to simply… walk through him? Yes, that’s right, simply click behind the door and your party will pass with no issues. Of course, meeting the intimidation or persuasion check achieves the same results.
The Second Combat Encounter
Four masked watchers await you in the next area, they are spread out and utilize close-range and long-range spells and abilities. There are many opportunities to gain the high ground in this fight and since you arrive at their backs, a perfect set-up to surprise your enemies with a well-timed attack to start off the fight.
Tips: Your enemies have a chance to roll against the mask, allowing you to have one more turn of peace before the mask inevitably forces them to attack you. Be sure to contest the high ground, and make sure to get into the enemy’s faces to limit their mobility. Again, Shadowheart is a wonderful addition to the party for these long-drawn-out fights.
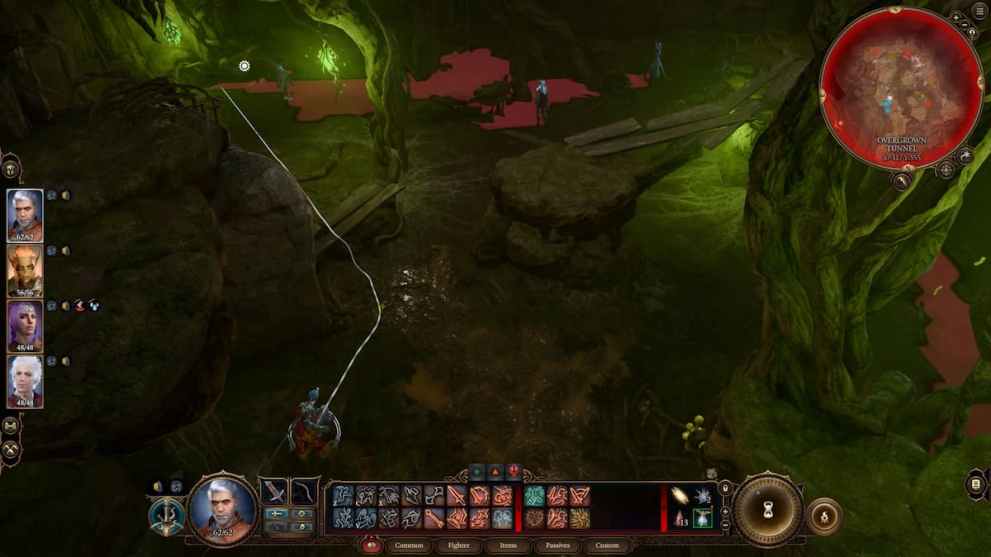
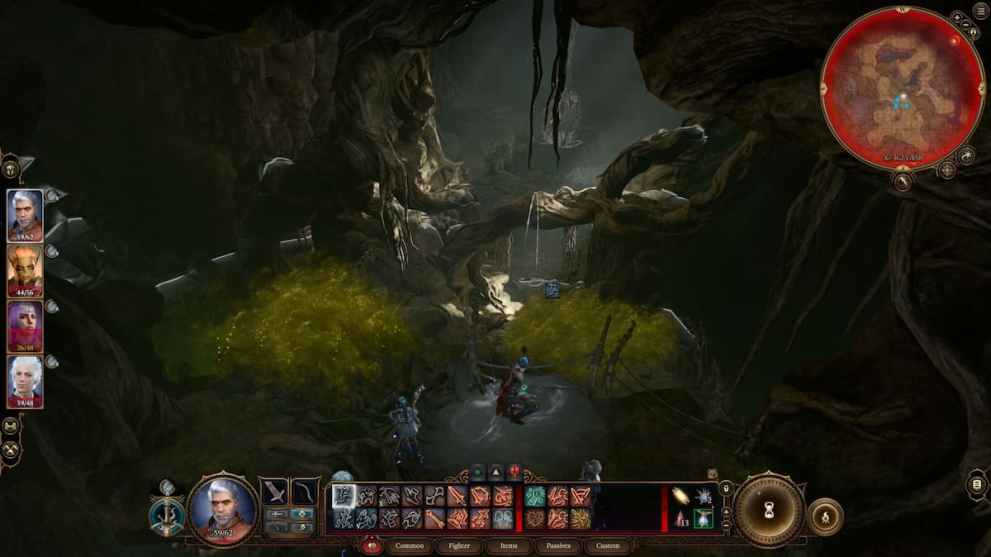
Step 3 – The Descent
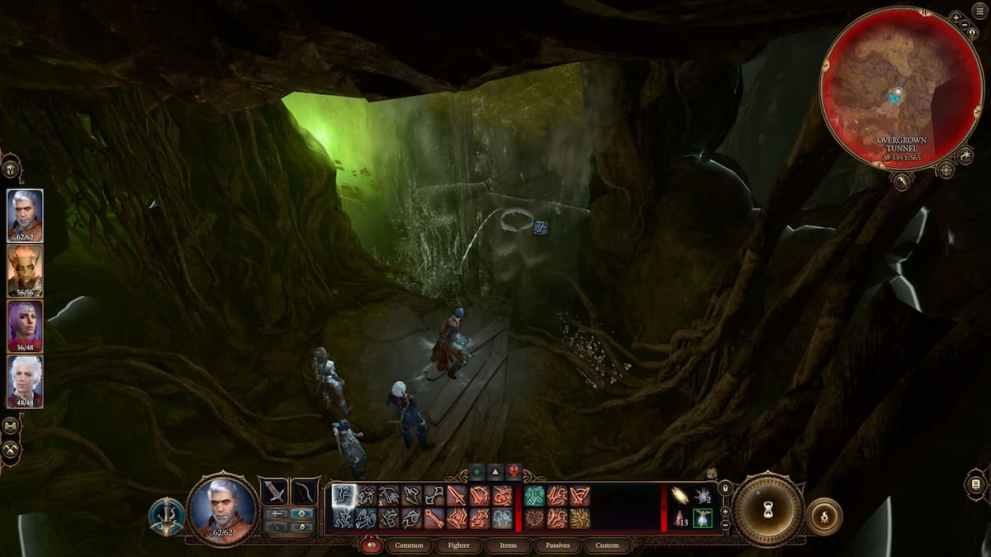
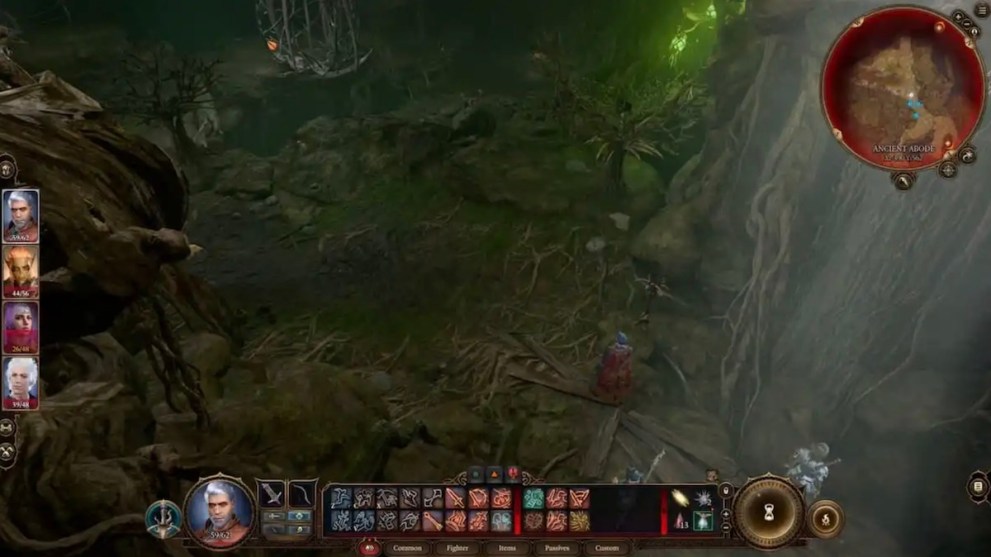
A small waterfall will softly hide the next area, but by approaching it and using the jump command your party are free to pass through to the next challenge. Your penultimate objective is to reach the hanging cage at the very bottom of the poison infested tree branches. That’s why you hopefully have a scroll (or party member that can cast it) of Feather Fall. This will allow you to skip a large portion of this slightly frustrating dance between setting yourself on fire and exploding the cavern.
With a bit of maneuvering, you should land right at the very bottom, mere steps away from facing Ethel and the final battle for Mayrina’s life. Before you press onwards, heal up, equip your best gear, and save your game!
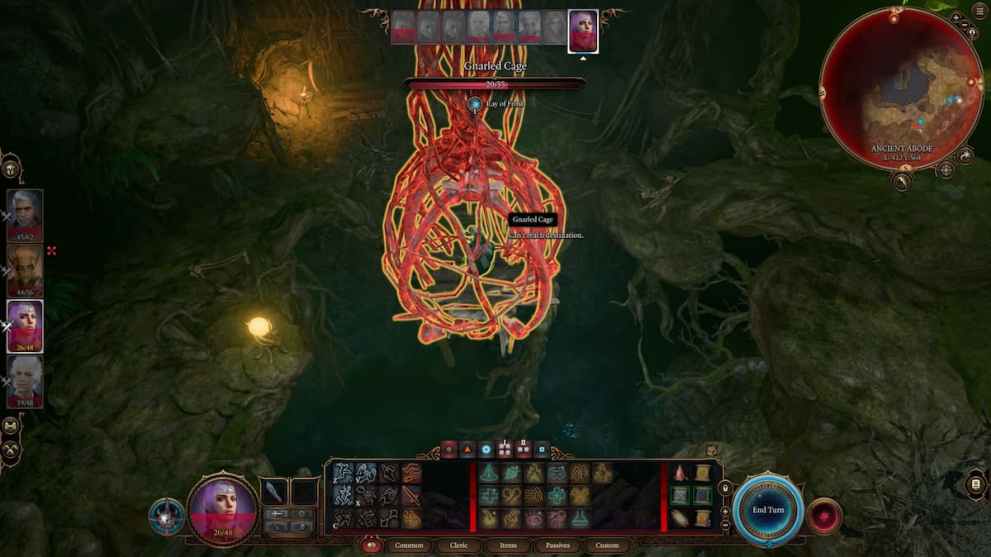
Step 4 – The Final Fight Against Ethel
Now the fun begins. Ethel will open with setting Mayrina alight, she will slowly burn to death in her wooden cage putting a clock on the fight. Sling an arrow of ice, a Ray of Frost or even a water bottle to douse the flames and keep Mayrina safe during the fight. Here the cage looks to be burning but is safe, in this playthrough I was short of an Arrow of Ice and instead used Ray of Frost to save Mayrina.
Once the damsel is no longer roasting alive, you can turn your attention to the multiple copies of the hags slinging Rays of Sickness at your party. There are numerous ways to approach this fight but if you need a little help, we have a wonderful guide on how to beat Ethel.
Beware: Ethel will attempt to trick you into killing Mayrina yourself. She will cast ‘Damsel in Distress’ which transforms Ethel into Mayrina and teleports the young girl from her cage directly onto the battlefield. However, our poor hag doesn’t realize that you are the Game Master, with a quick right click of either Mayrina clone, you can check the stats of both copies. There is one large mistake Ethel has overseen, Mayrina is a level 1 humanoid, while the imposter remains the same level 5 as the other Ethel clones.

With just a bit of elbow grease, some luck and maybe a few good classes, Ethel will be a corpse in no time, and you will have successfully saved Mayrina in BG3. Be sure to speak to the wayward soul to see the conclusion of her story and ultimately decide her fate.
Ethel was my first major boss during my time in Baldur’s Gate 3, and, on some levels, I think she’s a pretty scary encounter to someone not prepared for the fight. How did you tackle Ethel? Did you over-level like me? Find an obscure tactic? Let me know in the comments below!


Updated: Sep 22, 2023 05:55 pm