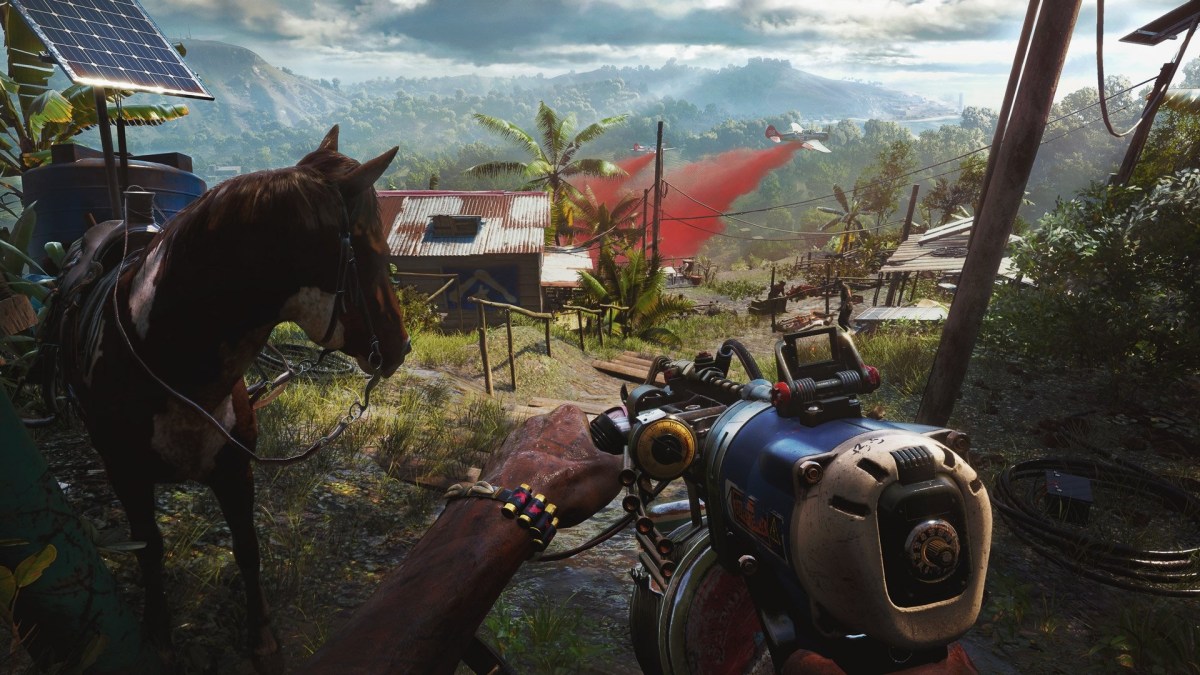
These days, as video games only seem to get prettier, Photo Mode has become more of a staple. Sure, modern consoles allow for some level of native game capture, but Photo Mode allows for manipulation and photography tools. Without further ado, this guide is to help run you through how to use Photo Mode in Far Cry 6.
Using Photo Mode in Far Cry 6
First off, there isn’t exactly a shortcut to be aware of for using Photo Mode in the game. While some games have a certain button combo and Photo Mode opens right up, in Far Cry 6 you have to go into the menu.
Pressing the TouchPad for PlayStation or the Change View (will always consider it the Back button from the 360 days) will take you into the menu. Go to System and then Select Photo Mode.
Within Photo Mode in Far Cry 6 you have a bunch of different settings to tweak and get the photo you want such as, but not limited to:
- Depth of Field
- Hiding animals/people
- Changing time of day
- Changing weather
- Character expressions and poses
- Chromatic Aberration
- FOV Scaling
- Filters
When all that is done and your picture is ready, you will want to press X/ Square to hide the UI and then take the photo with your controller’s share functionality. If you are on an Xbox One, open the guide and press Y to take a screenshot.
There you have it, everything you need to know for how to use Photo Mode in Far Cry 6.
If you plan on pre-ordering Far Cry 6 and want to know what kind of hit your hard drive is going to take, we have a guide covering preload sizes you can expect.
If you’re looking to be prepared for the release and want more guides, be sure to take a look over at our Far Cry 6 Guide Wiki.








Updated: Oct 6, 2021 07:20 am