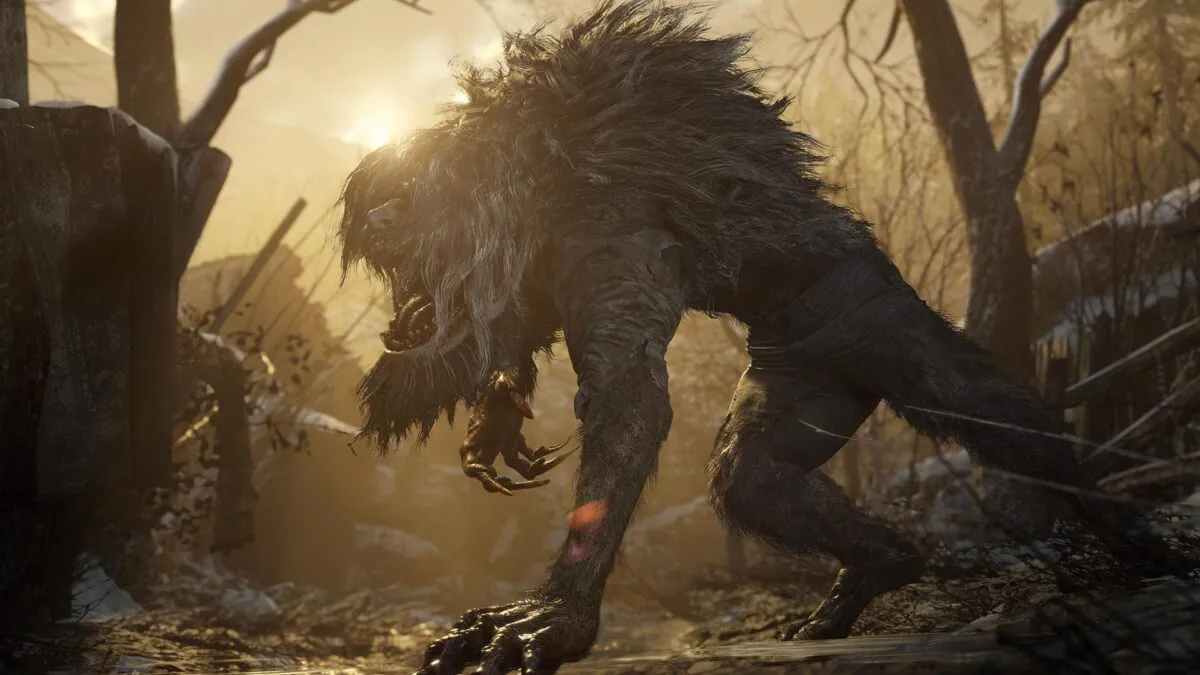
Resident Evil Village has finally been released for PC and consoles, and it was developed with Capcom’s in-house RE Engine, making the game look more beautiful and realistic than ever before. If you ever get a spare moment to breathe in between getting hunted down by vampires and fighting for your life, it might be a good idea to take some time to appreciate just how pretty the game is. Here’s how to use photo mode in Resident Evil Village.
Using Photo Mode in Resident Evil Village
With how pretty this game looks, it’s no surprise that it would come with a photo mode as well. It’s easy to use, and it allows you to capture almost any memorable moment or sequence you come across in Resident Evil Village.
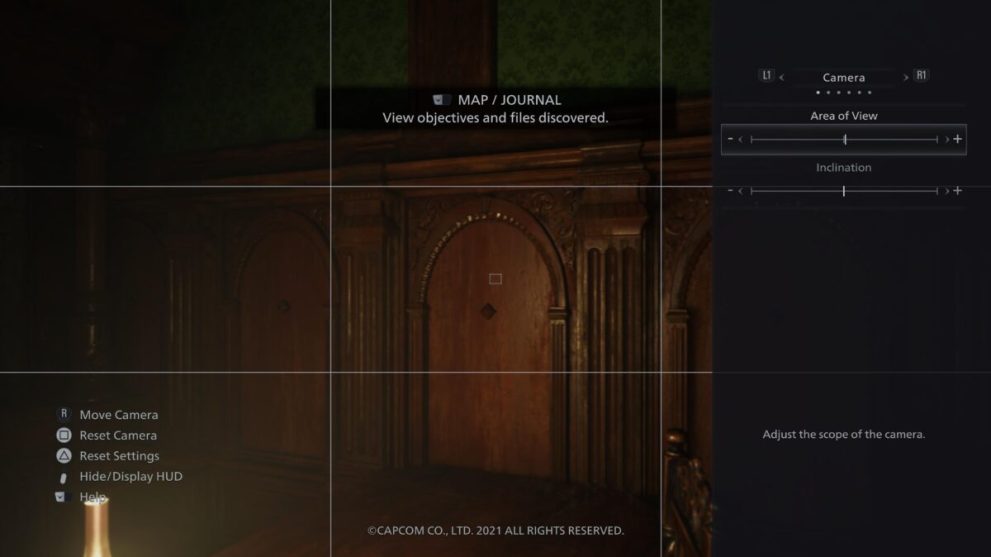
To access the photo mode, simply bring up the pause menu by pressing Options on PS4 or PS5, or the menu button on Xbox. Then, select the option that says Photo Mode.

From here, you’ll be able to use R1/L1 and RB/LB to go through different tabs and fiddle with various different options such as field of view, along with filters and other vignettes to help make your photo pop. You can also move the camera around the get the exact angle you want.
You can also use this feature while in a cutscene, but do note that you won’t be able to actually move the camera around, and it’ll be fixed during these scripted scenes. However, you can still adjust other settings like the filters, presence of the game logo, and other finishing touches.
Once you’ve angled it and edited your photo just right, you can save the screenshot and check it in your library anytime you want.
That’s all you need to know about how to use photo mode in Resident Evil Village. Be sure to check our guide wiki for more tips and information on the game.


Updated: May 7, 2021 03:56 am