Developed by Capcom, Monster Hunter Rise marks the series’ proper debut on the Nintendo Switch as it’s the first new mainline game to grace Nintendo’s hybrid console. The gameplay loop remains largely the same, as players can team up to take down large monsters, then carve them up for parts to craft new equipment. Plus, like most modern video games these days, it also comes with a photo mode so you can journal your adventures. Here’s how to use the photo mode in Monster Hunter Rise.
Using Photo Mode in Monster Hunter Rise
Unlike in most other video games where you can activate photo mode to pause the game and snap a quick picture, Monster Hunter Rise is a little bit more finicky. This is due in large part to the fact that there’s no way to actually pause the game, so everything is always in real time.
To use the game’s photo mode, you’ll first need to bring up the camera. You can do this by pressing left and right on the d-pad to scroll through your key items until you reach the camera, then press up on the d-pad to activate it.
A viewfinder will pop up on the screen, and you can still move around with the left stick to try to get a better angle on your subject. You can also use the d-pad to adjust the angle further, and even use filters to make your photos pop.
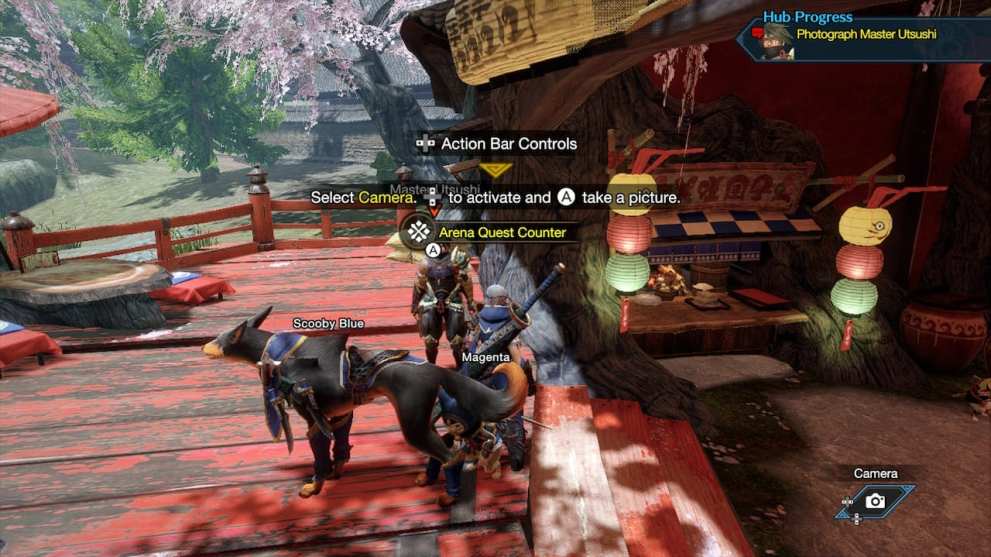
Once you’ve lined up the shot perfectly, press the A button to snap a picture. Whenever you activate the camera, you can also view your photo album to take a look at all the photos you’ve taken so far.
Of course, if lining up a shot with the in-game camera proves to be too unwieldy, don’t forget that you can still make use of the Switch’s built-in screenshot feature to take a quick shot whenever you want to.
Just be careful if you’re using the camera during a hunt, as it can be easy to get caught up in the moment and end up getting killed by your quarry.
That’s all you need to know about how to use photo mode in Monster Hunter Rise. Check out our wiki for more tips and tricks, like which monsters you can find on hunts.











Updated: Mar 26, 2021 06:48 am