
In Neverness to Everness (N2E), each character has its base strength, specials, and elemental synergies that separate them from one another. In our Neverness to Everness Character Tier List below, we will go over the best units and teams with the most synergy for story content and endgame bosses.
Neverness to Everness Character Tier List
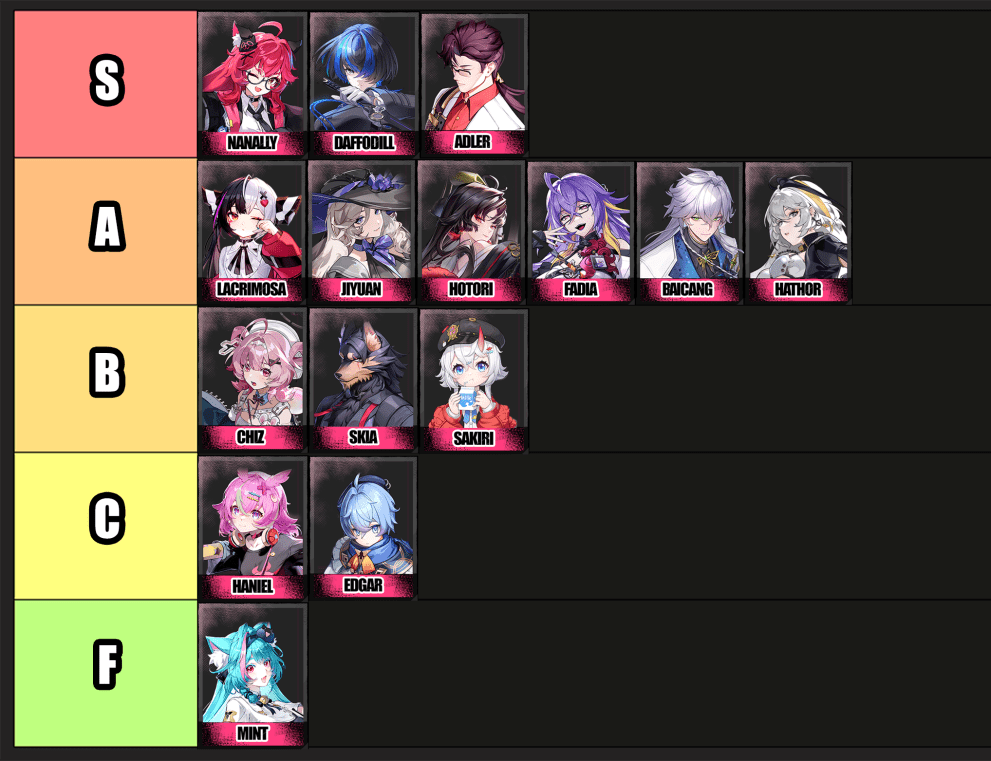
The above image shows the best characters in Neverness to Everness (N2E) based on damage output and team synergy. With the release of 1.0, most characters can be used for 99% of content without worry. However, the closer you get to the endgame content, the more you will need to optimize DPS, DOT, and Esper Ability Attributes. As expected, the characters from limited-time banners, such as Nanally, have the highest DPS and are pretty easy to pick up and use. On the other hand, characters such as Mint, whose visual appeal won over many, fall short in every aspect except design.
S Tier
| Character | Details and Summary |
|---|---|
 Nanally | Nanally is without question the strongest character in N2E as of 1.0. Her main mechanic revolves around following up any attack that lands, which makes her viable in active play and off-field. On top of that, she has synergy with every other meta character, which means her value increases with Esper Synergy. Her mobility is also exceptional in both the open world and in battle. Summary: + High DPS + Automatic Follow up attacks + Incredible Esper Ability Synergy + Simple and easy to use kit. |
 Daffodill | Daffodill specializes in Break Damage, which makes her a must-pick for any Boss encounter. Once the Boss is Broken (Stunned), she and her team can do high burst damage that melts HP. Outside of Boss Fights, her kit has high AOE range, meaning she is viable in mob fights as well. Her aggressive gameplay makes it so that when she’s paired with Nanally, the DPS will not drop even for a second. Summary: + High DPS + High Break Damage + Aggressive Kit + Must-pick for Boss Fights |
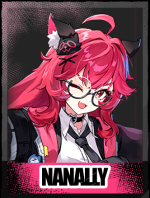
 Adler | Adler is an allrounder whose kit both gives shields to teammates as well as applying high-damaging DOTs. This makes him a viable defensive and offensive unit to have in your team. He is best used as the front man of the team (placed in the first (1) slot) in order to apply his DOTs and Shields as soon as possible, before going off-field. Summary: + Applies Teamwide Shields + Good DPS + Incredible DOTs for Mobs and Bosses |
A Tier
| Character | Details and Summary |
|---|---|
 Jiyuan | Jiyuan is the go-to support unit that combines ranged attacks as well as healing, allowing her to sustain her teammates while simultaneously doing damage. Possibly the most versatile unit in both early game and end-game. Summary: + Healing and DPS in one slot + Safe range to play for sustain + Great against Mobs – Damage ceiling is lower than dedicated DPS characters (which is to be expected) |
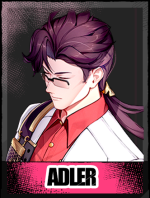
 Baicang | Baicang is a strong pick for Boss fights with his high single-target damage output and debuff mechanics. The only thing that holds him back is his skill ceiling. His kit requires precise mechanics as well as HP management, since his skills require him to lose HP. This means, in the wrong hands, he could be considered F-Tier, and in the right ones, an S-Tier Character. Summary: + High single target damage + Strong Debuffs + / – High Skill Ceiling – Weak in mob fights |
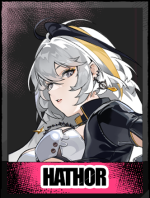 Hathor | Hathor is the AOE specialist and “Energy Battery” for teammates, meaning she is good for both clearing mobs and boosting teammate stats and resources. While her single-target DPS leaves more to be desired, her providing stacks for her teammates compensates for other weaknesses. Summary: + Strong AOE + Energy Battery – Not the best Single Target Damage |
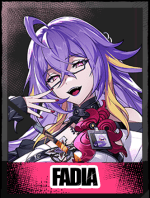 Fadia | Fadia is the best “Pure Healer” in N2E. While pure healing without damage output might make others put her lower in a Tier List, you will need a safety net for late-game clears and fights, and she is the go-to one. Summary: + Best Healing output + Makes it impossible to wipe – Doesn’t do DMG |
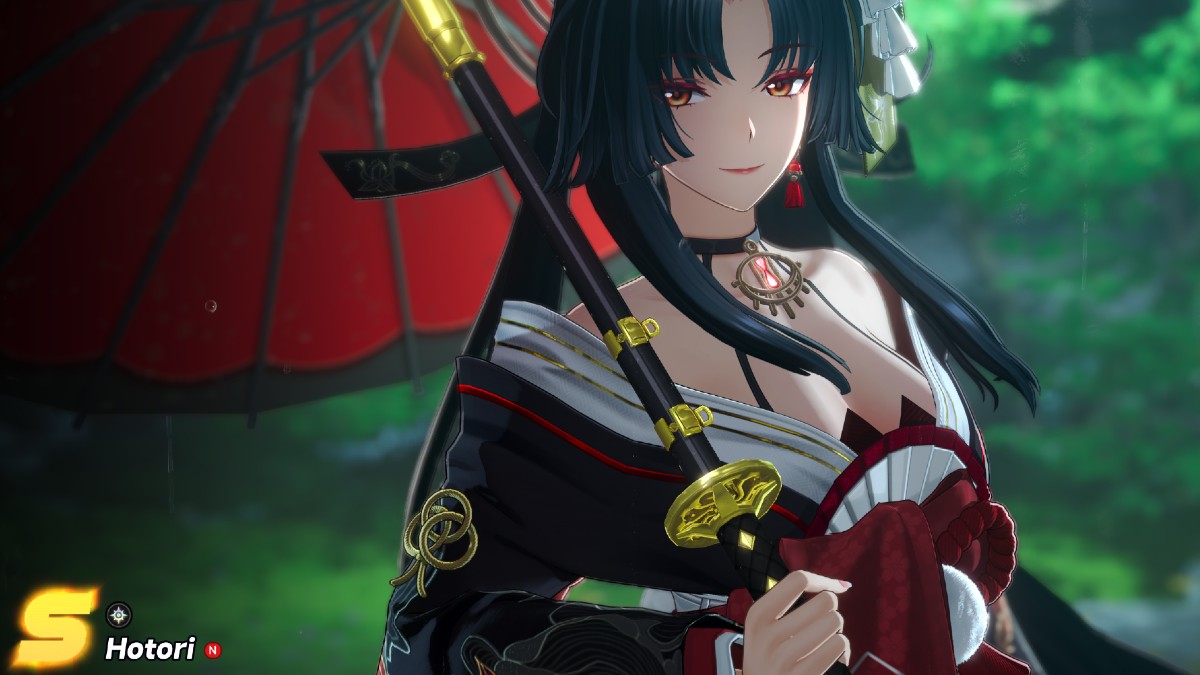
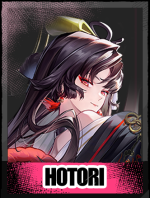 Hotori | Hotori is what we call an investment character. Her stats are overall average, but with good teammate synergy, she is an absolute must-pick. Her buffs are where most of her value comes from, and post-1.0 she will grow stronger and stronger. She is currently in a good place, and with each patch her Tier List placement will only go up. Summary: + Powerful Buffs + Strong Team Synergy – Team dependent/niche pick |
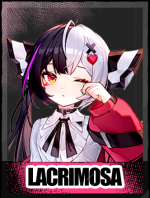 Lacrimosa | Lacrimosa is a strong overall pick that deals consistent DPS and has high damage during Burst Windows. While the S tier characters do out preform her in pure DPS and resources, she is still a strong unit to have in your team, especially as a secondary DPS. Summary: + High Damage + Consistent Damage Output – Outshined by S Tier Characters |
B Tier
| Character | Details and Summary |
|---|---|
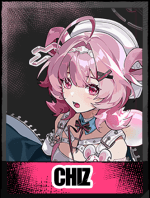 Chiz | Chiz is a rhythm-based main DPS that requires precise mechanics and timing in order to do optimal DPS. While her damage output is high, her specific playstyle makes it so your gameplay loop is set in stone without much room for fluidity. On top of this, her hoarding passive locks out her off-field teammates from getting charge. Summary: + Excellent Damage Output + Fun unique gameplay – Selfish Main DPS – Teammates don’t gain Charge while she’s on-field |
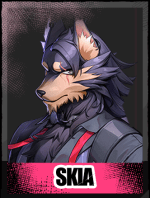 Skia | Skia specializes in Mob Battles. His Shadow Summoning ability is great for crowd-controlling enemies, allowing him to continuously and safely deal damage. On top of this, he can switch places with his shadows, meaning he has a “get out of jail free card” during combat to avoid damage completely. This is the extent of his usefulness. His single-target damage is lackluster, and synergy with other units is nothing to write home about. Summary: + Good Crowd Control +/– Ok Damage Output – Low Single Target Damage |
 Sakiri | Sakiri , just like Skia, is focused on AOE Damage by utilizing summons. Unlike Skia, she does not have crowd-control or good sustain. While her damage output is good, she lacks resources to make her a good teammate the more you progress through the game. Summary: + Good AOE DPS – Lacks Single Target Damage – No Resources outside pure damage |
C Tier
| Character | Details and Summary |
|---|---|
 Haniel | Haniel is one of the free Characters you get early on in the game. This makes her a solid support very early on, but that also means the second you get a different support, she will get replaced. She buffs the Attack Power of teammates and that’s about it. She doesn’t have any good Esper Cycles or very high damage output. On top of this, her buffs, while being casted, can be interrupted by enemies. Summary: + Ok Attack Buffs – Has nothing else going for her |
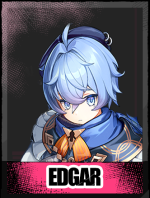 Edgar | Edgar is an AOE healer, meaning he places static healing zones where teammates need to stand in order to get healed. This makes it so his teammates need to play around his healing pools, and restricts mobility during fights completely. While the healing output is ok, the rigid nature of it makes it difficult to play with. Summary: + Ok Healing – Healing is in restricted zones |
F Tier
| Character | Details and Summary |
|---|---|
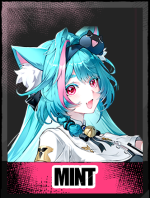 Mint | Mint is…one of the characters of all time. She…really is in the game and.. does damage. Summary: + She’s pretty funny |
Best Neverness to Everness (N2E) Teams
Teammate synergy in Neverness to Everness is not purely based around stats, but also Esper Cycles. Each character has an Element (Esper) that, when paired with another one, grants specific effects, as well as character-specific passives. On top of this, particular item builds will help each character shine in their respective field (tanking, damage dealing, buffing), and we will go through all of it down bellow.
Best Boss Team
| Team | Description |
|---|---|
    Boss/ Single Target Team | All of the S-Tier characters will be in this team for obvious reasons. However, it’s not just their stats that make them a menace against Bosses, as their Esper Cycles give them incredible synergy and sustain. The only thing you need to remember is to place Adler in the first spot in order to setup your shields and dots quickly, before switching out and doing your usual DPS rotations. Esper Cycles: ends the target takes massive Mental Damage affected by Nova and Scorch |
Best Mobs Team
| Team | Description |
|---|---|
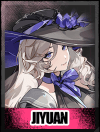   Mob/Wave Clear Team | The team that deals the fastest with mobs. This is your go-to when farming waves of enemies, weather it’s for items or any kind of drop. Jiyuan is the safety net for your team that you can switch out if you believe that you do not need any healing output. She still does solid AOE damage, but it’s up to you if you’re comfortable with this playstyle. Esper Cycles: which blossoms 5 Lebenstamm. Lebenstamm then fly towards the targets within range, exploding every 2s and dealing DMG to an area. Up to 3 Lebenstamm can exist on the field at the same time. ends, the target takes massive Mental Damage 20% of Anime and Incantation DMG taken within 12s after triggering Esper Cycle. |


Updated: Apr 29, 2026 04:15 am