Halo Infinite is one of the best shooters of the year, but sometimes it pays to have a look around at your surroundings and take in the sights. After all, most of the skulls in this game aren’t going to jump right out at you. Here’s everything you need to know about where to find all of the skulls in Halo Infinite.
Where to Find All Skulls on Zeta Halo in Halo Infinite
Boom Skull
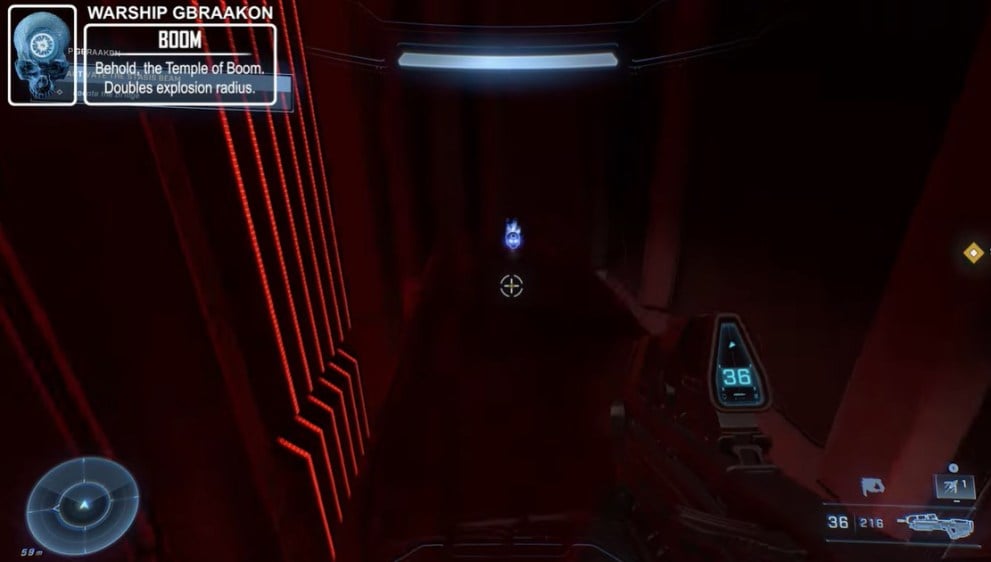
First up is the Boom Skull. This is one of the easiest skulls to get to in Halo Infinite. At the same time, it’s one of the easiest to miss since you can’t get it later on in the game. If you miss it at the beginning of the game, then you’ll have to start a new save to get it.
The Boom Skull is found in a long room that has two floors. On the right side of the room from where you enter, you’ll find a box going up along the wall. Jump on for a short ride to the first skull sitting on a stationery box.
Cowbell Skull
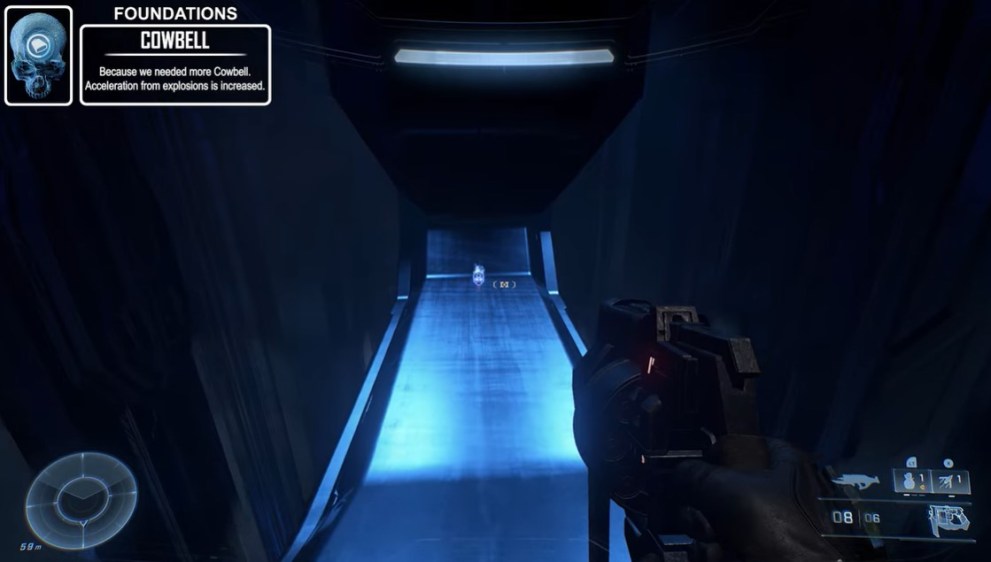
Next up is the Cowbell Skull. This is where things start to get a bit more tricky. It’s important to note that this skull also cannot be obtained later on in Halo Infinite. It must be picked up the first time you’re at Foundations or else you’ll have to start a new game to find it.
This skull is found in a room with a large window where you can see a large pillar that has something blue shining inside of it. But don’t let that shiny object distract you since the Cowbell Skull is actually closer to the ceiling. You’ll need to grapple up into the rafters of this room to reach the area where the skull sits.
Grapple up to one of the first rafters you can reach, then turn back towards where you entered the room. You’ll find a rafter that is centered connecting from the wall to the ceiling. This is where you’ll find the Cowbell Skull. Don’t get discouraged if you don’t have the grapple mastered yet. It may take a few tries before you are able to land up there.
Catch Skull
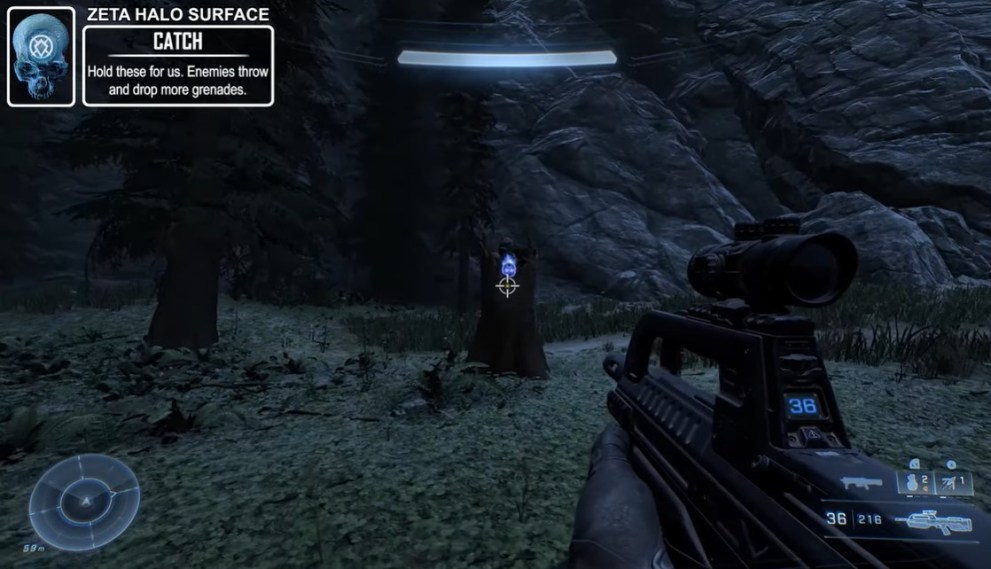
Now that you found those two skulls, you’re free to explore the Zeta Halo surface. The next handful of skulls can be found in any order. The first Halo Infinite skull we’ll take a look at on the surface is Catch.
This skull is found in a small area of the northern part of the map that is surrounded by mountains. You’ll find this one sitting on a tree trunk in this area. See the image below for the exact location.
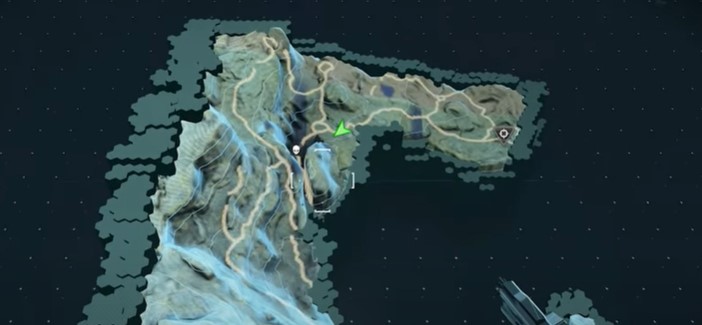
Just be ready to take out some enemies before you grab the Catch Skull.
Fog Skull
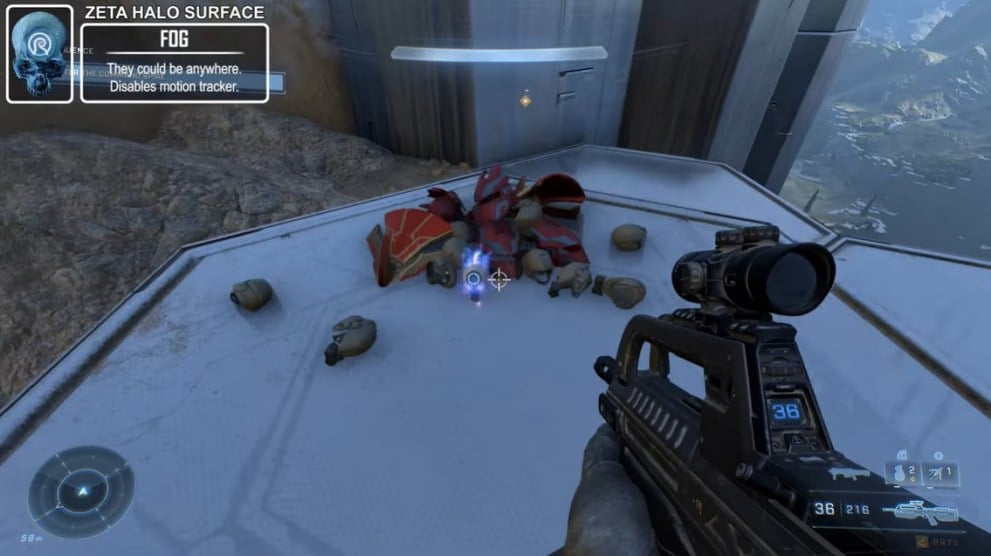
The Fog Skull can be found along the cliffs on the western edge of the Halo Infinite map, just west of FOB Alpha. Just keep going west and walking along the path of hexagons and you’ll eventually wind up at the Fog Skull.
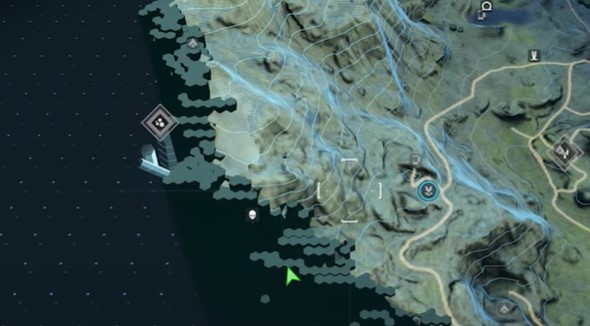
Check out the image above for the exact location.
IWHBYD Skull
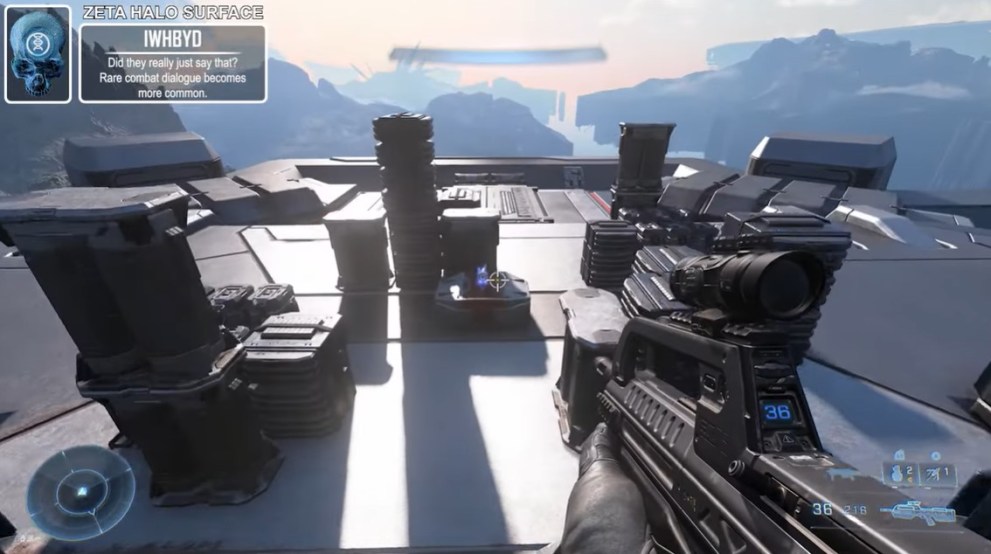
Next on the list is truly a classic, the IWHBYD Skull. To get this skull you need to find a way to the top of the Tower. The easiest way to reach there is with a flying vehicle like a Wasp or Banshee.
But your grapple works just as well for climbing the Tower. You’ll find the skull at the top of the tower sitting on an octagonal box.
Blind Skull
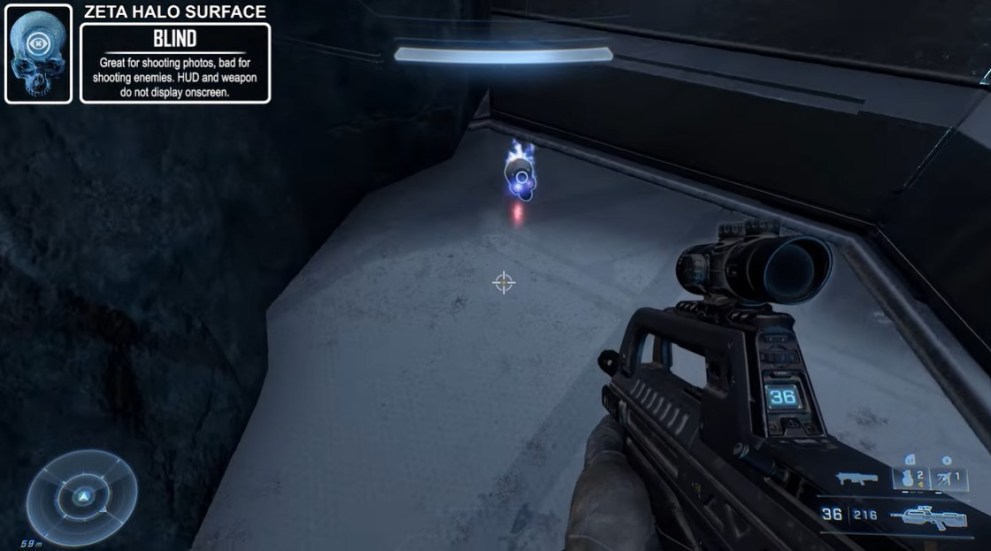
The Blind Skull is found in a gorge south of the Tower. Going south, the skull will be located in a cave fairly far down into the gorge. Just like with the last skull and many others in Halo Infinite, it’s much easier to get this one by using a flying vehicle.
If you don’t have one, then you can go on foot until you see a dead marine with some glowing blue goo nearby. Run past the corpse and jump deeper into the gorge. Continue jumping down until you see a glowing blue light. This is where you’ll find the Blind Skull.
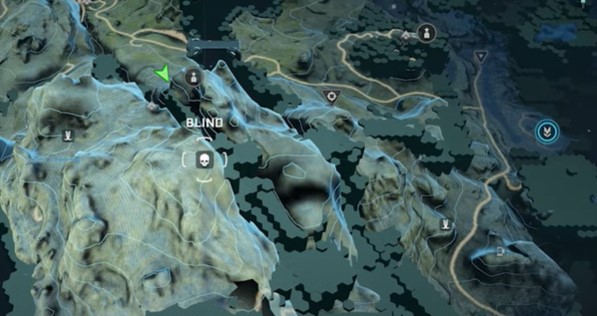
Check out the map above for the exact location.
Thunderstorm Skull
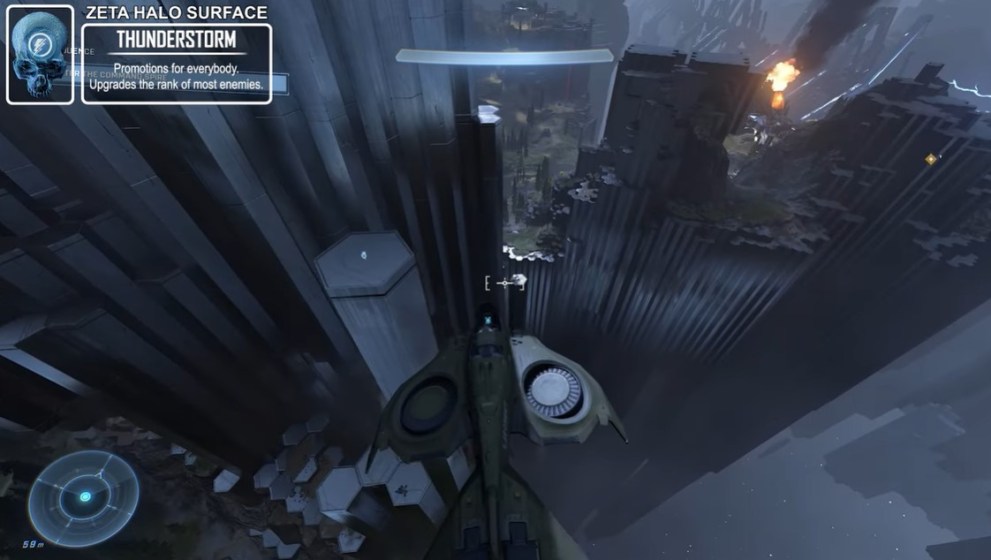
Yet again, we have a skull here that’s much easier to obtain if you have a flying vehicle. If you haven’t gotten the hint yet, get a Wasp or Banshee as soon as you can.
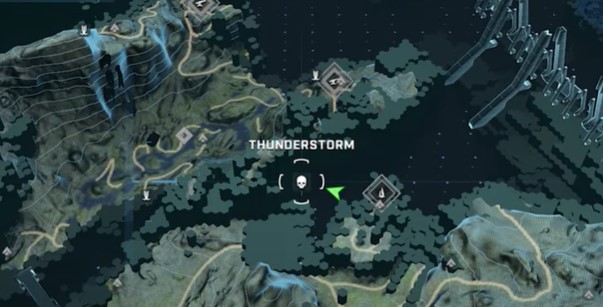
The Thunderstorm Skull is right out in the open like the IWHBYD Skull. It’s sitting on top of one of those hexagonal Forerunner columns just to the east of a northern beacon.
If you want to go on foot, then head to the top of the nearby hill to get a good view. In the area, you’ll find many Grunts and Brutes as you make your way down the hill towards the skull. Once you reach an area where the elevations are relatively evened out with the exception of one abnormally tall pillar, grapple up there and you’ll find the Thunderstorm Skull. The map below should help you find the exact location.
Black Eye Skull
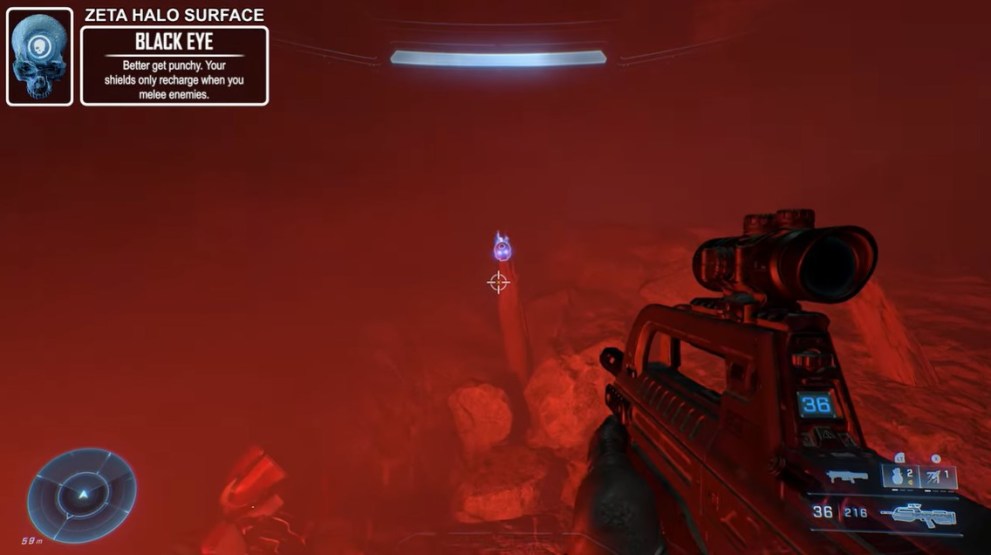
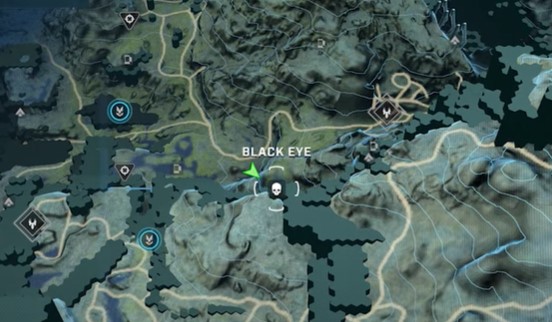
@VGWaterfalls is going to love this one. The Black Eye Skull is located behind a waterfall that feeds into the lake near FOB Kilo. Grapple up to a platform that’s about halfway up the right side of the waterfall and you’ll find a small entrance to a cave. Crouch to enter and you’ll find the skull sitting on top of a short pillar. Use the map below to see the exact location.
Famine Skull
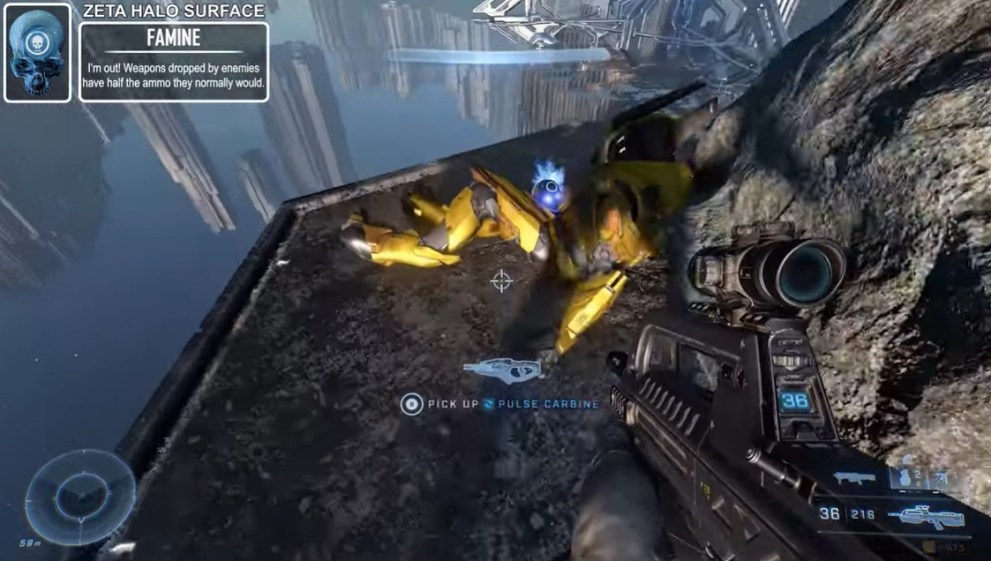
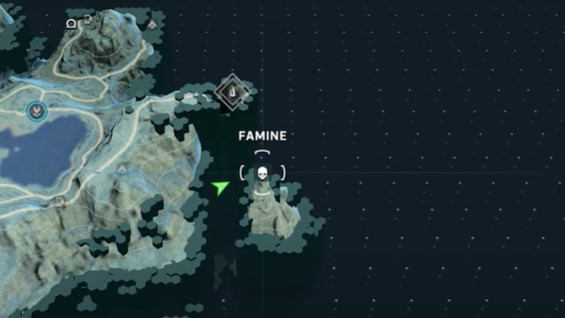
This is the last skull on the list that you can obtain in any order. The Famine Skull is found on a small island on the far eastern side of the map. You almost need a flying vehicle to get this one, but it’s not impossible to grapple there. It’ll just save you a lot of time and frustration if you fly there.
On the northern side of this small island, you’ll find a dead Golden Elite with a Pulse Carbine nearby and the Famine Skull in the other. The map below shows the exact location of the skull.
Mythic Skull
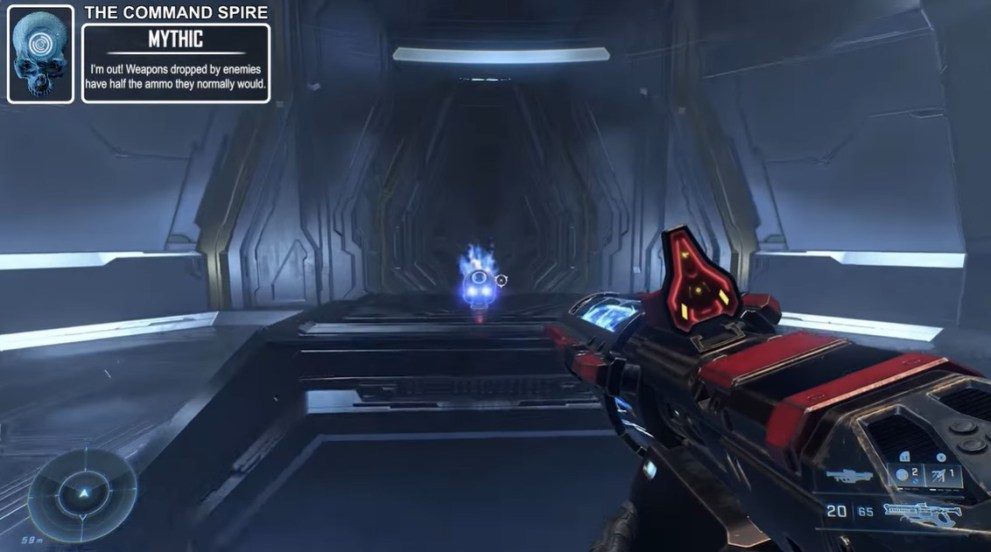
The Mythic Skull is found in the Command Spire. Continue through the area until you reach the point where the columns stop and turn right. Grapple on top of one of the columns and face the wall that the columns are heading towards before they turn right and grapple to a ledge above.
Once you land, turn around 180 degrees and look up to the right. Grapple up there and go through the hallway leading to a door. The Mythic skull is in the middle of the room beyond the door. Keep in mind that you won’t be able to return and get this skull without starting a new game.
Grunt Birthday Party Skull
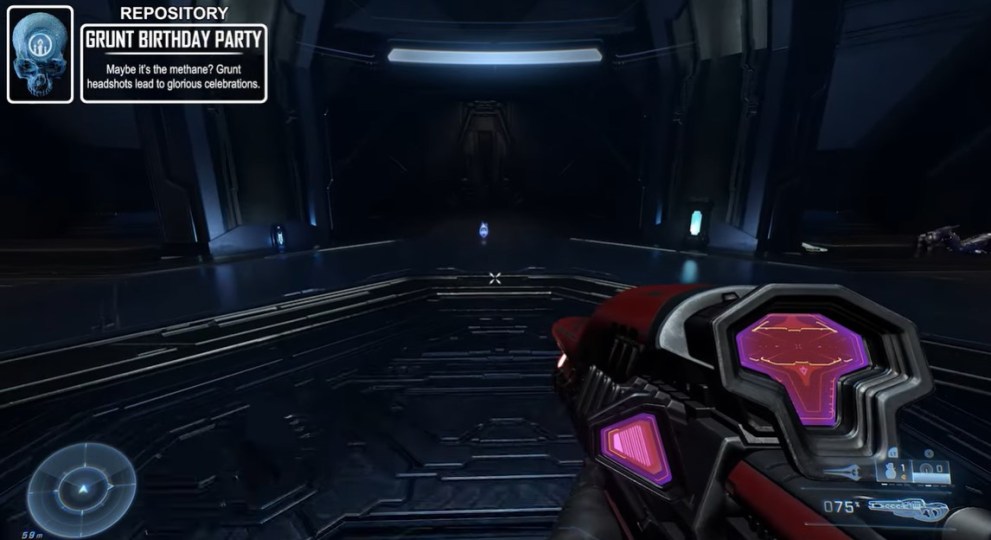
The next skull you can find is Grunt Birthday Party and it’s located in the Repository. This one is a bit tricky to find, so take it slowly.
First, start out in the room with a terminal in the center and a light bridge leading to it. Activate the terminal to turn on a second light bridge but do not cross it. Instead, run and grapple to the door that’s to the right of the bridge that was just activated. Go through the door, walk down the hallway to the room with a Power Seed.
Return to the room with the terminal in the middle. From here you’ll need to throw the Power Seed to a few different spots. Do whatever works for you here, but just don’t try to throw the Power Seed all the way across the room. You’ll eventually want to navigate to the door that’s to the left of the light bridge that appeared when you activated the terminal.
If at any time the Power Seed falls into the bottomless pit below, don’t worry. You can return to the original location where you picked it up and try again.
Once you get the Power Seed across the room to the left door and grapple over there, then enter the short hallway to a room. In the far right corner of this room, there will be a place for you to insert the Power Seed.
Continue through the level until you have a conversation with the Weapon. Shortly after that, you’ll reach a room with Sentinels, Banished, and two distinct pillars that go up straight and are angled slightly towards the wall (see below).
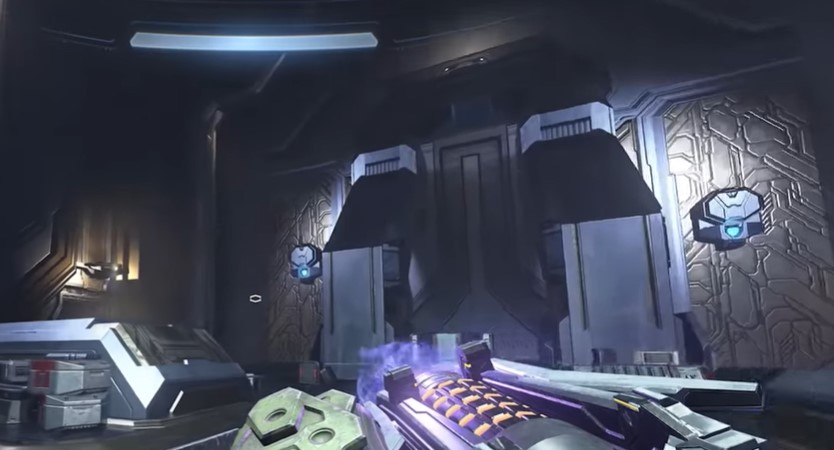
Grapple on top of those pillars and head through the opening in the wall above them. In that room, you’ll find the second to last skull in Halo Infinite along with two hidden Elites waiting to throw a surprise party for you.
Make sure you don’t miss this one because you’ll have to start the game all over again if you proceed through this level without picking up the skull.
Bandana Skull
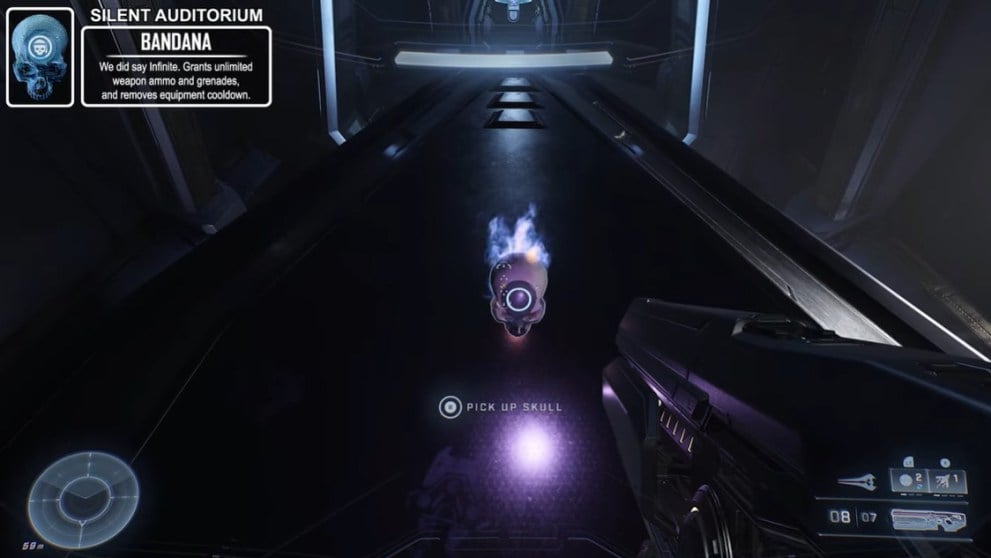
Who doesn’t love a good Metal Gear Solid reference in their Halo? The Bandana Skull can be found in the Silent Auditorium. And if the last few warnings weren’t enough, pick this one up, or else you’ll have to get all the way to the end of the game again before having a chance to obtain it.
This next bit may be a bit counter to your instincts, but DO NOT kill any Sentinels in this level. If you kill even one, then you won’t be able to get the final skull in Halo Infinite
Continue playing through the level until you reach the hallway to the final elevator. Before the path to the final elevator begins, you should see a short light bridge with a door to the right of the path. This door will be locked if you killed any Sentinels.
Proceed over the light bridge and through the door on the right side. You’ll see two platforms that you can grapple to or just grapple up to the taller one and you’ll find the final skull waiting for you.
That’s all there is to know about where to find all of the skulls in Halo Infinite. If any of the directions are a bit murky, just let us know in the comments and we’ll be happy to clear things up for you. And if you want to learn just about anything else when it comes to Halo Infinite, then just check out our Guide Wiki for the game.








Updated: Dec 10, 2021 07:08 am