Update 2.0 is finally available in Animal Crossing New Horizons, introducing a slew of highly anticipated features such as the return of Brewster and the Roost, an expansion on Harv’s island that includes a bunch of new shops, as well as a cooking system that allows you to prepare meals. It’s all very exciting stuff, but first you’ll need to know how to actually get the ingredients required for preparing meals, and that’s where farming comes in. Here’s how the farming system works in Animal Crossing New Horizons.
How to Buy Seeds in Animal Crossing New Horizons
If you’ve been playing the game for a while now, you probably already know the answer to this one: seeds and starts can be purchased from Leif, and he’s going to be your source for most of the crops you’ll need to grow to start cooking.
Leif will visit your island randomly and when he does show up, he can be found outside the Resident Services building. However, you can also take a trip to Harv’s island and donate 100,000 Bells to the gyroids there to help him set up a permanent shop. By doing this, you won’t have to wait for Leif to show up, and you can instead fly over to Harv’s to visit Leif whenever you want.
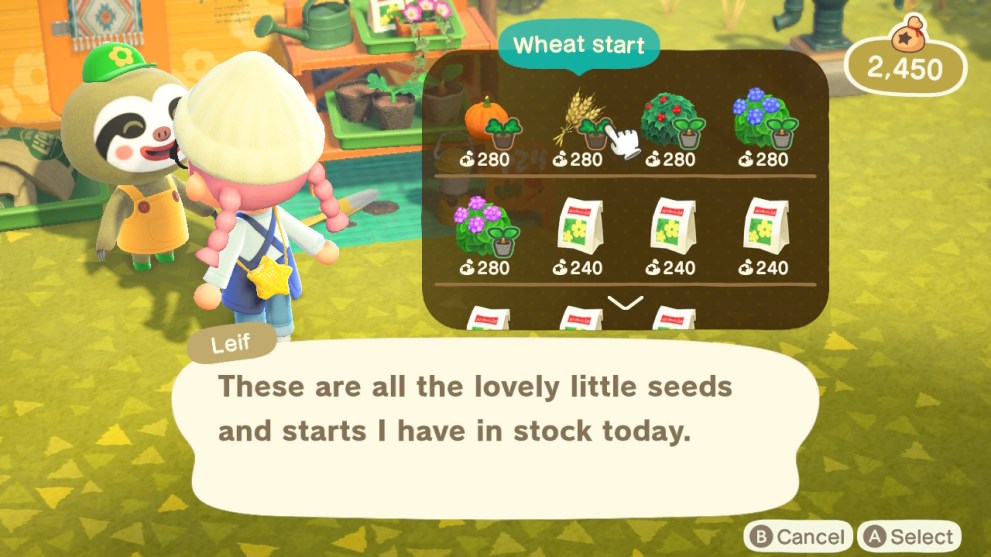
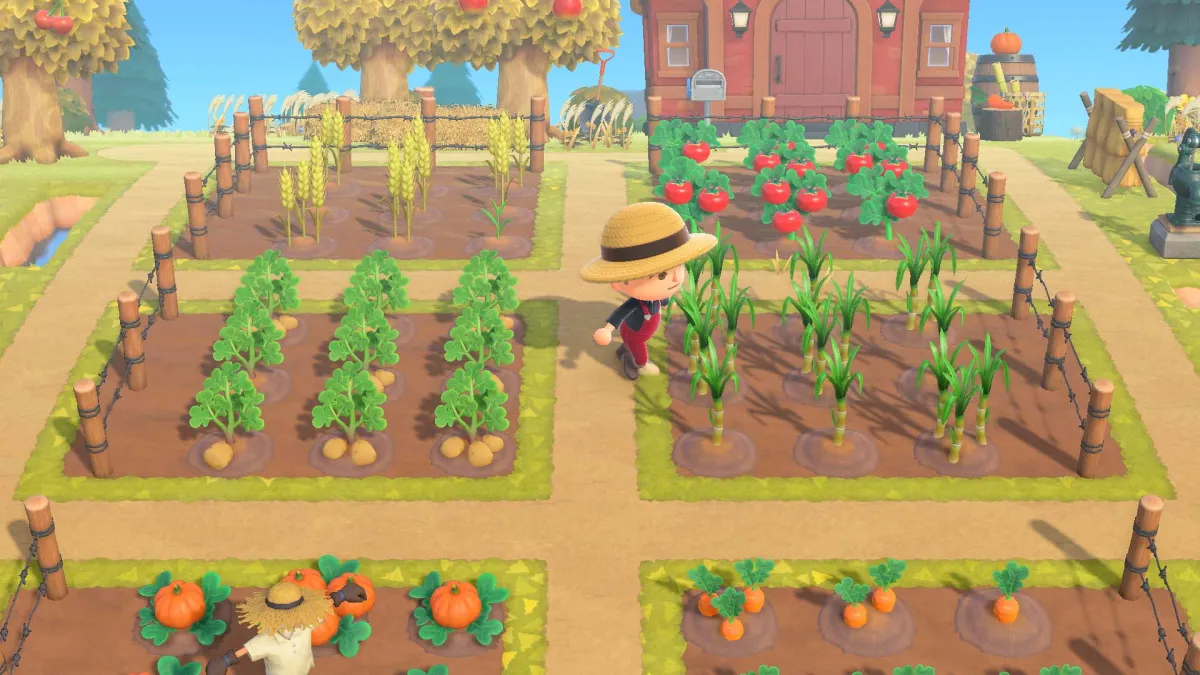
Talk to Leif to see what he has for sale, purchase your starts, then head back to your island. At the time of writing, these are all the crops available in the game:
- Pumpkins – 280 Bells
- Wheat – 280 Bells
- Tomatoes
- Potatoes
- Carrots
- Sugarcane
Assuming you’ve already set up Leif’s shop on Harv’s island, he’ll change his stock every Monday so you’ll need to check back weekly for new starts to buy.
Farming
Now that you have your starts, head back to your island and find a plot of land that you can use as your little farm. Dig a hole in the ground with a shovel, then plant the start in there.
It’ll take about three days for it to grow, and if you water it everyday, you’ll increase the amount of crops you can harvest on the fourth day. We definitely recommend watering them diligently so you can stock up on ingredients. The starts will remain in the ground permanently too, so you don’t have to keep buying them.
Once they’re ready for harvesting, press the Y button to harvest and it’ll be added to your inventory. Next, head to any kitchen and you can start using your ingredients for meal prepping.
That’s all you need to know about how the farming system works in Animal Crossing New Horizons. Be sure to check our guide wiki for more tips and information on the game.


Updated: Nov 5, 2021 06:54 am