
Unlocking every ending in Cyberpunk 2077, including the hidden solo raid, depends on key side jobs and precise dialogue choices rather than your relationship percentage with Johnny Silverhand. This guide provides the exact steps, coordinates, and strategies needed to execute the secret assault and claim every ending-locked reward in Patch 2.0 and beyond.
Unlocking the Don’t Fear the Reaper Secret Ending
To begin the secret solo assault on Arasaka Tower, the player must bypass the relationship percentage displayed in the main menu’s central rectangular icon. The system checks solely for seven exact, sequential dialogue choices during the quest Chippin’ In in the Northside Badlands oil fields. When standing in the dusty oil fields inscribing Johnny’s initials, select these exact responses in this order:
- The Guy who Saved My Life
- Nah, fucked that up too.
- What do you want from me?
- OK. But as second chances go, this is your last.
- You were a real dick in the beginning.
- When you said you let down your friends…
- Yeah, I’ll call Rogue.
After locking in these choices, complete the follow-up side job Blistering Love. During the point of no return in Nocturne Op55N1, meet Hanako Arasaka at the Embers restaurant. After collapsing in the elevator and waking up in Viktor Vector’s clinic, V will end up on the rooftop balcony of Misty’s Esoterica with Johnny.
To easily back up progress before the finale, press the Escape key, navigate to Save Game, and click New Save to create a reload point. When Johnny asks who you want to team up with, highlight the dialogue option to ask Rogue for help but do not press any button. Wait in real-time silence on this menu for exactly five minutes. Johnny will eventually speak up and offer a solo suicide run. Select the option to hear the plan, and then choose to go out with a bang.
Mechanics and Health Decay of the Solo Run
Once V breaches the front doors of Arasaka Tower, manual saving is disabled. If V dies at any point during this run, the game immediately forces the credits to roll, treating the event as a suicide. Patch 2.0 introduced a continuous, non-reversible maximum health reduction system to simulate V’s body collapsing under the weight of the Relic.
Let H(0) represent V’s baseline maximum health before entering the lobby, and let t represent the elapsed time in seconds from the moment V breaches the front doors. The maximum usable health at any given point in the mission, denoted as H(t), is governed by this step-decay formula:
H(t) = H(0) x (0.75 – 0.01 x floor(t / 45))
This formula dictates the harsh realities of the solo raid:
- Immediate Lobby Penalty: The instant the player steps into the lobby, maximum usable health is reduced by 25%.
- Temporal Degradation: Every 45 seconds of active gameplay, a Relic malfunction occurs, permanently shaving off an additional 1% of V’s baseline health pool.
- The Absolute Death Threshold: At exactly 3,375 seconds (56 minutes and 15 seconds), V’s maximum health pool hits zero, resulting in automatic death.
This mechanic severely impacts players relying on passive health pools or cyberware like the Biomonitor, which automatically consumes healing items when health drops. Because the maximum health ceiling is decaying, the Biomonitor will enter an infinite loop, draining the player’s healing charges without ever restoring V to full health.
To counter this decay, players must shift their defensive strategy from raw health to Damage Mitigation. Combining the Defenzikov and Kerenzikov Boost Systems with the Neofiber and Spring Joints cyberware allows players to achieve a 100% mitigation chance with an 80% mitigation strength. When active, every slide or dash reduces all incoming damage by 80%, keeping V alive on Very Hard difficulty.
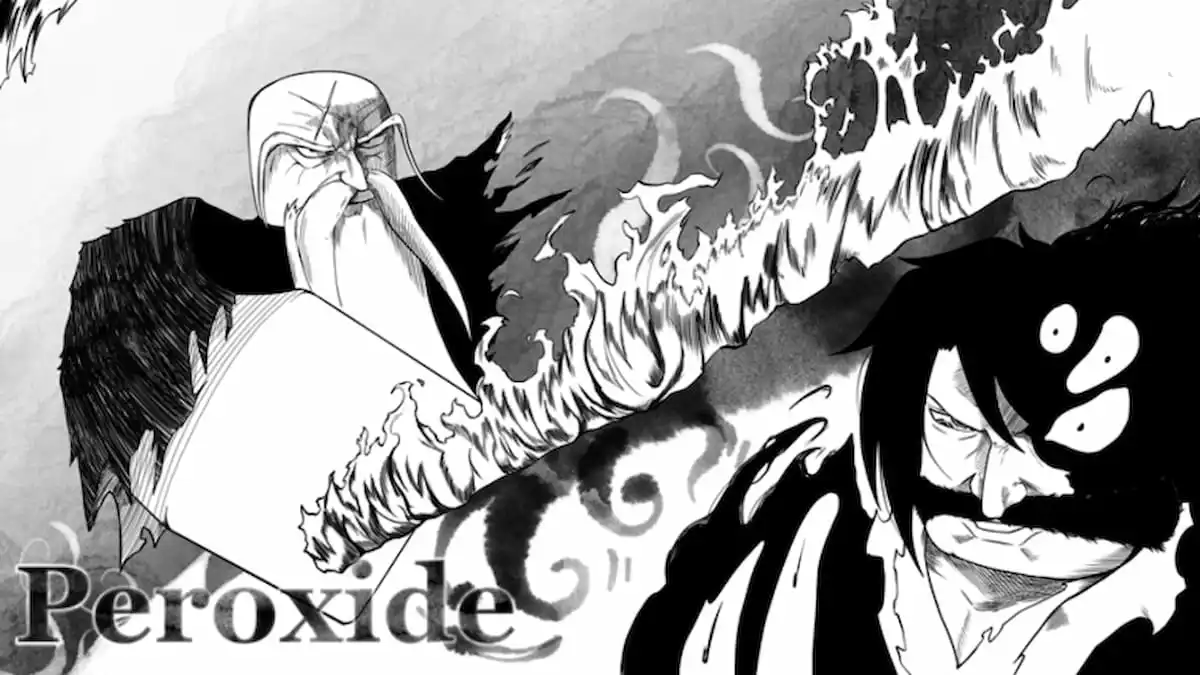
Fighting the Re-Engineered Adam Smasher in Patch 2.1
Cyberpunk 2077 Patch 2.1 completely overhauled Adam Smasher, transforming him from a slow, heavy target into an aggressive, fast-moving combatant. Defeating him requires adapting to four specific, phase-triggered mechanics:
- The Sandevistan Phase: Upon dropping below 80% HP, Smasher activates a custom Sandevistan implant. He moves at speeds exceeding standard gameplay limitations, rendering him virtually immune to standard firearms while dashing. To counter this, the player must activate V’s own Sandevistan to match Smasher’s temporal frame, or utilize smart weapons with high lock-on speeds to bypass the evasion tracking.
- Exposing the Core: Smasher rips his damaged chest plate off, exposing a central, glowing cybernetic core that deals guaranteed critical damage when hit. Players utilizing the Relic Perk tree from the Phantom Liberty expansion will see this vulnerability highlighted automatically.
- The Reinforcement Phase: At 50% HP, Smasher loses one of his primary arms, retreats to the upper walkways, and summons waves of Arasaka guards and heavy turrets while firing mortar barrages. Immediately move to the sheltered alcoves beneath the walkways to avoid the mortar blast zones.
- The Cluster Missile Barrage: At 30% HP, Smasher leaps to the center of the room and initiates a full-arena missile barrage, destroying all remaining destructible cover. Force-run to the absolute outer walls of the chamber.
Finding Ending-Locked and Missable Iconic Weapons
To help optimize your endgame preparation, the technical specifications and requirements for every ending-locked weapon are laid out with their precise live-game locations.
| Weapon Name | Weapon Class | Exact Quest or Area Lock | Retrieval Method and Requirements |
|---|---|---|---|
| Prejudice | Power Assault Rifle | For Whom the Bell Tolls | Behind the bar counter inside the Afterlife once Rogue orders patrons out. |
| Pride | Power Pistol | Knockin’ on Heaven’s Door | Looted from Rogue’s remains after defeating Adam Smasher near the entrance gate. |
| Caretaker’s Spade | Blunt Melee Hammer | Knockin’ on Heaven’s Door | Leaning against a rock close to a curved U-bend tree in Arasaka Tower’s upper atrium. |
| Amnesty | Power Revolver | We Gotta Live Together | Win Cassidy Righter’s bottle-shooting challenge by hitting 12 targets in 15 seconds. |
| Genjiroh | Smart Pistol | Play It Safe or North Oak Mansion | Floor 21, right of elevator behind Tech door (level 11) or keypad code 2906. Also on a ground-floor desk in Arasaka Mansion. |
| Ba Xing Chong | Smart Shotgun | Post-Game Ebunike Vault | Unlocked in Adam Smasher’s vault at Watson docks using the Access Token after completing the game. |
Cassidy Righter’s bottle challenge is notoriously buggy due to desynced hitboxes that prevent shots from registering. To bypass this, activate your Sandevistan before starting to slow down the timer, or install the Microgenerator hand cyberware so your reloads explode with lightning, easily shattering the bottles.
Dogtown Black Market Restrictions
The full-borg black market vendor, Herold Lowe, located inside the EBM Petrochem Stadium in Dogtown, serves as a catch-up mechanic for missed story-locked iconic weapons. He sells weapons such as the Chaos tech pistol or Errata thermal katana for a flat rate of 110,000 Eddies.
However, Herold’s inventory has strict technical boundaries: he does not sell items from zones that remain geographically accessible to the player. Consequently, three highly sought-after weapons are permanently excluded from his stock:
- Lexington X-Mod2: This weapon can only be won by placing first in the Shoot to Thrill shooting contest at Robert Wilson’s gun store, located in the atrium of Megabuilding H10. V must score at least 40 out of 100 points to win the contest and secure the reward.
- Blue Fang: Sold exclusively by a lone Melee Weapon Vendor located in a trailer in the far southeastern reaches of the Badlands (Jackson Plains). Speak to the vendor and ask about her wares to buy the Blue Fang for 110,000 Eddies.
- Headhunter: Sold exclusively by a specialized Melee Weapon Vendor in Pacifica, situated in the West Wind Estate near the apartment fast-travel terminal. V must purchase the punk knife directly from his inventory.
Technical Workarounds for High-Impact Endgame Softlocks
Even in the final build of Patch 2.12, legacy physics and interface desynchronization can softlock the player’s progress during the critical ending sequences.
The Lobby Elevator Door Glitch occurs during the solo assault on Arasaka Tower. The central lobby elevator doors may remain permanently shut after V loots the Access Token from the heavy Arasaka security guards because the physics engine fails to register that the combat phase has officially ended. To bypass this, align the center crosshair directly over the elevator panel, press Alt-Tab to exit the game window, and then Alt-Tab back in. This forces the operating system to redraw the cursor, immediately restoring the finger interaction icon. If playing on console, temporarily increasing the controller inner deadzone in the settings menu will resolve the issue.
The Quiet Life Boundary Break is an exploit that allows players to bypass the entirety of the Adam Smasher fight. Before dropping down into the lower mainframe room to connect Alt Cunningham, the player can use a noclip mod or teleport tool to bypass the locked double doors directly adjacent to Smasher’s arena. Once out of bounds, the game’s cellular interface is restored, and the player can open V’s phone and successfully call Solomon Reed to trigger the surgery ending, arranging NUSA pickup from within the deep core of Arasaka Tower itself.


Updated: Jun 22, 2026 03:22 pm