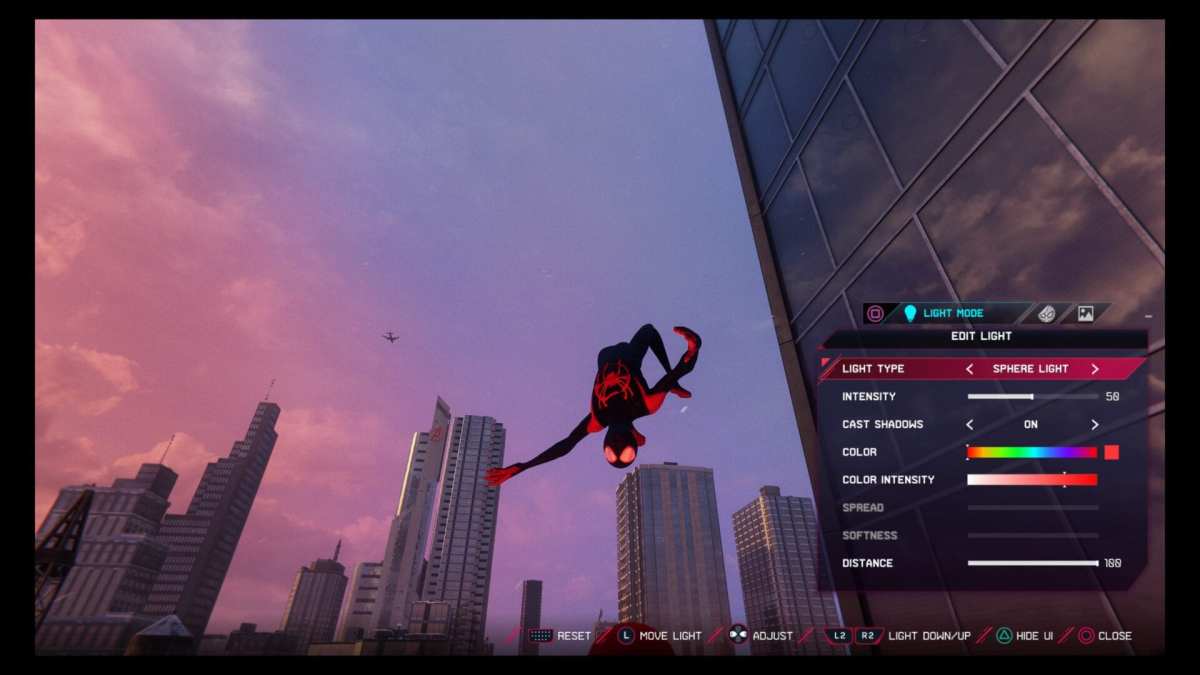
Spider-Man: Miles Morales is filled to the brim with great moments, whether they’re orchestrated by the developers or pulled off randomly by the player’s shenanigans. as such, you wouldn’t be blamed for wanting to document them with the game’s photo mode, and we’re here to make sure you get the best shot possible with a guide on how to use the photo mode in Miles Morales.
How to Use the Photo Mode in Miles Morales
Using the photo mode in Spider-Man: Miles Morales is easy, and you won’t have to wait long to get your hands on it.
As soon as the game gives you control of Miles, you can access the mode by pressing the Options Button and scrolling down to Photo Mode. Select it with the X Button, and then the mode will be activated, allowing you to snag a picture of whatever you’re currently doing in-game. You can alter the angle of the shot by positioning the camera with the left and right analog sticks.
Spider-Man: Miles Morales’ photo mode also allows you to customize aspects of the shot you take in several ways. By pressing the Square button, you can cycle through some different sub-menus which allow you to alter the lighting and filter of the shot, change the suit Miles is wearing and add stickers to the shot for extra character.
Once you have a shot you like, you can press the Triangle button to hide the UI and then save the picture by holding the Create button.
That’s all there is to it really. Hopefully this cleared up how to use the photo mode in Spider-Man: Miles Morales and helps you get to snapping your own pictures as soon as possible. For more on the game, check out some of our other guides on topics like how to save and how to get the Spider-Verse suit.


Updated: Nov 13, 2020 01:04 pm