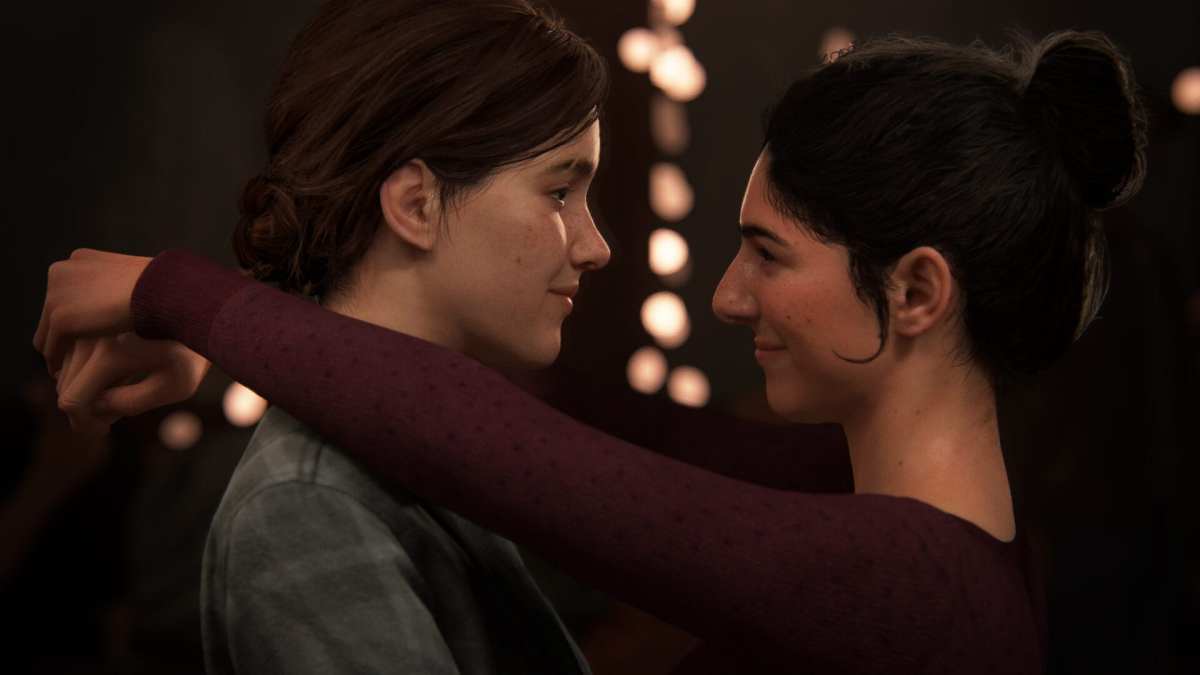
The Last of Us 2 is an incredibly beautiful game. Aside from the horrific infected creatures you’ll be slaying left and right, that is. But even in these moments, there’s a blend between the beauty of nature reclaiming the world, and the deep blood red splattering across it. If you’re looking to perfectly capture this blend of beauty and violence, you’ll likely want to know how to use photo mode in The Last of Us 2.
How to Use Photo Mode in The Last of Us 2
To use photo mode in The Last of Us 2, press the Options button and select ‘Photo Mode’ from the main menu. This will then give you the choice between Custom and Game camera modes. Game will let you capture the photo exactly as you paused it and saw it in-game. Custom allows you to freely move the camera around the action.
It’s also worth noting that if you dive into the ‘Options’ from the pause menu, you’ll be able to turn on a Photo Mode shortcut. This shortcut will allow you to press L3 + R3 at any time during the game to enter photo mode. This is really useful for getting the timing just right for the perfect snapshot.
On top of being able to move the camera around in The Last of Us 2, players can adjust the camera roll angle, field of view, and depth of field by adjusting the various options that can be accessed with L1, R1 and the d-pad.
How to Take Photos & Where They’re Saved
When you’re done adjusting your shot, press Square to hide the menu and HUD. Then press the ‘Share’ button on the PS4 controller to take your photo mode shot.
This will then automatically be saved in your PS4’s Capture Gallery. This can be accessed from the PS4 home screen. Open this and select The Last of Us: Part II from the list of games that appears to find your screenshot.
That’s everything you need to know on how to use photo mode in The Last of Us 2. For more tips, tricks, and guides, be sure to check out our ever-expanding guide wiki, or have a browse through more of our coverage of the game below.




Updated: Jun 18, 2020 01:45 pm